WANT TO SAVE THIS RECIPE?
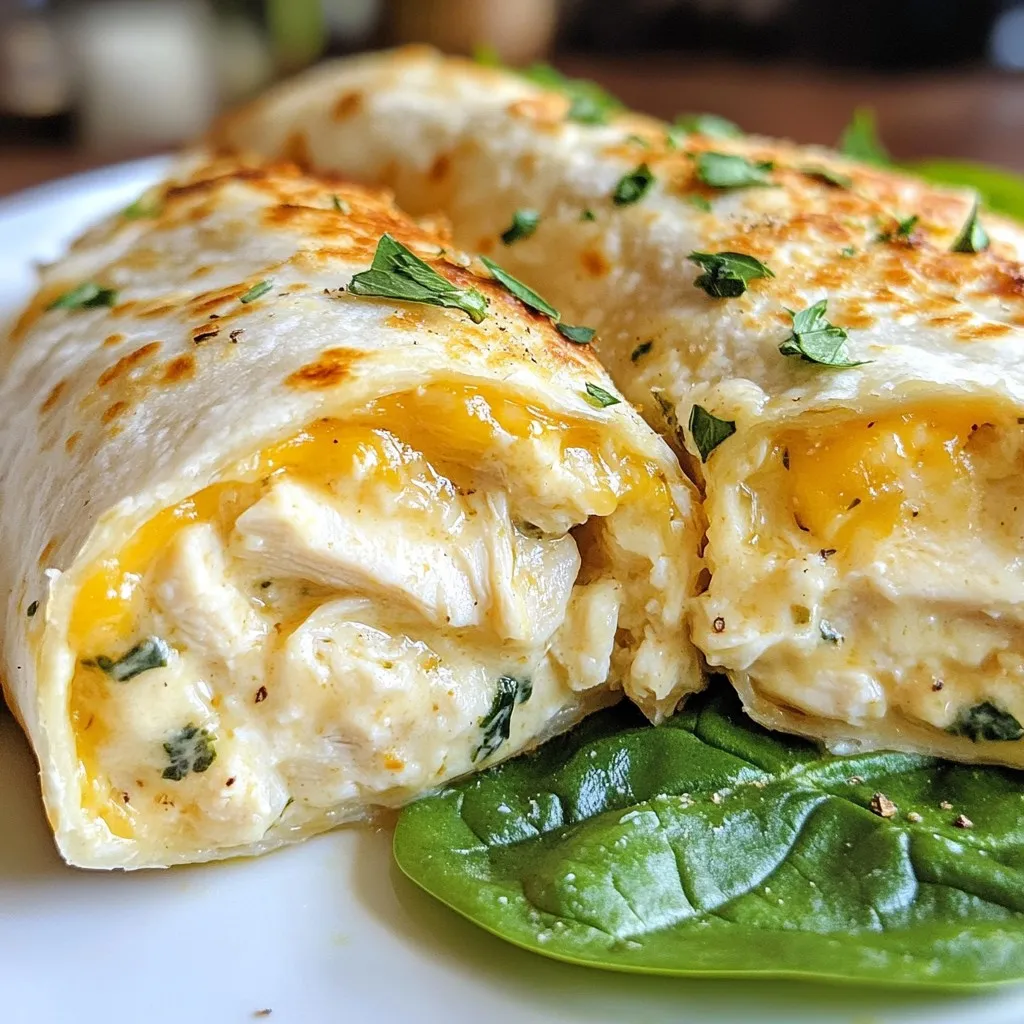
Looking for a quick, tasty meal? Cheesy Garlic Chicken Wraps are your answer! With simple ingredients like shredded chicken, cream cheese, and garlic, you’ll create a cheesy delight in no time. These wraps are easy to prepare and perfect for busy days or family dinners. Join me as we dive into this delicious recipe that’s sure to please everyone at the table!
Why I Love This Recipe
- Quick and Easy: This recipe is perfect for busy weeknights, taking only 30 minutes from start to finish!
- Cheesy Goodness: The combination of cream cheese and mozzarella makes for a rich and satisfying filling.
- Customizable: You can easily add your favorite veggies or spices to the wraps to suit your taste.
- Great for Meal Prep: These wraps can be made ahead of time and stored, making them an excellent option for meal prepping.
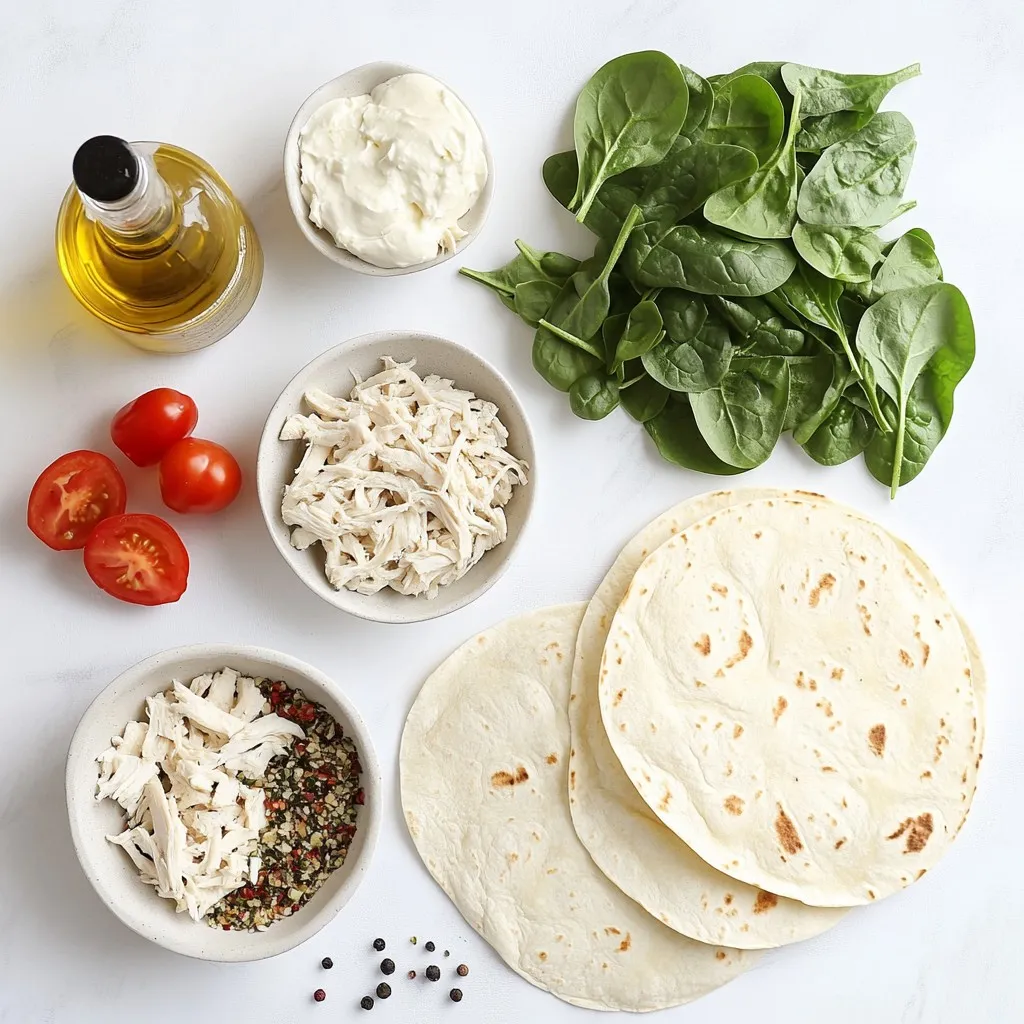
Ingredients
When I make Cheesy Garlic Chicken Wraps, I love gathering fresh ingredients. These ingredients create a tasty meal that everyone enjoys.
List of Ingredients
– 2 cups cooked chicken, shredded
– 1 cup cream cheese, softened
– 1 cup shredded mozzarella cheese
– 2 cloves garlic, minced
– 1 tablespoon olive oil
– 1 teaspoon Italian seasoning
– 1/2 teaspoon black pepper
– 1/4 teaspoon salt
– 4 large tortillas
– 1 cup fresh spinach leaves
– Optional: Sliced tomatoes for added freshness
Each ingredient plays a key role. The cooked chicken gives a hearty base. Cream cheese and mozzarella add creaminess and flavor. Garlic brings a punch of taste, while Italian seasoning adds warmth. Spinach offers a fresh crunch, and tomatoes can brighten the dish.
Using high-quality ingredients makes a big difference. Fresh spinach and ripe tomatoes can elevate your wraps. Always choose what you enjoy the most!
Step-by-Step Instructions
Preparation of the Cheesy Chicken Mixture
– In a medium bowl, combine:
– 2 cups cooked chicken, shredded
– 1 cup cream cheese, softened
– 1 cup shredded mozzarella cheese
– 2 cloves garlic, minced
– 1 tablespoon olive oil
– 1 teaspoon Italian seasoning
– 1/2 teaspoon black pepper
– 1/4 teaspoon salt
Mix these ingredients with a fork. Keep mixing until the mixture is smooth and creamy. This is the heart of the wraps.
Assembling the Wraps
– Lay 4 large tortillas flat on a clean surface.
– Take a generous scoop of the cheesy chicken mixture and spread it across the center of each tortilla.
– Leave about half an inch around the edges to avoid mess.
– If you like, add a handful of fresh spinach leaves and some sliced tomatoes on top for extra crunch and color.
Cooking the Wraps
– Roll each tortilla tightly from one side. Tuck in the filling as you roll.
– Make sure the seam is on the bottom to keep everything inside.
– Heat a skillet over medium heat. Add a drizzle of olive oil to coat the pan.
– Place the wraps seam-side down in the skillet. Cook for about 3 to 4 minutes on each side.
– Look for a golden brown and crispy finish. Adjust the heat as needed to avoid burning.
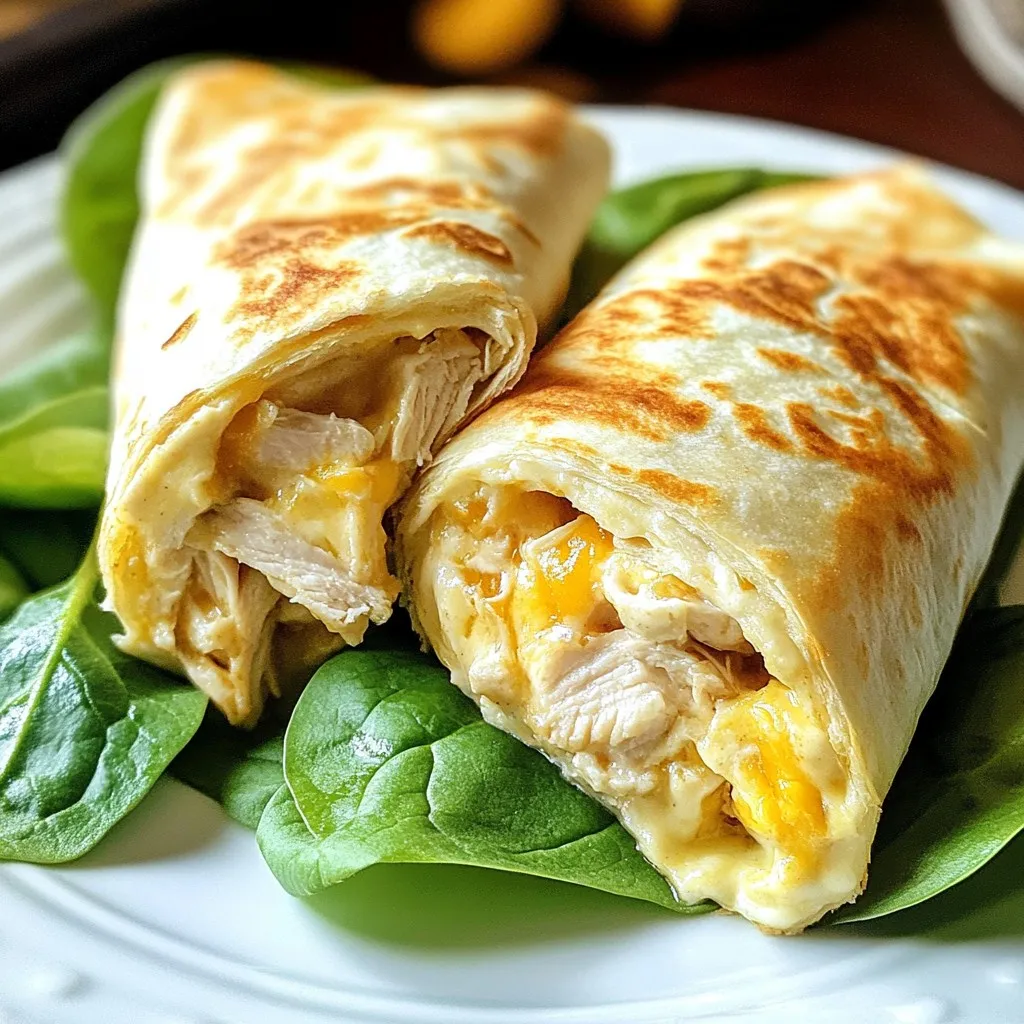
– Once done, take them out and let them cool for a minute. Slice each wrap in half diagonally to show off that cheesy goodness inside.
Tips & Tricks
Ensuring Perfectly Crispy Wraps
– Adjust heat as needed to prevent burning.
– Use a non-stick skillet for best results.
To get those perfect crispy wraps, watch the heat on your stove. If it’s too high, the outside may burn before the inside warms up. Keep it medium. A non-stick skillet helps too. You won’t have to worry about the wraps sticking or tearing. This makes flipping them easier and keeps them intact.
Enhancing Flavor
– Consider adding spices or herbs for extra flavor.
– Serve with dipping sauces like ranch or garlic aioli.
To make your cheesy garlic chicken wraps pop, think about adding spices. A sprinkle of paprika or extra Italian herbs can boost the taste. Fresh herbs, like parsley or basil, add a nice touch too. And don’t forget the dips! A side of ranch or garlic aioli gives a creamy balance and extra flavor. It’s a fun way to enjoy your wraps even more!
Pro Tips
- Use Rotisserie Chicken: For an even quicker preparation, use store-bought rotisserie chicken to save time on cooking and shredding.
- Experiment with Cheeses: Feel free to mix different types of cheese like cheddar or pepper jack for a unique flavor profile.
- Make Ahead: Prepare the cheesy chicken mixture in advance and store it in the fridge for up to 2 days for a fast meal option.
- Serve with Dips: Pair these wraps with your favorite dips like salsa, guacamole, or sour cream to enhance the flavor experience.
Variations
Ingredient Swaps
You can change the cheese in these wraps. Try using cheddar or pepper jack for a fun twist. Each cheese brings its own flavor. If you want to switch the chicken, you have options. Turkey or beef works well too. For a meat-free choice, try a vegetarian protein like tofu or tempeh. This keeps your meal tasty and flexible.
Additional Fillings
Feel free to add more veggies. Bell peppers and onions add color and crunch. You can also include avocado for creaminess. A drizzle of BBQ sauce gives a nice touch of sweetness. These extras make your wraps even more delightful. Customize them to fit your taste and enjoy!
Storage Info
How to Store Leftover Wraps
To keep your tasty wraps fresh, place them in an airtight container. Store them in the refrigerator. They taste best when eaten within 2-3 days. This way, you can enjoy that cheesy goodness without any worries.
Reheating Instructions
When you want to enjoy your wraps again, reheat them in a skillet or microwave. If using a skillet, warm them over medium heat. Cook until they are hot all the way through. If using a microwave, heat them in short bursts until warm. This will keep the cheesy filling nice and gooey!
FAQs
Can I freeze Cheesy Garlic Chicken Wraps?
Yes, you can freeze Cheesy Garlic Chicken Wraps. You can freeze them before or after cooking. If you freeze them raw, wrap each one in plastic. Place them in a freezer bag for easy storage. When you are ready to eat, just cook them from frozen. If cooked, let them cool first. Then wrap and store in a freezer bag. They will stay fresh for up to three months.
How do I make them spicier?
To make the wraps spicier, add jalapeños or hot sauce to the chicken mix. You can chop fresh jalapeños and mix them in. If you prefer, drizzle hot sauce into the cream cheese mix. This gives a nice kick without overpowering the other flavors. You can also serve extra hot sauce on the side for dipping.
What can I serve with Cheesy Garlic Chicken Wraps?
You can pair these wraps with various sides for a complete meal. Salads are a great choice. Try a fresh green salad or a pasta salad. You can also serve fries for a fun twist. Dipping sauces work well too, like ranch or garlic aioli. These add extra flavor and make your meal more fun.
In this blog post, we explored how to make Cheesy Garlic Chicken Wraps. We covered the ingredients needed and walked through each step, from mixing the filling to cooking the wraps. You learned tips for achieving crispy wraps and ways to customize your meal. Remember, you can swap ingredients or add new flavors to make these wraps your own. Enjoy your tasty creation, and don’t forget to try some fun sides with it for a full mea
Cheesy Garlic Chicken Wraps
Delicious wraps filled with cheesy chicken and fresh ingredients.
Course Main Course
Cuisine American
Servings 4
Calories 350 kcal
- 2 cups cooked chicken, shredded
- 1 cup cream cheese, softened
- 1 cup shredded mozzarella cheese
- 2 cloves garlic, minced
- 1 tablespoon olive oil
- 1 teaspoon Italian seasoning
- 0.5 teaspoon black pepper
- 0.25 teaspoon salt
- 4 large tortillas
- 1 cup fresh spinach leaves
- optional sliced tomatoes for added freshness
In a medium mixing bowl, combine the shredded chicken with the softened cream cheese, shredded mozzarella, minced garlic, olive oil, Italian seasoning, black pepper, and salt. Use a fork or spatula to mix thoroughly until the mixture is smooth and all the ingredients are evenly combined.
Lay each tortilla flat on a clean counter or plate, spreading them out to prepare for filling.
Take a generous scoop of the cheesy chicken mixture and spread it across the center of each tortilla, leaving a small border (about half an inch) around the edges to prevent spillage.
If using, place a handful of fresh spinach leaves and a few slices of tomato on top of the cheesy chicken mixture for added freshness and texture.
Carefully roll the tortilla tightly starting from one side, tucking in the filling as you go, until the wrap is sealed and compact. Ensure the seam is on the bottom to hold it together.
Preheat a skillet over medium heat. Once hot, add a drizzle of olive oil to lightly grease the surface.
Place the wraps seam-side down in the skillet, cooking for approximately 3-4 minutes each side, or until golden brown and crispy. Adjust the heat as needed to avoid burning.
Once cooked, remove the wraps from the skillet and allow them to cool for a minute before slicing each wrap in half diagonally to reveal the delicious cheesy filling.
Neatly arrange the wrap halves on a serving plate, showcasing their cheesy interior. For a touch of color, garnish with a sprinkle of fresh parsley or serve alongside a flavorful dipping sauce like ranch or garlic aioli for an extra kick!
Keyword cheesy, chicken, garlic, wraps
WANT TO SAVE THIS RECIPE?