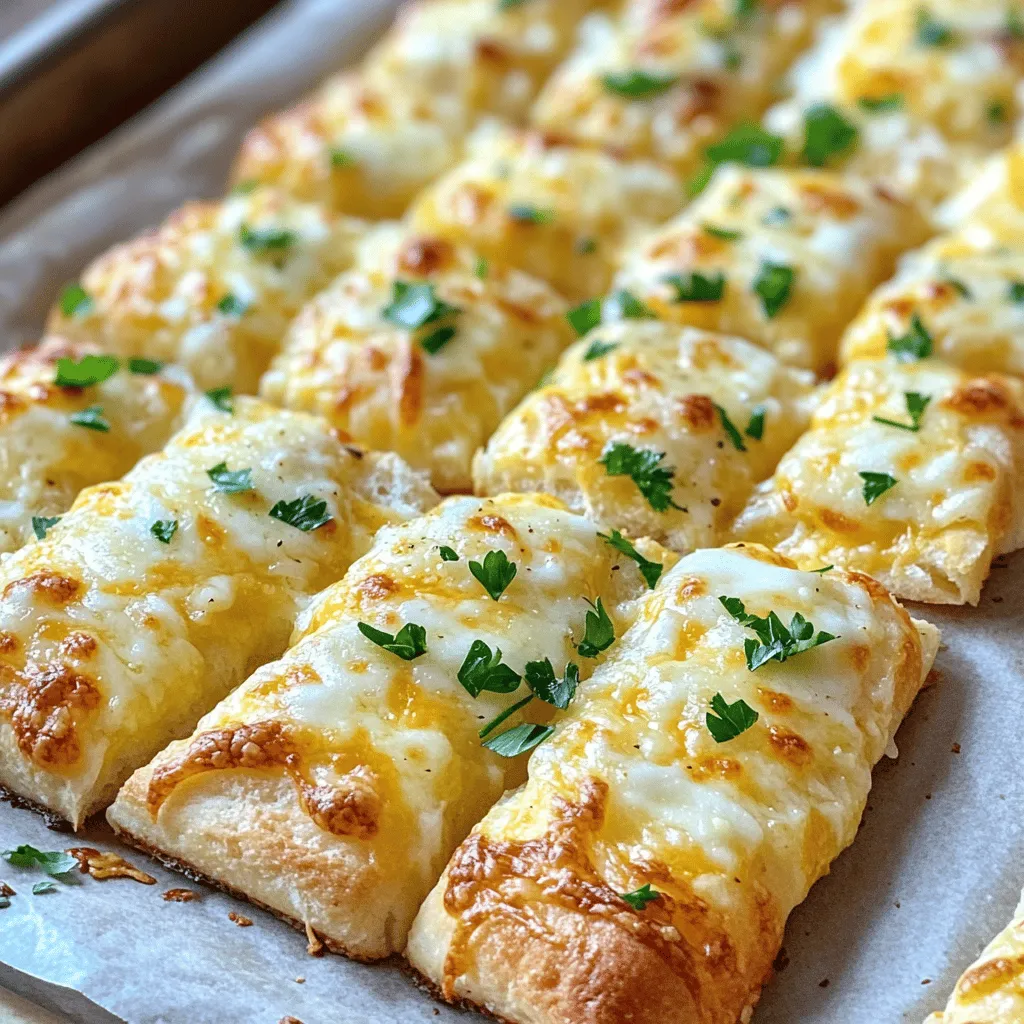
Ready to dive into the world of cheesy garlic goodness? In this post, I’ll share my easy and tasty recipe for Cheesy Garlic Breadsticks that will impress everyone at your table. With just a few basic ingredients and simple steps, you can make warm, cheesy breadsticks that burst with flavor. So grab your apron, and let’s get started on this savory adventure!
Ingredients
Essential Ingredients
To make cheesy garlic breadsticks, you will need:
– 2 cups all-purpose flour
– 1 tablespoon sugar
– 1 packet (2 1/4 teaspoons) active dry yeast
– 3/4 cup warm water (approx. 110°F)
– 1 teaspoon salt
– 2 tablespoons olive oil
– 3 cloves garlic, finely minced
– 1 cup shredded mozzarella cheese
– 1/2 cup grated Parmesan cheese
– 1 teaspoon Italian seasoning
These ingredients create a soft, chewy breadstick with a cheesy, garlicky flavor.
Optional Ingredients
You can add these for extra flavor:
– 1/4 teaspoon crushed red pepper flakes (for a spicy kick)
– Fresh parsley, chopped (for garnish)
These optional items make the breadsticks unique and vibrant.
Kitchen Tools Needed
To make this recipe, gather these tools:
– Mixing bowls
– Measuring cups and spoons
– A whisk
– A sharp knife or pizza cutter
– A baking sheet
– Parchment paper
Having these tools will help you create the perfect cheesy garlic breadsticks. For the full recipe, check the details above.
Step-by-Step Instructions
Activating the Yeast
Start by mixing warm water and sugar in a small bowl. Sprinkle the yeast over the mixture. Let it sit for about 5 minutes. You will see bubbles form. This means the yeast is active and ready to use.
Preparing the Dough
In a large bowl, whisk together the flour and salt. Make a well in the center. Pour in the yeast mixture and olive oil. Mix until it forms a sticky dough. Transfer the dough to a floured surface. Knead it for 5 to 7 minutes until it feels smooth. Place it in a greased bowl and cover it. Let it rise in a warm spot for about 1 hour, or until it doubles in size.
Shaping and Baking the Breadsticks
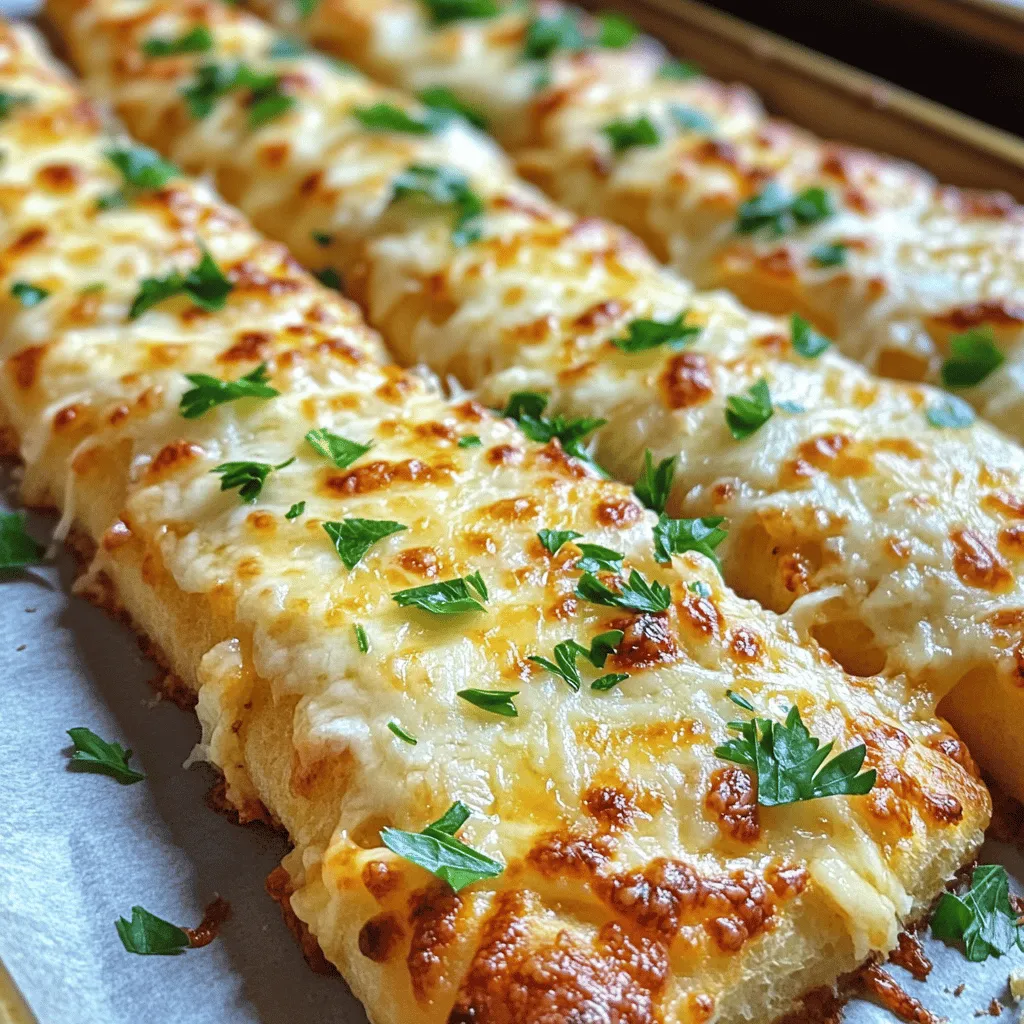
Preheat your oven to 425°F (220°C). Once the dough has risen, punch it down gently. Roll it out on a floured surface to about 1/2 inch thick. Move the rolled dough to a lined baking sheet. Brush the top with melted butter or olive oil. Mix minced garlic and Italian seasoning in a bowl. Sprinkle this mix over the dough. Top it with mozzarella and Parmesan cheese. If you like spice, add red pepper flakes. Use a knife to cut the dough into strips about 1 inch wide, but don’t cut all the way through. Bake in the oven for 15 to 18 minutes. The cheese should be melty and golden, and the edges should be lightly browned. Let them cool for a few minutes. Serve warm, garnished with fresh parsley. Enjoy your cheesy garlic breadsticks!
Tips & Tricks
How to Achieve the Perfect Dough Texture
To get the right dough texture, start with quality flour. I use all-purpose flour for its balance. When you mix the dough, aim for a sticky but manageable feel. Knead the dough for 5-7 minutes until it feels smooth and elastic. This step helps develop gluten, giving your breadsticks a nice chew. Let the dough rise in a warm spot. It should double in size, which takes about 1 hour.
Best Baking Techniques for Crispiness
For crispy breadsticks, preheat your oven to 425°F (220°C). This ensures even cooking. Use a baking sheet lined with parchment paper to prevent sticking. Brush the dough with melted butter or olive oil before baking. This adds flavor and helps with browning. Bake for 15-18 minutes, until the cheese is bubbly and golden. Keep an eye on them. Ovens vary, and you don’t want burnt edges.
Serving Suggestions for Cheesy Garlic Breadsticks
Serve your cheesy garlic breadsticks warm for the best taste. You can arrange them in a basket lined with a cloth napkin for a homey feel. A drizzle of olive oil or balsamic glaze adds a gourmet touch. Pair them with marinara or garlic butter for dipping. These small steps make your meal more fun and tasty. Enjoy sharing them with friends and family!
Variations
Adding Different Cheeses
You can switch up the cheese for fun flavors. Try using gouda or cheddar for a twist. Each cheese brings a new taste to your breadsticks. Mixing cheeses can also create a cheesy surprise in every bite. You can even add some blue cheese for a bold flavor. Just remember to balance strong cheeses with milder ones.
Incorporating Herbs and Spices
Herbs and spices can change the whole vibe of your breadsticks. Add fresh basil or oregano for an Italian touch. You can also sprinkle some garlic powder for an extra kick. If you like heat, try adding chili powder or cayenne. This lets you personalize each batch to match your mood or meal.
Gluten-Free and Dairy-Free Options
If you need gluten-free breadsticks, use gluten-free flour instead of regular flour. Make sure to check the flour’s instructions for best results. For a dairy-free option, replace the cheese with a dairy-free cheese alternative. You can also use nutritional yeast for a cheesy flavor without dairy. These options let everyone enjoy cheesy garlic breadsticks!
Storage Info
How to Store Leftover Breadsticks
To keep your leftover cheesy garlic breadsticks fresh, store them in an airtight container. This helps maintain their softness. You can also wrap them tightly in plastic wrap or aluminum foil. Make sure to cool them completely before storing. This prevents moisture buildup, which can make them soggy. Stored this way, they last up to three days at room temperature.
Reheating Tips for Optimal Enjoyment
When you want to enjoy your leftover breadsticks, reheating them properly is key. Preheat your oven to 350°F (175°C). Place the breadsticks on a baking sheet. Heat them for about 10 minutes. This helps restore their crispiness. You can also use a microwave, but they may get chewy. If using the microwave, heat for 15-20 seconds at a time. Check often to avoid overheating.
Freezing for Future Enjoyment
If you want to save some breadsticks for later, freezing is a great option. First, let the breadsticks cool completely. Then, wrap each one in plastic wrap. After that, place them in a freezer bag. Make sure to remove as much air as possible. They can stay frozen for up to three months. To enjoy, just thaw them in the fridge overnight and reheat as mentioned above.
FAQs
Can I use store-bought dough?
Yes, you can use store-bought dough for cheesy garlic breadsticks. It saves time and effort. Look for pizza or bread dough in your grocery store. Roll it out and follow the recipe steps for toppings and baking.
How to make breadsticks without yeast?
To make breadsticks without yeast, you can use baking powder instead. Combine flour, baking powder, salt, and water. Mix until you form a dough. Roll it out, top it, and bake. These breadsticks will be quick and easy, perfect for last-minute snacks.
What dips pair well with cheesy garlic breadsticks?
Cheesy garlic breadsticks taste great with many dips. Here are some ideas:
– Marinara sauce
– Alfredo sauce
– Garlic butter
– Ranch dressing
– Pesto sauce
These dips add flavor and make your breadsticks even more fun to eat.
Full Recipe Availability
You can find the full recipe for cheesy garlic breadsticks in this article. It gives you all the steps and tips to make them perfectly.
This blog post covered everything you need to know about making cheesy garlic breadsticks. We explored essential ingredients, key tools, and step-by-step instructions. You learned tips for perfect dough and baking, along with tasty variations to try. Plus, we discussed how to store and reheat your breadsticks for later.
In summary, making these breadsticks is easy and fun. Enjoy creating your own delicious twists!
