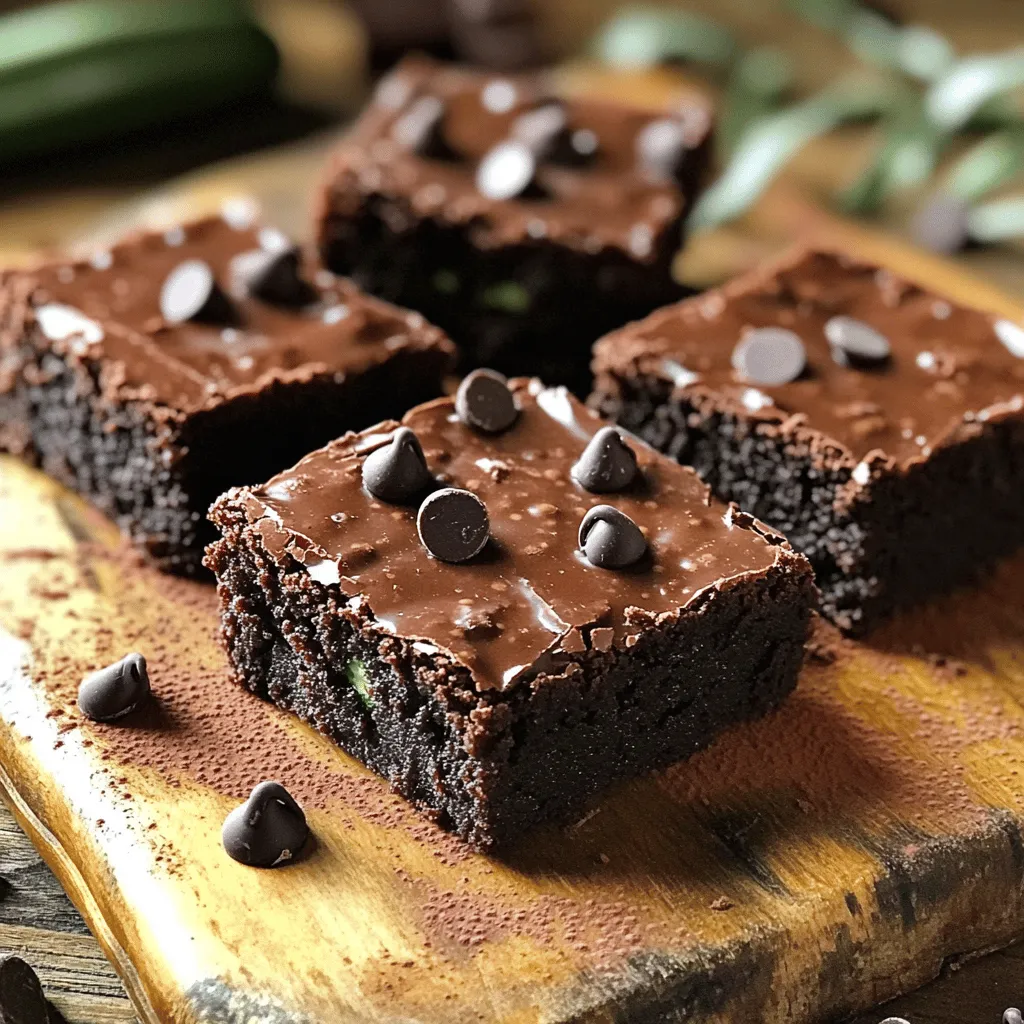
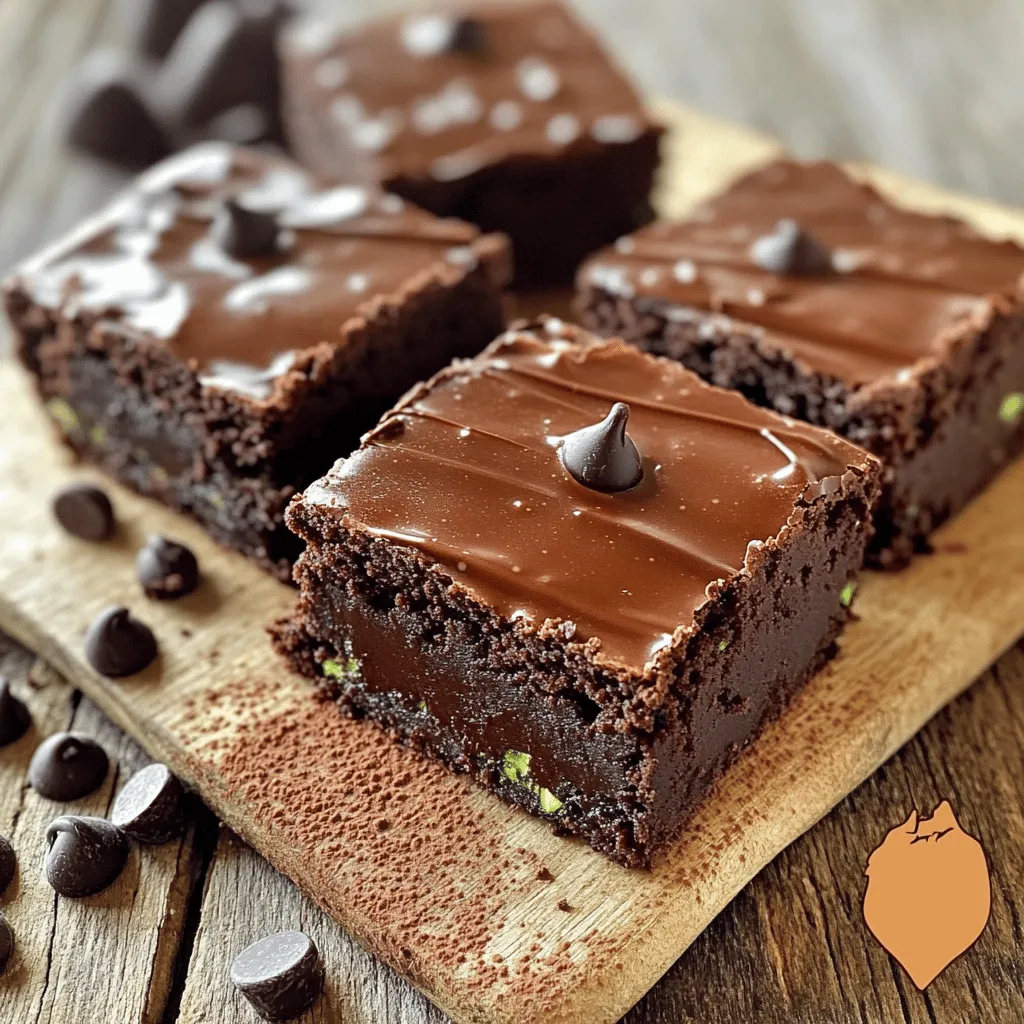
Craving a sweet treat that’s healthy and delicious? You’re in the right place! My Flourless Chocolate Zucchini Brownies are rich, fudgy, and a perfect dessert for any occasion. Made with wholesome ingredients like grated zucchini and almond butter, these brownies are so decadent that you won’t believe they’re gluten-free! Ready to indulge guilt-free? Let’s dive into the recipe and make your taste buds dance!
Ingredients
To make flourless chocolate zucchini brownies, you need some simple yet rich ingredients. Here’s what you’ll need:
– Grated zucchini (1 medium)
– Smooth almond butter (1 cup)
– Unsweetened cocoa powder (1/2 cup)
– Maple syrup or honey (1/2 cup)
– Large eggs (2)
– Pure vanilla extract (1 teaspoon)
– Baking soda (1/2 teaspoon)
– Salt (1/4 teaspoon)
– Dark chocolate chips (1/2 cup)
These ingredients blend together to create a fudgy, chocolatey dessert. The zucchini adds moisture and nutrients without changing the taste. Almond butter gives the brownies a creamy texture. Cocoa powder is key for that rich chocolate flavor. Sweeteners like maple syrup or honey provide just the right amount of sweetness.
Using eggs helps bind everything together, while vanilla extract adds warmth. Baking soda gives the brownies a slight lift. A pinch of salt balances all the flavors, and dark chocolate chips melt beautifully for pockets of chocolate joy in every bite.
For those looking for a full recipe, check the section titled “Full Recipe” to follow along with the instructions.
Step-by-Step Instructions
Preparation Steps
– Preheat oven to 350°F (175°C)
– Line an 8×8 inch baking pan with parchment paper
Start by setting your oven to 350°F. This heat helps the brownies bake perfectly. Next, prepare your baking pan. Line it with parchment paper. Leave some paper hanging over the edges. This makes it easier to lift out the brownies later.
Mixing Batter
– Combine zucchini, almond butter, cocoa powder, maple syrup, eggs, and vanilla
– Mix until smooth
Now, grab a large mixing bowl. In it, add the grated zucchini, almond butter, cocoa powder, maple syrup, eggs, and vanilla extract. Use a whisk or spatula to mix everything together. Keep stirring until the batter looks smooth and well combined. This step is key for a nice texture in the brownies.
Baking Process
– Add baking soda and salt; stir until incorporated
– Fold in dark chocolate chips
– Pour batter into pan and bake for 25-30 minutes
Next, sprinkle the baking soda and salt into the bowl. Stir again until everything is mixed in. Now, it’s time to add the dark chocolate chips. Gently fold them into the batter so they spread evenly. Pour this fudgy mixture into your prepared baking pan. Make sure it’s spread out evenly.
Bake the brownies in your preheated oven for 25 to 30 minutes. To check if they are done, insert a toothpick into the center. It should come out with a few moist crumbs but no wet batter. Once they are baked, let them cool in the pan for about 15 minutes. Use the parchment paper to lift them out and transfer to a wire rack. Allow the brownies to cool completely before slicing.
This whole process takes about 45 minutes, and you will have 16 delicious servings.
Tips & Tricks
Enhancing Flavor and Texture
– Use dairy-free chocolate chips for a vegan option. This keeps your brownies rich and plant-based.
– Substitute sweeteners for different tastes. You can try honey, agave, or coconut sugar to mix it up.
Perfecting Your Baking
– Check doneness with a toothpick. Insert it in the center. It should come out with a few moist crumbs.
– Cool before slicing for better texture. Let the brownies rest for at least 15 minutes. This helps them set nicely.
Presentation Suggestions
– Dust with cocoa powder or shredded coconut. This adds a lovely touch and looks great on a plate.
– Serve with fresh berries or whipped coconut cream. The contrast of flavors enhances the taste and makes it special.
Variations
Healthier Alternatives
– Use peanut butter instead of almond butter. This swap can add a different taste.
– Substitute maple syrup with agave nectar. It keeps the brownies sweet and smooth.
Flavorful Add-Ins
– Incorporate nuts or seeds for added crunch. Walnuts or chia seeds work well.
– Add a pinch of cinnamon for warmth. This spice enhances the chocolate flavor.
Gluten-Free Options
– Ensure all ingredients are certified gluten-free. This keeps the brownies safe for all.
Storage Info
Storing Leftovers
Keep your brownies in an airtight container. This helps keep them moist and fresh. They last up to five days at room temperature. If you want them to last longer, store them in the fridge.
Freezing Instructions
Wrap individual pieces in plastic wrap. This keeps them from getting freezer burn. You can also use a freezer bag. They stay good for up to three months. Just label them with the date.
Reheating Tips
To enjoy your brownies warm, pop them in the microwave. Just a few seconds will do. This makes them soft and gooey again. You can also serve them with ice cream for a special treat.
FAQs
Can I use a different nut butter?
Yes, peanut butter or cashew butter can be used. Both options add a nice flavor. They also keep the brownies rich and creamy.
How do I ensure my brownies are fudgy?
Do not overbake; they should have moist crumbs. Check them at the 25-minute mark. If the toothpick comes out with a few wet crumbs, they’re perfect!
Is this recipe suitable for kids?
Yes, it’s a healthy treat that’s kid-friendly! The zucchini keeps it moist and adds nutrients. Kids will love the rich chocolate taste without knowing it’s good for them!
Where can I find the full recipe?
Refer to the section titled “Full Recipe” for detailed instructions. It has all the steps you need for these delicious brownies.
These brownies make a tasty treat with healthy ingredients. You only need a few steps. Combine veggies and chocolate, and bake to perfection. Remember, you can swap flavors and add fun toppings. Storing leftovers is easy, and they freeze well. Enjoy these yummy snacks at home or share with friends. Simple, delicious, and good for you! Happy baking!
