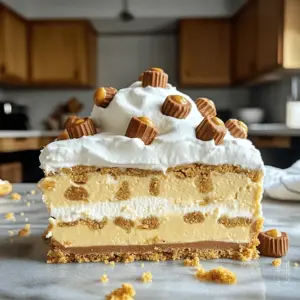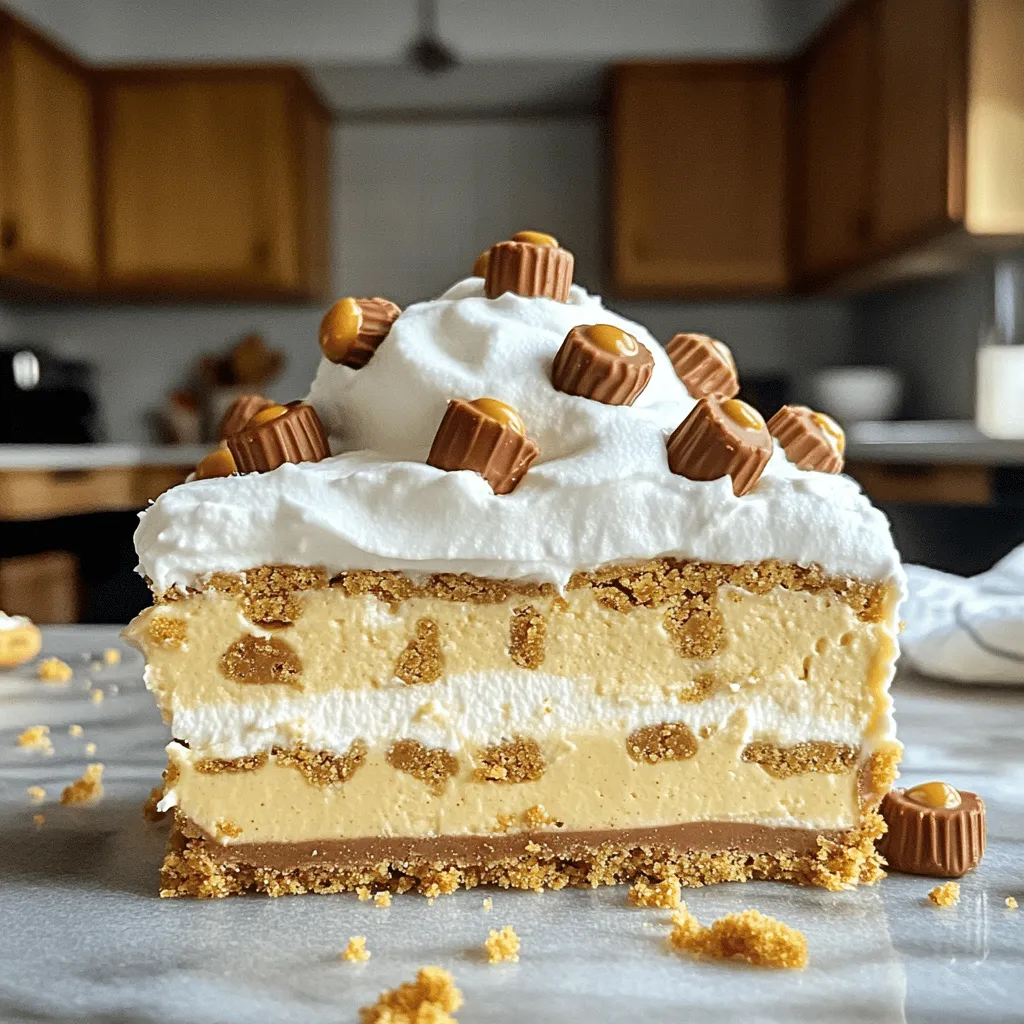
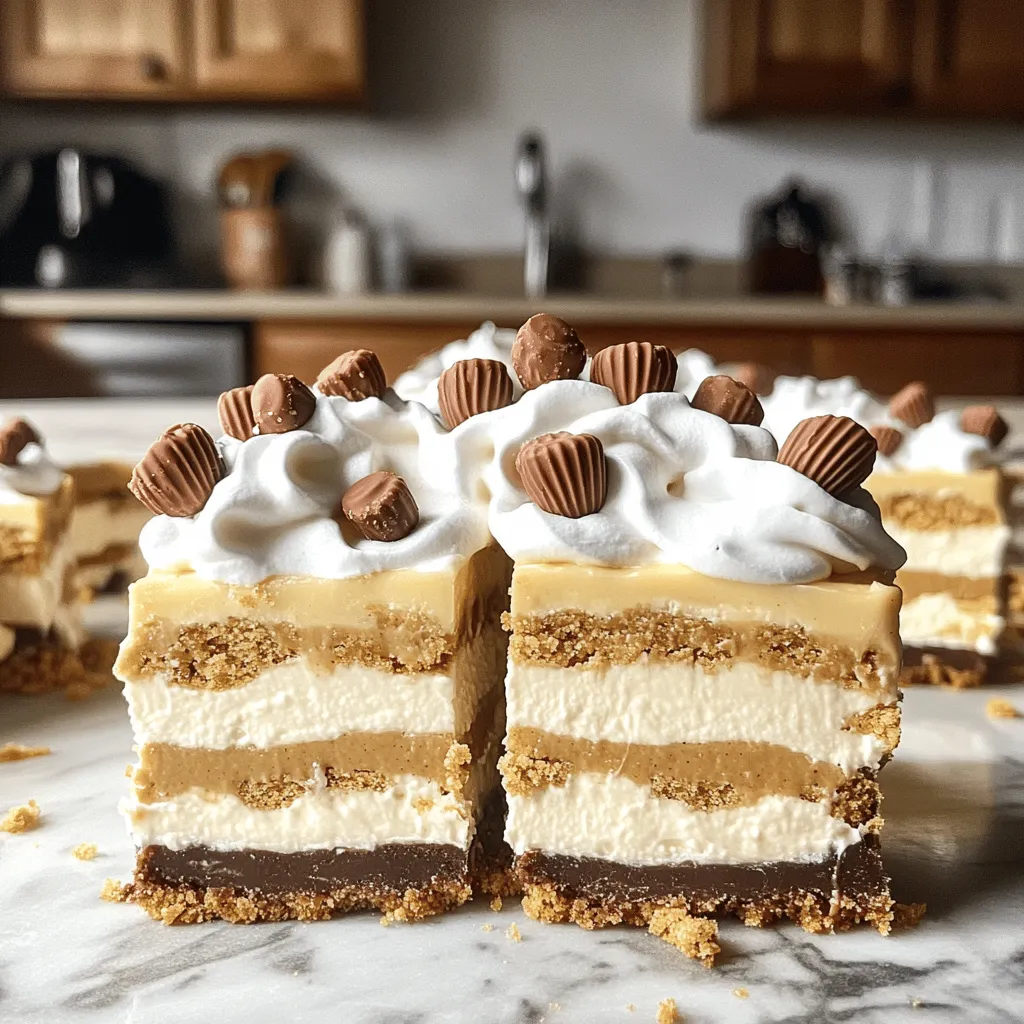
Are you ready to indulge in a dessert that combines the creaminess of cheesecake with the rich taste of peanut butter? These Peanut Butter Cup Cheesecake Bars are not just decadent; they are also incredibly easy to make. With simple ingredients like cream cheese and graham crackers, you can whip up this delicious treat in no time. Let’s dive into this scrumptious recipe that will satisfy your sweet tooth and impress your friends!
Ingredients
Main Ingredients
– 1 cup graham cracker crumbs
– 16 oz cream cheese, softened
– 1/2 cup creamy peanut butter
These main ingredients create the base of our cheesecake bars. The graham cracker crumbs form a crunchy crust. Cream cheese gives a rich, creamy texture. Peanut butter adds that delicious, nutty flavor we all love.
Toppings and Garnishes
– 1/4 cup heavy cream
– Extra mini peanut butter cups
The heavy cream is for whipping, making a light topping. Mini peanut butter cups add a sweet, chocolatey touch. Using these toppings makes your bars look and taste even better.
Baking Essentials
– 1/2 cup unsalted butter, melted
– 1/4 cup granulated sugar
– 1 cup powdered sugar
Unsalted butter binds the crust together. Granulated sugar sweetens the crust, while powdered sugar sweetens the filling. These baking essentials are key to a perfect dessert.
Step-by-Step Instructions
Prepping the Baking Dish
– Preheat the oven to 325°F (160°C).
– Prepare a 9×9-inch baking dish. You can grease it lightly or line it with parchment paper. This step helps with easy removal later.
Making the Crust
– In a medium bowl, combine 1 cup of graham cracker crumbs, 1/2 cup of melted unsalted butter, and 1/4 cup of granulated sugar.
– Stir until the crumbs are fully coated and moistened.
– Firmly press this mixture into the bottom of your dish. This creates a nice, compact crust. Bake it for about 10 minutes, then remove it to cool slightly.
Preparing the Cheesecake Filling
– In a large bowl, beat 16 ounces of softened cream cheese until smooth.
– Gradually add 1 cup of powdered sugar while mixing.
– Then, add 1 teaspoon of vanilla extract and 1/2 cup of creamy peanut butter. Mix on low speed until the blend is smooth and creamy.
Assembly and Baking
– Carefully fold in 2 cups of chopped mini peanut butter cups using a spatula.
– Pour this filling over the cooled crust. Use your spatula to smooth the top.
– Bake in the oven for 30-35 minutes. The edges should be set, but the center can have a slight jiggle.
Cooling and Chilling
– Allow the bars to cool at room temperature for about an hour.
– After that, refrigerate for at least 4 hours, or overnight if you have time. This chilling helps the bars set perfectly.
Tips & Tricks
Achieving the Perfect Texture
– Softening cream cheese: Start by letting your cream cheese sit out for about 30 minutes. This helps it mix smoothly. If it’s too cold, lumps can form in your filling.
– Cooling times and chilling tips: After baking, let your bars cool at room temperature for an hour. This step helps set the filling. Then, chill them in the fridge for at least 4 hours. For the best taste, try chilling overnight.
Serving Suggestions
– Garnishing with whipped cream and chocolate: Whip some heavy cream until soft peaks form. Spread it on top of your chilled bars. Add mini peanut butter cups for a fun look. A drizzle of melted chocolate adds a nice touch too.
– Flavor pairings and presentation ideas: Serve your bars with fresh berries. Strawberries or raspberries add a bright color and tartness. You can also pair them with a scoop of vanilla ice cream for extra creaminess.
Common Mistakes to Avoid
– Overmixing the filling: When adding the mini peanut butter cups, gently fold them in. Overmixing can make your filling too airy and lose that rich texture.
– Proper crust preparation: Make sure to press the graham cracker crust firmly into the dish. This helps it hold together when you cut the bars. If it’s too loose, it may crumble when serving.
Variations
Alternative Flavors
You can switch up the nut butter for a new taste. Try almond or cashew butter. They add a nice twist to the classic flavor. You can also add chocolate or caramel swirls. Just drizzle them into the cheesecake filling before baking. It gives a fun look and a tasty surprise.
Dietary Modifications
For those who need gluten-free options, use gluten-free graham cracker crumbs. They work great as a base. If you’re vegan, swap the cream cheese for a non-dairy version. You can also use vegan butter in place of regular butter. These changes keep the creaminess while fitting your diet.
Mini or Individual Servings
Want smaller portions? You can adapt this recipe for cupcake-sized servings. Just pour the filling into lined muffin tins. Bake them for about 20-25 minutes. Keep an eye on them; they bake faster than the full-sized bars. This way, everyone gets their own little treat!
Storage Info
Storing the Cheesecake Bars
To keep your peanut butter cup cheesecake bars fresh, store them in the fridge. Place the bars in an airtight container. This helps prevent them from drying out. If you don’t have a container, wrap them tightly in plastic wrap. Make sure to use a clean knife for cutting to avoid mess.
If you want to freeze the bars, cut them into squares first. Wrap each square in plastic wrap, then place them in a freezer bag. This method keeps them fresh for up to three months. When you’re ready to enjoy, just thaw them in the fridge overnight.
Shelf Life
These cheesecake bars stay fresh for about five days in the fridge. Look for signs of spoilage, such as a sour smell or a dry texture. You may also notice discoloration on the surface. If you see these signs, it’s best to toss them.
Reheating Instructions
If you have leftovers that you want to warm up, thaw them slowly in the fridge. Avoid using the microwave, as it can change the texture. You can serve these bars chilled or at room temperature. Just let them sit out for about 15 minutes before serving for the best taste.
FAQs
How to make Peanut Butter Cup Cheesecake Bars?
To make these bars, start by preparing your oven and dish. Preheat your oven to 325°F (160°C). Grease a 9×9-inch baking dish. Then, mix graham cracker crumbs, melted butter, and sugar in a bowl. Press this mix into the dish to form a crust. Bake it for about 10 minutes.
Next, beat softened cream cheese in a large bowl until smooth. Gradually add powdered sugar and mix until there are no lumps. Then, add vanilla extract and peanut butter. Mix until smooth. Fold in chopped mini peanut butter cups gently. Pour this filling over the cooled crust and bake for 30 to 35 minutes. Cool the bars at room temperature for an hour and chill in the fridge for at least four hours. Top with whipped cream and extra peanut butter cups before cutting.
Can I freeze Peanut Butter Cup Cheesecake Bars?
Yes, you can freeze these bars. After they cool and chill, cut them into squares. Wrap each square in plastic wrap or foil. Store them in an airtight container. They will stay fresh for up to three months in the freezer.
To thaw, take out the bars and let them sit in the fridge overnight. You can also thaw them at room temperature for a couple of hours. This way, they will taste just as good as fresh!
What’s the best way to cut cheesecake bars?
For neat cuts, use a sharp knife. Dip the knife in hot water, then wipe it dry. This helps the knife glide through the bars smoothly. Cut the bars into squares, wiping the knife clean between cuts. This method gives you clean edges and keeps the filling intact.
Can I substitute any ingredients in this recipe?
Yes, you can make some substitutions. If you lack graham cracker crumbs, use digestive biscuits or vanilla wafer cookies for the crust. If you want a lower-fat option, use low-fat cream cheese. For a nut-free version, use sun butter instead of peanut butter. Each swap changes the flavor slightly but can still create a delicious treat!
In this post, we explored how to make delicious Peanut Butter Cup Cheesecake Bars. We covered the main ingredients, from graham cracker crumbs to unsalted butter. The step-by-step instructions guide you through prepping, mixing, and baking. I shared tips for the perfect texture and ideas for serving. You can even try variations or store your bars for later enjoyment. With these insights, you’ll create a treat everyone will love. Enjoy your baking!