If you’re looking for a quick, tasty snack that packs a protein punch, I’ve got just the treat for you! No-Bake Oreo Protein Balls are easy to make and satisfy your sweet tooth. With simple ingredients like Oreo cookies, oats, and peanut butter, you’ll whip them up in no time. Dive into this article to learn how to create these delicious snacks and explore fun variations!
Ingredients
Main Ingredients List
– 1 cup Oreo cookies, finely crushed
– 1 cup rolled oats
– 1/2 cup protein powder (vanilla or chocolate)
– 1/2 cup creamy peanut butter (or almond butter)
Sweeteners and Extras
– 1/4 cup honey or maple syrup
– 1/4 cup mini chocolate chips
– A pinch of fine sea salt
Optional Ingredients
– Additional crushed Oreos for rolling
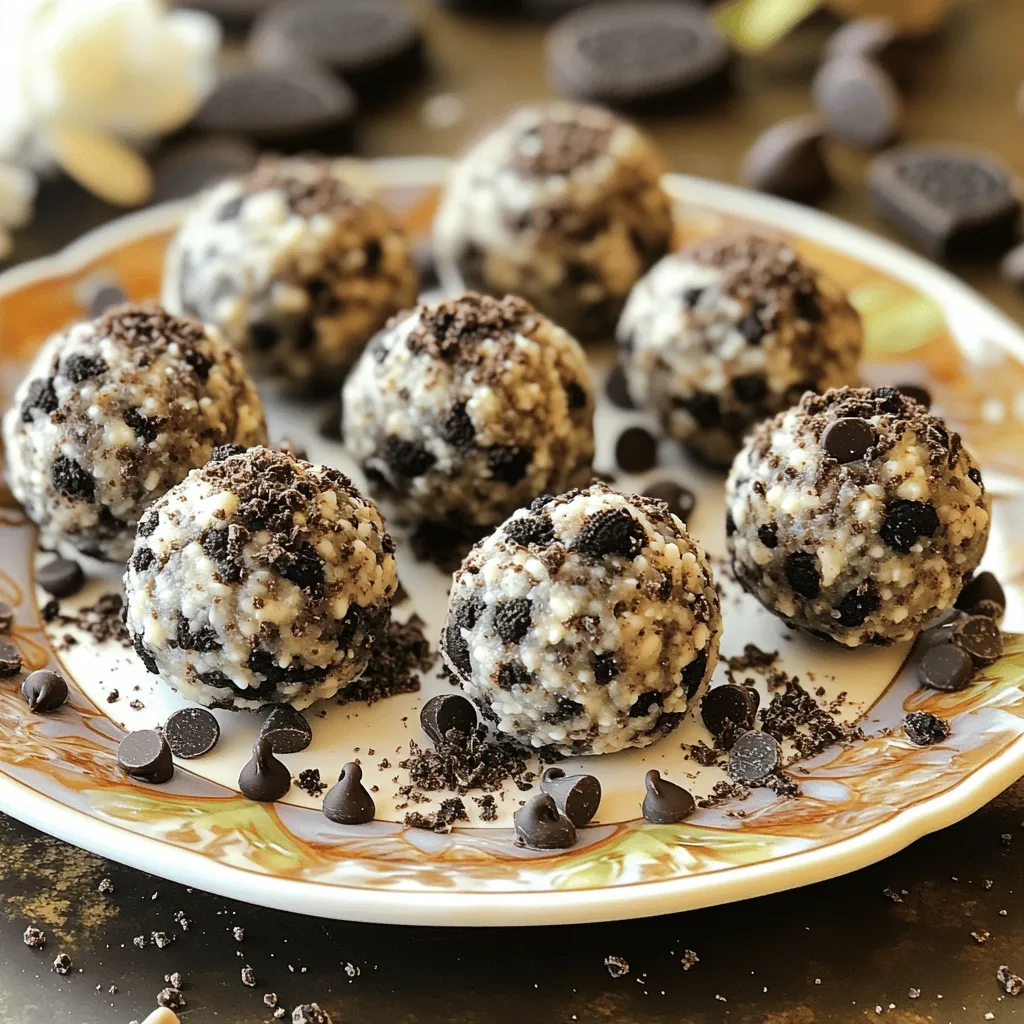
Oreo cookies give these protein balls a sweet crunch. Rolled oats add fiber and help bind the balls. Protein powder boosts the nutrition and keeps you full. Peanut butter brings creaminess and flavor. You can switch to almond butter for a twist.
For sweetness, I use honey or maple syrup. They naturally sweeten the mix without being too heavy. Mini chocolate chips add little bursts of joy in each bite. A pinch of sea salt enhances all the flavors, making them pop.
If you want extra texture, roll the balls in crushed Oreos. This adds a fun finish and makes the snack even more tempting. Each ingredient plays a role in making these no-bake treats delicious and satisfying.
Step-by-Step Instructions
Mixing Dry Ingredients
Start by taking a large mixing bowl. Add 1 cup of finely crushed Oreo cookies. Then, pour in 1 cup of rolled oats and 1/2 cup of protein powder. Stir them well until everything is mixed evenly. This mix forms a tasty base for your protein balls.
Adding Wet Ingredients
Now, it’s time to add the wet ingredients. Scoop in 1/2 cup of creamy peanut butter. You can use almond butter if you prefer. Next, add 1/4 cup of honey or maple syrup for sweetness. Mix everything with a strong spatula or your hands. Keep mixing until a thick dough forms. If it feels too crumbly, add more peanut butter or honey, one spoon at a time, until it sticks together well.
Forming the Protein Balls
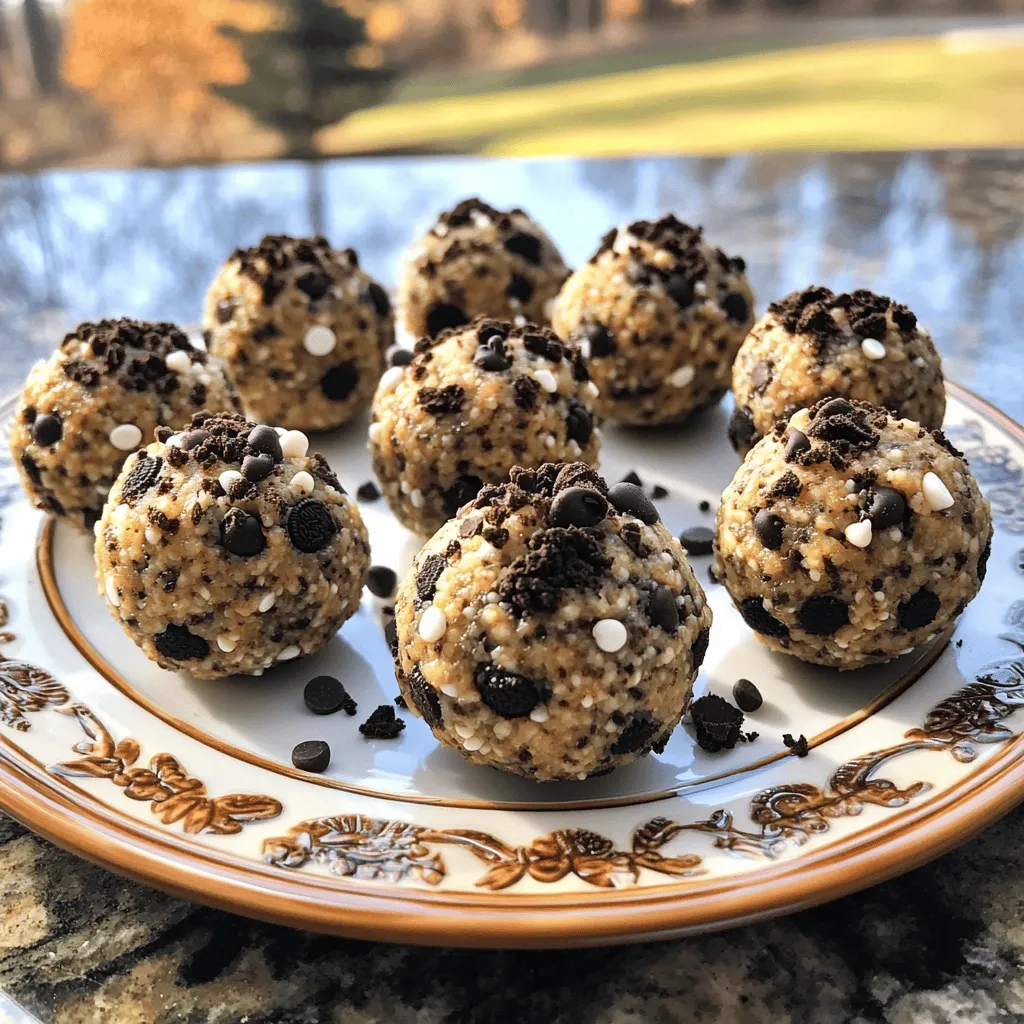
Once your dough is ready, it’s time to form the balls. Take small amounts of the mixture and roll them into 1-inch balls. You should make about 12 to 15 protein balls. If you want, roll them in some extra crushed Oreos for a fun touch. Place the balls on a parchment-lined plate. Finally, refrigerate them for at least 30 minutes. This helps them hold their shape and makes them perfect for snacking.
Tips & Tricks
Achieving the Right Consistency
If your mixture feels too crumbly, don’t worry! You can fix this easily. Just add more peanut butter or honey, one tablespoon at a time. Mix well after each addition. This will help the ingredients bind together better. Aim for a thick, dough-like texture. It should hold its shape when rolled into balls.
Enhancing Flavor
Want to spice things up? You can add a dash of cinnamon or vanilla extract. Both will boost the taste without overpowering the Oreo flavor. If you want a chocolate kick, try adding cocoa powder. Each bite will have an extra layer of yum!
Presentation Ideas
Make your protein balls stand out! Arrange them on a pretty platter. Sprinkle crushed Oreos around them for a fun touch. You can also use colorful mini chocolate chips as a garnish. These small details make your snack look appealing and inviting. Perfect for sharing or enjoying yourself!
Variations
Flavor Variations
You can easily change the taste of your No-Bake Oreo Protein Balls by switching up the base protein powder. If you want a fun twist, try using chocolate protein powder instead of vanilla. This small swap can give your snack a richer flavor. You could also pick a plant-based protein powder if you prefer a vegan option. Each type of protein adds its unique taste, so feel free to experiment!
Dietary Adjustments
Making these protein balls vegan or gluten-free is simple. To make them vegan, swap the honey with maple syrup. You can also choose a vegan protein powder to keep the whole recipe plant-based. For a gluten-free version, just use gluten-free oats and ensure your protein powder is free from gluten. These adjustments let everyone enjoy this tasty snack!
Adding Crunch or Flavor
You can add more texture and taste by incorporating nuts, seeds, or different chips. Chopped almonds or walnuts work great for crunch. If you want a boost of nutrition, sprinkle in some chia seeds or flaxseeds. You can also swap mini chocolate chips for butterscotch or white chocolate chips. These little changes let you create your own unique version of these protein balls.
Storage Info
Refrigeration Guidelines
To store your no-bake Oreo protein balls, place them in an airtight container. These snacks can last in the fridge for up to one week. Keeping them cool helps maintain their shape and flavor. I like to separate layers with parchment paper to avoid sticking.
Freezing Instructions
You can freeze these protein balls for longer storage. Arrange them in a single layer on a baking sheet and freeze until firm. Once frozen, transfer them to a freezer bag. They can last up to three months in the freezer. Thaw them in the fridge overnight before enjoying.
Serving Frequency
For the best taste and texture, aim to eat these protein balls within a week of making them. They make a great snack after workouts or when you need a quick energy boost. Having them fresh ensures you enjoy their full flavor and benefits.
FAQs
Can I use different types of protein powder?
Yes, you can! Many types of protein powder work well here. If you want a chocolate flavor, use chocolate protein powder. For a lighter taste, vanilla protein powder is great. You can even try plant-based powders like pea or rice protein. Each type changes the taste a bit, so pick what you like best.
How do I make these sugar-free?
To make these protein balls sugar-free, swap honey or maple syrup for sugar-free sweeteners. You can use stevia or erythritol. Both options add sweetness without sugar. Start with a small amount and adjust to taste. It’s easy to find these sweeteners in stores.
What’s the nutritional information per ball?
Each protein ball has about 100 calories. The breakdown is roughly:
– Protein: 5-7 grams, depending on your protein powder
– Carbs: 10-12 grams from oats and cookies
– Fat: 4-5 grams from peanut butter
This snack packs a punch with protein and keeps you full longer!
This blog post covered how to make delicious protein balls. You learned the main ingredients like Oreo cookies, oats, and protein powder. We explored mixing tips, flavor variations, and storage information. I also shared ways to make them vegan or gluten-free.
Now you have everything to create these tasty snacks. Enjoy your protein balls as a fun and healthy treat! Keep experimenting with flavors and ingredients. Each batch can be new and exciting. Happy cooking!