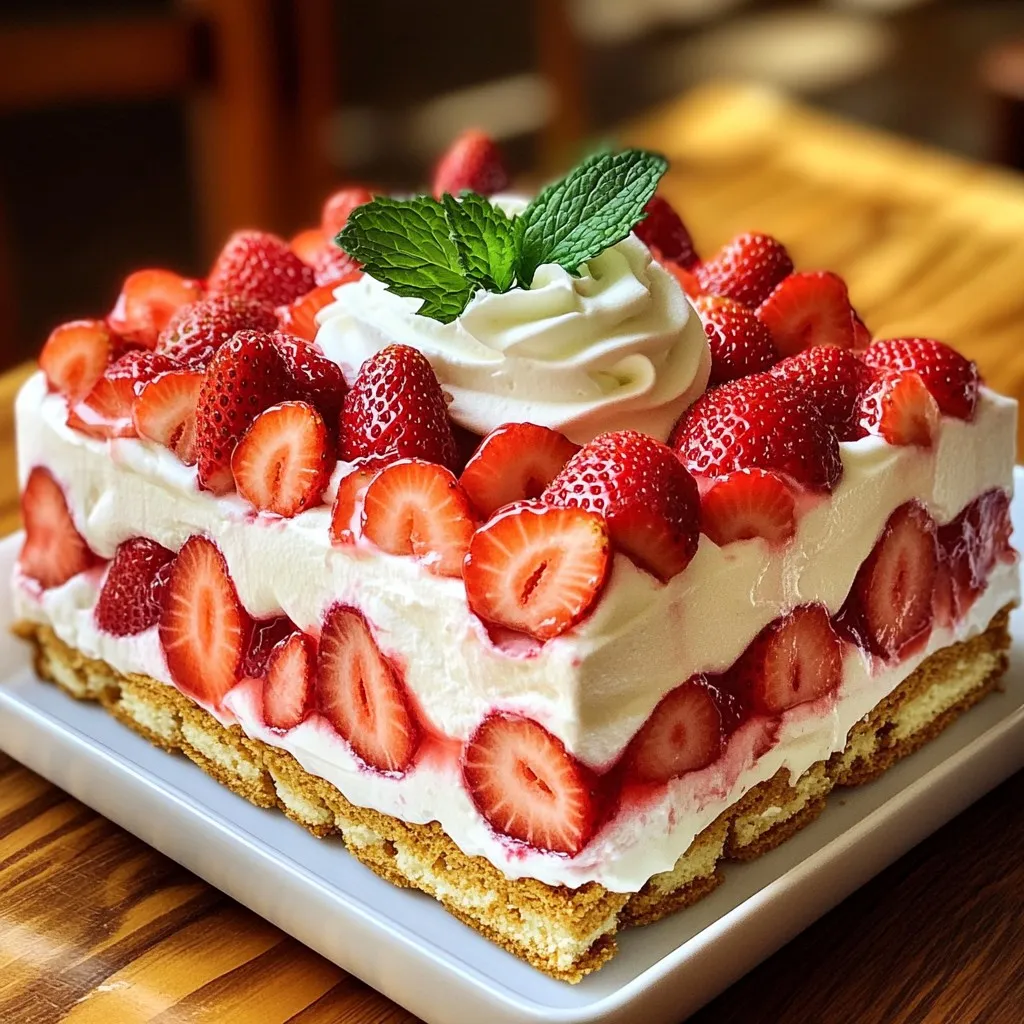
Get ready for a cool treat with my no-bake Strawberry Shortcake Icebox Cake! This delightful dessert layers fresh strawberries with creamy goodness, making it a perfect choice for any occasion. Plus, you don’t even need to turn on the oven! In this guide, I’ll share simple steps, tips, and variations to customize your cake. Let’s dive into the fun world of no-bake desserts and create something sweet together!
Ingredients
List of Ingredients
– 2 cups fresh strawberries, hulled and sliced
– 1/4 cup granulated sugar
– 1 cup heavy cream
– 1 cup cream cheese, softened to room temperature
– 1/2 teaspoon pure vanilla extract
– 1 package (14 ounces) graham crackers
– Fresh mint leaves for garnish (optional)
Necessary Tools and Equipment
To make this no-bake cake, you need a few tools:
– A medium mixing bowl for the strawberries
– A large mixing bowl for the cream and cheese
– An electric mixer to whip the cream
– A 9×9 inch square baking dish for layering
– A sharp knife for cutting the cake
– Plastic wrap to cover the dish
Tips for Selecting Fresh Strawberries
Fresh strawberries are key for this icebox cake. Here are some tips:
– Look for bright red strawberries with a shiny surface.
– Avoid any that have soft spots or mold.
– Check the green leaves; they should be fresh and vibrant.
– Smell them! Fresh strawberries have a sweet aroma.
– Buy organic if possible to avoid pesticides.
Selecting the right strawberries can elevate your dessert. Enjoy the process!
Step-by-Step Instructions
Preparation of Strawberries
First, wash and slice your fresh strawberries. You need about 2 cups. Place the sliced strawberries in a medium bowl. Sprinkle 1/4 cup of granulated sugar over them. Gently toss the strawberries to coat them in sugar. Let the mixture sit for 10 to 15 minutes. This is called maceration. It helps the strawberries soften and release their sweet juices.
Mixing the Cream Cheese and Heavy Cream
In a large bowl, combine 1 cup of softened cream cheese and 1 cup of heavy cream. Add 1/2 teaspoon of pure vanilla extract for flavor. Use an electric mixer to beat the mixture on medium speed. Keep mixing until soft peaks form. The mixture should be light and fluffy. This creamy layer is key to your cake.
Layering the Cake Components
Grab a 9×9 inch square baking dish to start layering. First, spread a thin layer of the whipped cream mixture at the bottom. This creates a base for your graham crackers. Next, place a layer of graham crackers over the cream, covering the bottom. You can break some crackers to fit if needed. After that, spread a generous portion of the whipped cream mixture over the crackers. Then, add a layer of your macerated strawberries, letting their juices mix with the cream. Repeat this layering process until you fill the dish. Finish with a top layer of whipped cream. Cover the dish tightly with plastic wrap. Place it in the refrigerator for at least 4 hours, or overnight is best. This helps the flavors blend and the graham crackers soften. When ready, slice into squares and serve. Enjoy your cool and creamy treat!
Tips & Tricks
Ensuring Perfect Cream Texture
To get the best cream texture, start with cold heavy cream. Cold cream whips better. Mix the cream cheese until smooth before adding the cream. This step helps avoid lumps. Use an electric mixer on medium speed. Stop mixing when you see soft peaks. This means the cream is light and fluffy. Don’t overmix, or it can turn grainy.
Avoiding Soggy Graham Crackers
Soggy graham crackers ruin the cake’s texture. To keep them crisp, layer them quickly. Cover the cream with graham crackers right after spreading. Also, make sure the cream is not too runny. If the strawberries release lots of juice, drain some before layering. Using thicker cream helps too.
Best Practices for Macerating Strawberries
Macerating strawberries helps bring out their sweet flavors. Start by hulling and slicing the strawberries. Add sugar and toss them gently. Let them sit for about 10-15 minutes. This resting time allows the strawberries to soften and release juices. You can taste them after to check their sweetness. If they need more sugar, add a little more.

Variations
Flavor Variations (e.g., Adding Lemon or Chocolate)
You can mix up the flavor of your icebox cake easily. Add some lemon zest for a bright taste. Just fold it into the cream cheese mixture before layering. If you love chocolate, try adding cocoa powder to the cream. This gives a rich, chocolate flavor. You can even use chocolate graham crackers instead of regular ones. This adds a fun twist.
Alternative Toppings or Garnishes
While fresh strawberries are a classic, you can use other fruits too. Sliced peaches or blueberries work great. For a fun crunch, try adding crushed nuts on top. You can also drizzle chocolate syrup over each slice for added sweetness. If you want a refreshing touch, add a sprinkle of coconut flakes.
Gluten-Free or Dairy-Free Substitutions
If you need a gluten-free version, swap the graham crackers for gluten-free cookies. Look for those made from almond or coconut flour. For a dairy-free option, use coconut cream instead of heavy cream. Make sure to choose a dairy-free cream cheese as well. These changes keep the flavor amazing while meeting dietary needs.
Storage Info
How to Store Leftovers
To store any leftover cake, cover it tightly with plastic wrap. This helps keep the cake fresh. It’s best to chill it in the fridge. The cool air slows down spoilage. You can also use an airtight container if you like. Just make sure it seals well.
Best Way to Freeze Icebox Cake
If you want to freeze the cake, slice it first. This makes it easy to grab a piece later. Wrap each slice in plastic wrap. Then place the wrapped slices in a freezer-safe bag. This will keep them fresh for up to three months. When you’re ready to eat, thaw in the fridge overnight.
Shelf Life of the Cake
The cake lasts about three days in the fridge. After that, the graham crackers may get too soft. If you freeze it, it can last for three months. Just remember, the sooner you eat it, the better it tastes!
FAQs
Can I use frozen strawberries?
Yes, you can use frozen strawberries. Thaw them first and drain excess juice. This helps keep your cake from becoming too watery. Fresh strawberries offer the best taste, but frozen can work well in a pinch.
How long will the Strawberry Shortcake Icebox Cake last in the fridge?
The cake will last about 3 to 4 days in the fridge. Make sure to cover it tightly to keep it fresh. After a few days, the flavors will still be good, but the texture may change slightly.
Can I make this dessert in advance?
Yes, you can make this dessert a day ahead. It actually tastes better after sitting in the fridge overnight. This allows the flavors to blend and the graham crackers to soften nicely.
What can I substitute for graham crackers?
You can use vanilla wafers or digestive biscuits as substitutes. Both options add a nice flavor. If you’re looking for a gluten-free option, try almond flour cookies or gluten-free graham crackers.
This blog post covered how to make a Strawberry Shortcake Icebox Cake. We talked about the key ingredients, the tools you need, and tips for picking fresh berries. The step-by-step guide made preparation easy, from mixing the cream to layering everything perfectly. Plus, we shared tips to avoid soggy crackers and gave variations for flavor and dietary needs. Always store leftovers properly for the best taste. I hope you feel ready to create this delicious dessert. Enjoy making it your own!
