Air Fryer Garlic Parmesan Chicken Wings Delight
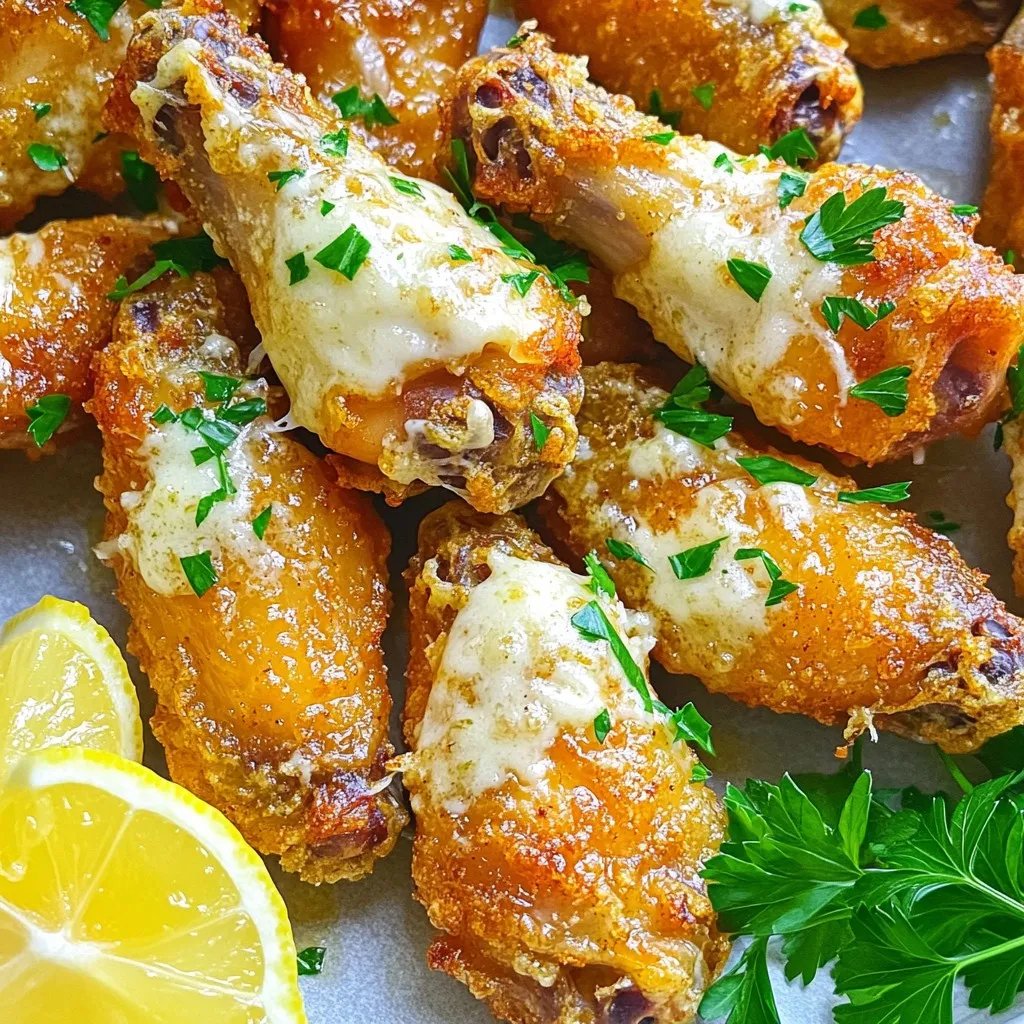
Craving a tasty snack? Try my Air Fryer Garlic Parmesan Chicken Wings! These wings are crispy, packed with flavor, and super easy to make. With just a few simple ingredients, …
Craving a tasty snack? Try my Air Fryer Garlic Parmesan Chicken Wings! These wings are crispy, packed with flavor, and super easy to make. With just a few simple ingredients, …
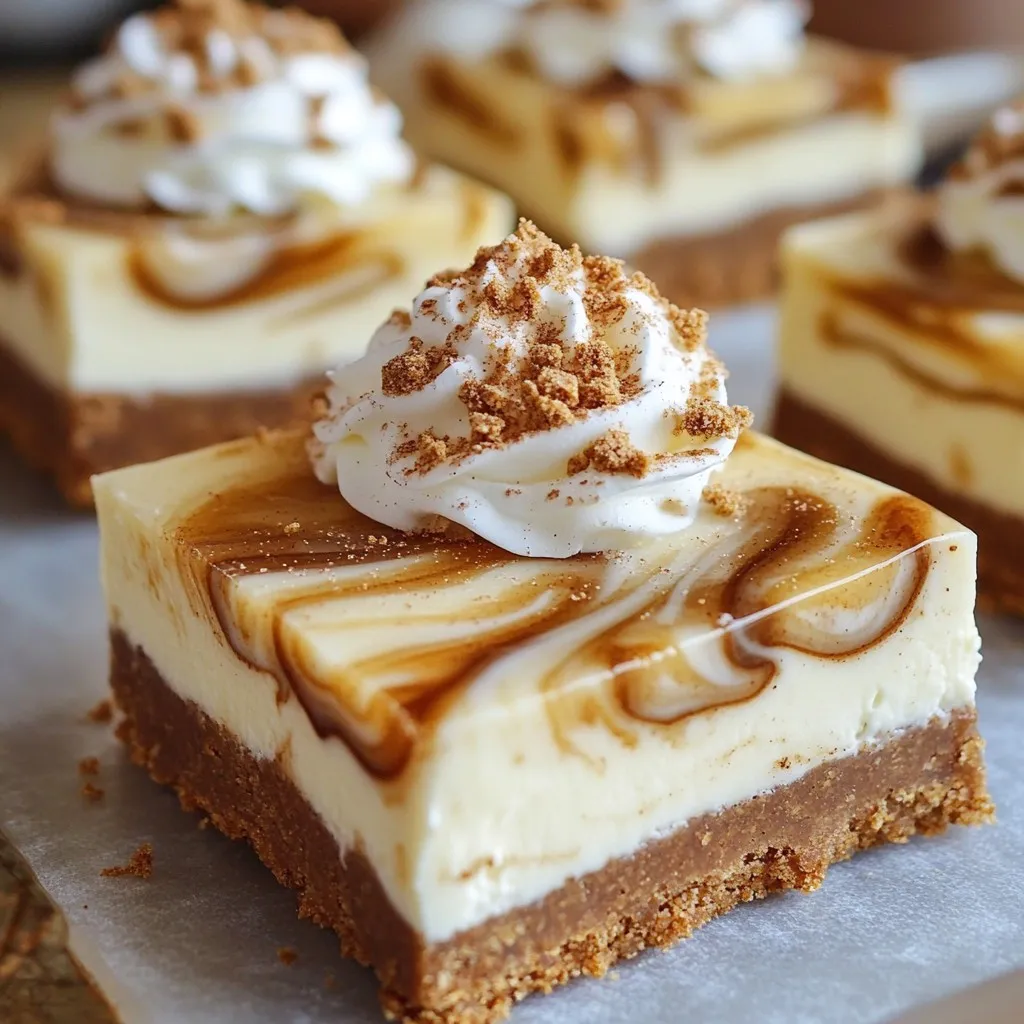
If you love rich flavors and festive treats, you’ll adore my No Bake Gingerbread Cheesecake Bars! These bars mix creamy cheesecake with warm gingerbread spices to create a delightful dessert. …
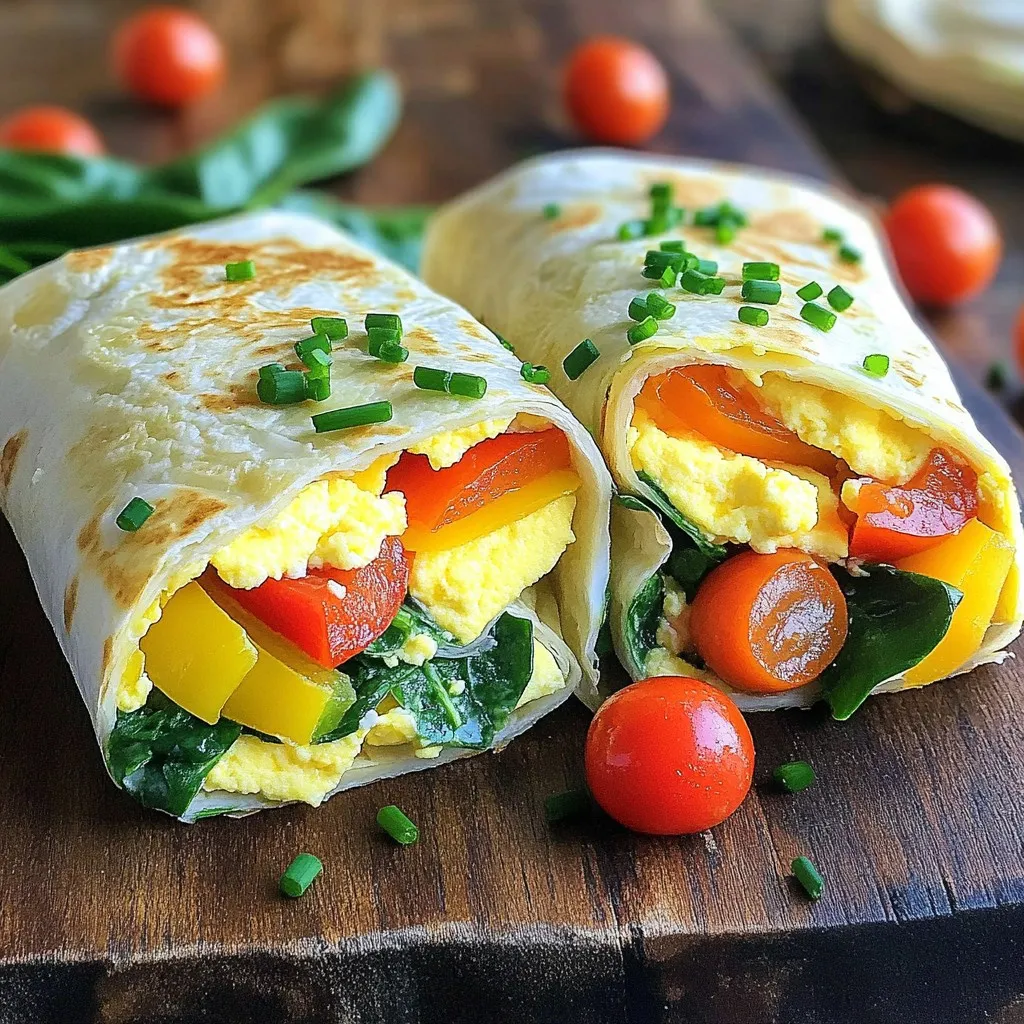
Looking for a quick and healthy breakfast? Minute Egg White Breakfast Wraps are your answer! With simple ingredients like liquid egg whites, fresh veggies, and whole wheat tortillas, you can …
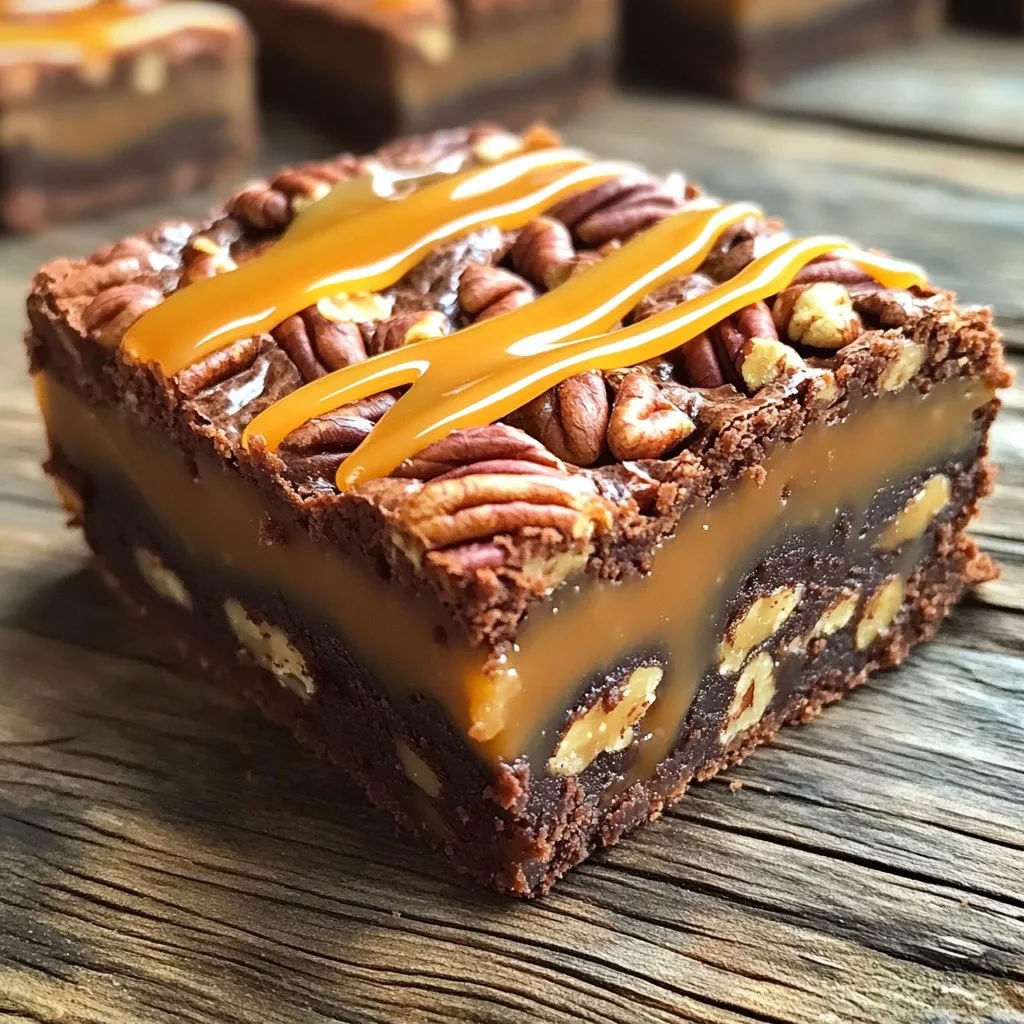
Get ready to dive into a world of rich flavors with my Caramel Pecan Turtle Brownie Bars! These bars blend fudgy brownies, creamy caramel, and crunchy pecans for an unforgettable …
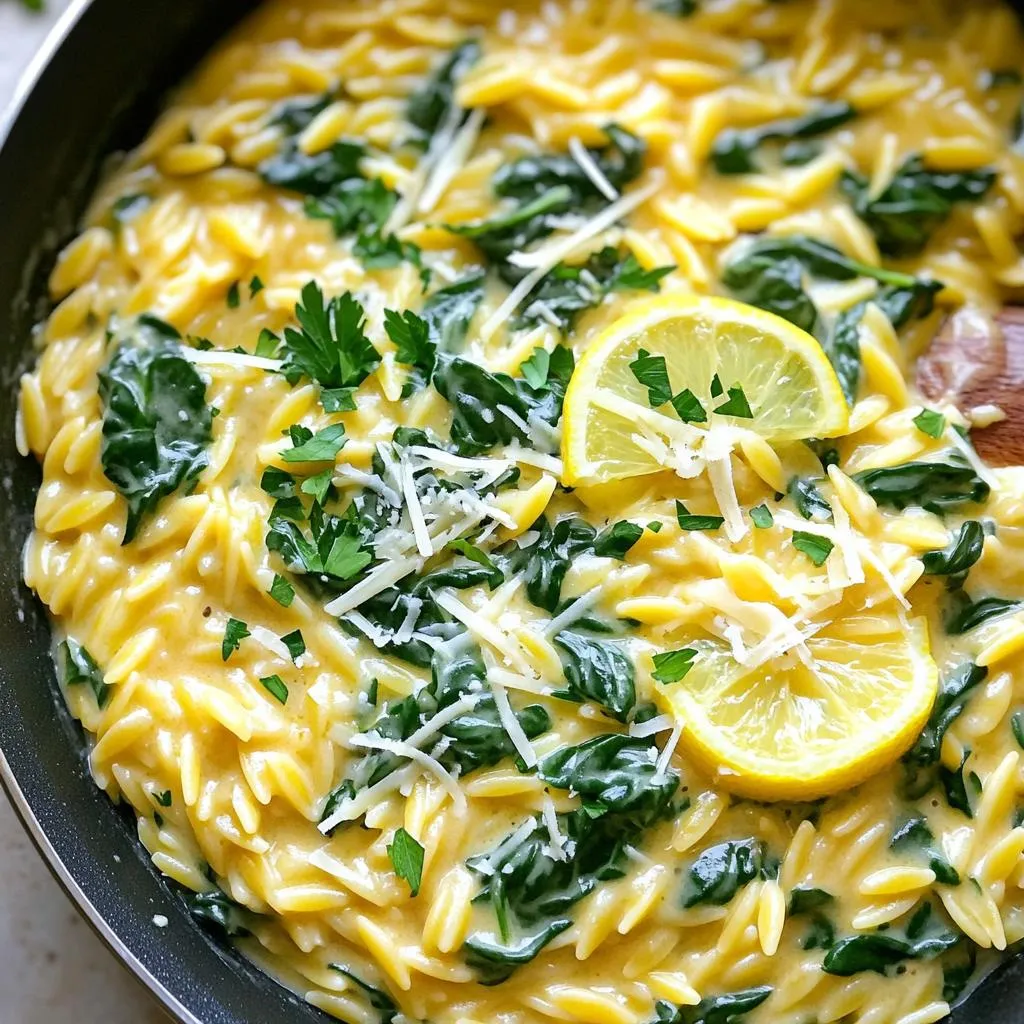
Are you ready to whip up a delicious meal with minimal cleanup? This One-Pan Creamy Lemon Parmesan Orzo Delight is your answer. With just a few simple ingredients and one …
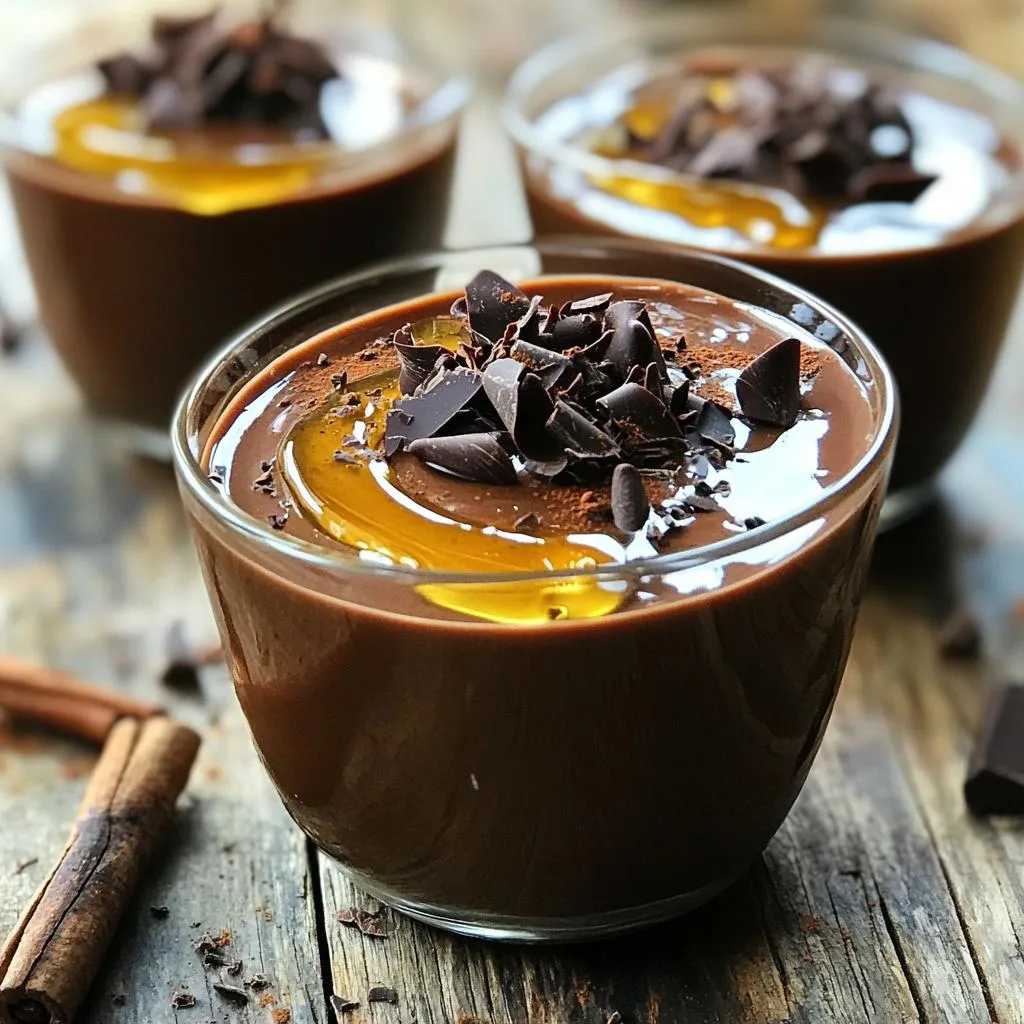
Looking for a tasty treat that packs a protein punch? Meet your new favorite dessert: High-Protein Mocha Cottage Cheese Pudding Delight. With simple ingredients like cottage cheese, cocoa powder, and …
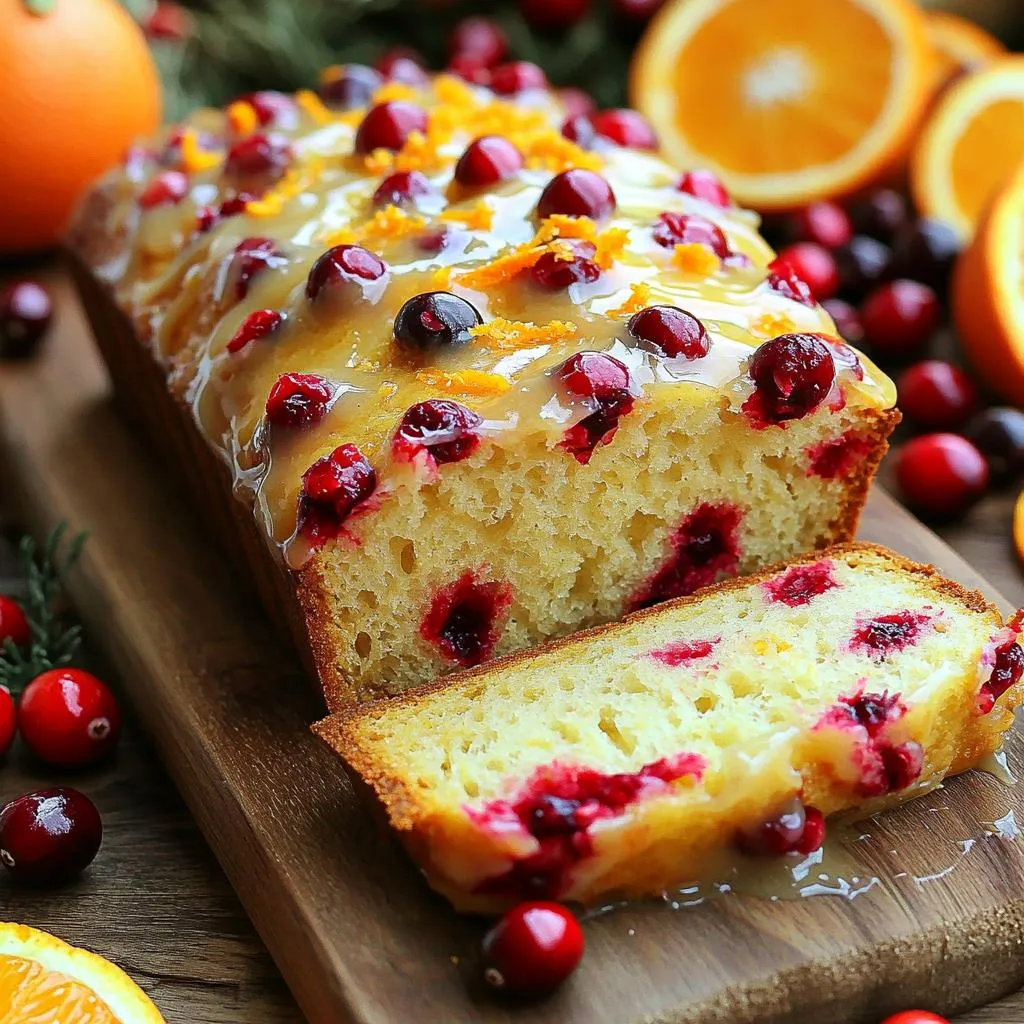
Warm Cranberry Orange Glazed Bread is a must-try! This delightful recipe combines tart cranberries and fresh orange juice for a perfect balance of flavors. It’s easy to make, perfect for …
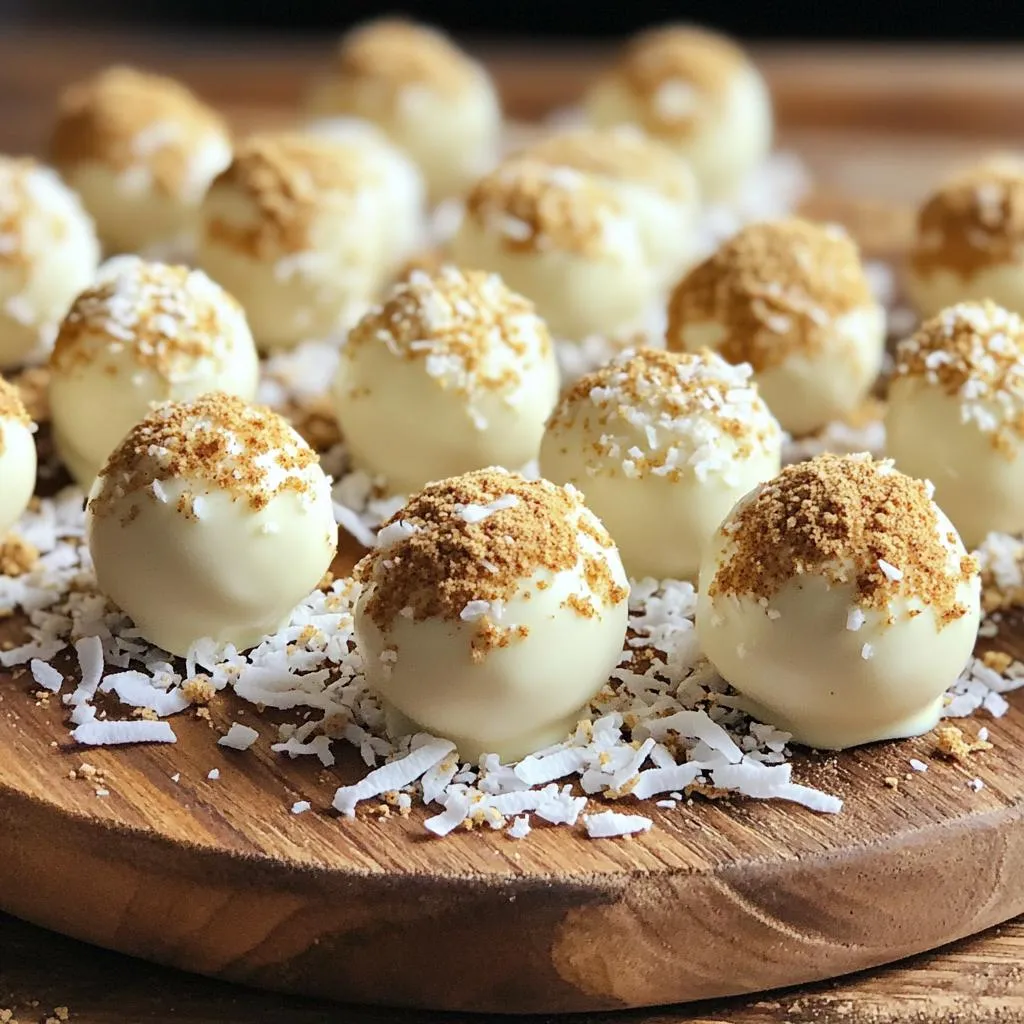
Get ready to delight your taste buds with my No-Bake Eggnog White Chocolate Truffles! These creamy treats blend festive eggnog with rich white chocolate for the perfect holiday treat. Best …
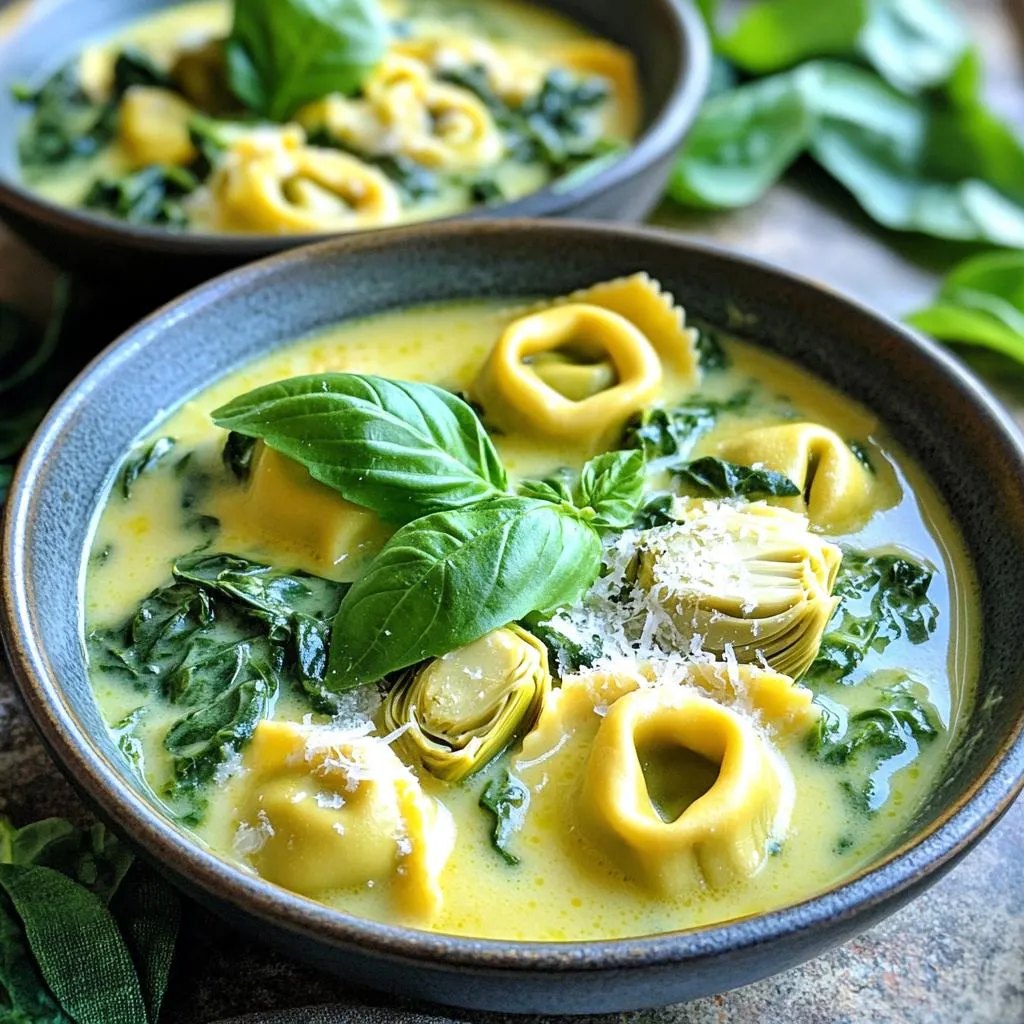
Are you ready to impress your family with a quick and tasty meal? One-Pot Spinach Artichoke Tortellini Creamy Delight is the answer! Packed with creamy goodness, fresh veggies, and cheesy …

Are you ready to bite into something amazing? In this blog, I’ll show you how to make Air Fryer Cinnamon Sugar Apple Chips. They’re not just healthy; they’re super crunchy …