Creamy Tuscan Salmon Flavorful and Simple Dish
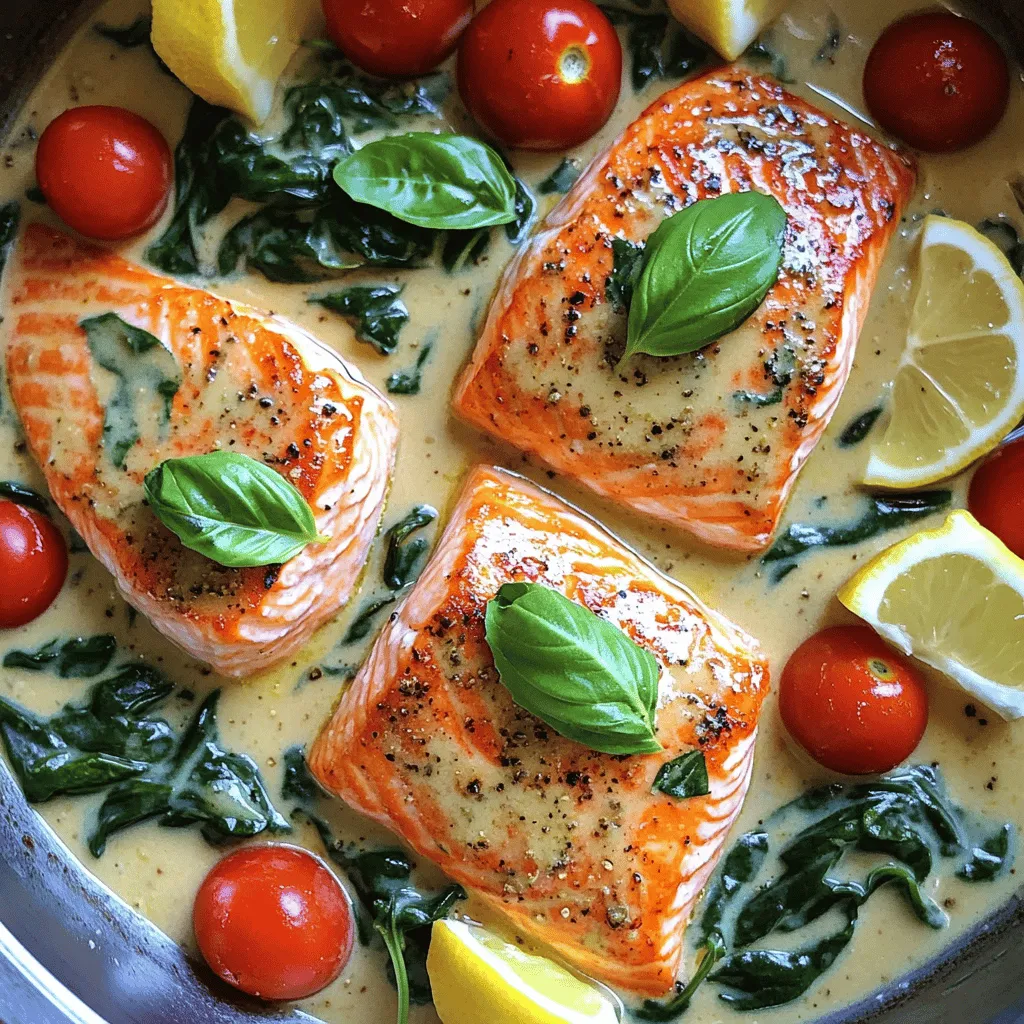
Looking for a dish that’s both delicious and simple? Creamy Tuscan Salmon checks all the boxes! With fresh salmon fillets bathed in a rich, creamy sauce, this meal is a …
Looking for a dish that’s both delicious and simple? Creamy Tuscan Salmon checks all the boxes! With fresh salmon fillets bathed in a rich, creamy sauce, this meal is a …

Are you ready to elevate your game day snacks? With my Air Fryer Honey Garlic Chicken Wings recipe, you’ll impress friends and family with a dish that’s both tasty and …

Ready for a simple and tasty twist on a classic? My Instant Pot Chicken Tikka Masala is the answer you’ve been looking for! With easy steps and a few essential …
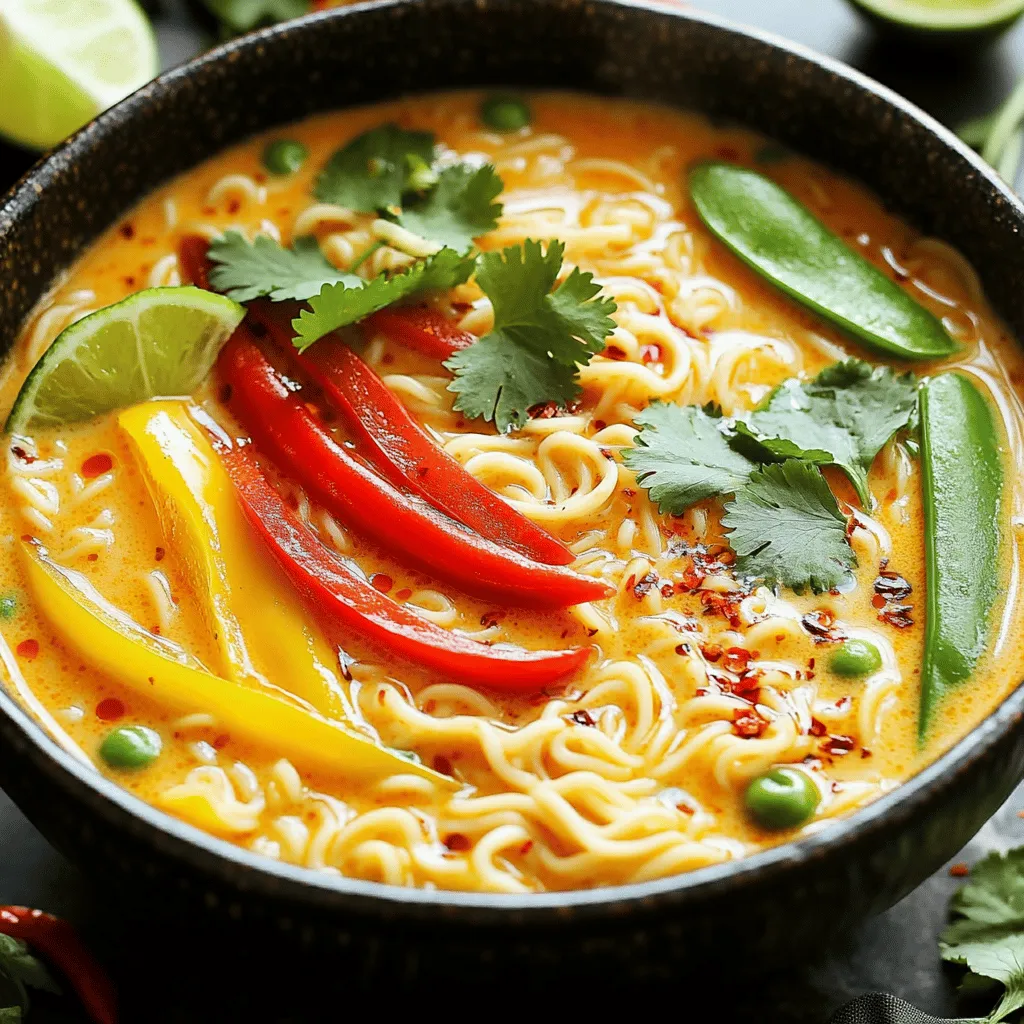
Are you ready to enjoy a warm bowl of Thai Coconut Curry Ramen? This simple recipe packs bold flavors, rich coconut notes, and fresh veggies into every bite. With just …

If you love warm, cheesy bread, you’ll adore this Cheesy Pull-Apart Pumpkin Bread recipe! It’s easy to make and perfect for any gathering. Each pull reveals gooey cheese and pumpkin …
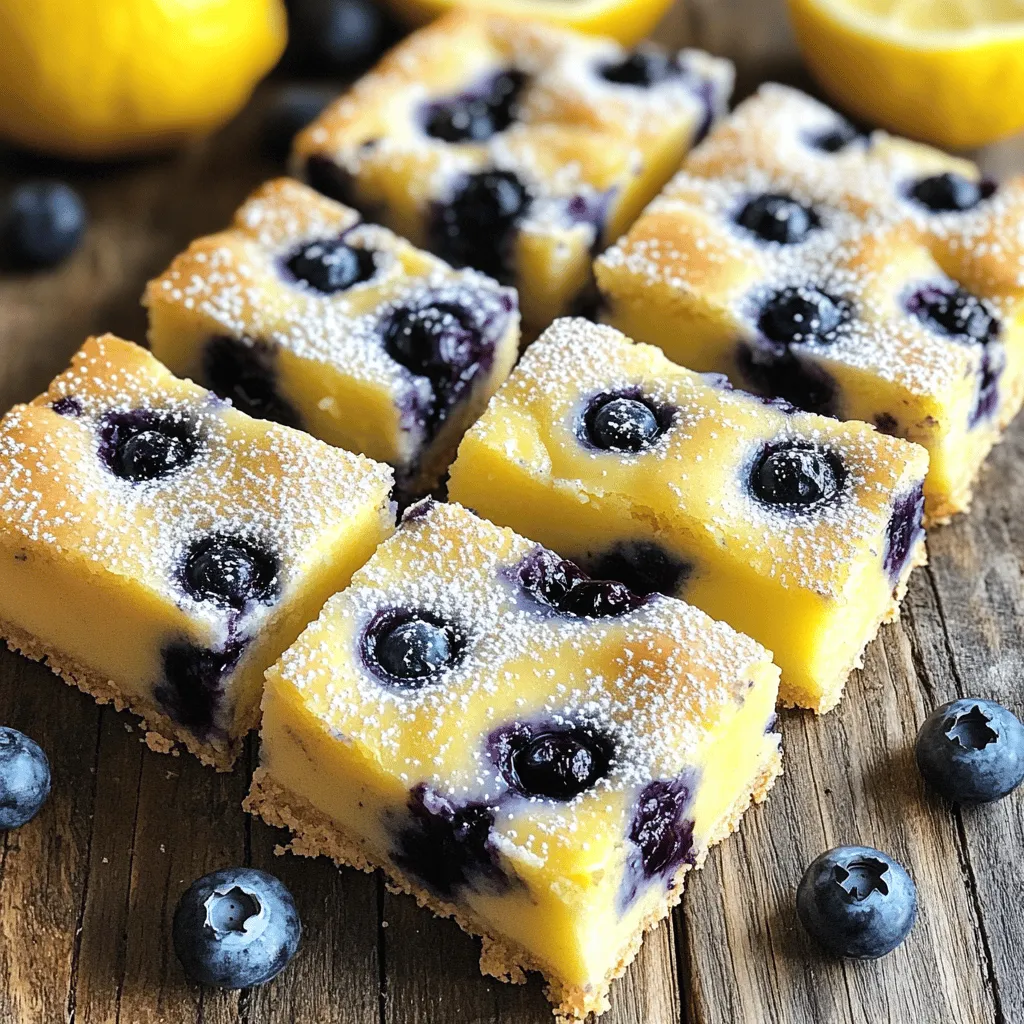
Looking for a delicious and healthy snack? These Lemon Blueberry Yogurt Bars are your answer! Made with creamy Greek yogurt, fresh blueberries, and zesty lemon, they’re not just tasty, they’re …
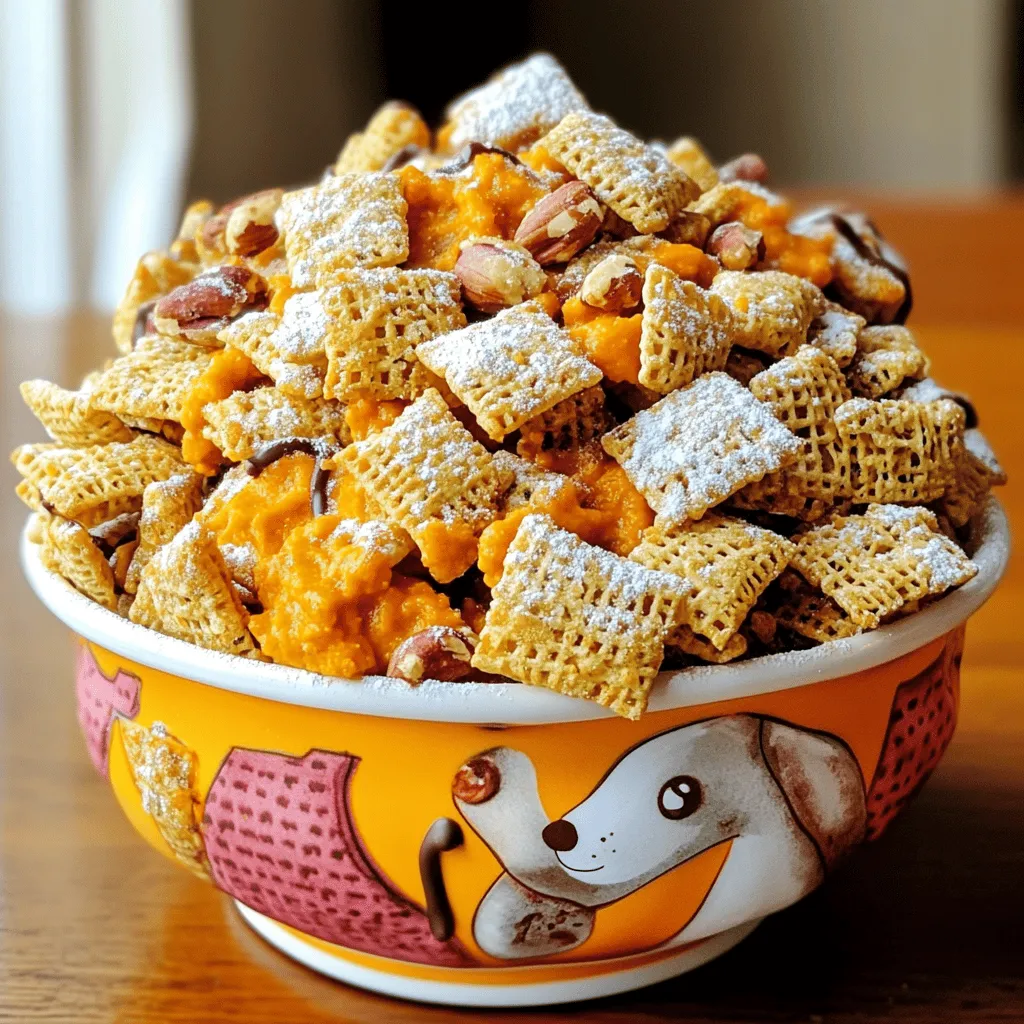
If you’re looking for a fun, tasty treat for your furry friend, you’re in the right place! This Peanut Butter Pumpkin Puppy Chow recipe is easy to make and perfect …
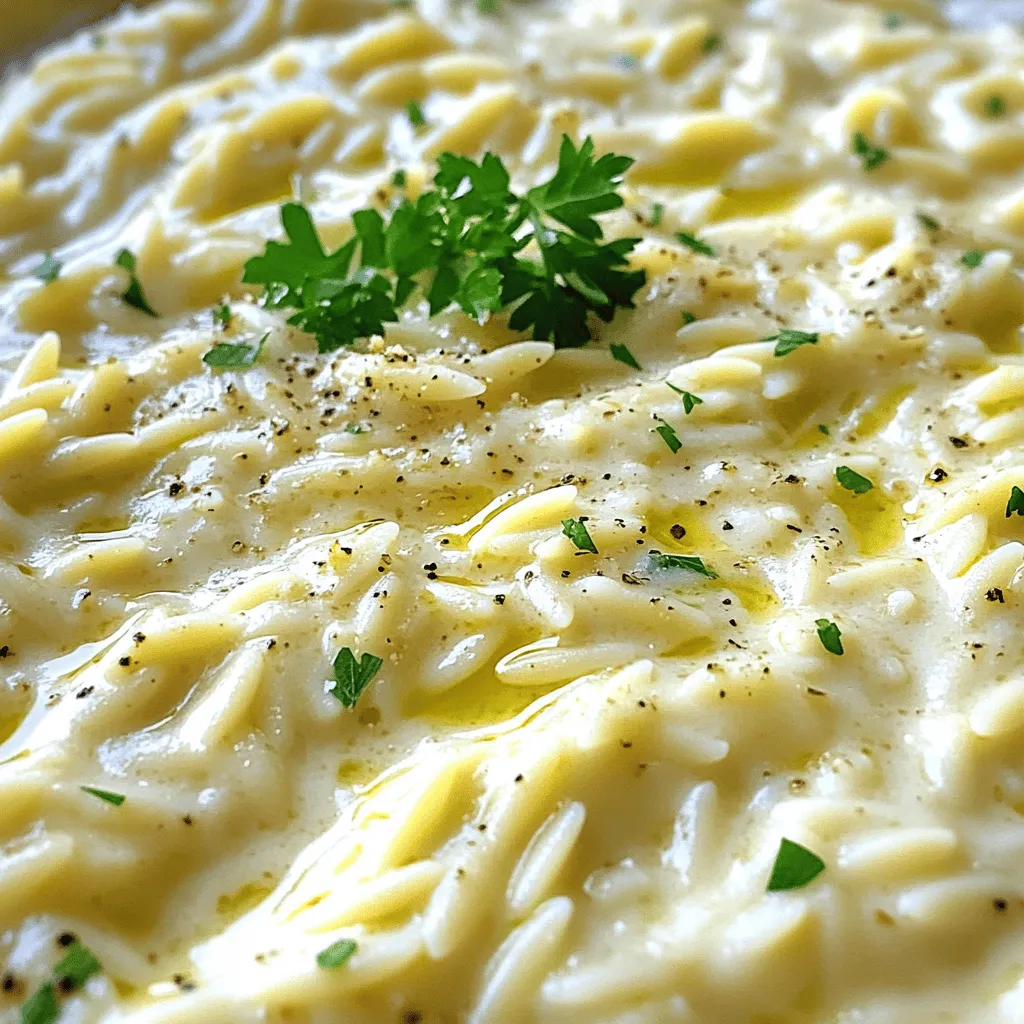
If you’re craving a dish that combines creamy, savory flavors with ease, you’ve found it! My Creamy Garlic Parmesan Orzo is the perfect comfort food for any meal. This recipe …
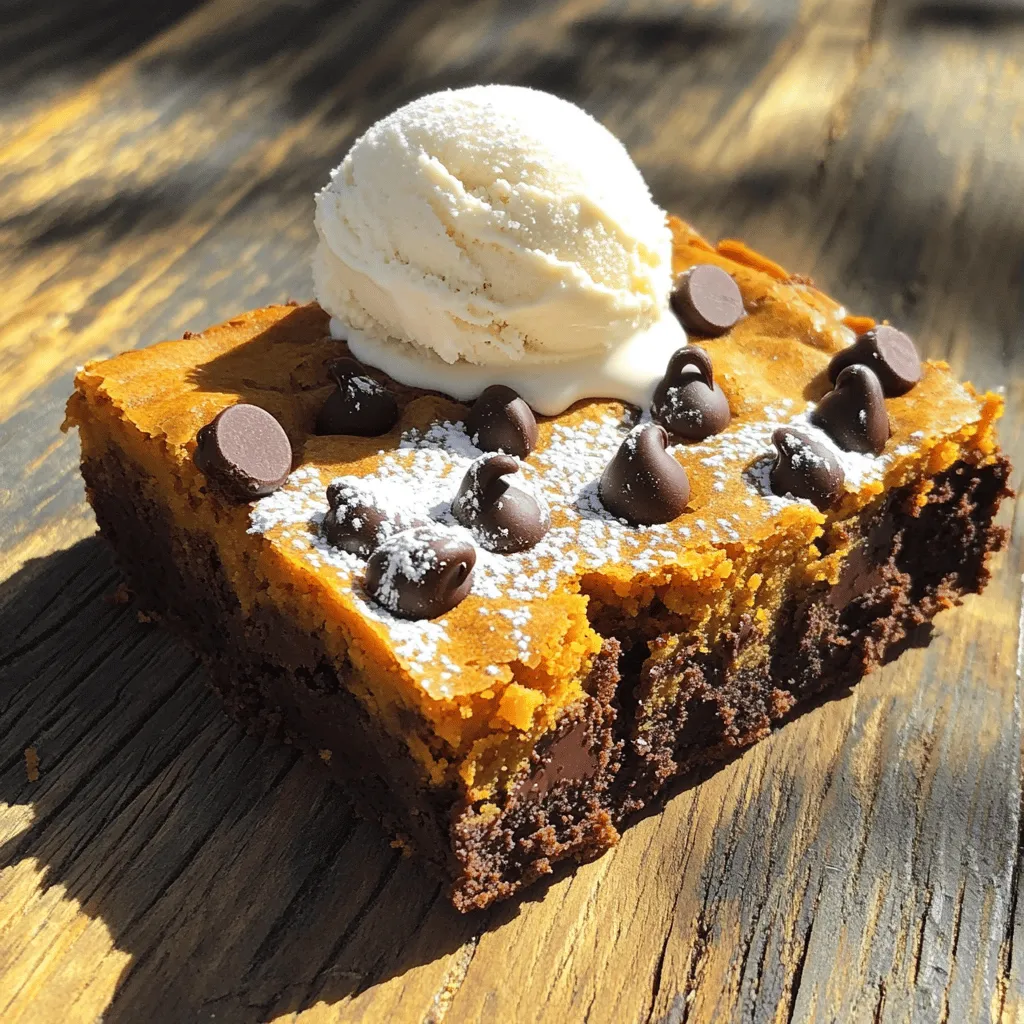
Looking for a tasty fall treat that combines the best of pumpkin and chocolate? You’ve landed in the right spot! In this guide, I’ll show you how to make delicious …
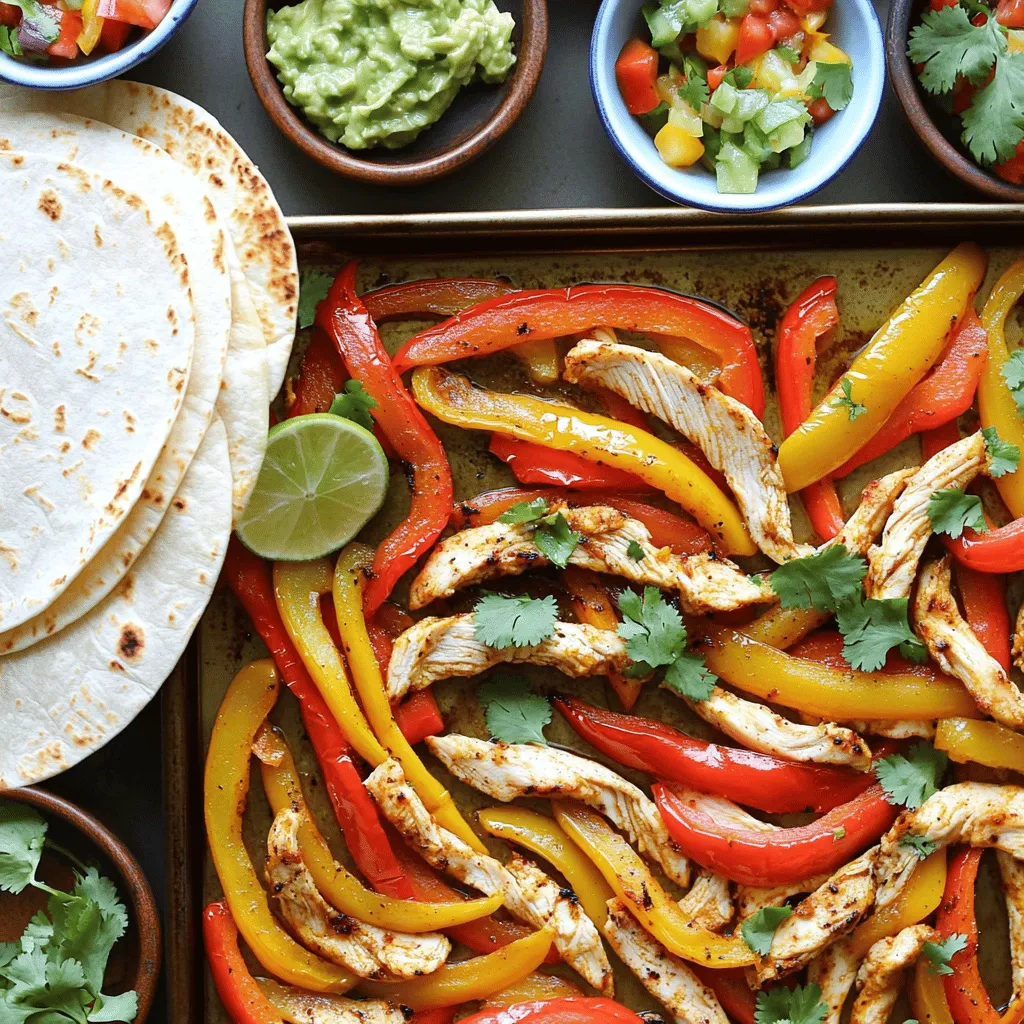
If you crave a meal that’s quick, tasty, and easy to clean up, look no further! My Sheet Pan Chicken Fajitas are full of flavor and come together in one …