Crumbl Pumpkin Pie Cookies Flavorful Seasonal Treat
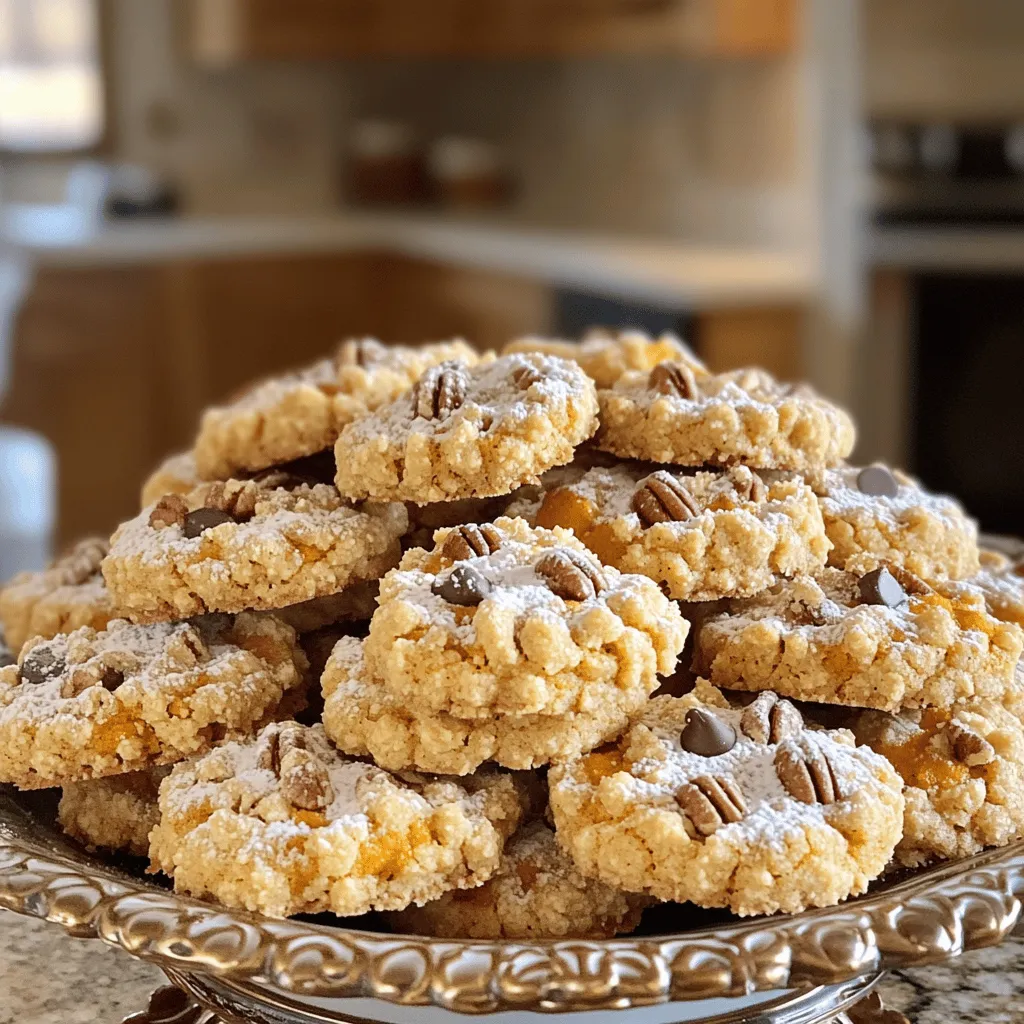
If you crave fall flavors, then you’ll love Crumbl Pumpkin Pie Cookies! These tasty treats bring the warmth of pumpkin pie right into a cookie form. In this guide, I’ll …
If you crave fall flavors, then you’ll love Crumbl Pumpkin Pie Cookies! These tasty treats bring the warmth of pumpkin pie right into a cookie form. In this guide, I’ll …
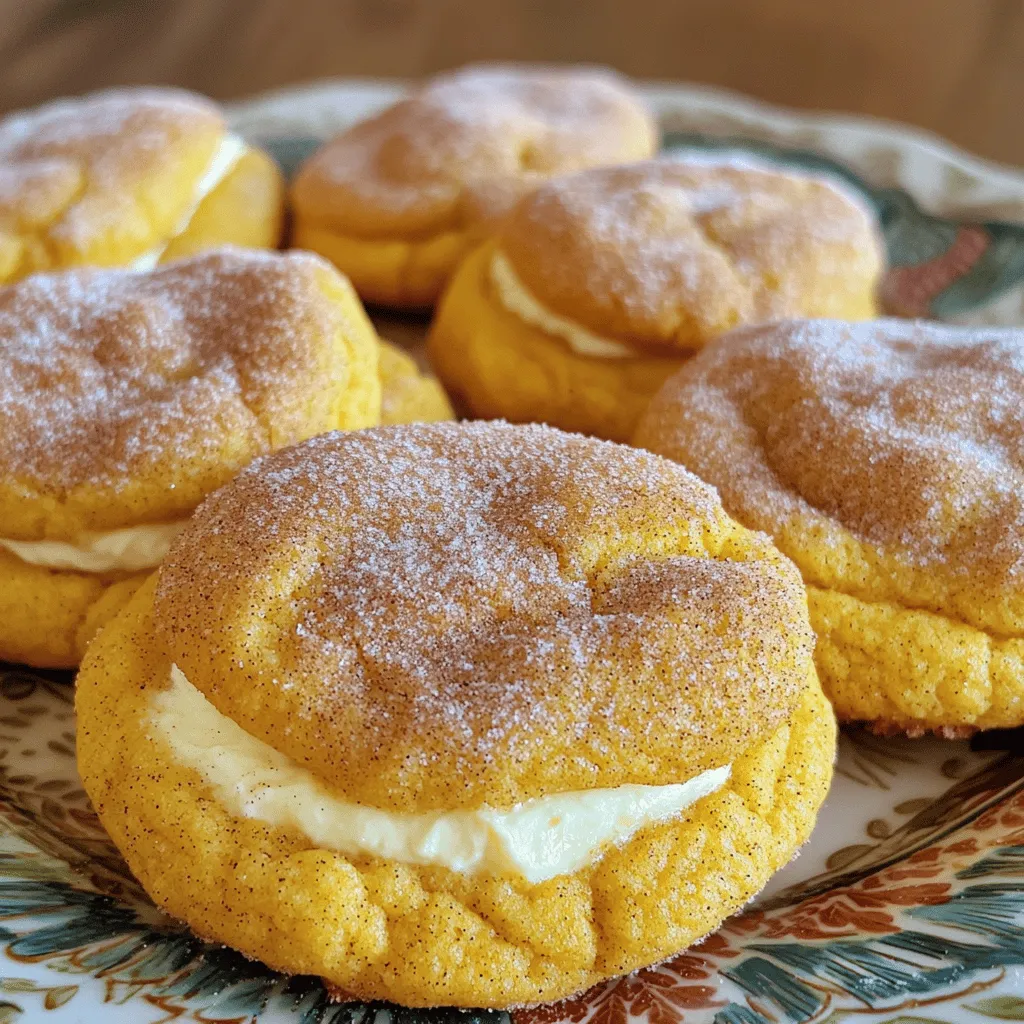
Get ready to fall in love with the ultimate treat: Pumpkin Cheesecake Snickerdoodle Cookies! These cookies blend warm pumpkin spice with creamy cheesecake, creating a delightful bite that’s perfect for …
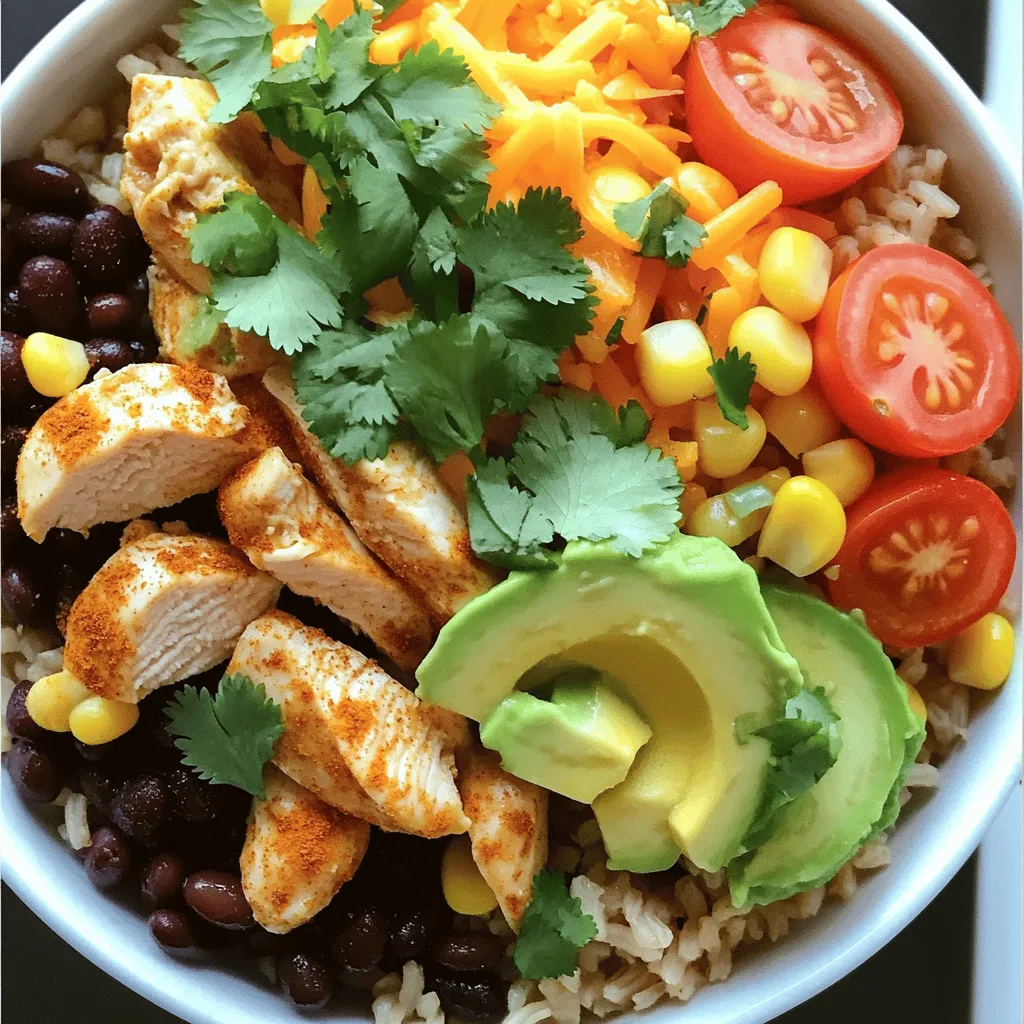
If you’re craving a quick, tasty meal, I’ve got the perfect dish for you: Mexican Chicken Burrito Bowls! These bowls are packed with flavor and can be made in no …
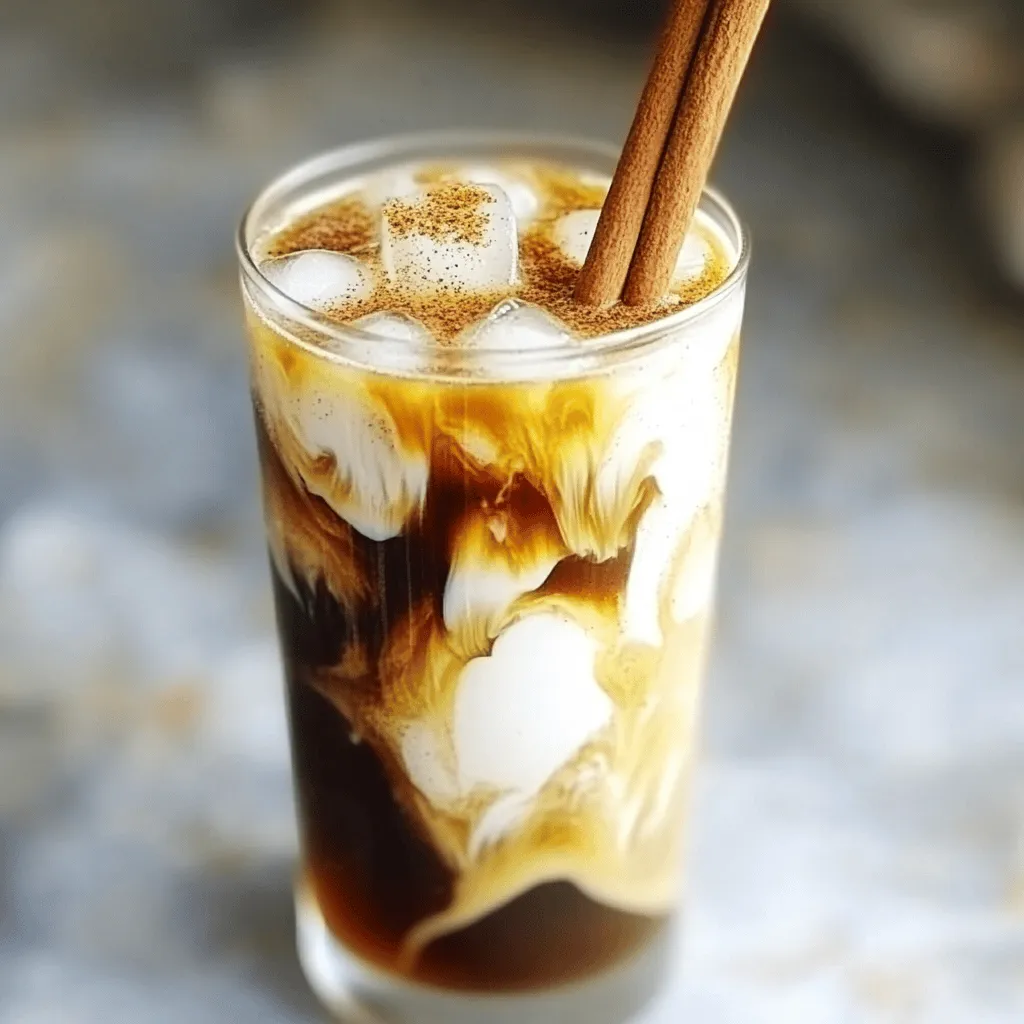
Craving a drink that cools you down and wakes you up? Meet Honey Cinnamon Cold Brew! This refreshing summer drink combines the rich taste of coffee with sweet honey and …
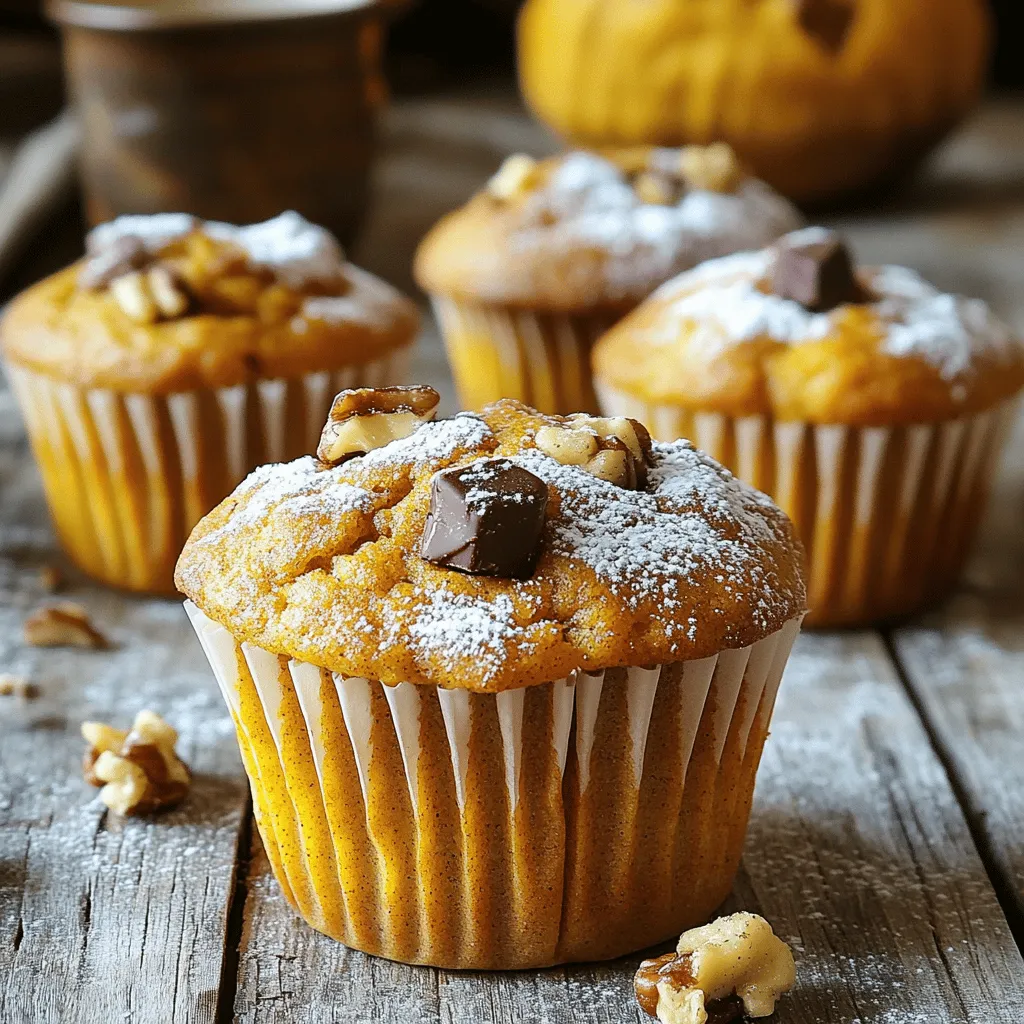
Are you ready to bake something truly special? These Moist Pumpkin Banana Muffins are not just easy to make; they are bursting with flavor. You’ll love how the warm spices …
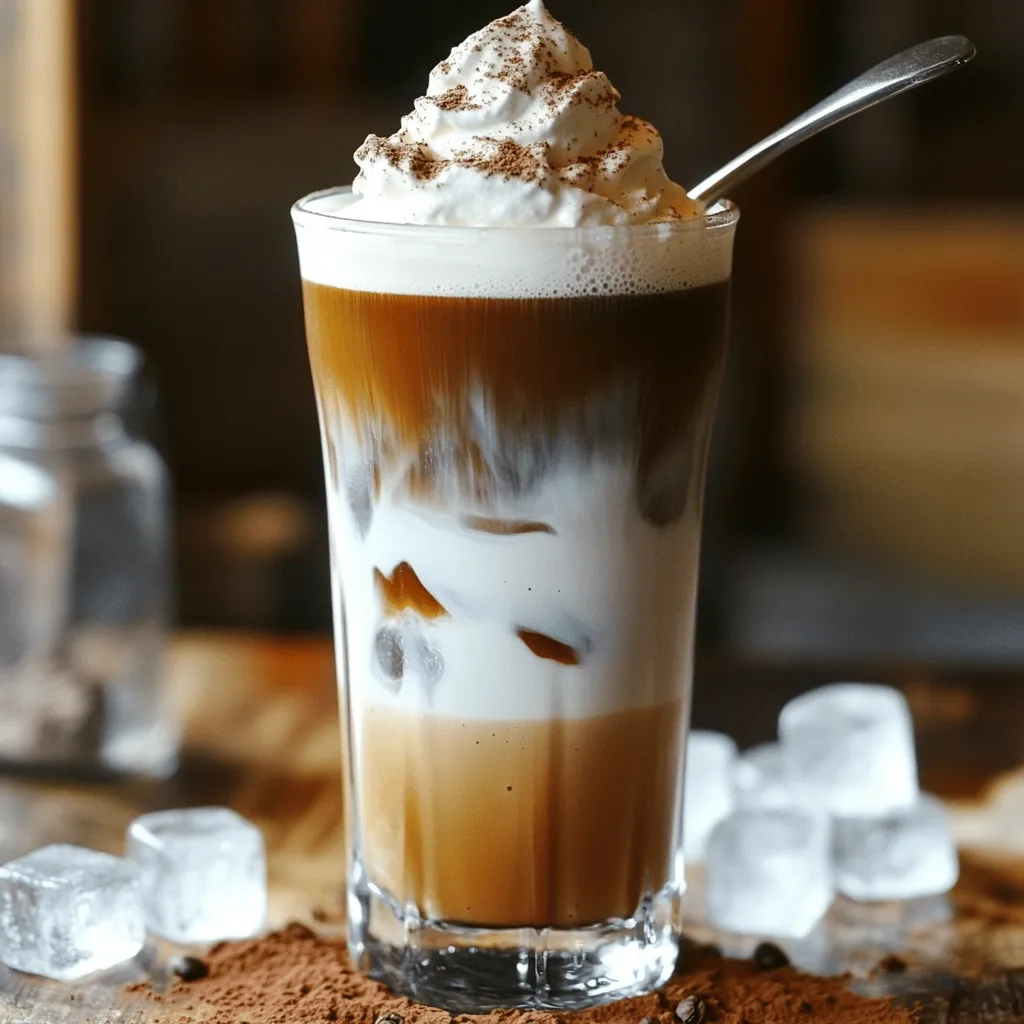
Ready to elevate your coffee game? Homemade cold foam coffee is easy, fun, and oh-so-delicious! I’ll guide you through simple steps to prepare this delightful drink. With just a few …
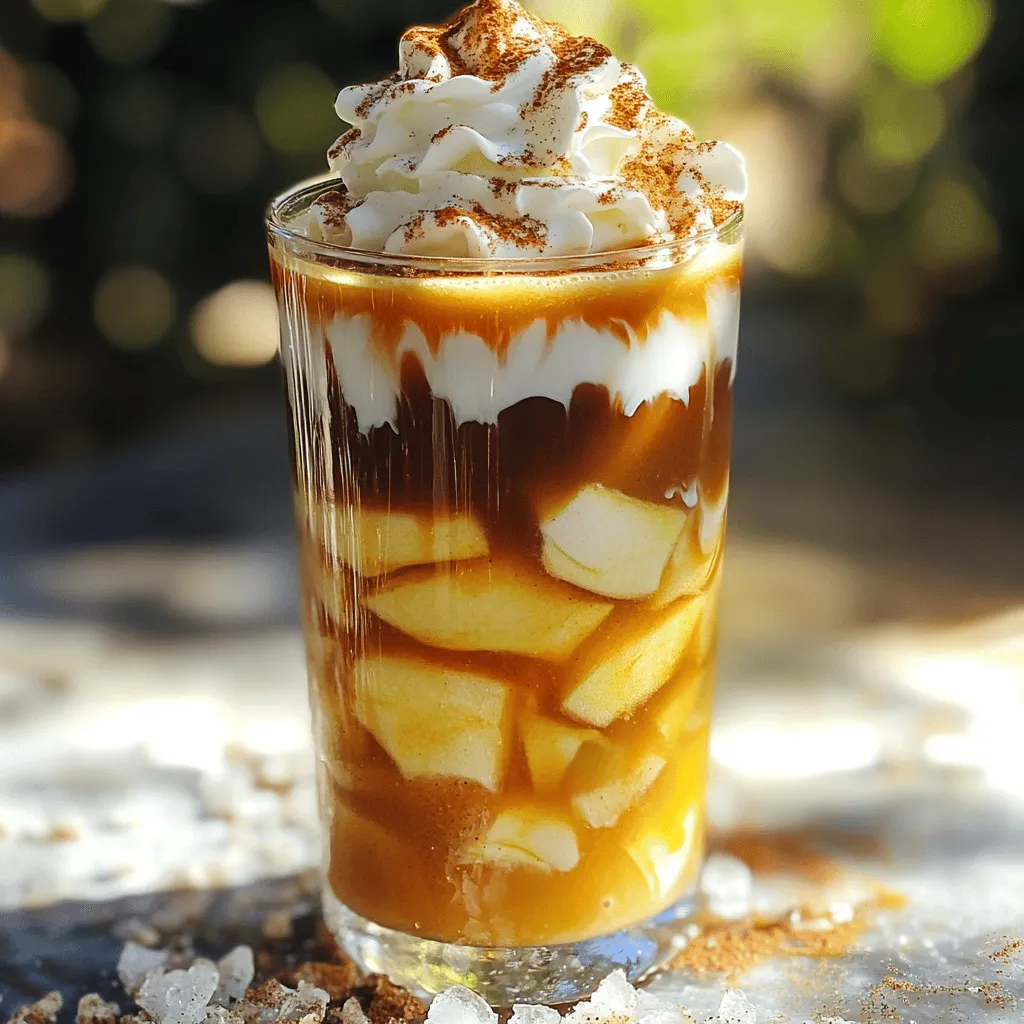
Are you ready to treat yourself to a tasty delight? The Iced Apple Crisp Macchiato is a perfect blend of coffee and spice that will make your taste buds dance. …
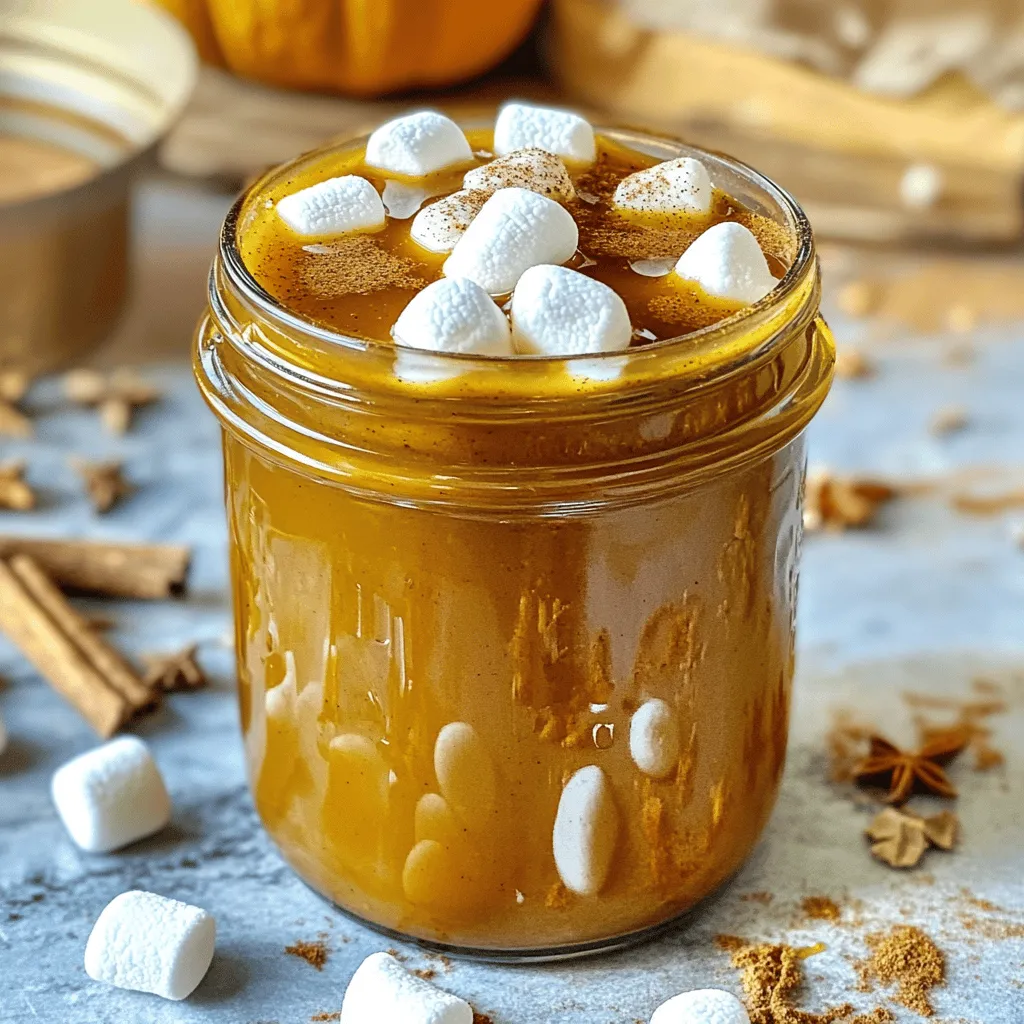
Are you ready to bring the cozy flavors of fall into your morning routine? This Pumpkin Marshmallow Coffee Syrup recipe is simple and sweet, perfect for any coffee lover. With …
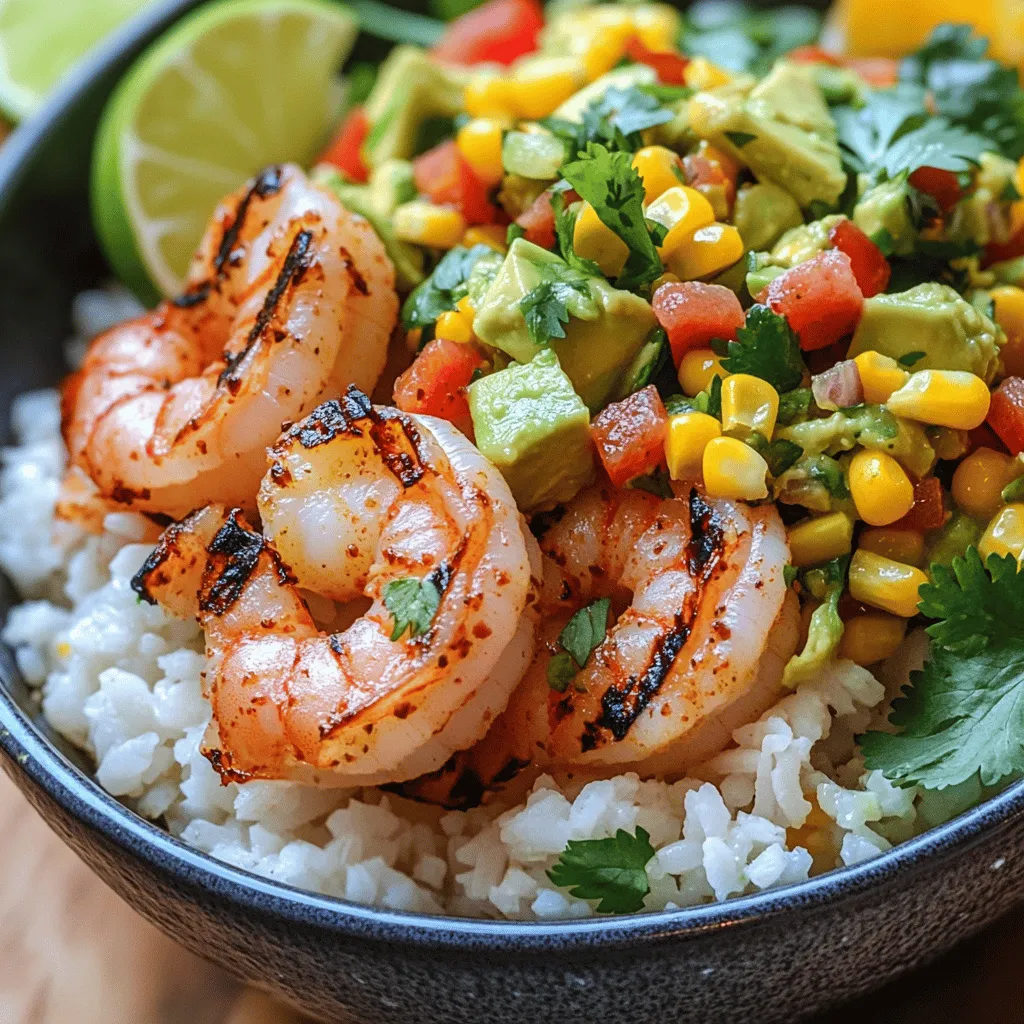
Looking for a fresh and tasty meal idea? These Grilled Shrimp Bowls with Avocado Corn Salsa are perfect for you! Juicy shrimp, creamy avocado, and sweet corn come together to …
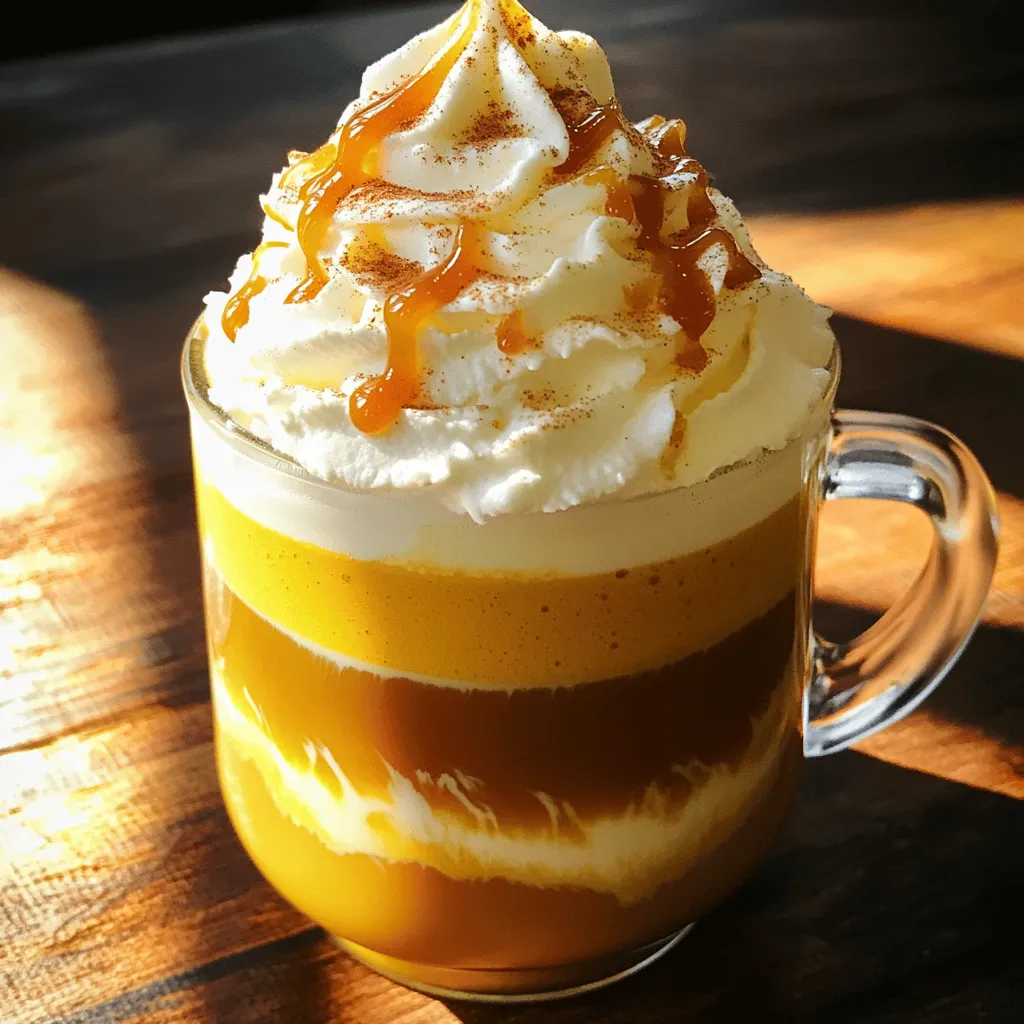
Nothing says fall like a warm, rich Salted Caramel Pumpkin Latte. This cozy drink blends bold coffee with sweet pumpkin and a hint of salted caramel. Whether you crave it …