One-Pot Creamy Tomato Basil Pasta Delightful Meal
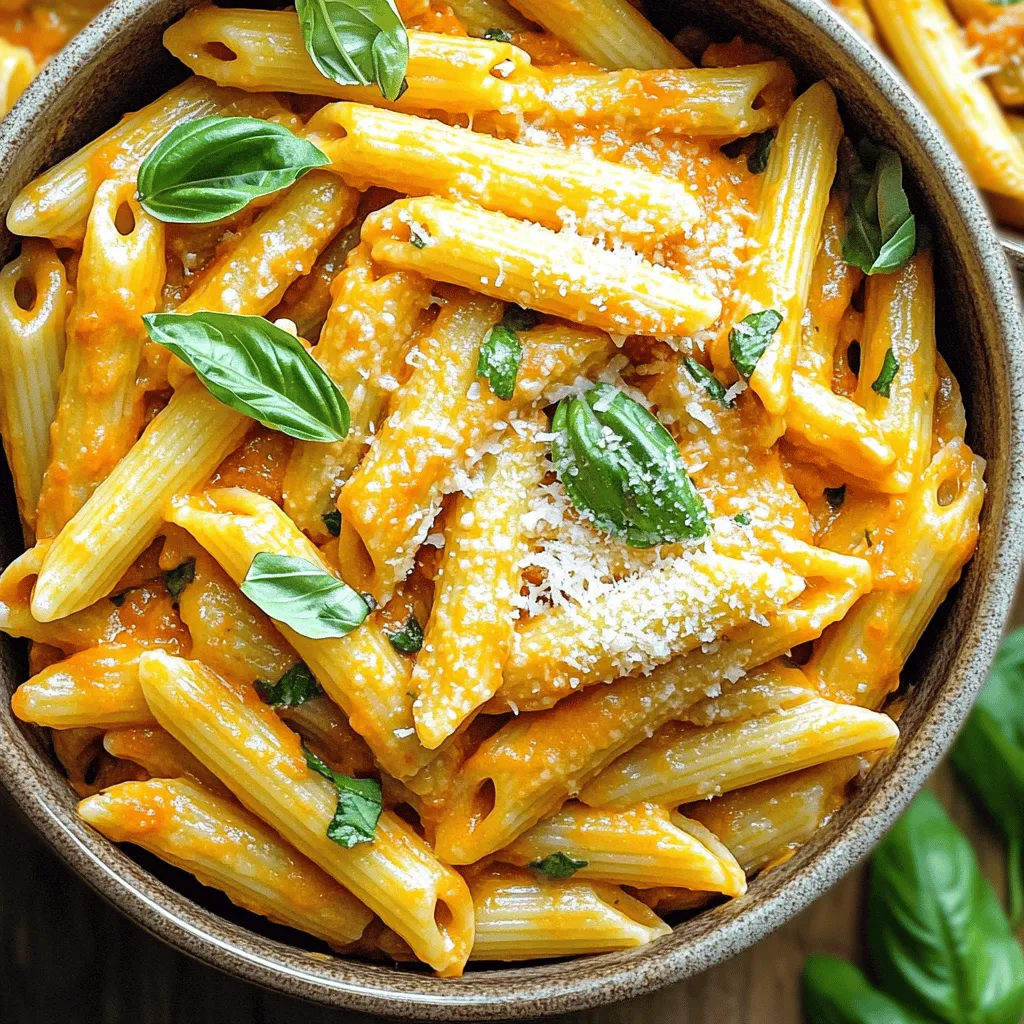
Are you ready to impress your family with a simple, tasty dish? One-Pot Creamy Tomato Basil Pasta is a delightful meal full of flavor. You can make this dish quickly, …
Are you ready to impress your family with a simple, tasty dish? One-Pot Creamy Tomato Basil Pasta is a delightful meal full of flavor. You can make this dish quickly, …

Are you ready to indulge in a treat that’s both sweet and soft? Let me show you how to make Cinnamon Sugar Pretzel Bites like a pro! This easy recipe …
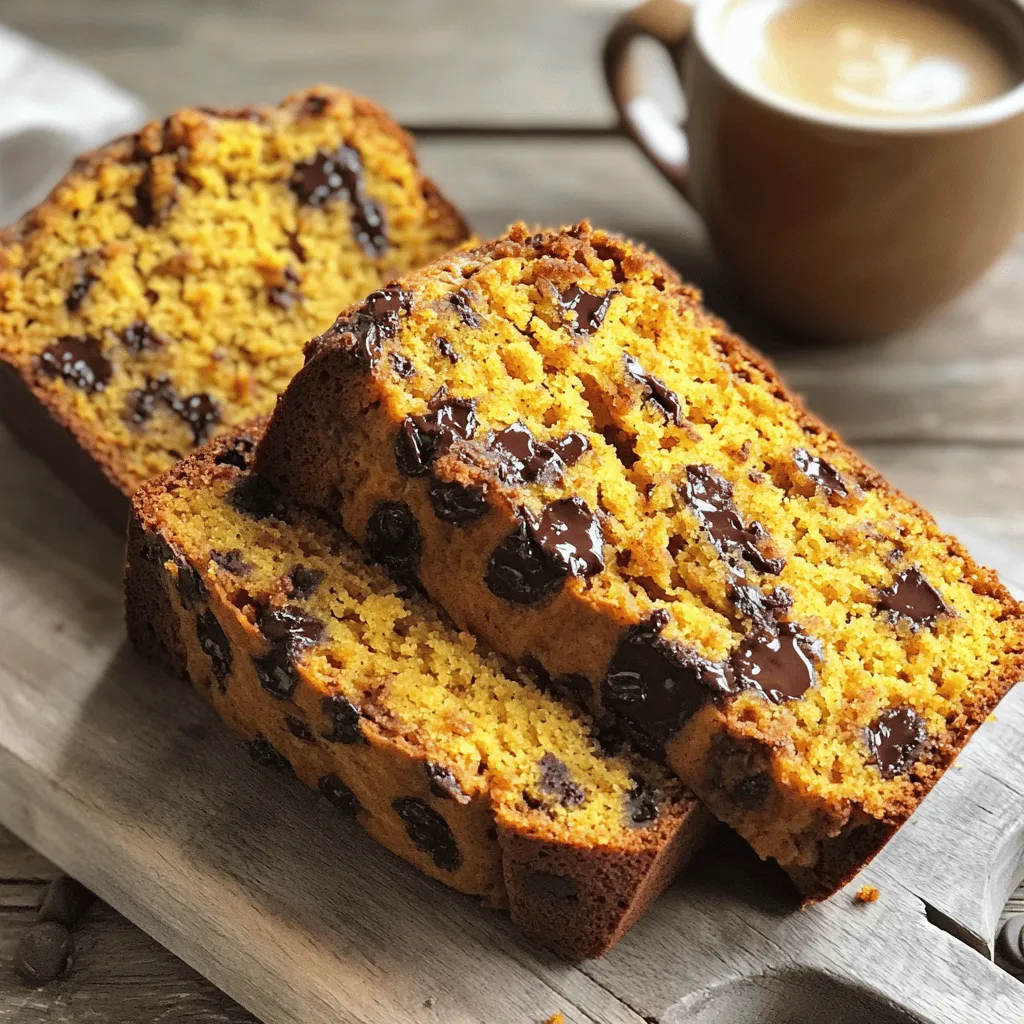
If you love pumpkin and chocolate, you’re in for a treat! This easy and tasty Chocolate Chip Pumpkin Bread recipe combines rich flavors and simple steps. Whether you’re baking for …
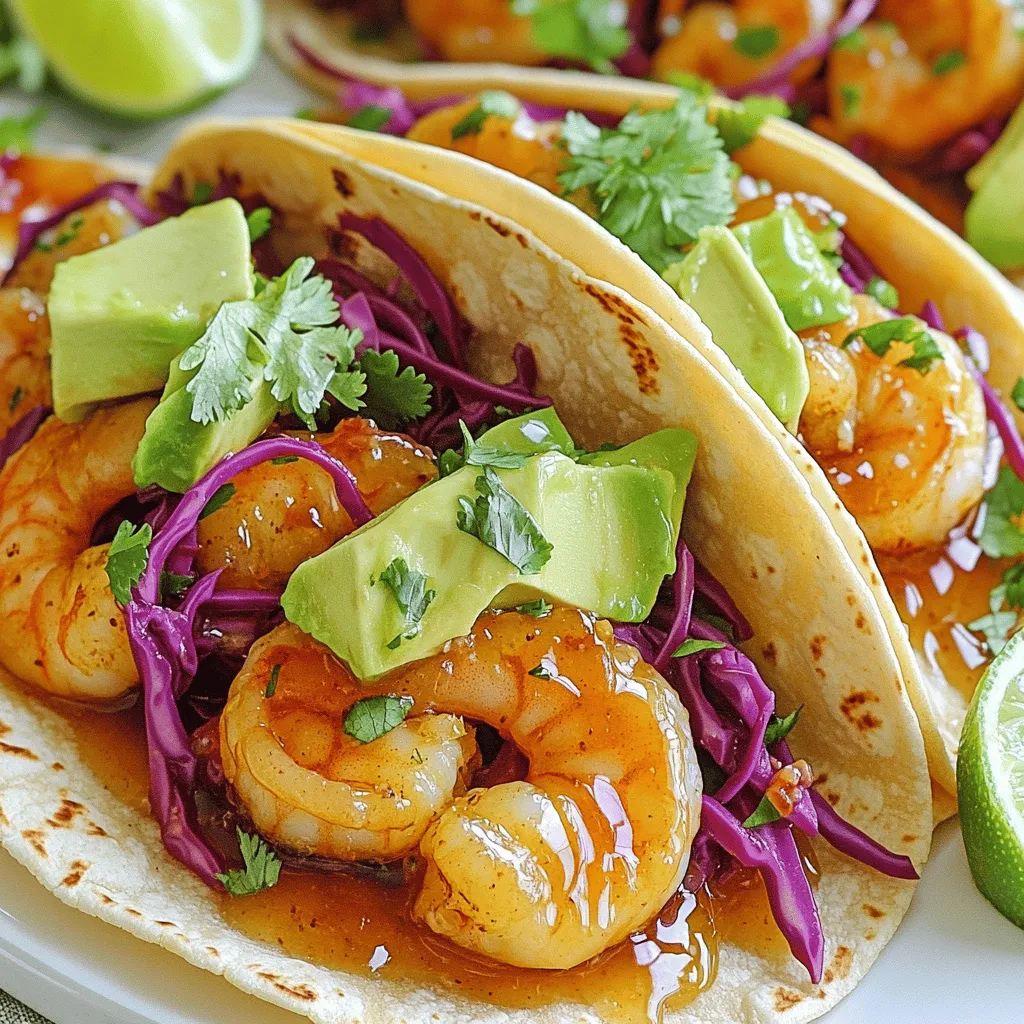
Craving a burst of flavor? Let me introduce you to Spicy Honey Lime Shrimp Tacos! These tacos are a perfect mix of sweet, spicy, and tangy. With fresh shrimp and …
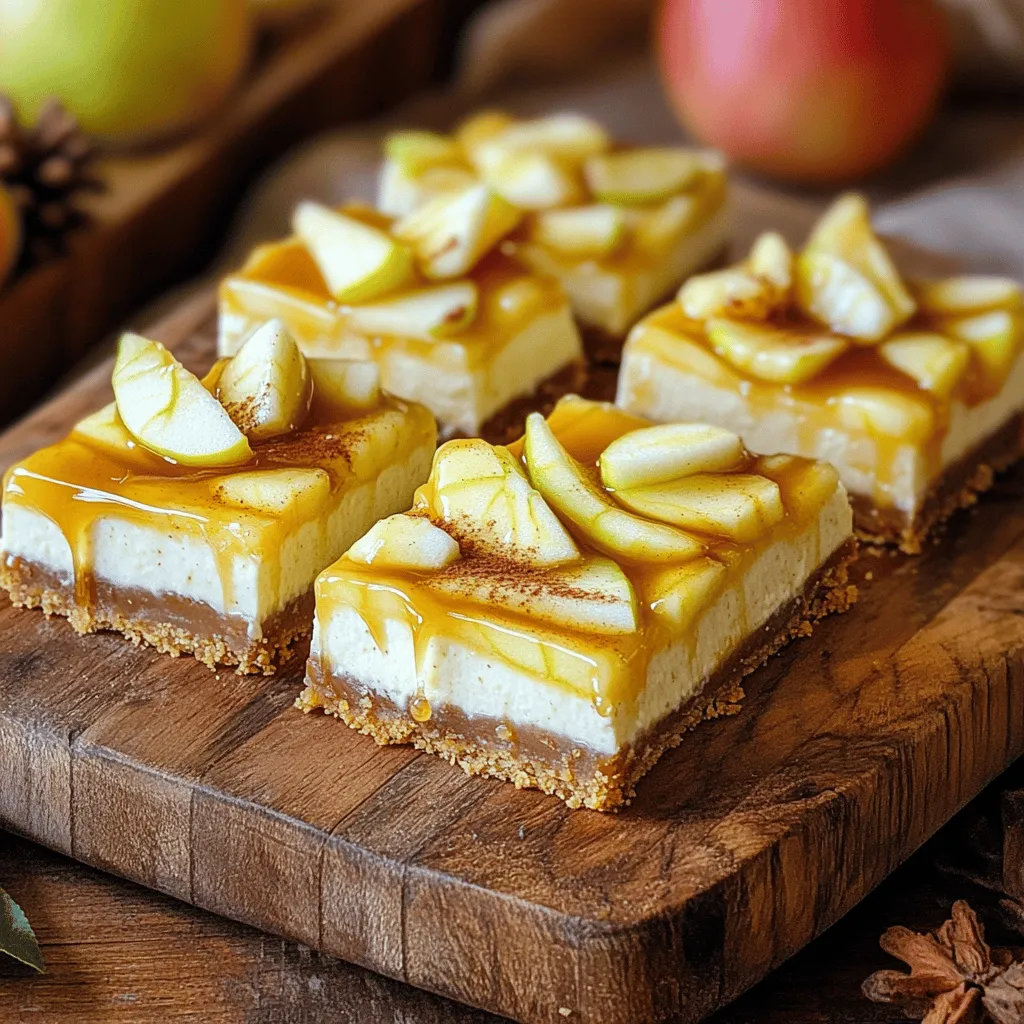
Fall is here, and so is the perfect treat: Caramel Apple Cheesecake Bars! These bars blend sweet, creamy cheesecake with the warm flavors of caramel and apples. They’re not just …

Ready to fuel your day with a tasty treat? My Pumpkin Spice Energy Bites are the perfect blend of flavor and nutrition. With simple ingredients like rolled oats, pumpkin puree, …
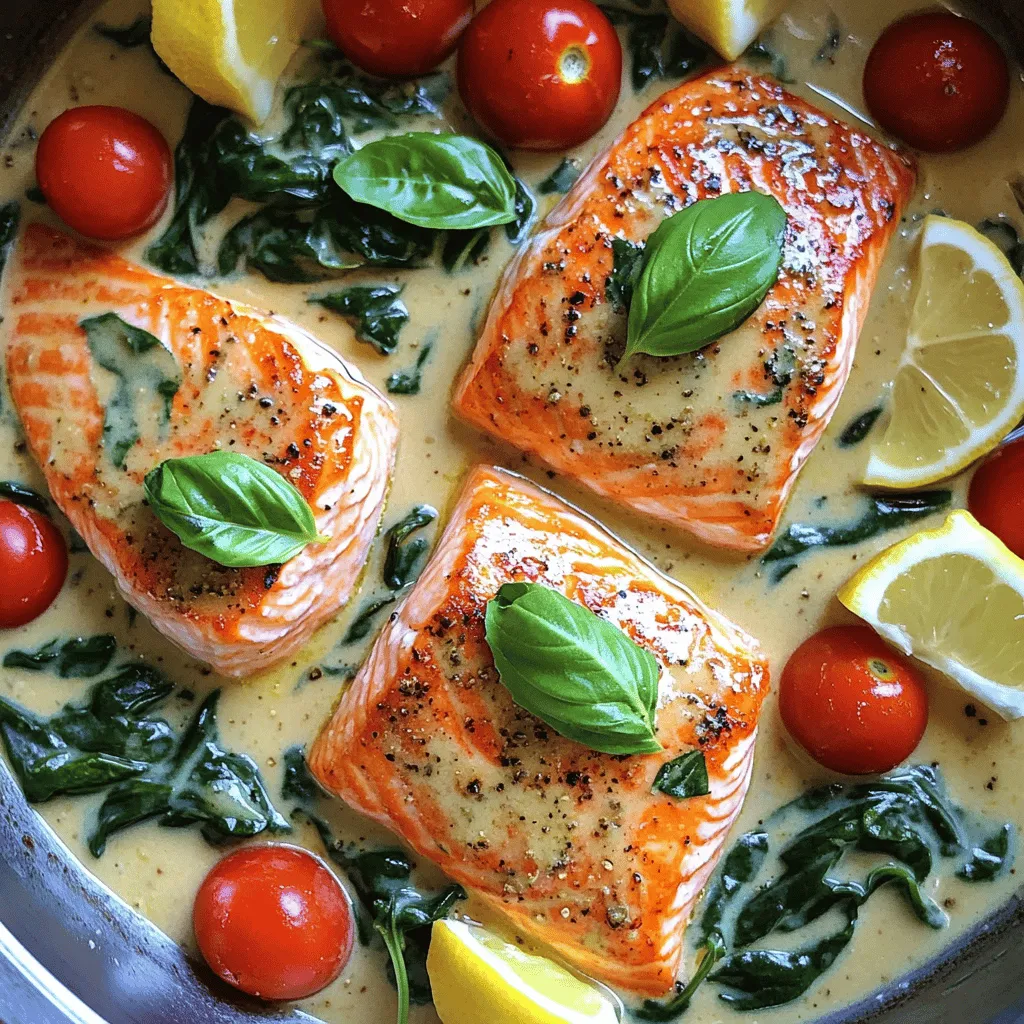
Looking for a dish that’s both delicious and simple? Creamy Tuscan Salmon checks all the boxes! With fresh salmon fillets bathed in a rich, creamy sauce, this meal is a …

Are you ready to elevate your game day snacks? With my Air Fryer Honey Garlic Chicken Wings recipe, you’ll impress friends and family with a dish that’s both tasty and …
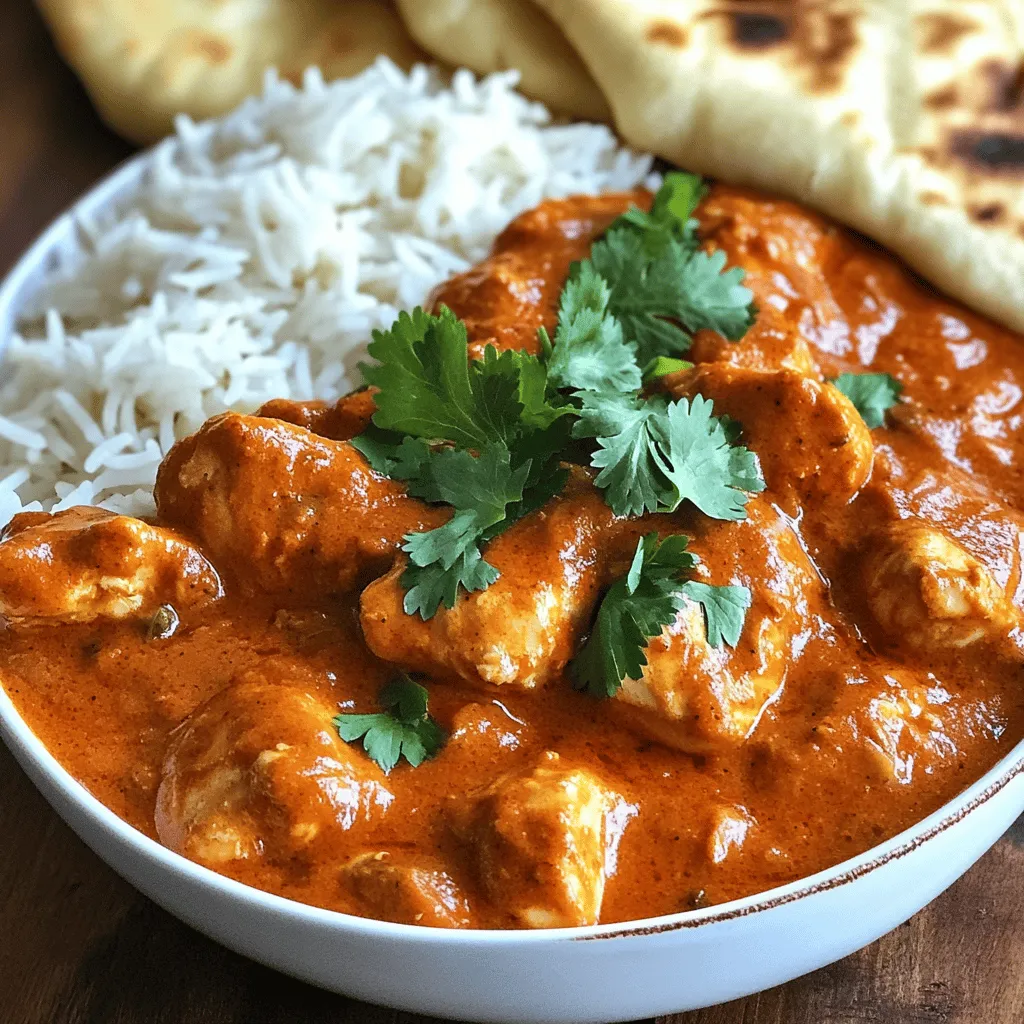
Ready for a simple and tasty twist on a classic? My Instant Pot Chicken Tikka Masala is the answer you’ve been looking for! With easy steps and a few essential …

Are you ready to enjoy a warm bowl of Thai Coconut Curry Ramen? This simple recipe packs bold flavors, rich coconut notes, and fresh veggies into every bite. With just …