Peanut Butter Pumpkin Puppy Chow Easy Treat Recipe
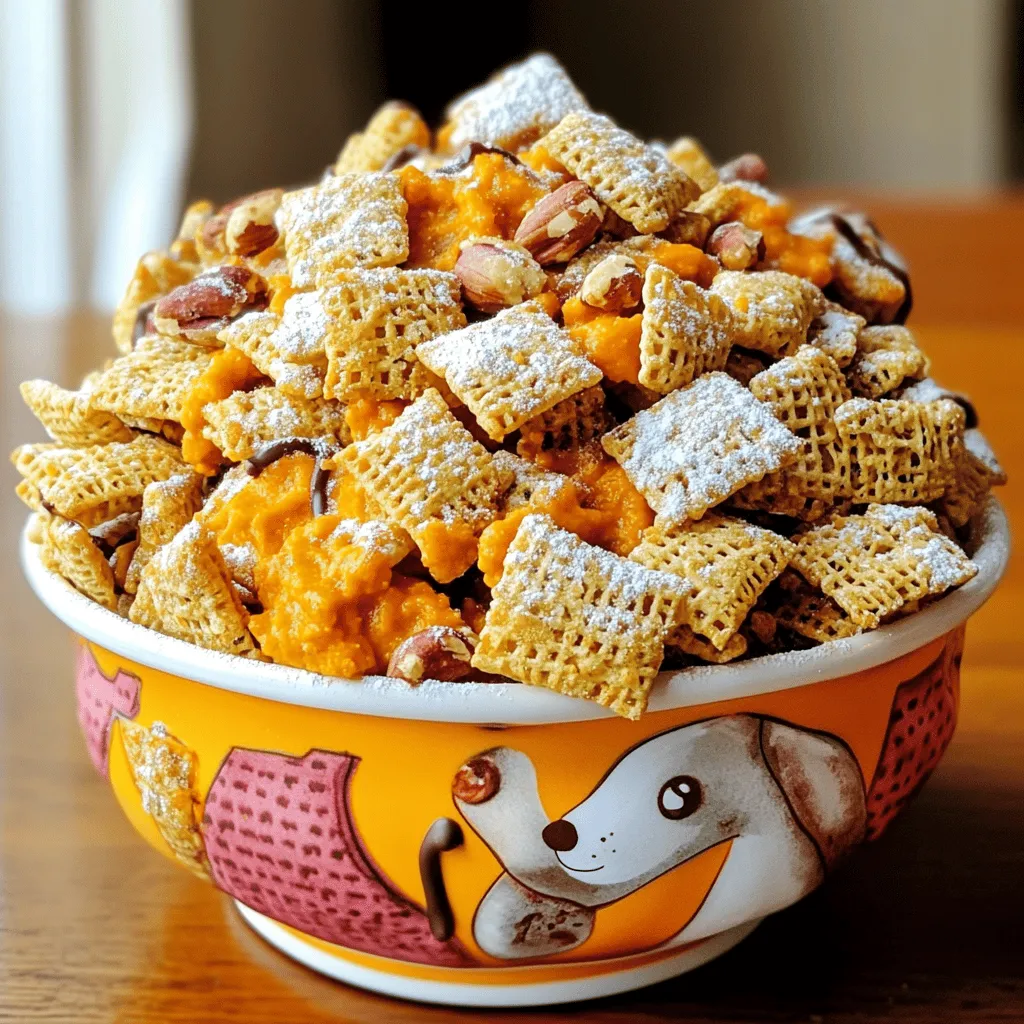
If you’re looking for a fun, tasty treat for your furry friend, you’re in the right place! This Peanut Butter Pumpkin Puppy Chow recipe is easy to make and perfect …
If you’re looking for a fun, tasty treat for your furry friend, you’re in the right place! This Peanut Butter Pumpkin Puppy Chow recipe is easy to make and perfect …
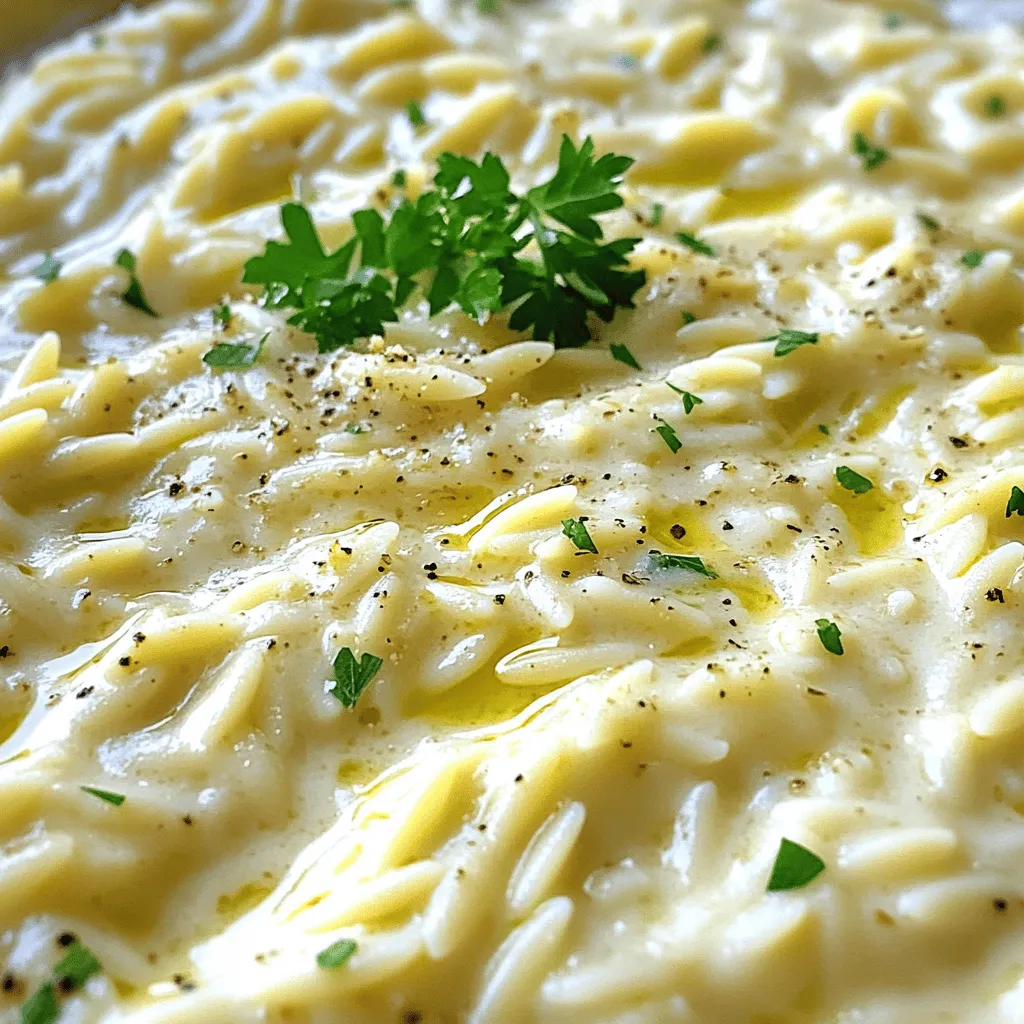
If you’re craving a dish that combines creamy, savory flavors with ease, you’ve found it! My Creamy Garlic Parmesan Orzo is the perfect comfort food for any meal. This recipe …
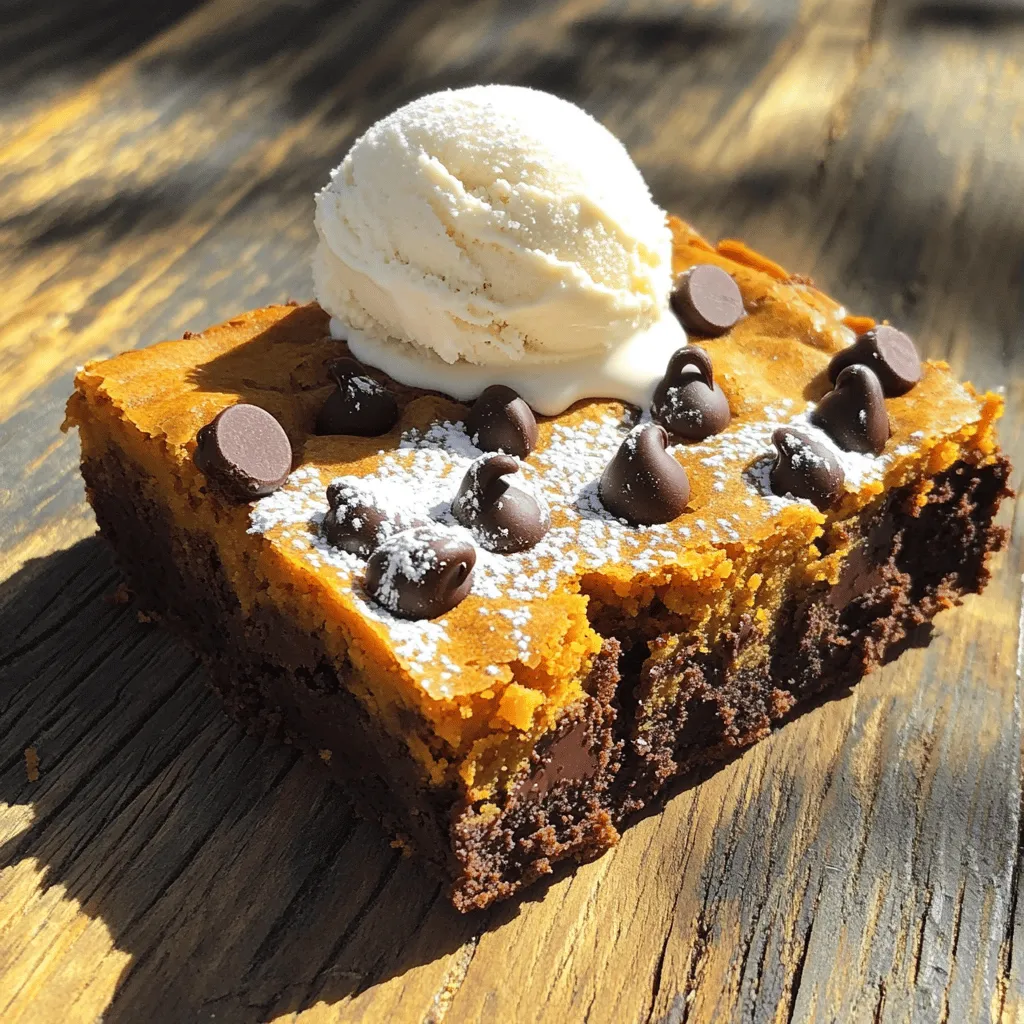
Looking for a tasty fall treat that combines the best of pumpkin and chocolate? You’ve landed in the right spot! In this guide, I’ll show you how to make delicious …
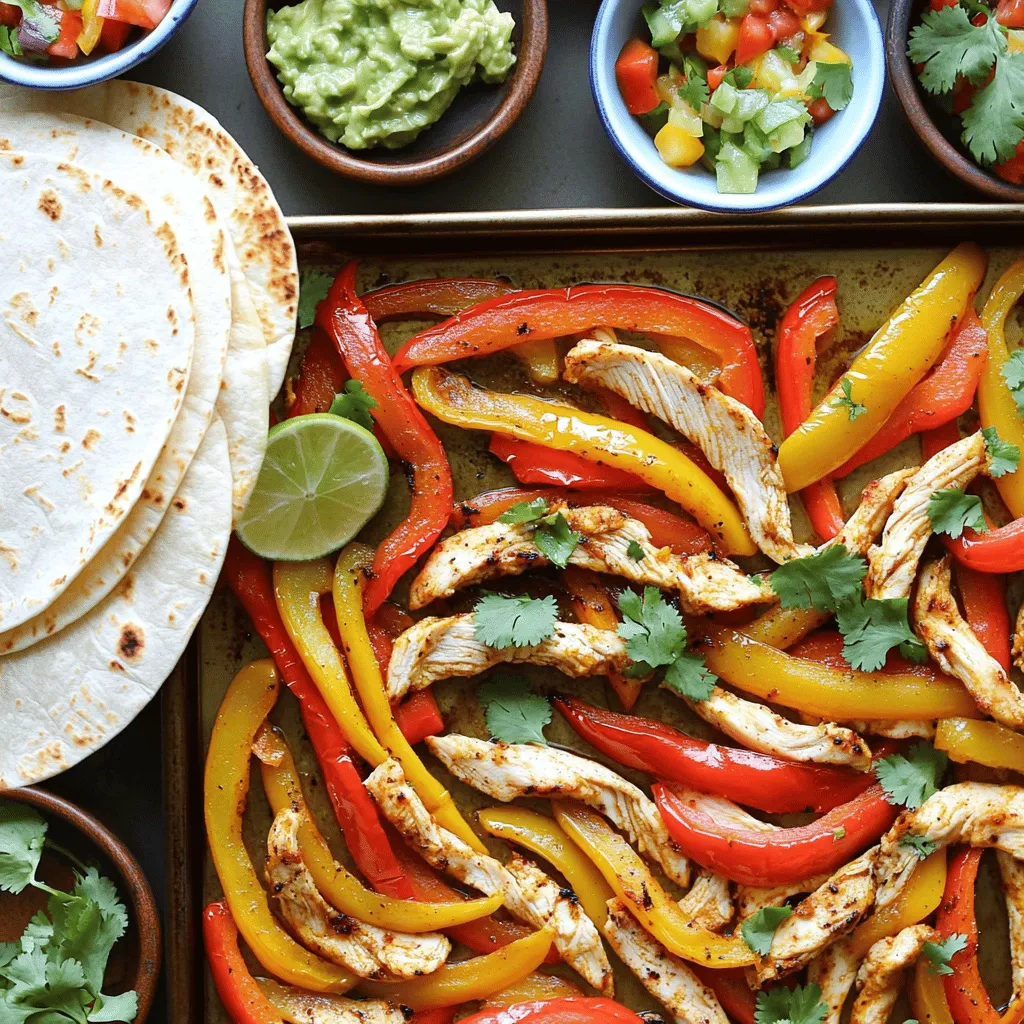
If you crave a meal that’s quick, tasty, and easy to clean up, look no further! My Sheet Pan Chicken Fajitas are full of flavor and come together in one …
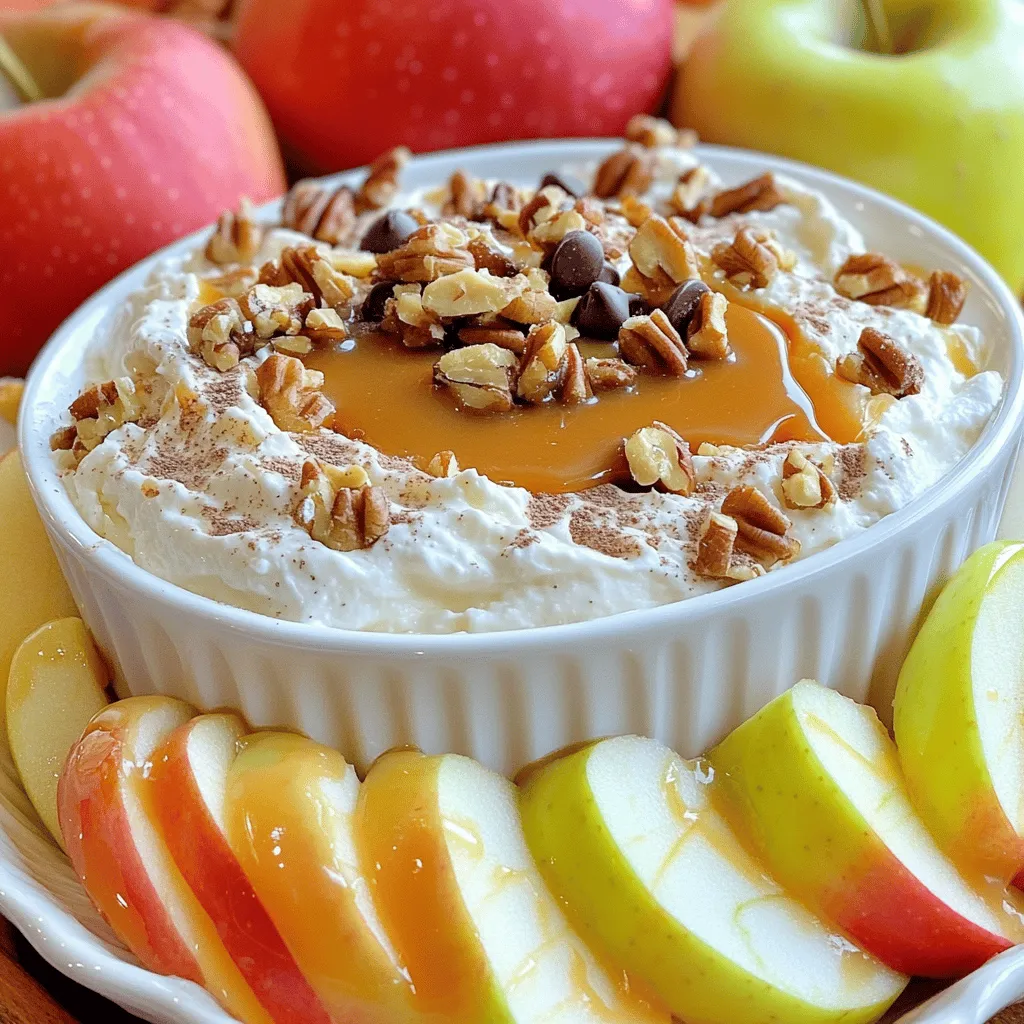
Looking for a fun treat for your next party? This Caramel Apple Dip is simple and delicious! Imagine creamy, sweet caramel perfectly paired with crisp apples. It’s a crowd-pleaser that’s …
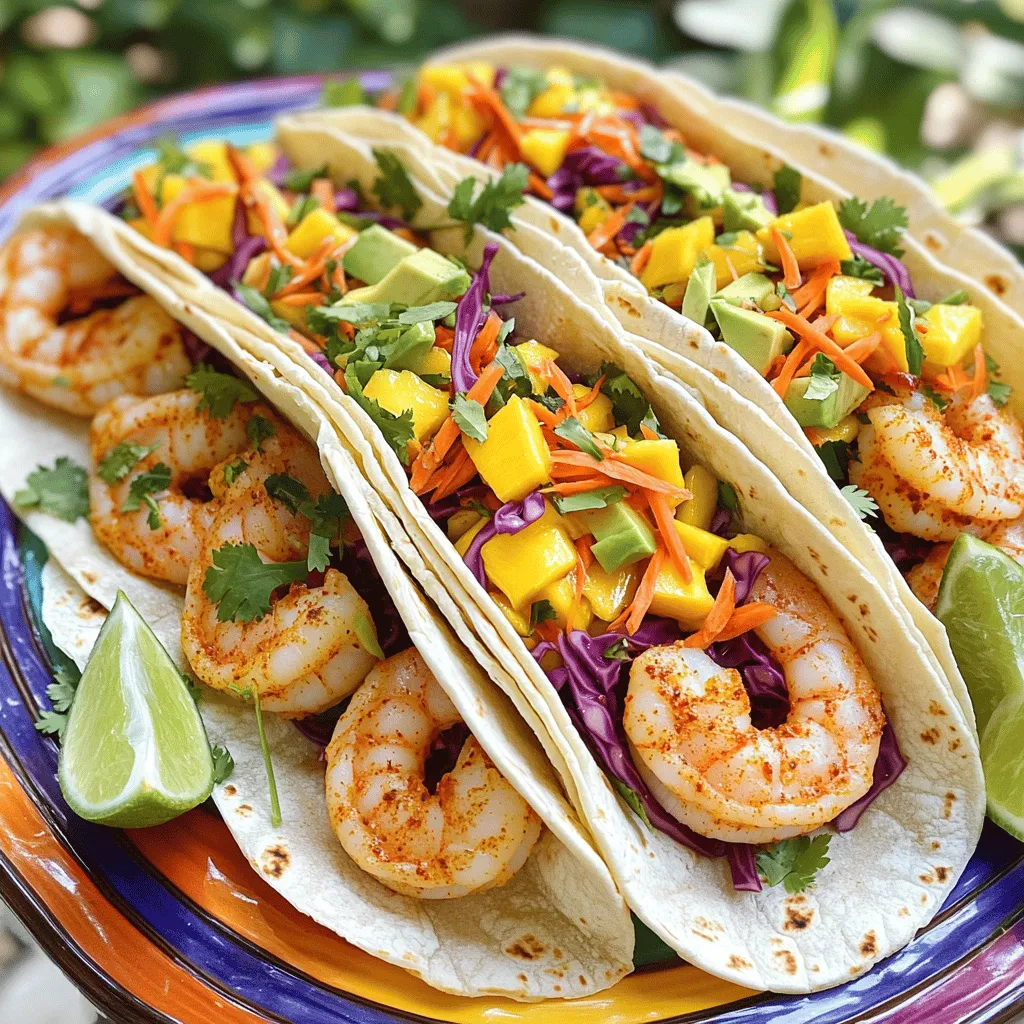
Are you ready to kick your taco night up a notch? These Spicy Shrimp Tacos with Mango Slaw bring vibrant flavor and crunch to your table. With a mix of …
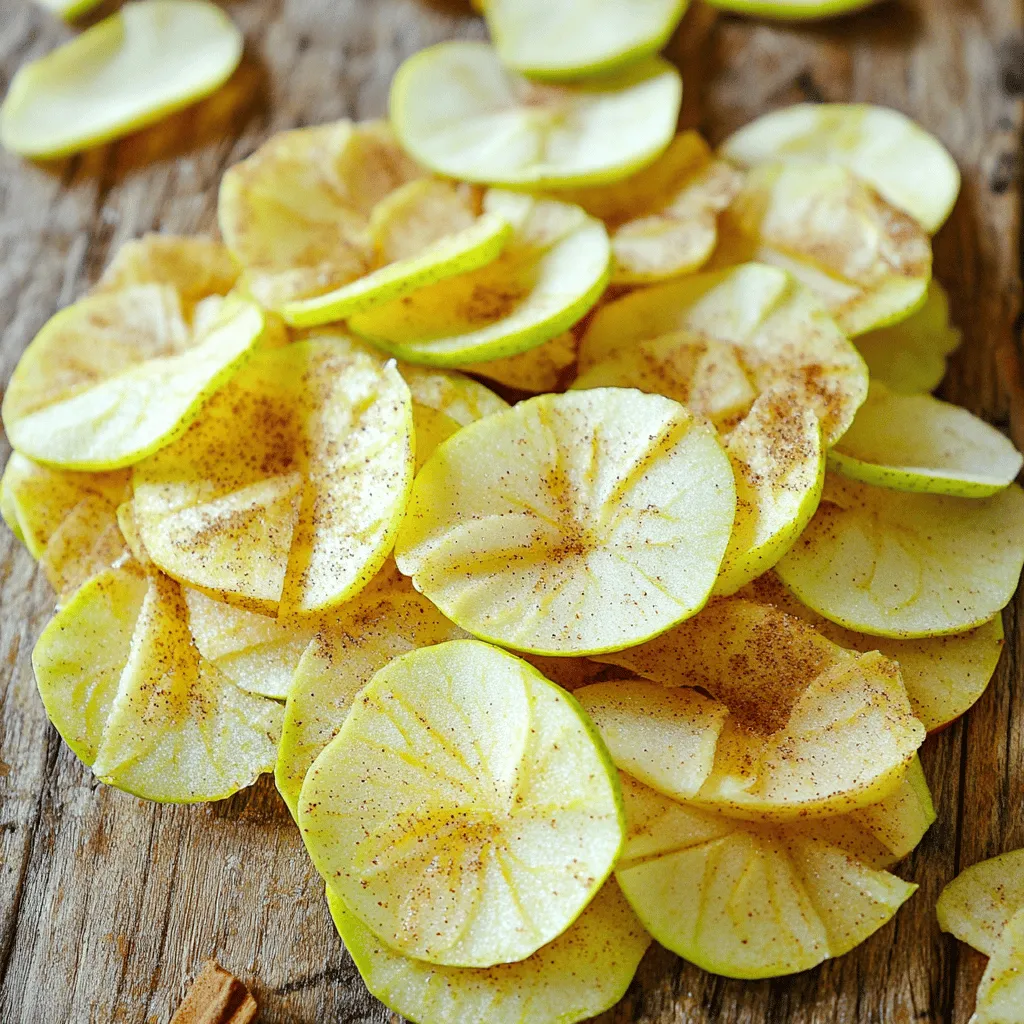
Looking for a fun, healthy snack? You’ll love making Air Fryer Apple Chips! They are easy to prepare and pack a crunchy, sweet punch. In this guide, I’ll share the …
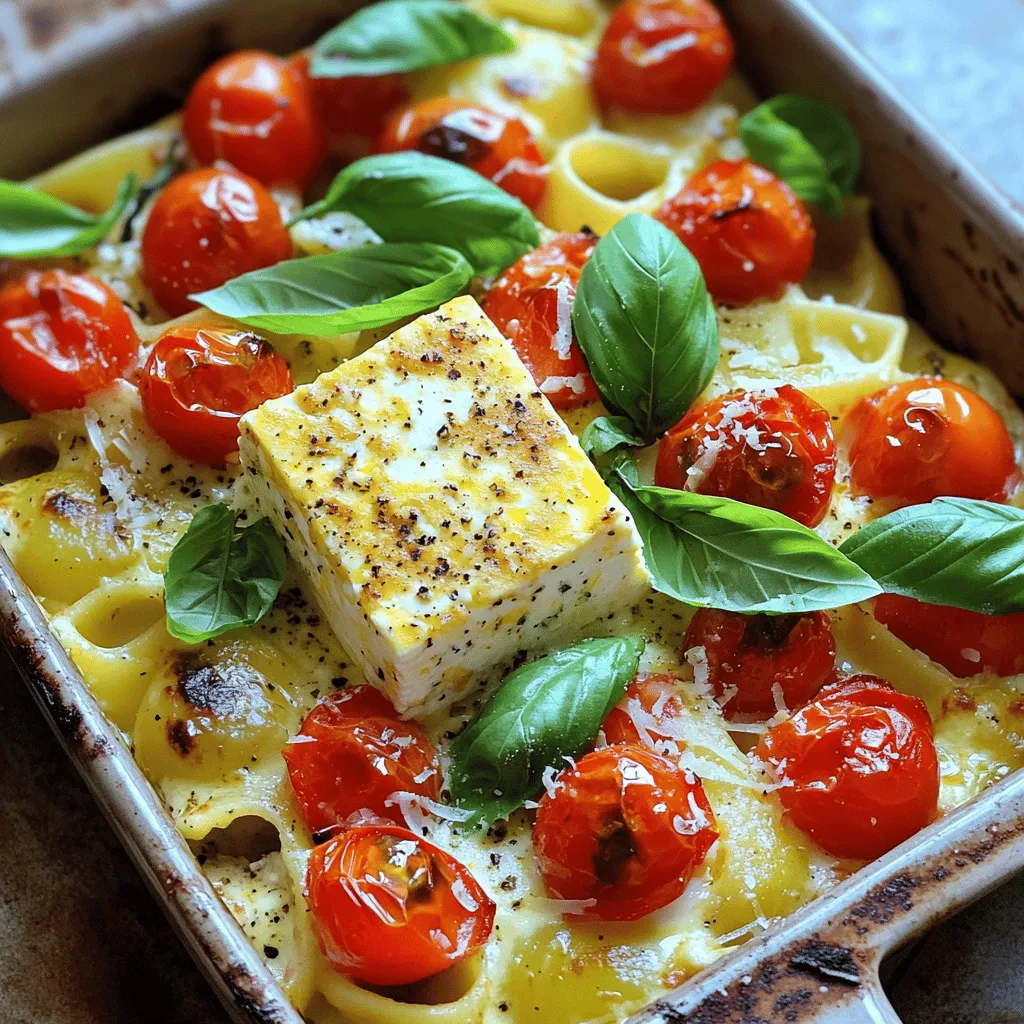
Are you ready to try the viral TikTok Baked Feta Pasta that everyone is raving about? This dish combines creamy feta, juicy tomatoes, and perfectly cooked pasta for a taste …
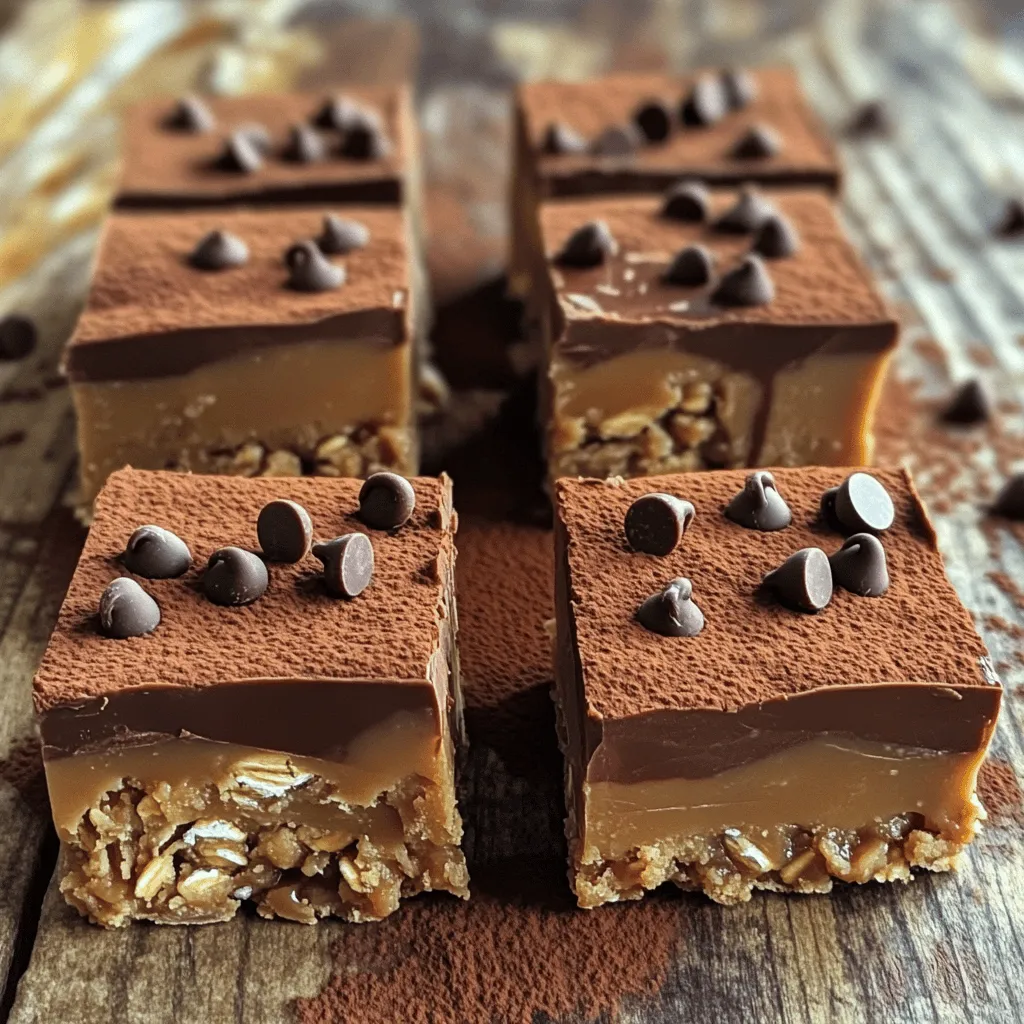
Are you craving a quick and tasty treat? These No-Bake Peanut Butter Bars hit the spot! They’re easy to make, need simple ingredients, and require no oven. In just a …
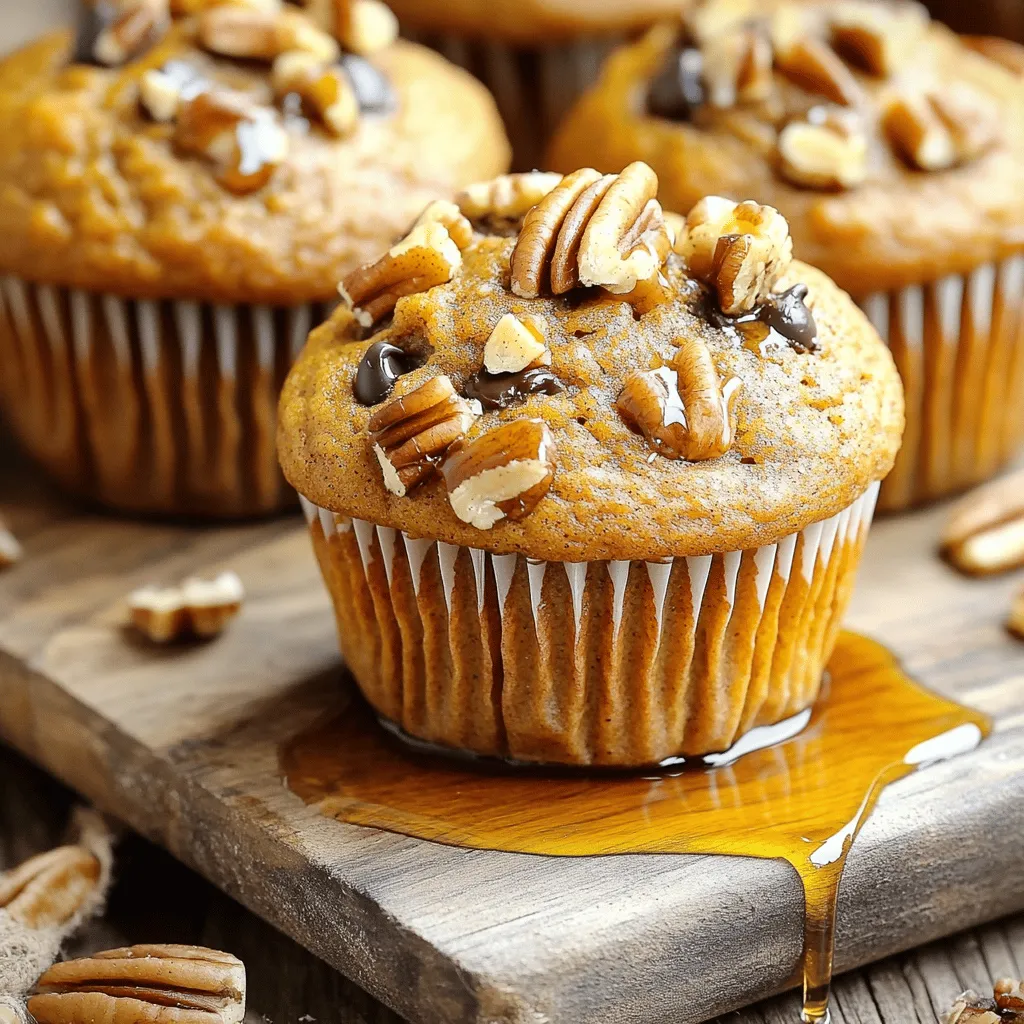
Who doesn’t love a warm, cozy muffin fresh out of the oven? In this blog post, I’ll show you how to make Vegan Pumpkin Muffins that are not just easy …