Harry Potter Butterbeer Cookies Sweet and Wholesome Treat
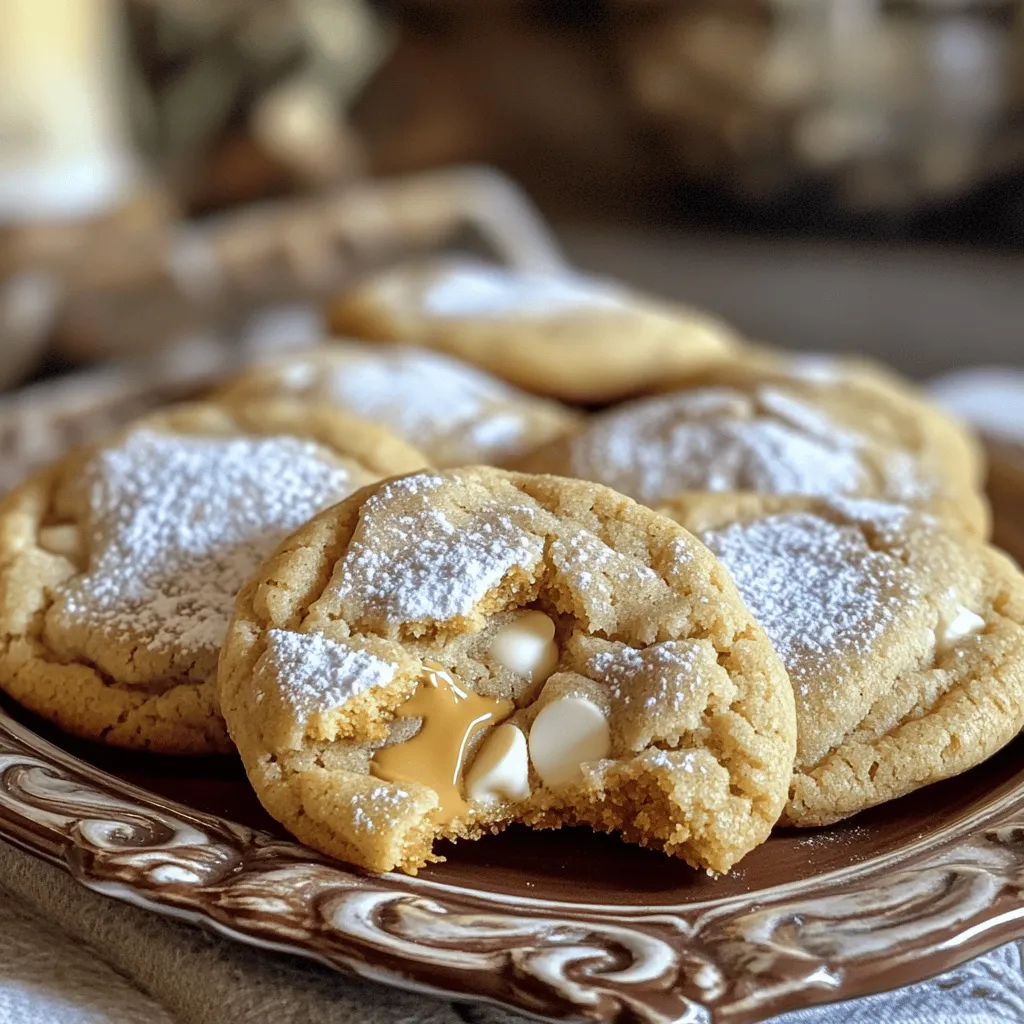
If you’re a Harry Potter fan, you’ll love these Butterbeer Cookies. They bring the magic of Hogwarts right to your kitchen! These sweet and wholesome treats are easy to make …
If you’re a Harry Potter fan, you’ll love these Butterbeer Cookies. They bring the magic of Hogwarts right to your kitchen! These sweet and wholesome treats are easy to make …
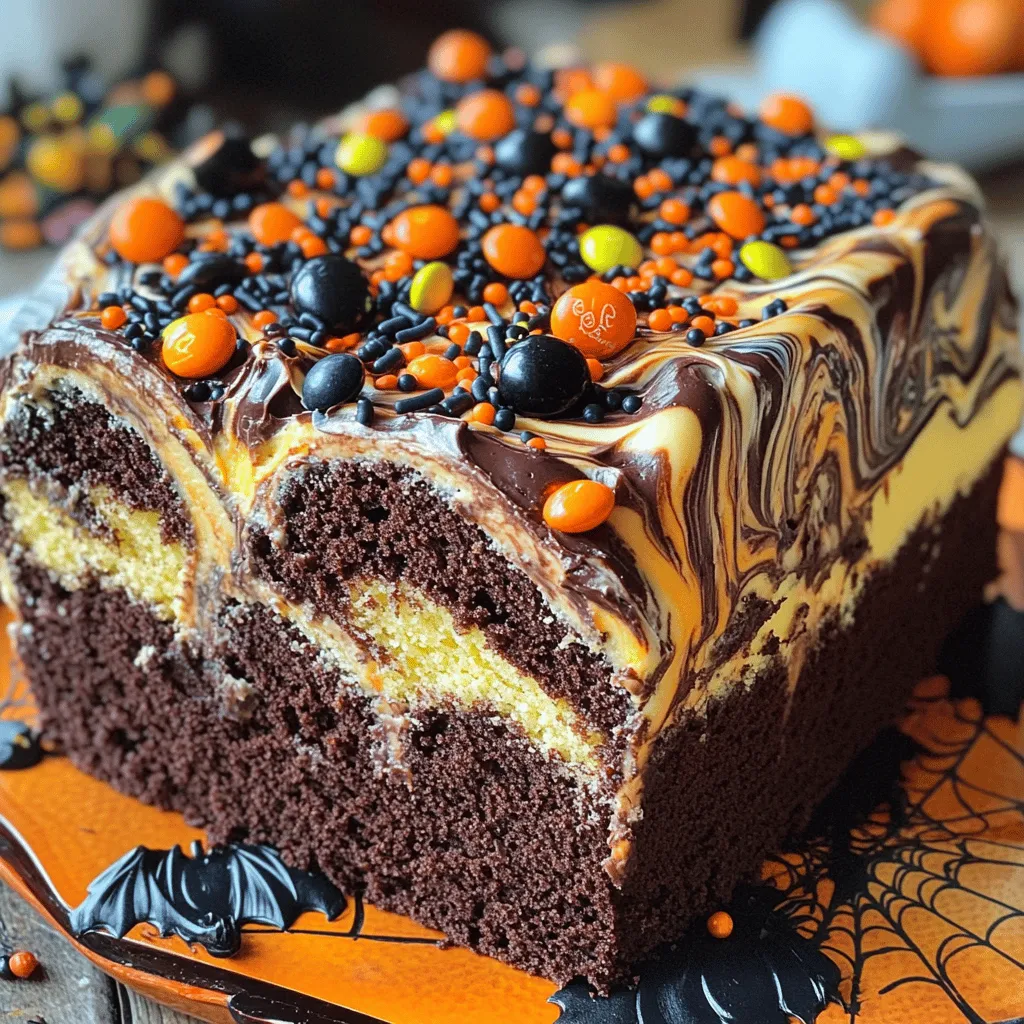
Get ready for a frightfully fun treat this Halloween! This Spooky Halloween Marble Cake is both easy to bake and a delight to eat. With its rich chocolate and vanilla …
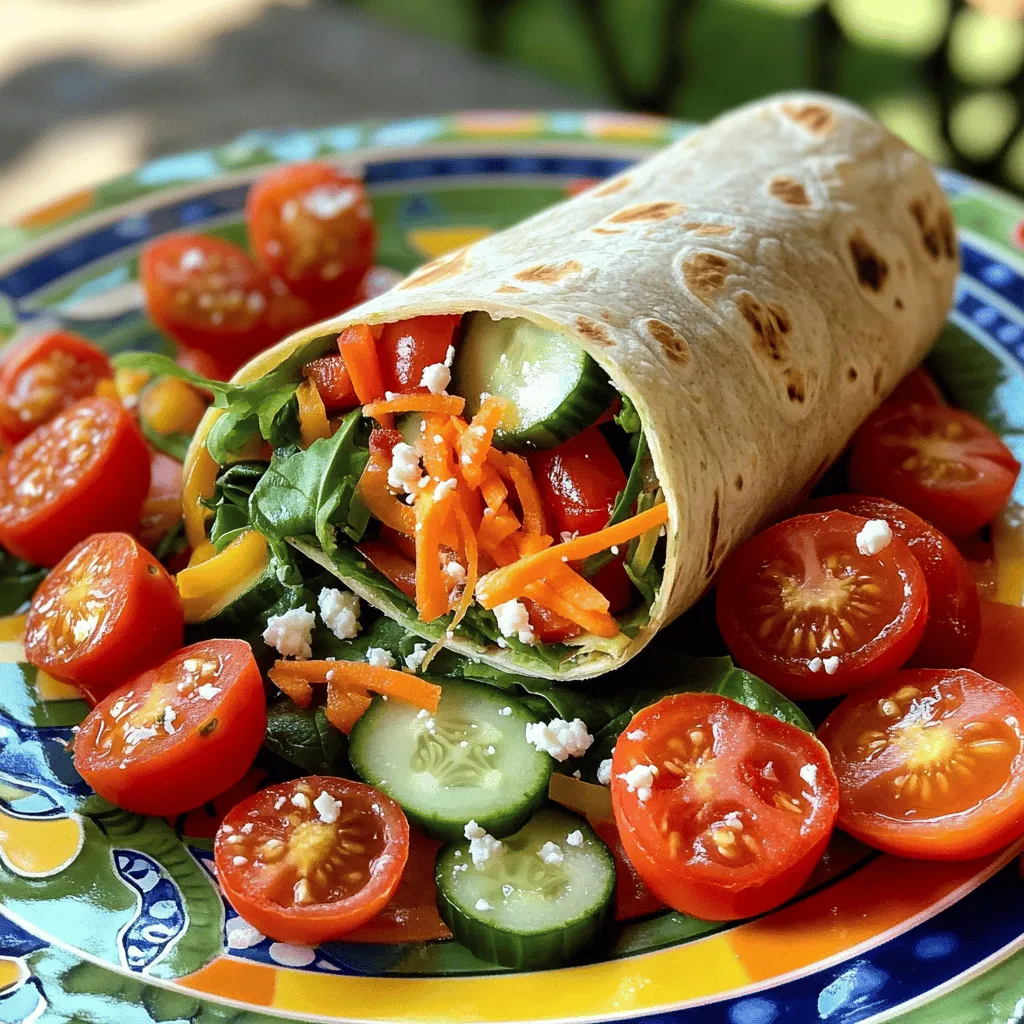
As a busy parent, finding healthy, kid-friendly school lunch ideas can feel overwhelming. But don’t worry! I’m here to share easy, colorful, and delicious meals that your kids will love. …
![- 1 cup all-purpose flour - 1 cup pumpkin puree - 1/2 cup semi-sweet chocolate chips - 1 large egg The main ingredients give these pancakes their tasty flavor. Pumpkin puree adds a rich, smooth texture. It also brings a subtle sweetness that pairs well with chocolate. The semi-sweet chocolate chips create bursts of sweetness in each bite. Using a large egg helps bind everything together for a fluffy pancake. - 1 tablespoon baking powder - 1/2 teaspoon baking soda - 1/2 teaspoon salt - 1 teaspoon ground cinnamon - 1/4 teaspoon ground nutmeg The dry ingredients are key to rising and flavor. Baking powder and baking soda create air pockets, making the pancakes light and fluffy. Salt enhances the flavors, while cinnamon and nutmeg add warmth. These spices give the pancakes a cozy fall vibe, perfect for any breakfast table. - 1 cup milk (dairy or non-dairy) - 2 tablespoons granulated sugar - 2 tablespoons vegetable oil (or melted coconut oil) Wet ingredients bring moisture to the batter. Milk adds richness, while sugar gives a touch of sweetness. The oil keeps the pancakes tender. You can use coconut oil for a hint of tropical flavor. Each ingredient plays a role to ensure your pancakes are soft and delicious. For the full recipe, check out the details above. Start by whisking together the dry ingredients in a large bowl. You will need: - 1 cup all-purpose flour - 1 tablespoon baking powder - 1/2 teaspoon baking soda - 1/2 teaspoon salt - 1 teaspoon ground cinnamon - 1/4 teaspoon ground nutmeg Whisk until everything is well mixed. Sifting can help make the texture lighter. This step ensures no lumps remain, giving you fluffy pancakes. Next, grab another bowl to combine the wet ingredients. You will need: - 1 cup pumpkin puree - 1 cup milk (dairy or non-dairy) - 1 large egg - 2 tablespoons granulated sugar - 2 tablespoons vegetable oil Mix these until smooth. A smooth mixture helps create a uniform batter, which is key for even cooking. Now, it's time to combine both mixtures. Gradually pour the wet mixture into the dry ingredients. Use a spatula to gently fold them together. This technique is important. Overmixing can make the pancakes tough. You want some lumps in the batter for the best texture. For cooking, preheat a griddle or skillet over medium heat. Lightly grease the surface with butter or oil. Use about 1/4 cup of batter for each pancake. Cook until bubbles form on the surface, which takes about 2-3 minutes. Flip the pancakes and cook for another 2-3 minutes until golden brown. Adjust the heat if needed. Enjoy the delicious smell filling your kitchen! To make your pancakes light and fluffy, whip the batter gently. Use a spatula to mix the wet and dry ingredients. Stop mixing when you see some lumps. Overmixing makes pancakes tough, which is not what you want. If you want a dairy-free option, use almond milk or oat milk. They work great in this recipe. For gluten-free pancakes, swap the all-purpose flour with a gluten-free blend. Just check that it has xanthan gum to help it hold together. You can add more spices for a warm taste. Consider using ground ginger or cloves for extra flavor. For a fun twist, mix in some chopped nuts or dried fruit. When it comes to toppings, maple syrup is a classic choice. You can also try whipped cream, yogurt, or fresh fruit. Adding a sprinkle of cinnamon on top brings out the pumpkin taste. Explore the [Full Recipe] for detailed instructions and tips! {{image_4}} You can make your pancakes even better by adding nuts. Chopped walnuts or pecans give a nice crunch. They also add healthy fats and protein. If you want to try something different, use dark chocolate or white chocolate chips. Dark chocolate has a rich taste, while white chocolate adds sweetness. These options can change the whole flavor of your pancakes. As the seasons change, so can your pancakes. For fall, add more spices like ginger or allspice. This will give your pancakes a cozy, warm flavor. During the winter holidays, try adding nutmeg and cloves for a festive touch. You can also change the pumpkin spice amount. If you love pumpkin spice, go ahead and add extra! It can make each bite feel like a warm hug. How you serve your pancakes can make them even more special. Stack them high on a plate for a fun look. Drizzle warm maple syrup over the top for sweetness. You can also sprinkle some extra cinnamon for added flavor. To make it a full meal, pair your pancakes with fresh fruit, like berries or bananas. For drinks, a cup of hot cocoa or a pumpkin spice latte works great! These ideas can turn your breakfast into a feast. Store leftover pancakes in a single layer on a plate. Cover them with plastic wrap or place them in an airtight container. This keeps them fresh and prevents drying out. I recommend using a container that fits well, so the pancakes don't stack too much. If you have some extra syrup, store it in a separate small jar. To freeze pancakes, stack them with a piece of parchment paper between each pancake. This helps them stay separate when frozen. Place the stack in a freezer-safe bag or container. Squeeze out as much air as you can before sealing. For reheating, pop them in the toaster or microwave. They heat up well in about 1-2 minutes until warm. In the fridge, these pancakes last about three days. In the freezer, they can stay good for about two months. Always check for spoilage signs. If you see mold or an off smell, toss them out. Trust your senses; they are often the best guide. For the best experience, use them within the suggested time frames. Enjoy your tasty chocolate chip pumpkin pancakes! You can enjoy these pancakes with many tasty toppings and sides. Some popular toppings include: - Pure maple syrup - Whipped cream - Fresh fruit (like bananas or berries) - Chopped nuts (like walnuts or pecans) For drinks, I recommend: - Hot coffee or tea - Freshly squeezed orange juice - Spiced apple cider These pairs add to the fun and flavor of your meal! Yes, you can make the batter ahead of time. Here’s how: - Mix the dry and wet ingredients separately. - Combine them just before cooking. - Store the wet mixture in the fridge for up to 24 hours. For storage: - Use an airtight container to keep the batter fresh. - Stir before cooking to mix it well again. You can tell when your pancakes are ready by checking for these signs: - Look for bubbles forming on the surface. - The edges should appear dry and set. - Flip them when they are golden brown on one side. Common mistakes include flipping too soon or cooking on too high heat. This can lead to uneven cooking or burnt edges. In this blog post, we explored the delicious world of chocolate chip pumpkin pancakes. We covered the key ingredients, mixing techniques, and cooking tips. You can make these pancakes fluffy and flavorful with simple methods. Remember to enjoy variations like nuts or seasonal spices. Store leftovers properly, or freeze them for later. With these tips, you will create tasty pancakes that impress everyone. Enjoy the process and share your tasty results!](https://tastednest.com/wp-content/uploads/2025/07/13d6c1aa-dc00-44f3-ace7-48fd28b532e2.webp)
Fall is here, and it’s time to embrace the cozy flavors of the season! Imagine waking up to the warm, sweet scent of Chocolate Chip Pumpkin Pancakes filling your kitchen. …
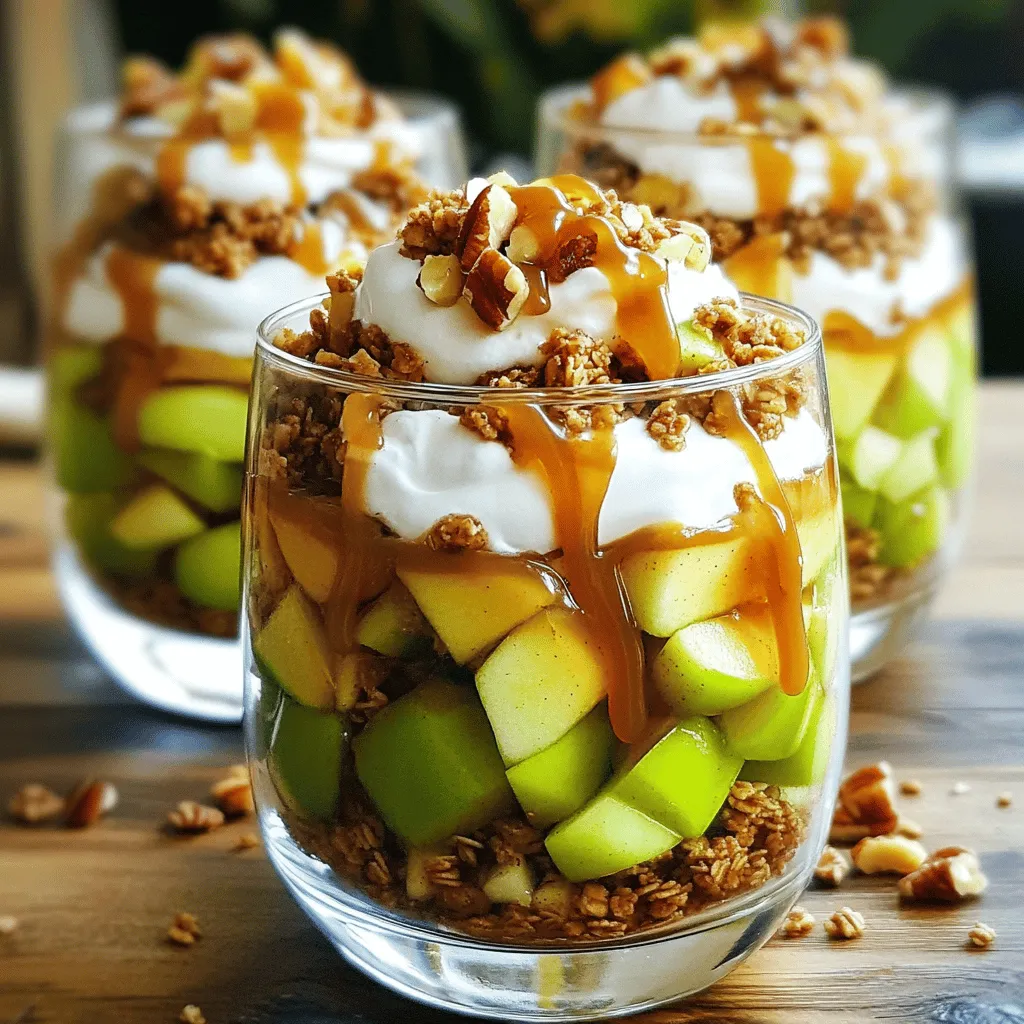
Looking for a simple and delicious fall dessert to impress your guests? You’re in the right place! In this post, I’ll show you how to make an Autumn Caramel Apple …
![- 4 slices of thick bread (brioche or challah recommended for optimal flavor) - 1 cup pumpkin puree (can use canned or freshly made) - 2 large eggs - 1 cup milk (dairy or almond milk, based on preference) - 1 teaspoon pure vanilla extract - 1 teaspoon ground cinnamon - ½ teaspoon ground nutmeg - ¼ teaspoon ground ginger - 2 tablespoons packed brown sugar - Pinch of salt - Butter (for greasing and cooking) The main ingredients for pumpkin French toast create a warm and cozy dish. The pumpkin puree gives it a lovely fall flavor. Eggs and milk help the bread soak up the goodness. Spices like cinnamon and nutmeg add warmth and comfort. A hint of ginger brings a nice zing, while brown sugar rounds it all out with sweetness. - ½ cup unsalted butter, softened to room temperature - 2 tablespoons powdered sugar - 1 teaspoon ground cinnamon Cinnamon butter is the perfect topping for this dish. The soft butter makes it easy to spread. Mixing in powdered sugar adds a touch of sweetness. Ground cinnamon brings out the warm spices in the French toast. Together, they create a creamy, dreamy topping that melts into every bite. For the best pumpkin French toast, use thick bread. Brioche or challah works well. Both types have a rich flavor and soft texture. They soak up the batter nicely without falling apart. You can try other breads too, like sourdough or whole wheat. Just ensure they are thick enough to hold the batter. Using the right bread makes a big difference in taste and texture. For the complete recipe, check the [Full Recipe]. Start by mixing the cinnamon butter. In a medium bowl, add ½ cup of softened unsalted butter. Next, add 2 tablespoons of powdered sugar and 1 teaspoon of ground cinnamon. Use a fork or hand mixer to blend until smooth. This should take about 1-2 minutes. Once creamy, set the butter aside. It will add a sweet touch to the French toast. Now, let’s make the pumpkin batter. In a large bowl, add 1 cup of pumpkin puree, 2 large eggs, and 1 cup of milk. You can use dairy or almond milk, based on your taste. Then, stir in 1 teaspoon of pure vanilla extract, 1 teaspoon of ground cinnamon, ½ teaspoon of nutmeg, and ¼ teaspoon of ground ginger. Add 2 tablespoons of packed brown sugar and a pinch of salt. Whisk everything until it is well mixed. The batter should be thick but smooth. Preheat your skillet over medium heat. Add a small pat of butter to coat the surface. Take each slice of thick bread and dip it in the pumpkin batter. Make sure both sides are coated, but don’t soak them too much. Place the drenched bread on the hot skillet. Cook for about 3-4 minutes on each side. Look for a golden brown color and a slight crisp. Add more butter to the skillet as needed. Once cooked, serve warm with a dollop of cinnamon butter on top. For a sweet touch, sprinkle some powdered sugar before serving. You can find the full recipe to guide you through these steps easily. To get soft and fluffy French toast, use thick bread like brioche or challah. These types soak up the pumpkin batter well. When you dip the bread, make sure it is coated but not soggy. If the bread gets too wet, it will fall apart. Cook each slice until it is golden brown. This gives a nice crisp outside while keeping it soft inside. If you need a dairy-free option, use almond milk or oat milk instead of regular milk. For a vegan twist, replace eggs with a mashed banana or flaxseed meal mixed with water. You can also use gluten-free bread to make this dish suitable for those with gluten intolerance. These swaps will not compromise the taste. They still let the pumpkin flavor shine through. Cooking in batches helps you serve warm French toast to everyone at once. Start by preheating your skillet on medium heat. Add a pat of butter before each new batch. This prevents sticking and adds flavor. Keep the cooked slices warm in the oven at a low temperature while you finish the rest. This way, everyone can enjoy a hot meal together. For the full recipe, be sure to check the details above. {{image_4}} A great way to feed a crowd is by making a pumpkin French toast casserole. This dish allows you to prepare everything in advance. You start by layering slices of bread in a baking dish. Pour the pumpkin batter over the bread. Let it soak overnight in the fridge. The next day, bake it until it’s golden and fluffy. It’s a fun twist and perfect for brunch. If you love chocolate, try adding chocolate chips to the batter. Just fold in about a cup of semi-sweet chocolate chips into the pumpkin mixture before dipping the bread. The chocolate pairs nicely with the pumpkin and spice flavors. It brings a sweet richness that kids and adults will love. You can easily make this recipe gluten-free. Use gluten-free bread, like a thick slice of sourdough or a gluten-free brioche. Make sure your pumpkin puree and other ingredients are gluten-free too. This way, everyone can enjoy the deliciousness of pumpkin French toast without worry. I recommend placing leftover pumpkin French toast in an airtight container. This keeps it fresh. Make sure to cool the toast completely before storing. It will last in the fridge for up to three days. If you want to enjoy it later, I suggest freezing it. To reheat, you have a few options. The oven works best for keeping the toast crispy. Preheat your oven to 350°F (175°C). Place the slices on a baking sheet and warm them for about 10 minutes. You can also use a toaster or microwave. The toaster can give you a nice crunch. The microwave will warm it quickly but might make it soft. Freezing is a great way to save time. First, let the cooked French toast cool. Then, place slices in a single layer on a baking sheet. Freeze them for about an hour until firm. After that, transfer them to a freezer-safe bag. They will keep well for up to three months. When you want to eat them, simply follow the reheating tips above. Enjoy the taste of pumpkin French toast anytime! Yes, you can use fresh pumpkin. Start by roasting a pumpkin. Cut it in half and remove the seeds. Bake it at 350°F for about an hour. Once soft, scoop out the flesh and mash it. Use this fresh puree in your recipe. It adds a bright flavor and nice texture. To reduce sweetness, cut back on brown sugar. You can also skip the powdered sugar on top. Use unsweetened almond milk instead of sweetened milk. You may want to use less cinnamon in the butter. This way, you still enjoy the taste without too much sweetness. Great toppings include: - Maple syrup for a classic touch - Fresh berries for a burst of flavor - Chopped nuts for crunch - Whipped cream for a rich finish - Yogurt for creaminess and tang Experiment with different combinations to find your favorite! You learned how to make Pumpkin French Toast, enhancing it with cinnamon butter. The right bread makes a big difference in texture. Cooking in batches gives you a chance to share. Try variations like casserole or add chocolate chips for fun. Storing leftovers helps you enjoy it later. Remember, fresh pumpkin is a great swap, too! Embrace these easy steps and tips to make your mornings special. Are you ready to enjoy this tasty dish?](https://tastednest.com/wp-content/uploads/2025/07/be67e9e3-c88a-4c4a-abba-0ec002631a4a.webp)
Get ready to transform your breakfast with my Pumpkin French Toast with Cinnamon Butter! This recipe blends the warm flavors of pumpkin and spice, making your morning special. You’ll find …
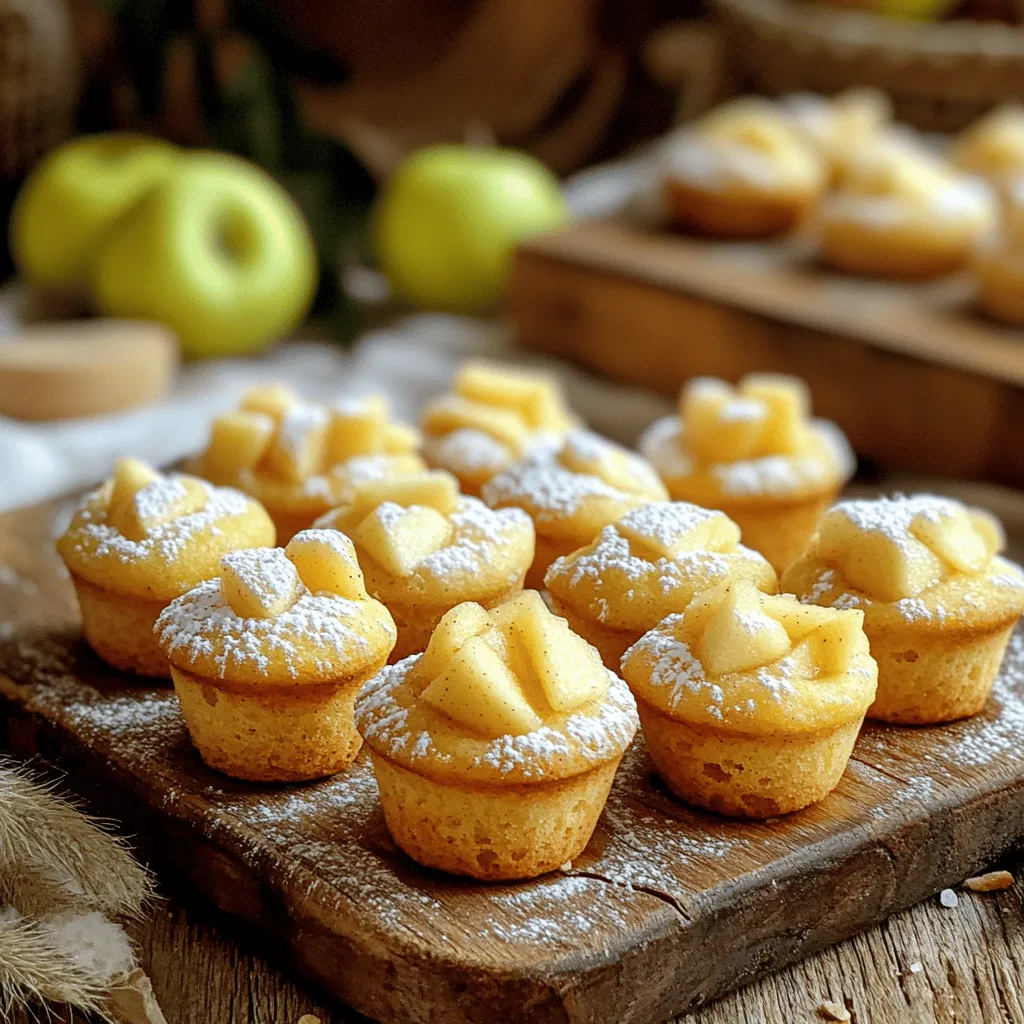
Welcome to the world of Salted Apple Maple Munchkins! These delightful treats blend sweet apples and rich maple syrup, creating a perfect snack. You’ll love their cozy, warm flavors, making …
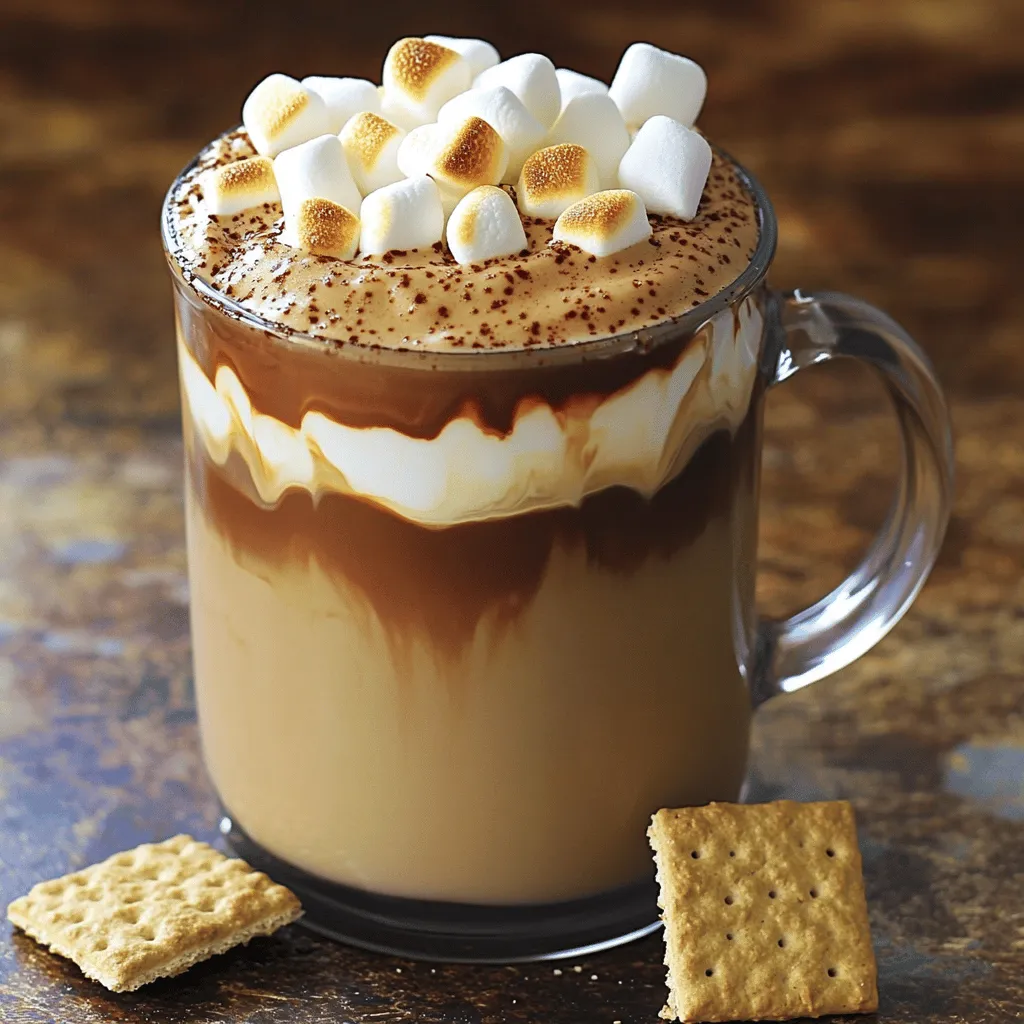
Craving a warm drink that brings back the joy of campfires? I’ve got you covered! My Campfire S’mores Latte combines rich coffee, creamy milk, and the sweet flavors of marshmallows …
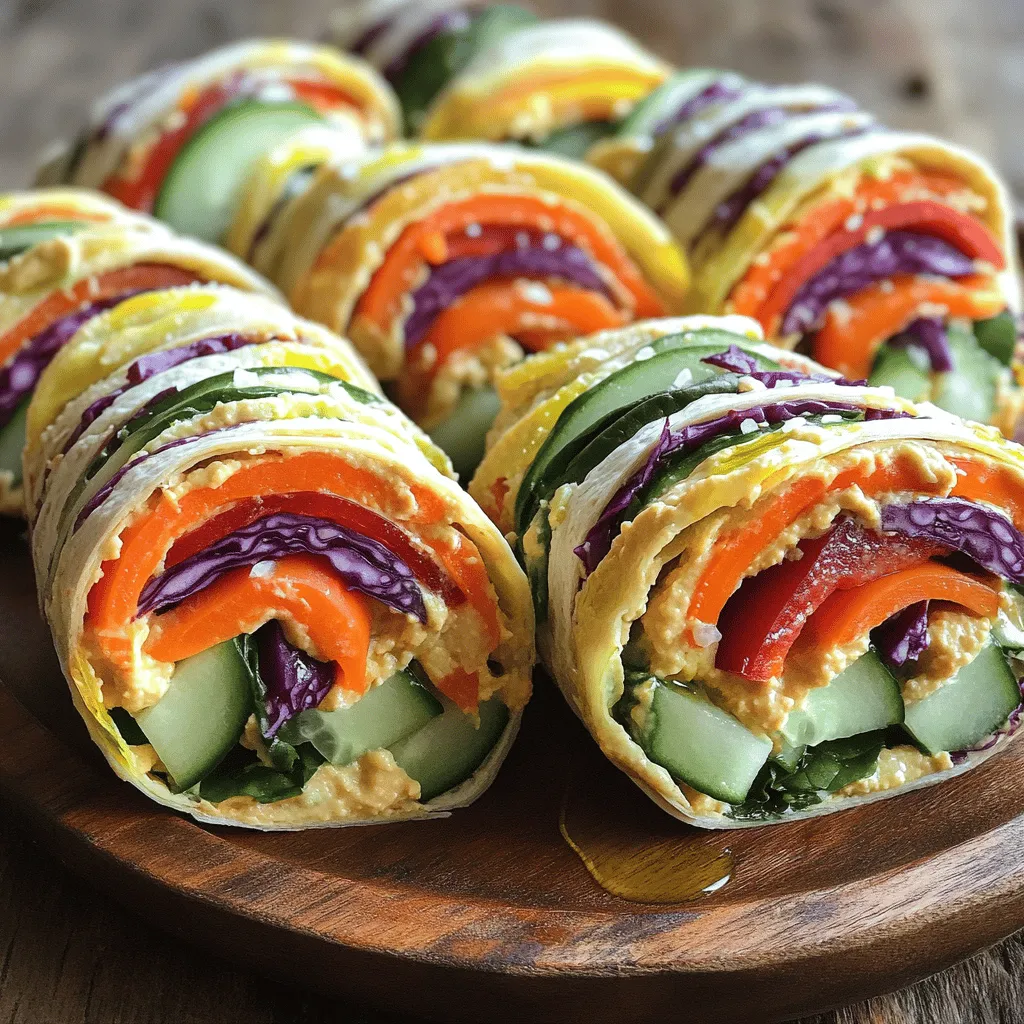
Are you tired of the same old lunches for your toddler? It’s time to shake things up with colorful veggie wraps! Packed with fresh ingredients and fun to assemble, these …
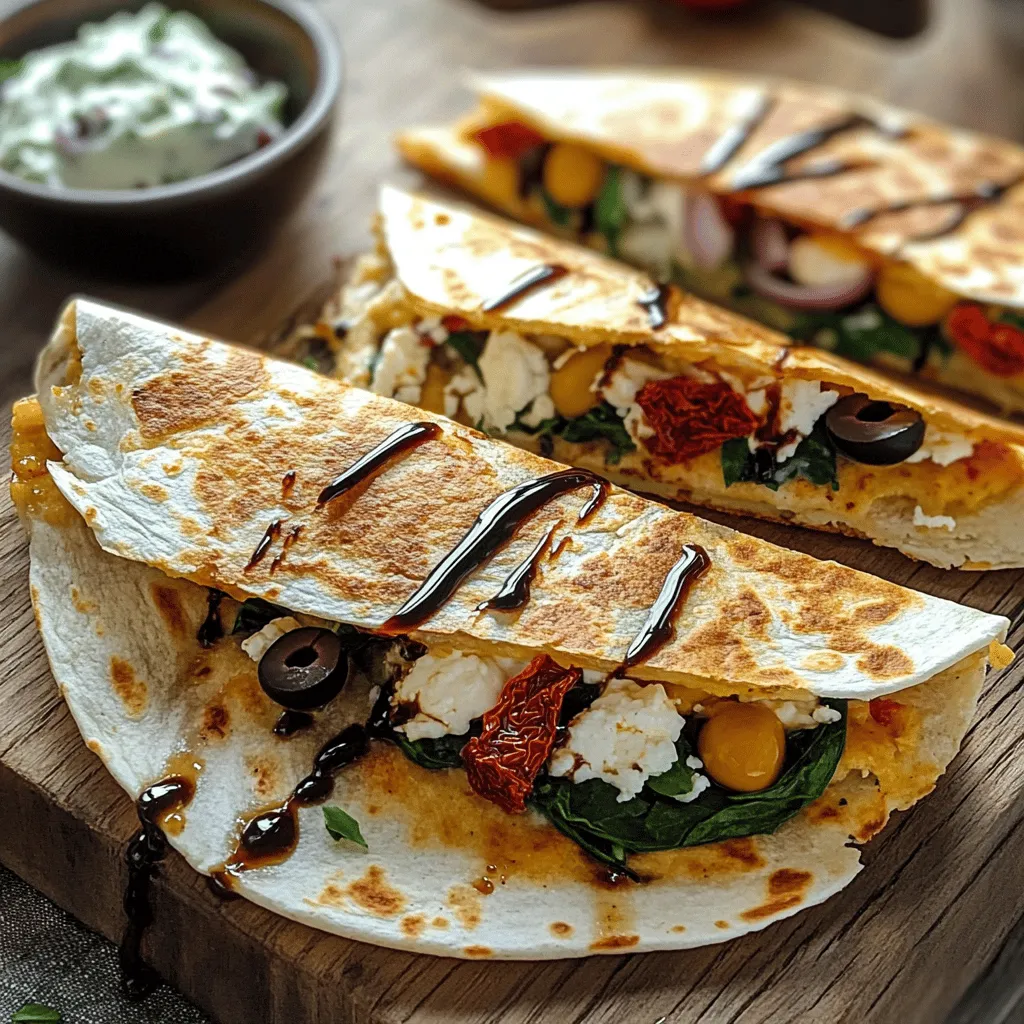
Looking for a tasty twist on a classic dish? You’ll love my Mediterranean Quesadillas! This easy recipe combines gooey cheese, fresh veggies, and zesty flavors in every bite. With just …