Baked Chicken Alfredo Delightfully Creamy Dish
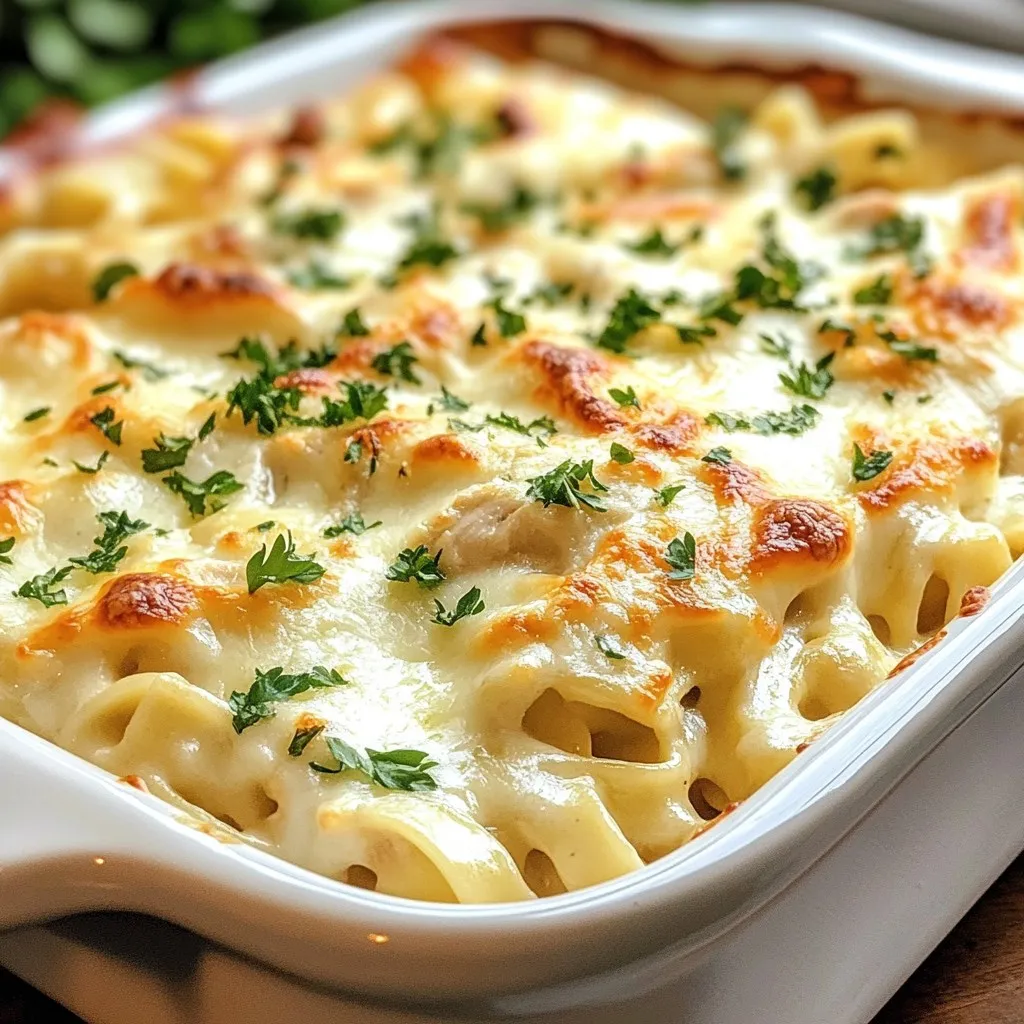
Are you ready to indulge in a creamy, cheesy wonder? My Baked Chicken Alfredo is the perfect blend of rich flavors and easy preparation. You’ll love how simple it is …
Are you ready to indulge in a creamy, cheesy wonder? My Baked Chicken Alfredo is the perfect blend of rich flavors and easy preparation. You’ll love how simple it is …
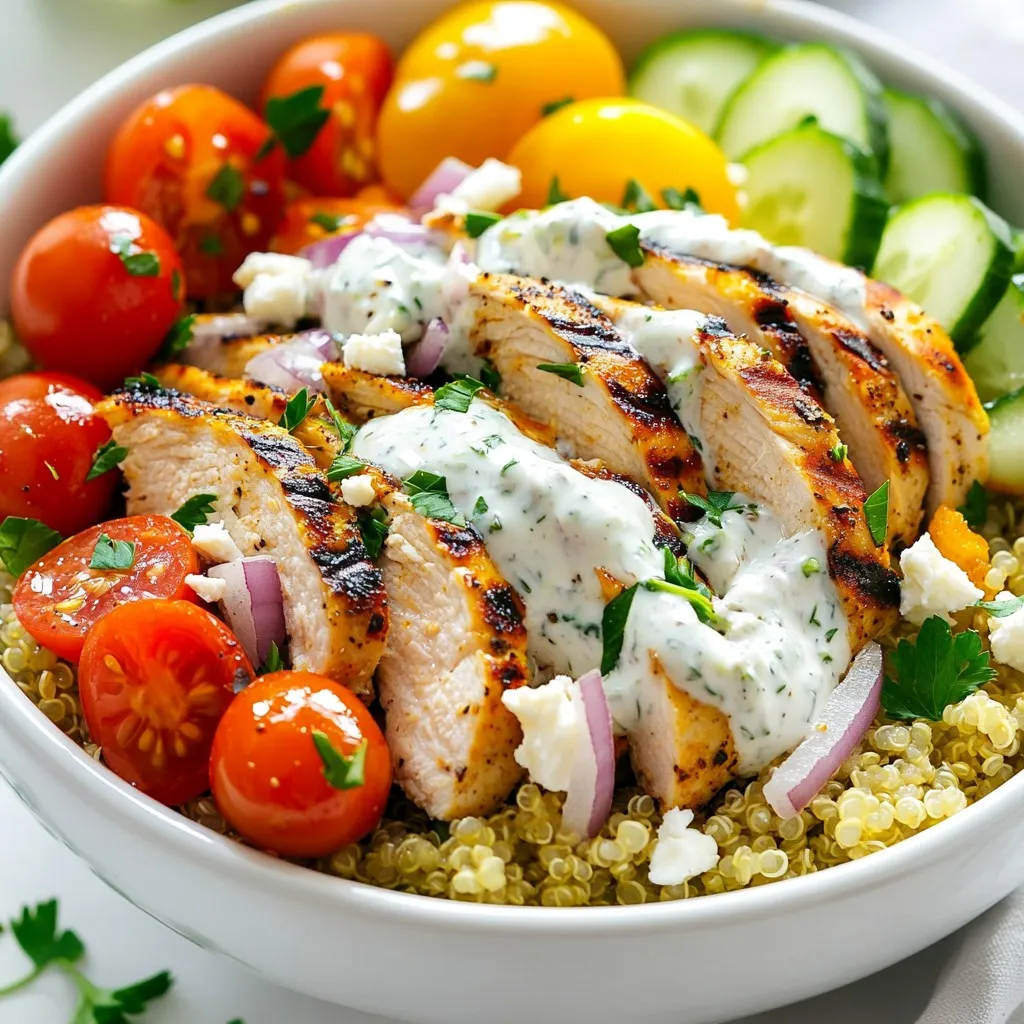
Picture this: a bowl bursting with flavor and freshness, all thanks to Greek Chicken Bowls with Tzatziki! This dish combines marinated chicken, fluffy quinoa, and crisp veggies, topped with a …
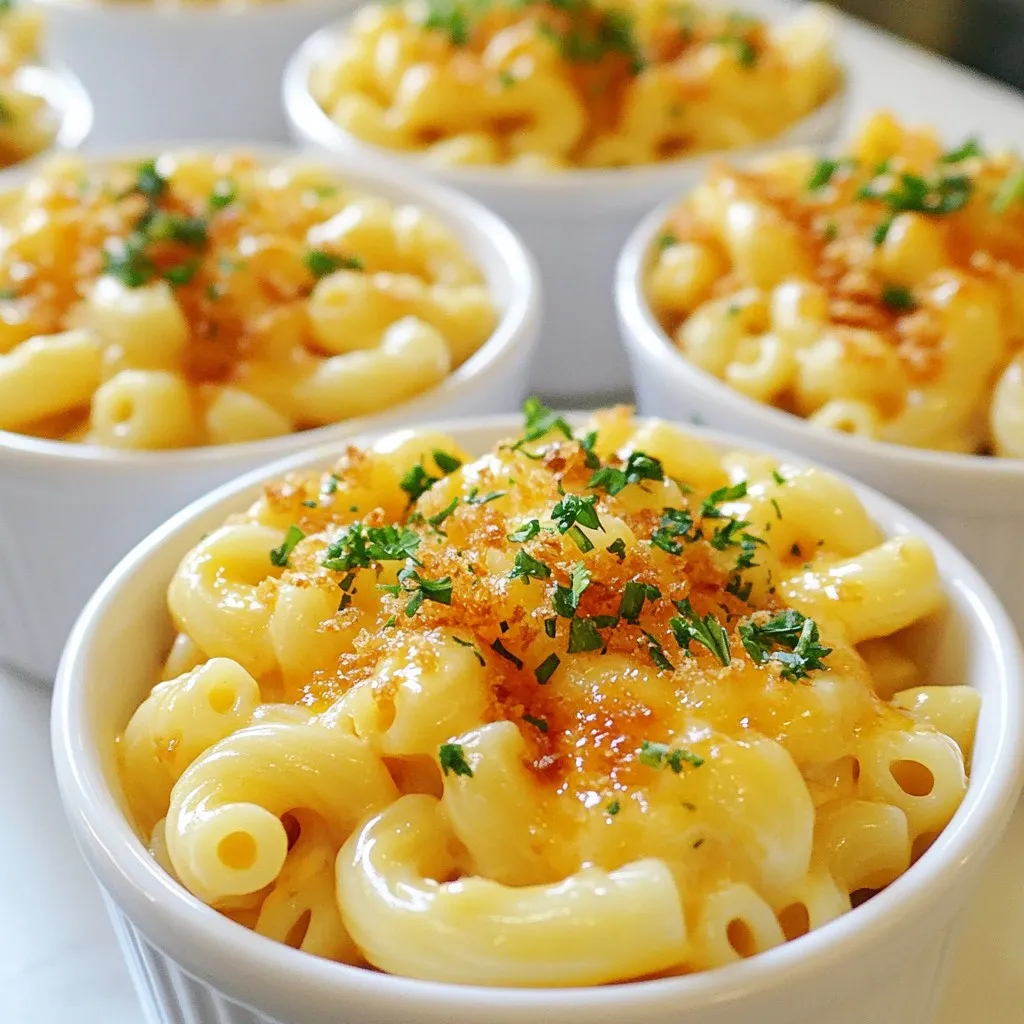
Are you ready to dive into a bowl of comfort? In this recipe for Honey Garlic Butter Chicken Mac & Cheese Delight, you’ll find the perfect blend of sweet and …
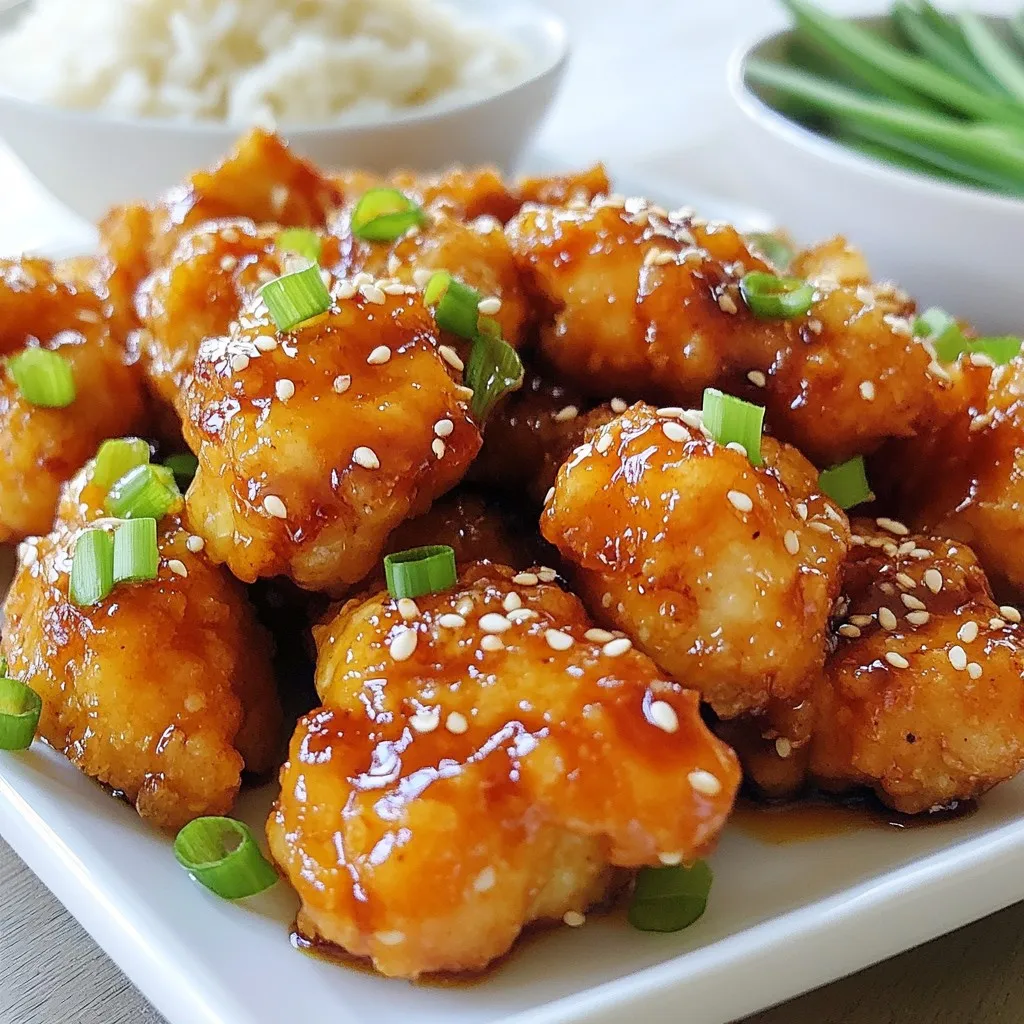
If you’re hunting for a tasty and simple dish, look no further! Honey Garlic Chicken Bites are a perfect crowd-pleaser. This dish blends sweet and savory flavors for a meal …
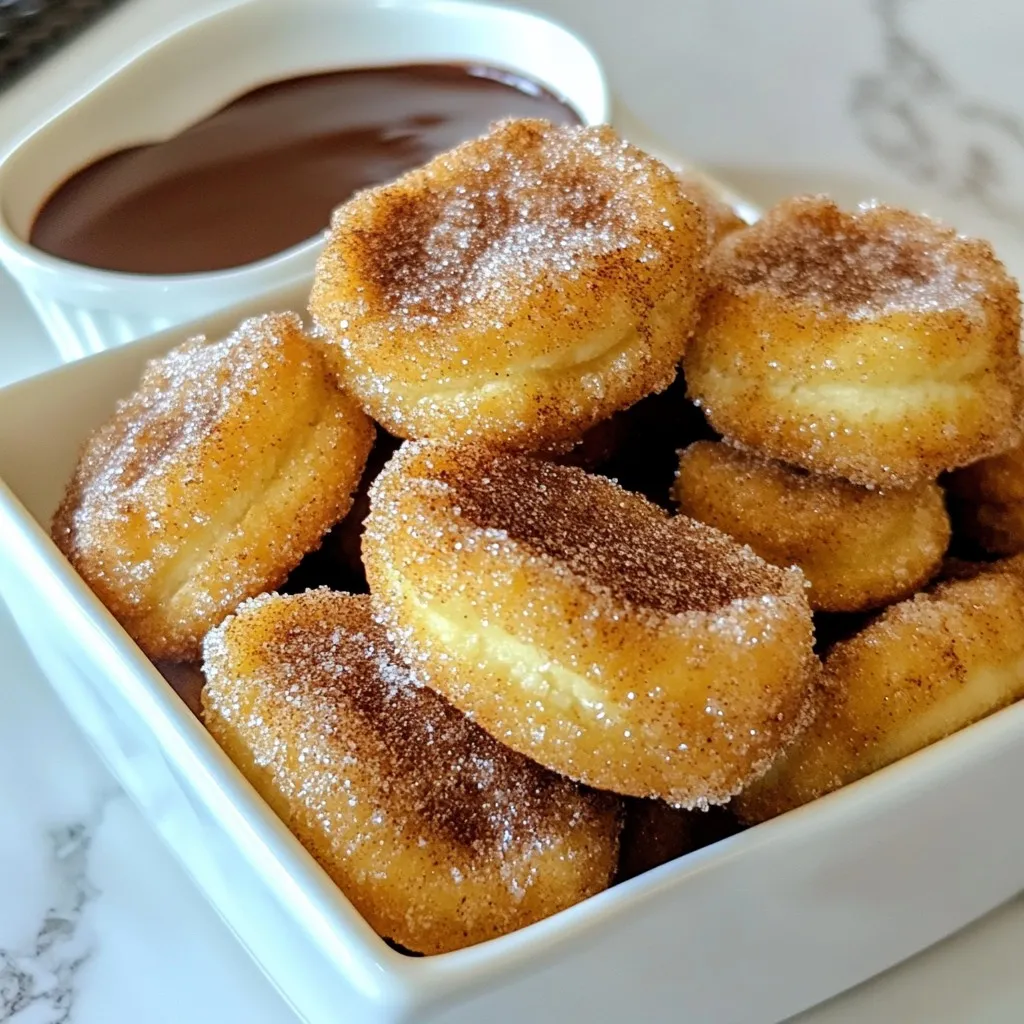
Craving a sweet snack that’s quick and easy? You’re in for a treat! These Easy Baked Churro Bites are simple to make and oh-so-delicious. With just a few ingredients and …
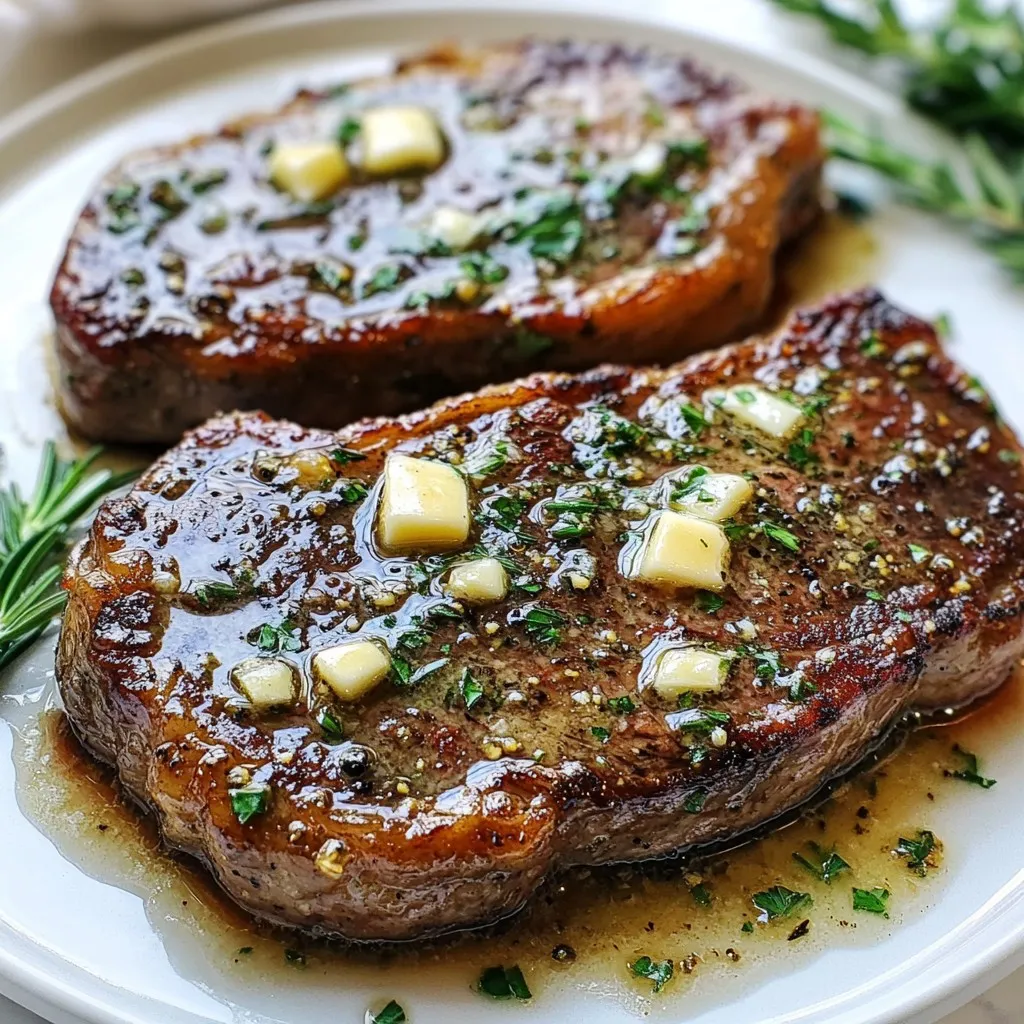
Looking to impress with a quick yet mouthwatering dish? My Garlic Butter Skillet Steak recipe is just what you need! It’s a simple yet flavorful way to cook steak you’ll …
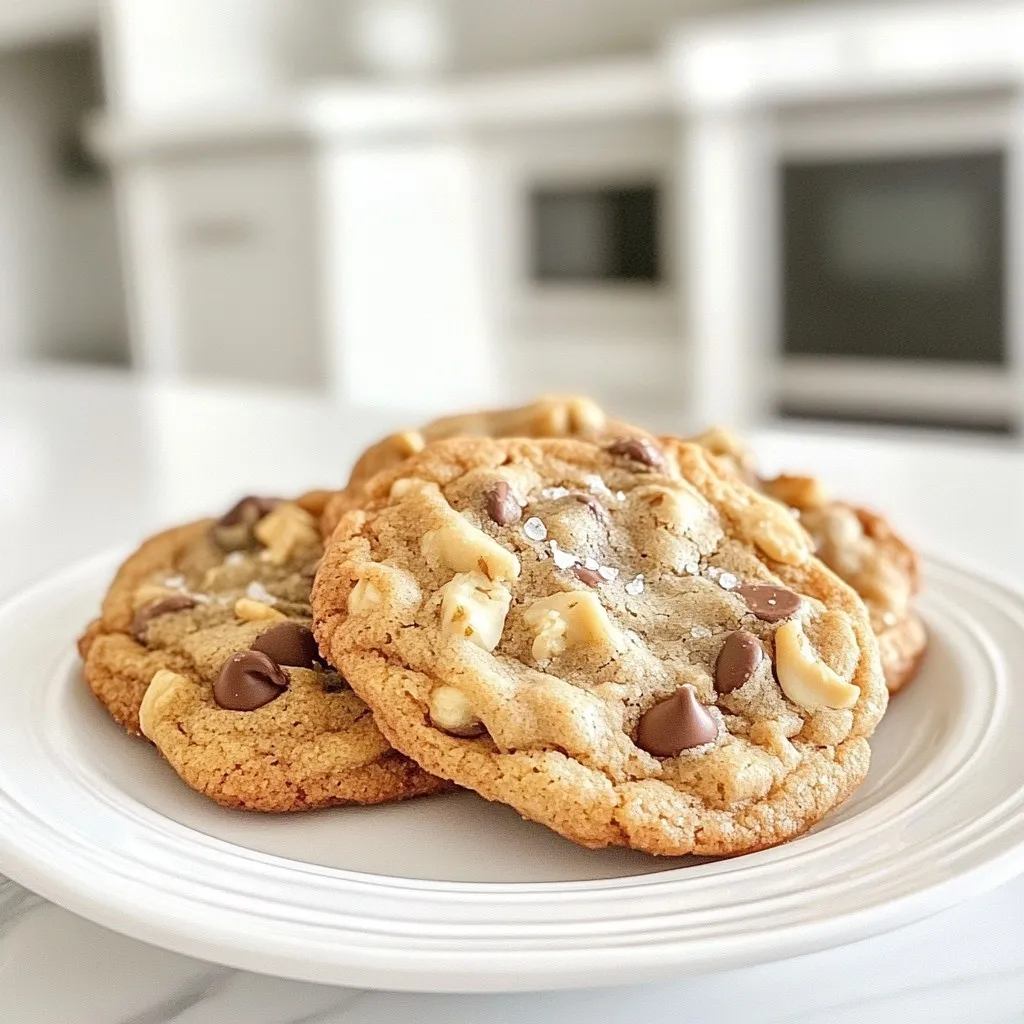
If you crave the perfect blend of chewy and sweet, you’re in the right place. My Ultimate Chewy Chocolate Chip Cookies Simple Recipe will guide you to cookie perfection. From …
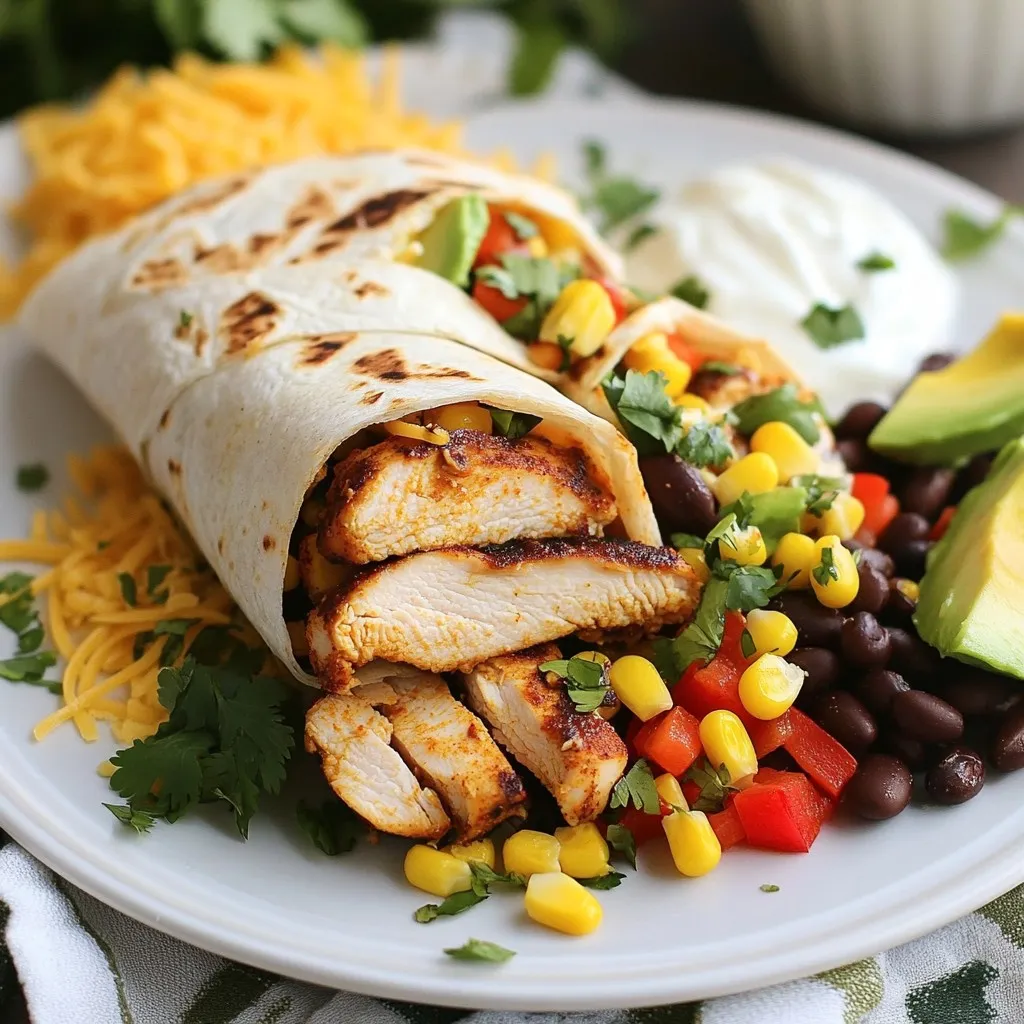
Get ready to spice up your meal prep with my quick and easy Southwest Chicken Wraps! These delightful wraps are packed with flavor and can be whipped up in no …
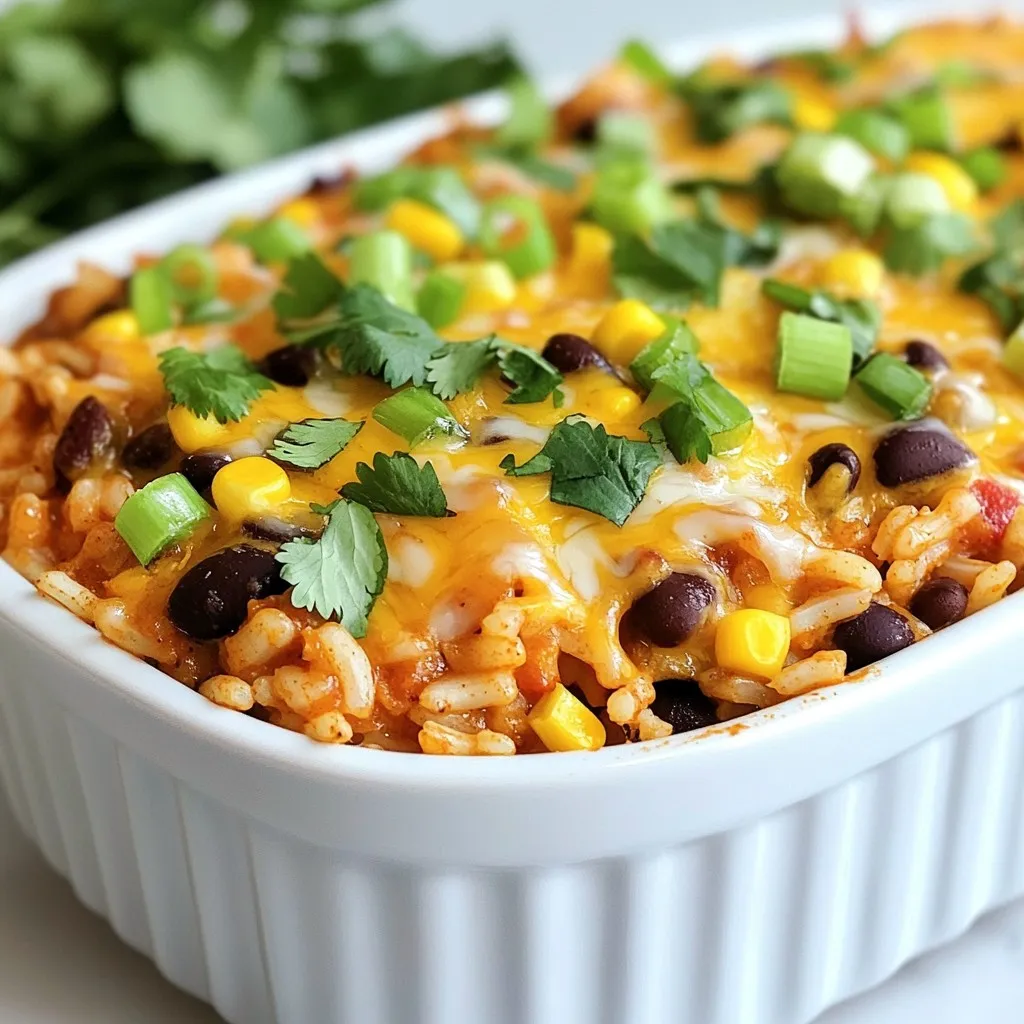
Looking for a quick dinner that packs a punch? Chicken Enchilada Rice Casserole is the answer! This simple and tasty meal combines rich flavors and hearty ingredients for a dish …
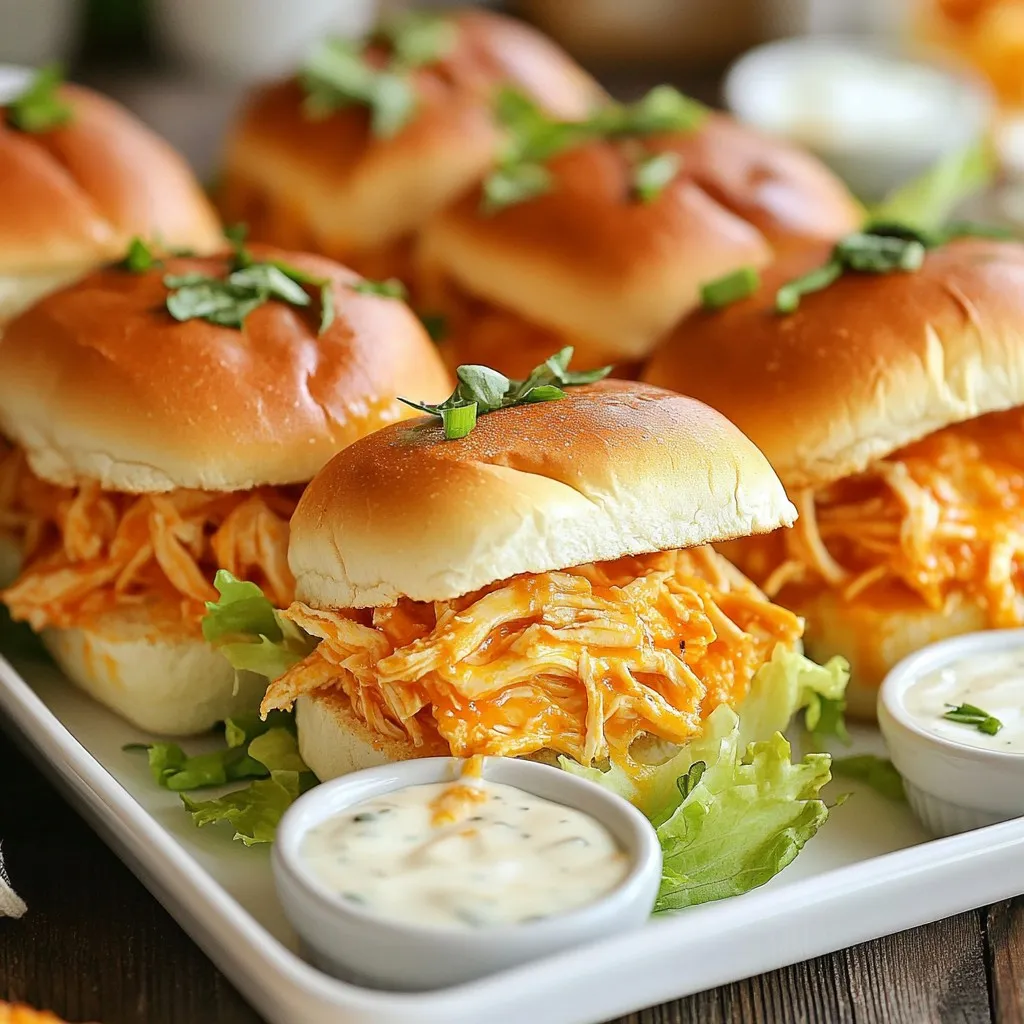
Craving a quick, tasty snack? You’ll love these Savory Buffalo Chicken Sliders! They pack a punch of flavor, are easy to make, and are perfect for game day or any …