Safe-To-Eat Cookie Dough Delicious and Easy Recipe
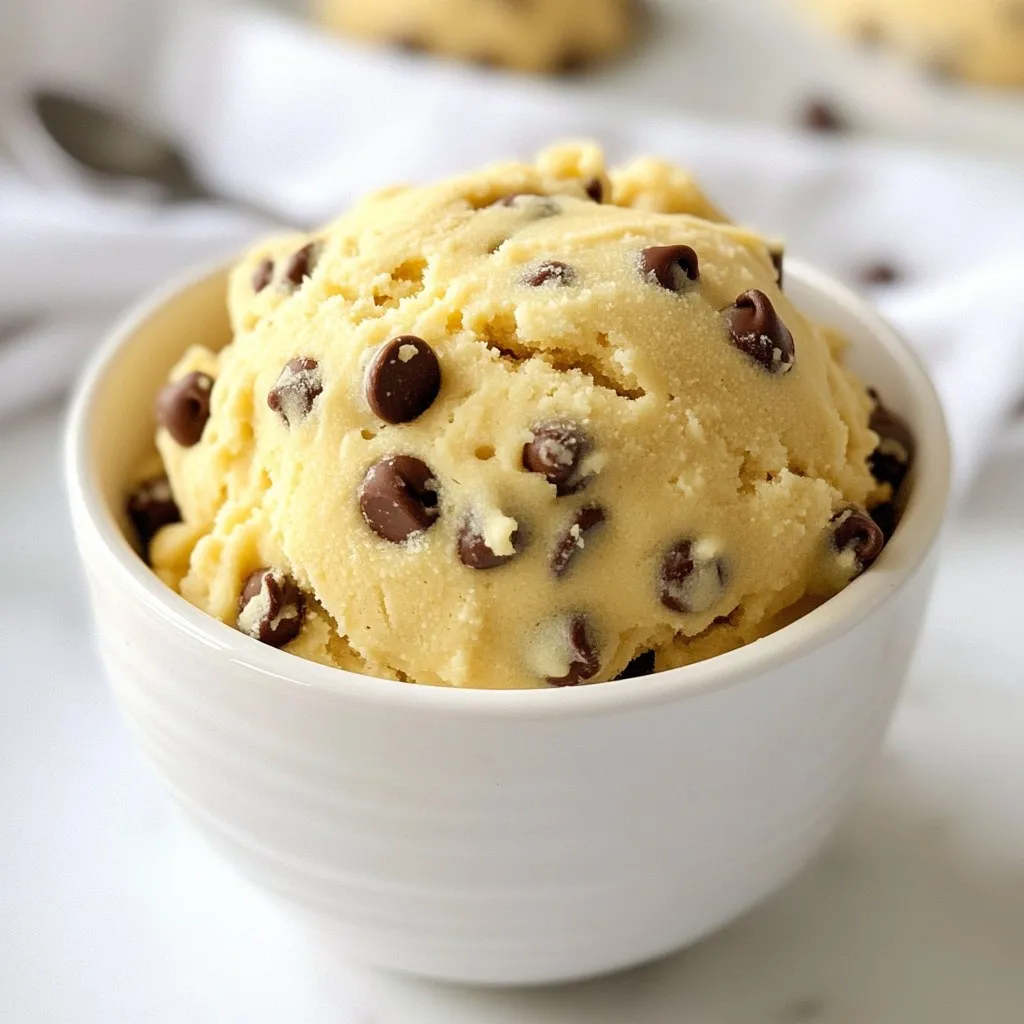
Are you craving the sweet taste of cookie dough but worried about safety? You’re in for a treat! I’m sharing a super simple, delicious recipe for safe-to-eat cookie dough. This …
Are you craving the sweet taste of cookie dough but worried about safety? You’re in for a treat! I’m sharing a super simple, delicious recipe for safe-to-eat cookie dough. This …

Craving a quick, delicious treat? Meet the Minute Healthy Mug Brownie, your new favorite snack! In just a few steps, you can whip up a rich, fudgy brownie that’s guilt-free …
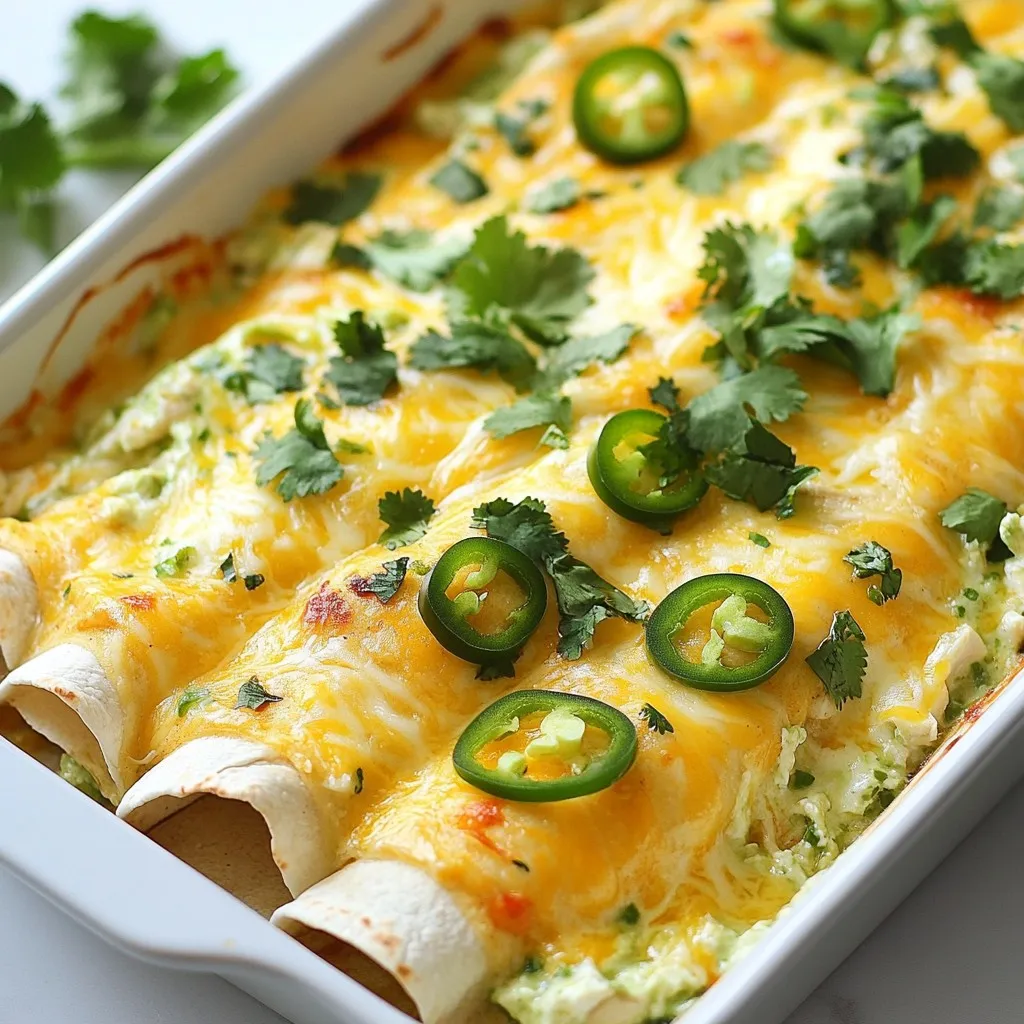
Craving a quick and tasty dinner? These Minute Creamy White Chicken Enchiladas can be ready in no time! With only a few simple ingredients and easy steps, you’ll have a …
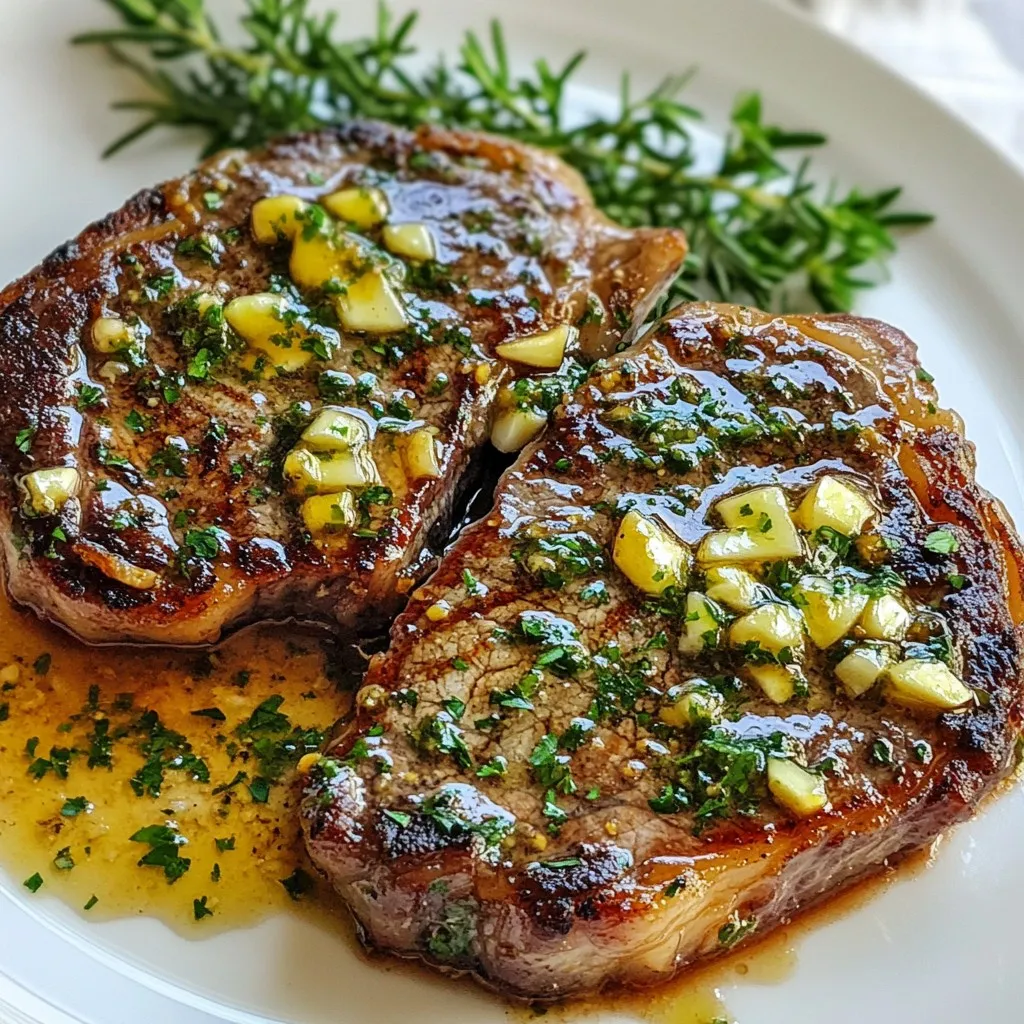
Looking for a quick and tasty meal? This Garlic Butter Skillet Steak recipe has you covered! Perfectly seared ribeye, rich garlic butter, and fresh herbs come together in one pan. …

Are you ready to spice up your meal plan? The Bang Bang Chicken Bowl is a fun, tasty dish that’s easy to make and loaded with flavor. In this post, …
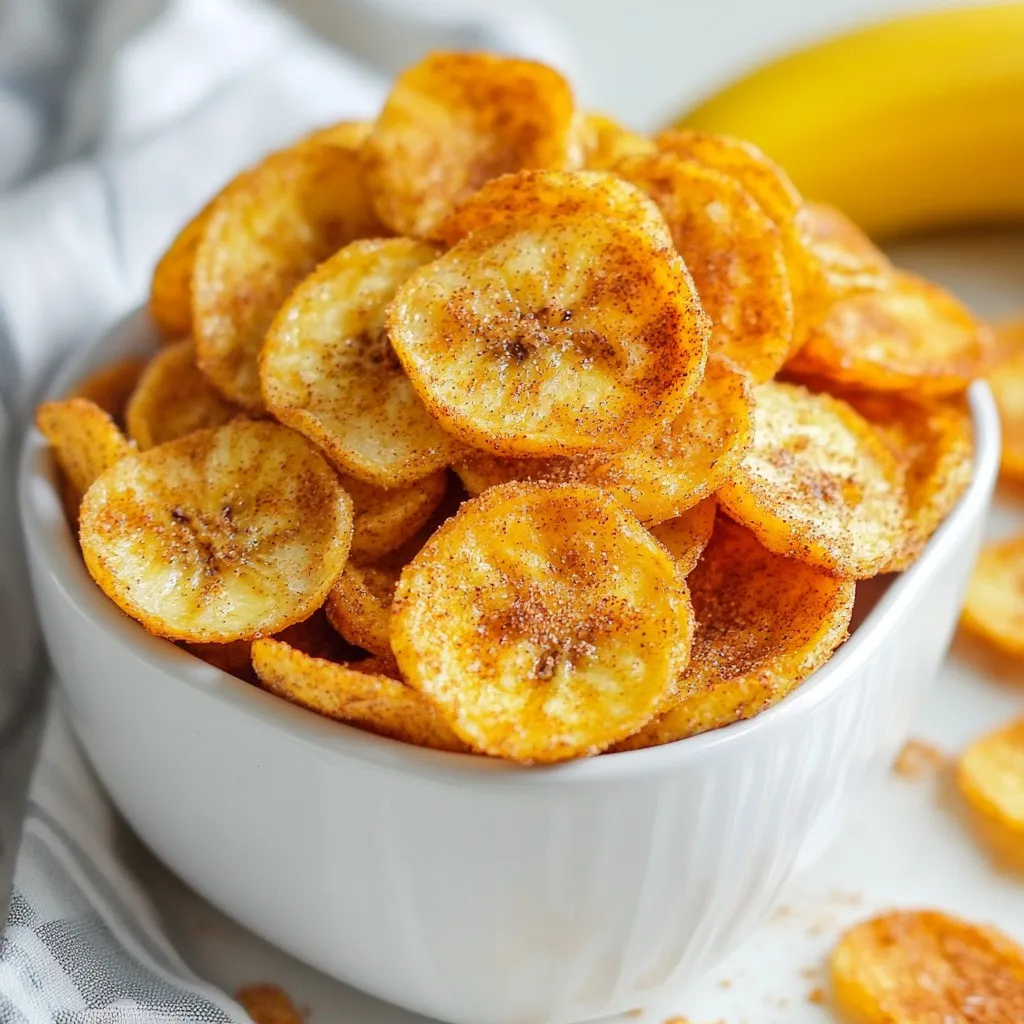
Craving a healthy snack that’s crunchy and sweet? You’re in the right place! Today, I’ll show you how to make Air Fryer Cinnamon Banana Chips. These tasty treats are not …
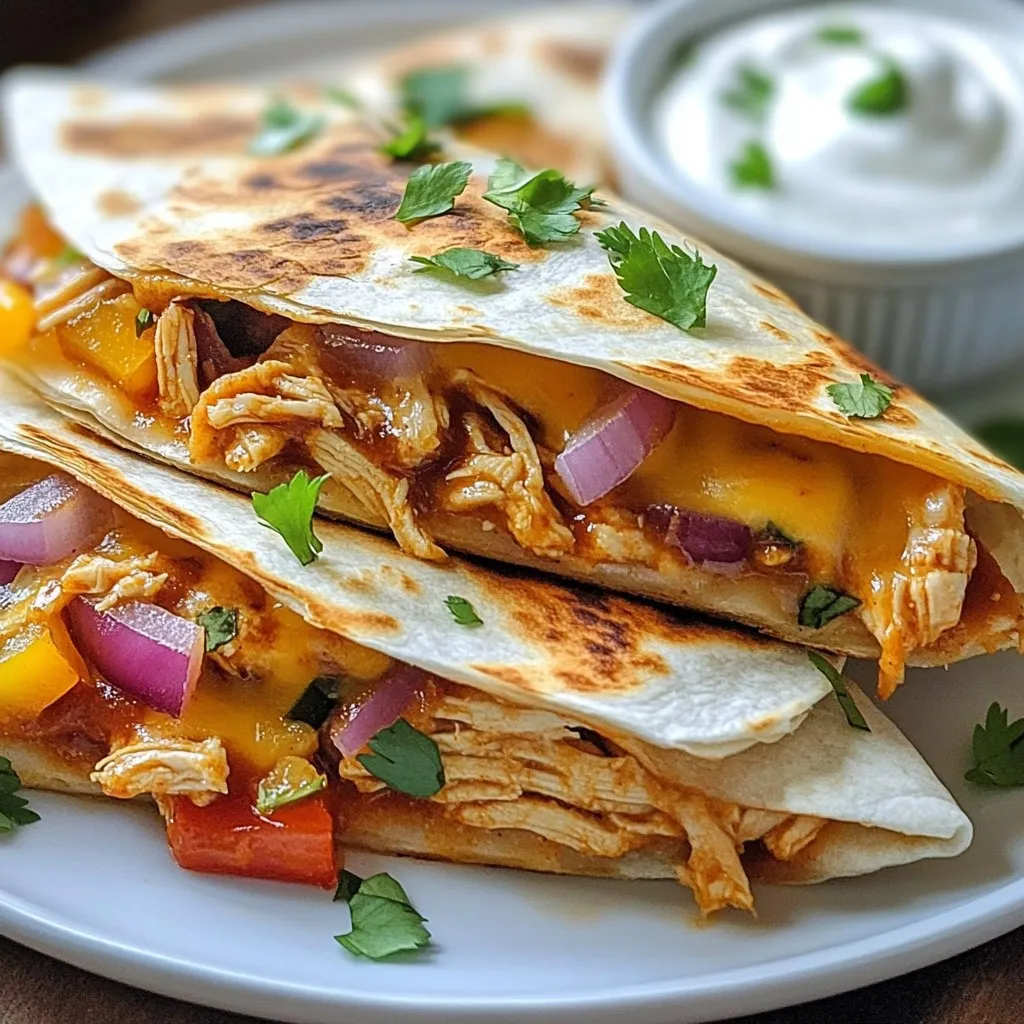
If you’re craving a tasty and fun meal, BBQ Chicken Quesadilla Melts are the answer! This easy recipe will give you a mouthwatering combo of flavors. You can customize it …
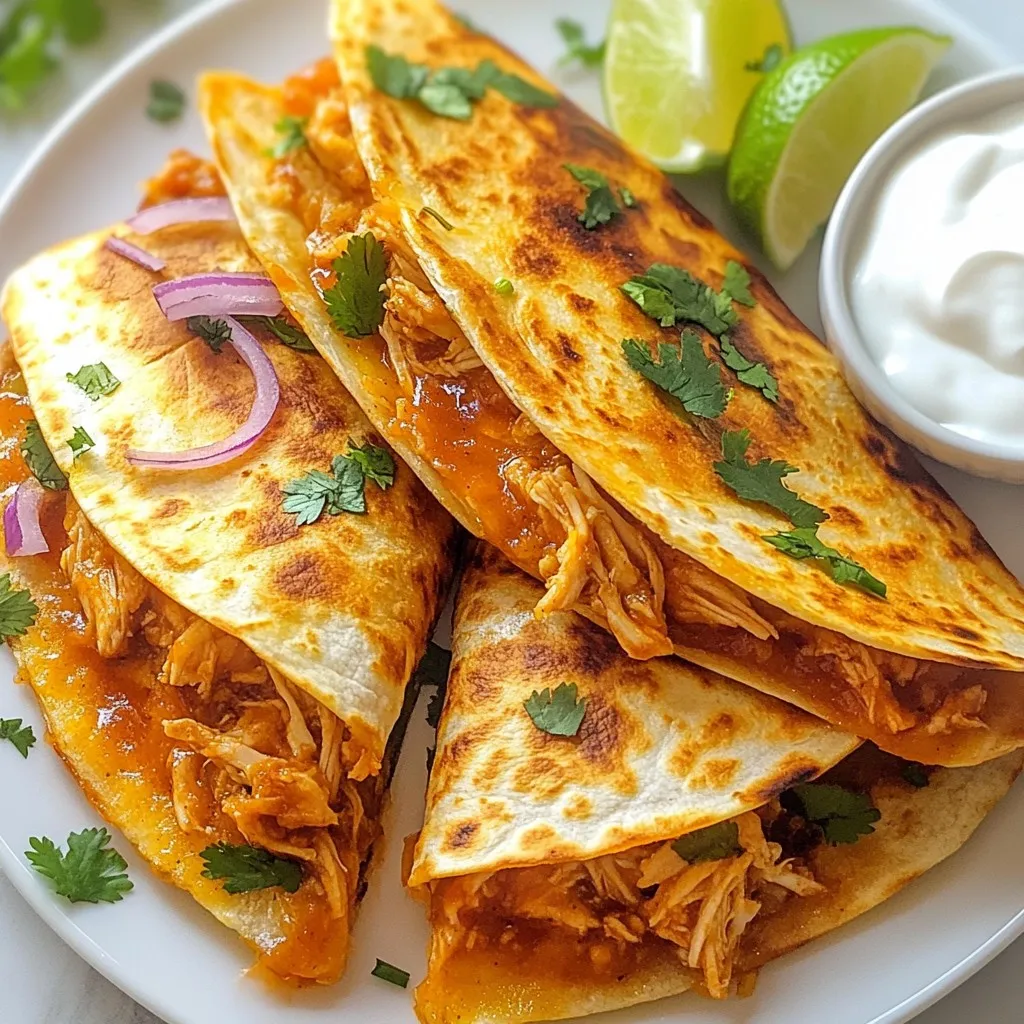
Are you ready to spice up your mealtime? These BBQ Chicken Quesadillas with Red Onion and Cilantro are quick, tasty, and loaded with flavor. Made with juicy chicken, fresh onions, …
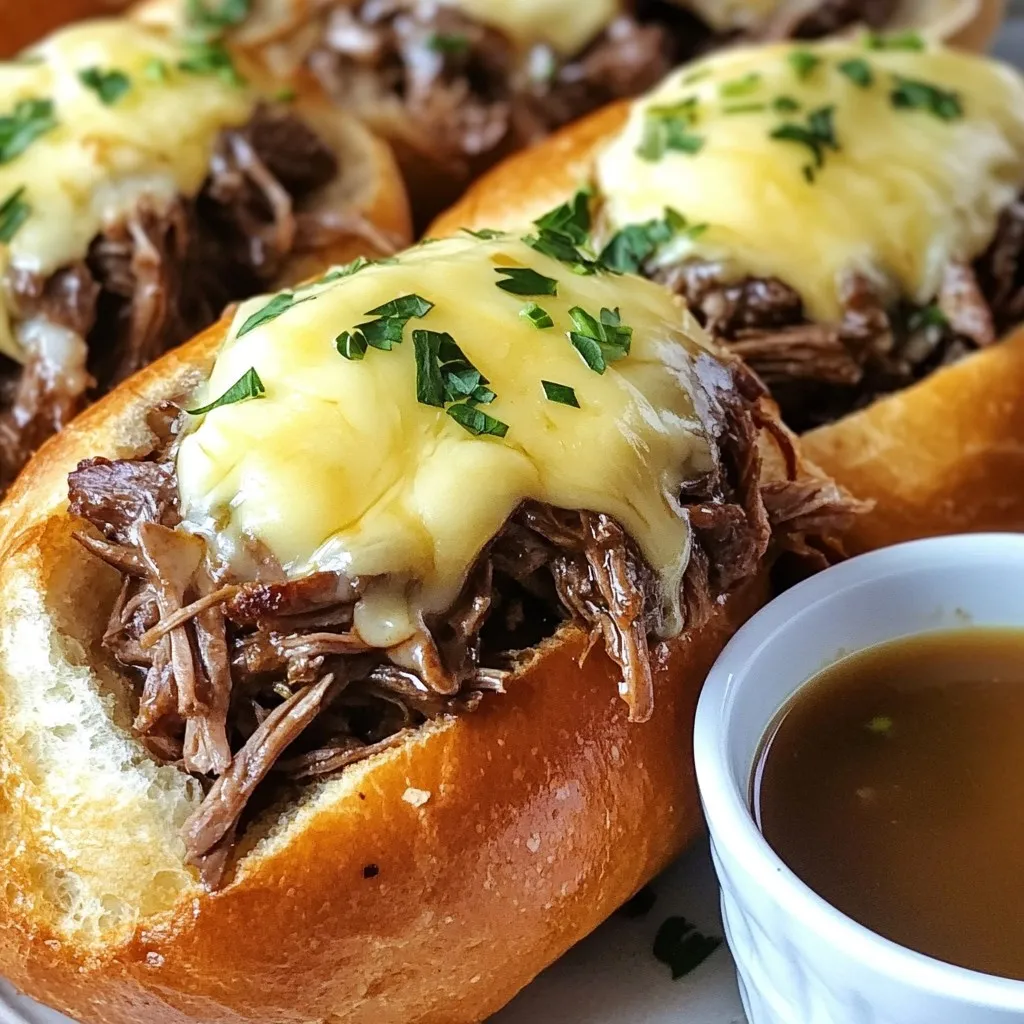
Are you craving a tasty and easy meal? Look no further than these Crockpot French Dip Sandwiches! With simple ingredients and step-by-step instructions, you’ll soon enjoy a flavorful feast. Whether …
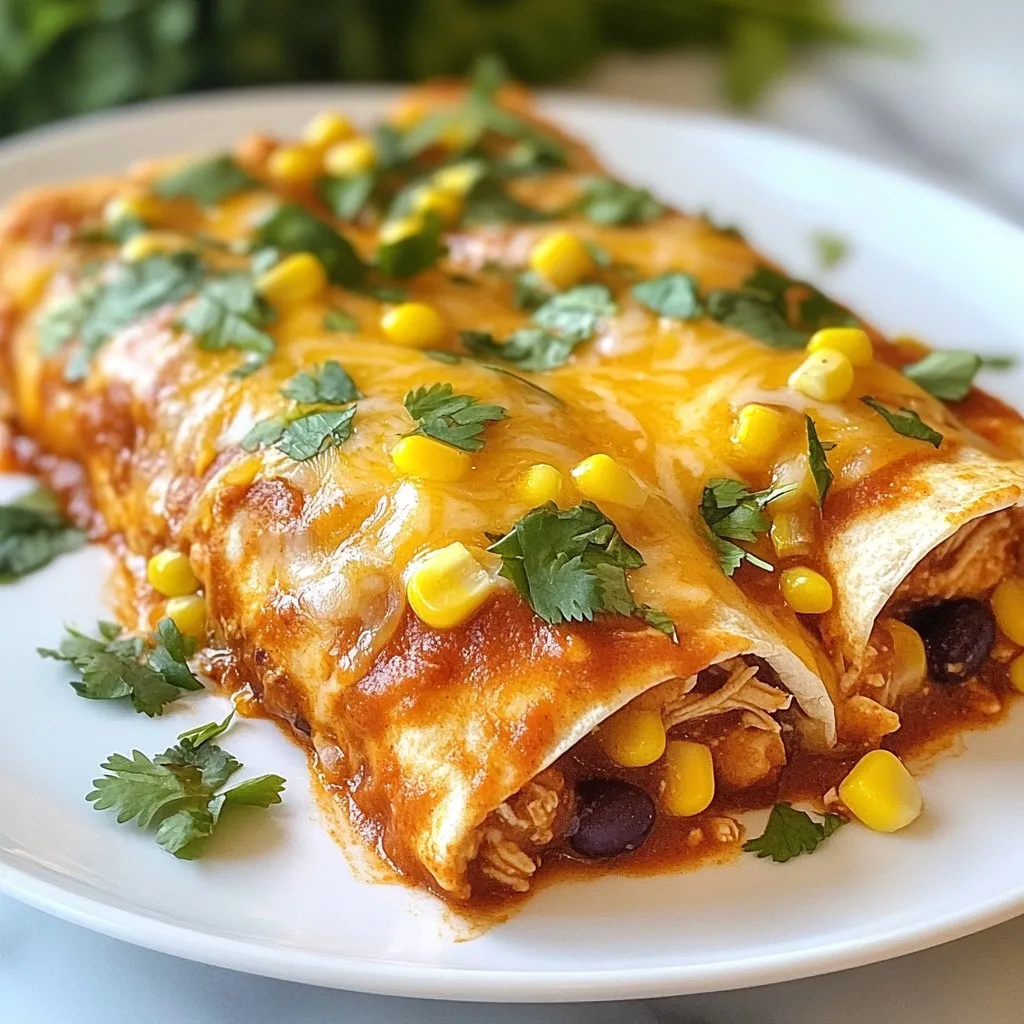
Looking for a tasty dinner that’s healthy too? You’re in the right place! My Skinny Chicken Enchiladas deliver all the flavor you crave, without the guilt. I’ll walk you through …