Zucchini Fries Crispy and Flavorful Snack Recipe

Craving a snack that’s both tasty and healthy? Zucchini fries are your answer! These crispy, flavorful bites offer all the satisfaction of traditional fries but with fewer calories and more …
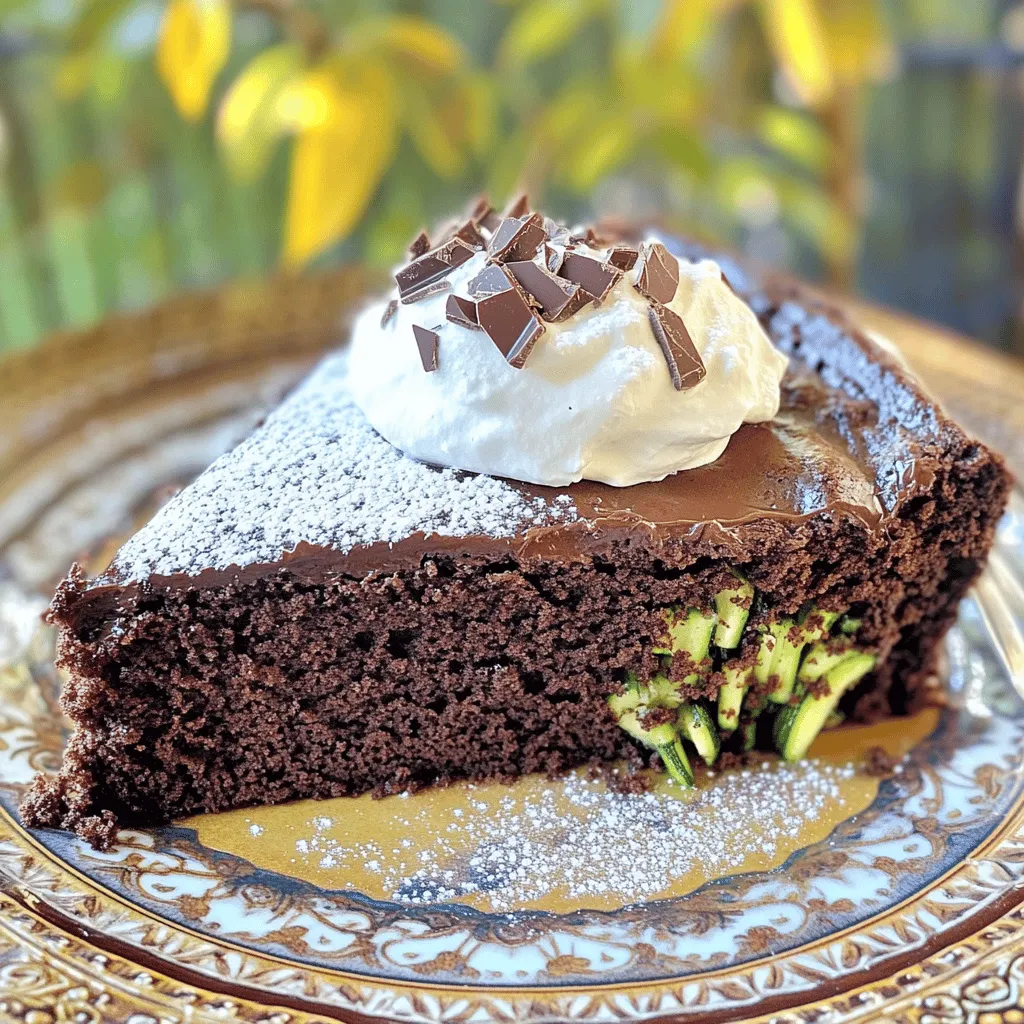
![- 1 cup grated zucchini - 1 cup rolled oats - 1/4 cup honey or maple syrup - 1/2 teaspoon baking soda Choosing fresh zucchini is key for great cookies. Look for firm, smooth skins. Avoid zucchini with blemishes or soft spots. Fresh zucchini has more flavor and moisture. When it comes to ingredients, think about organic versus conventional. Organic options can be safer and tastier. They often have no harmful pesticides. If you can, choose organic honey or maple syrup. This choice gives your cookies a better flavor. You can switch up sweeteners if needed. Try coconut sugar or agave syrup instead. Both options will add a nice twist to your cookies. For gluten-free cookies, use gluten-free oats. This swap keeps your treat safe for those with gluten issues. You can also use almond flour for a different texture. - Preheat your oven to 350°F (175°C). - Line a baking sheet with parchment paper. This will help the cookies not stick. - In a large bowl, mix 1 cup of grated zucchini with 1 cup of rolled oats. - Stir until both ingredients blend well together. - Add 1/4 cup of honey or maple syrup and mix again. - Sprinkle in 1/2 teaspoon of baking soda and combine until you form a thick dough. - Scoop out tablespoon portions of dough. Place them on the baking sheet about 2 inches apart. - Flatten each scoop slightly with the back of a spoon for even baking. - Bake for 12-15 minutes until the edges turn golden brown. This simple method leads to delicious 4-ingredient zucchini cookies. Check the [Full Recipe] for more details! To keep your cookies fresh, store them in an airtight container. Place a piece of bread inside to help keep them soft. If you want to freeze cookies, let them cool completely first. Wrap each cookie in plastic wrap, then place them in a freezer bag. They will stay fresh for about three months. When ready to eat, just thaw them at room temperature. You can easily boost the flavor of your cookies. Try adding a pinch of cinnamon or nutmeg for warmth. Chopped nuts or chocolate chips also work great. If you like sweetness, drizzle a little extra honey or maple syrup on top after baking. This step adds a nice touch and makes them even tastier. Squeezing out excess water from the zucchini is key. This helps your cookies stay firm instead of soggy. If you want chewier cookies, bake them for a shorter time. For a crispier texture, leave them in the oven a bit longer. Keep an eye on the edges. They should turn golden brown for the best results. {{image_4}} You can make your zucchini cookies even more fun! Add chocolate chips for a sweet touch. Mixing in half a cup of mini chocolate chips will give you a rich flavor. You can also try nuts, like walnuts or pecans. Just chop them up and stir them in. This adds a nice crunch to each bite. If you want to make vegan zucchini cookies, use maple syrup instead of honey. This keeps the cookies sweet while staying plant-based. You can also lower the sugar. Try cutting down the sweetener to 2 tablespoons. The cookies will still taste great and be healthier. For a unique twist, add seasonal spices. A sprinkle of pumpkin spice can make these cookies special in fall. You can also swap in other fruits or veggies. Try grated carrots or mashed bananas for a fun mix. Each option gives a new flavor to your cookies and keeps them exciting. For the full recipe, check out the details above! You can store your zucchini cookies at room temperature. Just place them in an air-tight container. If you want them to last a bit longer, keep them in the fridge. These cookies stay fresh for about 3 to 5 days. For long-term storage, freezing is your best option. Let the cookies cool completely first. Then, place them in a single layer on a baking sheet to freeze for 1 to 2 hours. After that, transfer them to an air-tight container or a freezer bag. They can last up to 3 months in the freezer. When it’s time to enjoy them again, reheat the cookies in the oven. Set it to 350°F (175°C) and warm them for about 5 minutes. This will help bring back their soft texture and flavors. Choose air-tight containers for the best storage. They help keep the cookies fresh. If you want to stack the cookies, use parchment paper between layers. This prevents sticking and makes serving easy. Enjoy your cookies at their best! For the complete baking experience, check out the Full Recipe. You can skip eggs by using other binding agents. A great option is applesauce. Use 1/4 cup of unsweetened applesauce to replace one egg. You can also use mashed banana or a flaxseed mixture. To make a flaxseed mix, combine one tablespoon of ground flaxseed with three tablespoons of water. Let it sit for five minutes before adding it to your dough. Yes, you can use quick oats. However, they change the texture. Quick oats are smaller and more processed. They create a softer cookie since they absorb moisture faster. Rolled oats give a chewier texture, while quick oats yield a less hearty cookie. If you want crunch, go for rolled oats. These cookies go well with many drinks and snacks. Try serving them with a warm cup of tea or coffee. Milk is also a great choice. For a fun twist, pair them with yogurt or a scoop of ice cream. You can even add some fresh fruit on the side for a colorful plate. Look for golden brown edges as a sign of doneness. The center may still look soft but will firm up as they cool. A toothpick inserted into a cookie should come out clean or with a few moist crumbs. Keep an eye on the cookies during baking to avoid overcooking. For the perfect texture, I recommend baking them for 12-15 minutes. For a detailed guide on making these cookies, check out the Full Recipe. You learned how to make tasty zucchini cookies. We discussed the key ingredients and quality tips to ensure you choose the best options. I shared step-by-step instructions for mixing and baking. You now know storage tips and ways to enhance flavor and texture. Remember, try different variations to suit your taste. These cookies are flexible and fun. Enjoy your baking adventure!](https://tastednest.com/wp-content/uploads/2025/07/d8c09af9-bb85-4dea-a919-ca31bf233c3c.webp)


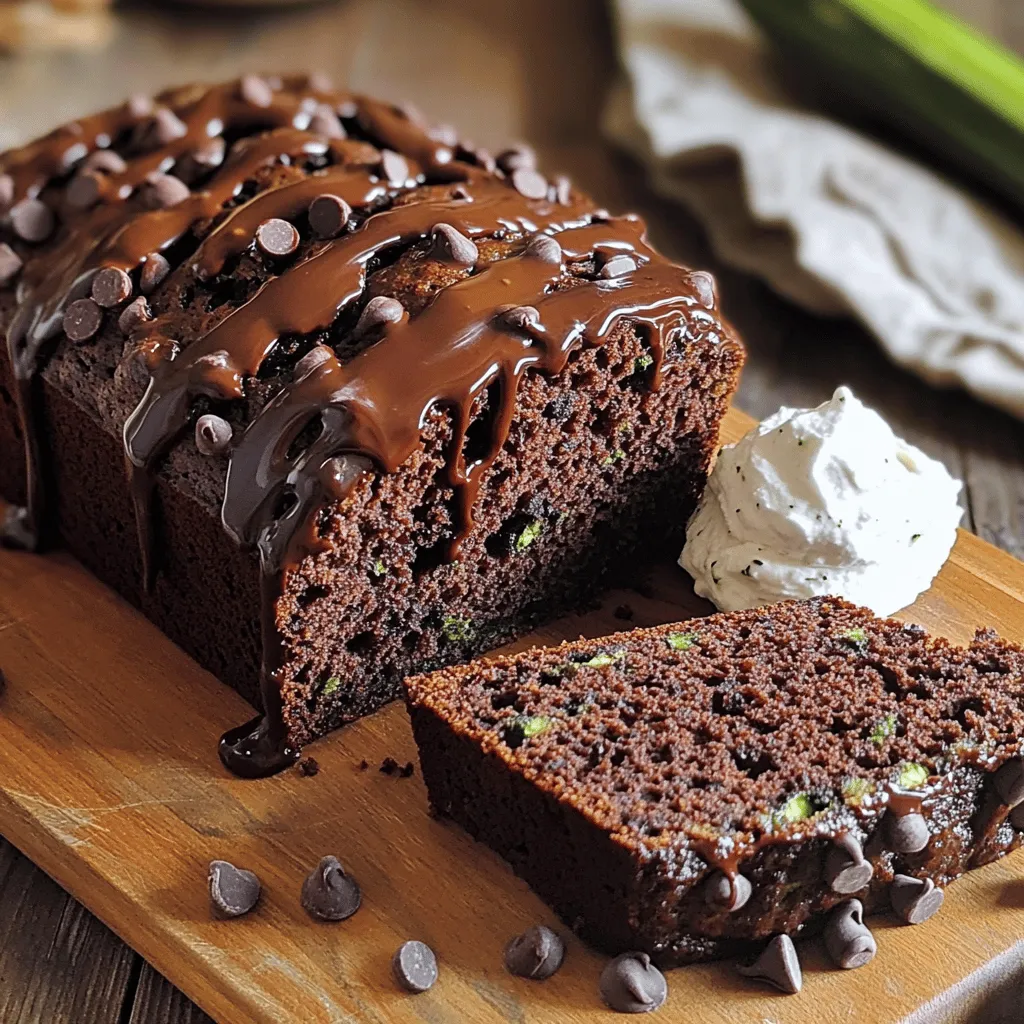
![To make Joanna Gaines's zucchini bread, gather these key ingredients: - 2 cups grated zucchini (about 1 medium zucchini) - 1 ½ cups all-purpose flour - 1 teaspoon baking soda - ½ teaspoon baking powder - 1 teaspoon ground cinnamon - ½ teaspoon ground nutmeg - ½ teaspoon salt - 1 cup granulated sugar - 2 large eggs - ⅓ cup vegetable oil - 1 teaspoon vanilla extract - ½ cup chopped walnuts or pecans (optional) - ½ cup chocolate chips (optional) You can customize this recipe with some fun add-ins. Here are a few ideas: - Chopped nuts add a nice crunch. - Chocolate chips bring a sweet twist. - Dried fruits like raisins or cranberries can add flavor too. Feel free to mix and match these options to find what you love best! When choosing zucchini, look for these tips: - Pick zucchini that feels firm and heavy. - Look for smooth skin without blemishes. - Choose smaller zucchinis for better flavor and texture. - If possible, opt for organic zucchini to avoid pesticides. Fresh zucchini will give your bread a moist and tasty base. Enjoy the process! Start by washing your zucchini well. Grate it using a box grater or a food processor. You need about 2 cups of grated zucchini. Place the zucchini in a bowl, sprinkle with a pinch of salt, and let it sit for ten minutes. This helps draw out excess moisture. After that, take a clean kitchen towel and squeeze out any extra liquid. This step is key to preventing soggy bread. In a medium bowl, whisk together the dry ingredients. Combine 1 ½ cups of flour, 1 teaspoon of baking soda, ½ teaspoon of baking powder, 1 teaspoon of ground cinnamon, ½ teaspoon of ground nutmeg, and ½ teaspoon of salt. Make sure these ingredients are mixed well. This blend will give your bread a perfect rise and great flavor. Now, grab a large bowl. Beat 1 cup of granulated sugar and 2 large eggs together. Use a hand mixer or whisk until the mixture is light and fluffy. This should take about 2-3 minutes. Slowly add in ⅓ cup of vegetable oil while mixing. Finally, stir in 1 teaspoon of vanilla extract. This adds a lovely aroma and sweetness to the bread. Now it’s time to combine the mixtures. Carefully fold the dry ingredients into the wet mixture. Use a spatula and mix until just combined. Avoid overmixing; this keeps the bread light and fluffy. Then, gently fold in the grated zucchini. If you’d like, you can add in ½ cup of chopped walnuts or chocolate chips for extra flavor. Pour the batter into a greased or lined 9x5 inch loaf pan. Smooth the top with a spatula. Preheat your oven to 350°F (175°C). Bake the bread for 50-60 minutes. To check if it’s done, insert a toothpick into the center. If it comes out clean, the bread is ready. Allow it to cool in the pan for about 10 minutes before transferring it to a wire rack. Let it cool completely before slicing. Enjoy your delicious creation! To keep your zucchini bread from being soggy, start with the water in the zucchini. After grating, sprinkle a bit of salt on the zucchini and let it sit. This helps draw out excess moisture. Then, use a towel to squeeze out the liquid. This step is key! If you skip it, your bread might turn out wet and dense. The toothpick test is simple but effective. After baking for about 50 minutes, insert a toothpick into the center of your bread. If it comes out clean, your bread is ready. If it has wet batter on it, bake for a few more minutes. Check every five minutes until it’s done. This way, you avoid undercooking your bread! Greasing the pan well makes it easy to remove the bread later. Use butter or vegetable oil to coat the inside of the pan. You can also use parchment paper for added ease. Line the bottom and sides, making sure it hangs over the edges. This helps lift the bread out cleanly once it cools. By following these tips, you can enjoy perfect zucchini bread each time! You can find the full recipe for Joanna Gaines’s Zucchini Bread [here]. {{image_4}} You can easily change the taste of your zucchini bread by adding nuts. Walnuts and pecans work well. They add a nice crunch and flavor. Chop them up and fold them into the batter. You can use about half a cup. If you want a sweeter twist, try adding chocolate chips instead. Mix them in with the nuts for a fun treat. Fruits and spices can make your zucchini bread unique. Think about adding dried fruits like raisins or cranberries. They add a burst of sweetness. You can also add spices like ginger or cardamom for extra warmth. Just remember to keep the total amount of mix-ins balanced. This way, the bread stays moist and tasty. If you want a gluten-free option, swap the all-purpose flour. Use a gluten-free flour blend instead. Make sure it has a mix of flours like almond or coconut. This change will give the bread a different texture. It may be denser, but it will still taste great. Always check the labels to ensure the flour is gluten-free. For more details, check the Full Recipe. Store leftover zucchini bread in an airtight container. This keeps it fresh. You can also wrap it tightly in plastic wrap. Keep it at room temperature for up to three days. If you live in a warm place, the fridge may help. However, the cold can change the bread's texture. To freeze zucchini bread, first let it cool completely. Then, wrap it in plastic wrap. Follow that with aluminum foil for extra protection. You can store it in the freezer for about three months. When you want to enjoy it, just thaw it in the fridge overnight. To reheat, slice the bread for even warming. You can warm it in an oven at 350°F for about 10-15 minutes. If you prefer the microwave, heat it for about 20 seconds. Enjoy it warm with butter or your favorite spread. This makes each slice taste fresh and delightful. Zucchini bread lasts about 1 week at room temperature. Store it in an airtight container. If you want it to last longer, put it in the fridge. This can keep it fresh for up to 2 weeks. You can also freeze zucchini bread for up to 3 months. Just wrap it tightly in plastic wrap and foil. Yes, you can use yellow squash as a substitute for zucchini. They taste similar and have a similar texture. Just prepare it the same way. Grate it and squeeze out the extra moisture before mixing it into your batter. If your zucchini bread is too dense, check your mixing method. Overmixing can cause this issue. Make sure to fold the wet and dry ingredients gently. You can also add a bit more baking soda to give it a lift. You can definitely make muffins instead of a loaf. Just pour the batter into a muffin tin. Bake at the same temperature but check for doneness earlier, around 20-25 minutes. This way, you can enjoy smaller, easier-to-eat portions. The best way to serve Joanna Gaines’s Zucchini Bread is warm. Slice it and spread on some butter or cream cheese. You can also top it with fresh herbs or a light dusting of powdered sugar. This adds a nice touch and makes it even more delightful. For the full recipe, check out the details above. In this post, we covered making zucchini bread from start to finish. We explored key ingredients and tips for picking fresh zucchini. I shared step-by-step instructions for mixing and baking. You learned tricks to avoid soggy bread. We also discussed tasty variations and smart storage tips. Remember, zucchini bread is easy to make and fun to customize. Use these tips to create a delicious treat every time. Enjoy your baking journey!](https://tastednest.com/wp-content/uploads/2025/07/20e5b04a-6236-4ae7-a6ba-17d5ad6ee7ee.webp)