High Protein Tuna Pasta Salad Easy Healthy Recipe
Looking for a quick, nutritious meal? This High Protein Tuna Pasta Salad is your answer! Packed with ingredients like whole grain pasta, tuna, and colorful veggies, it balances taste and …
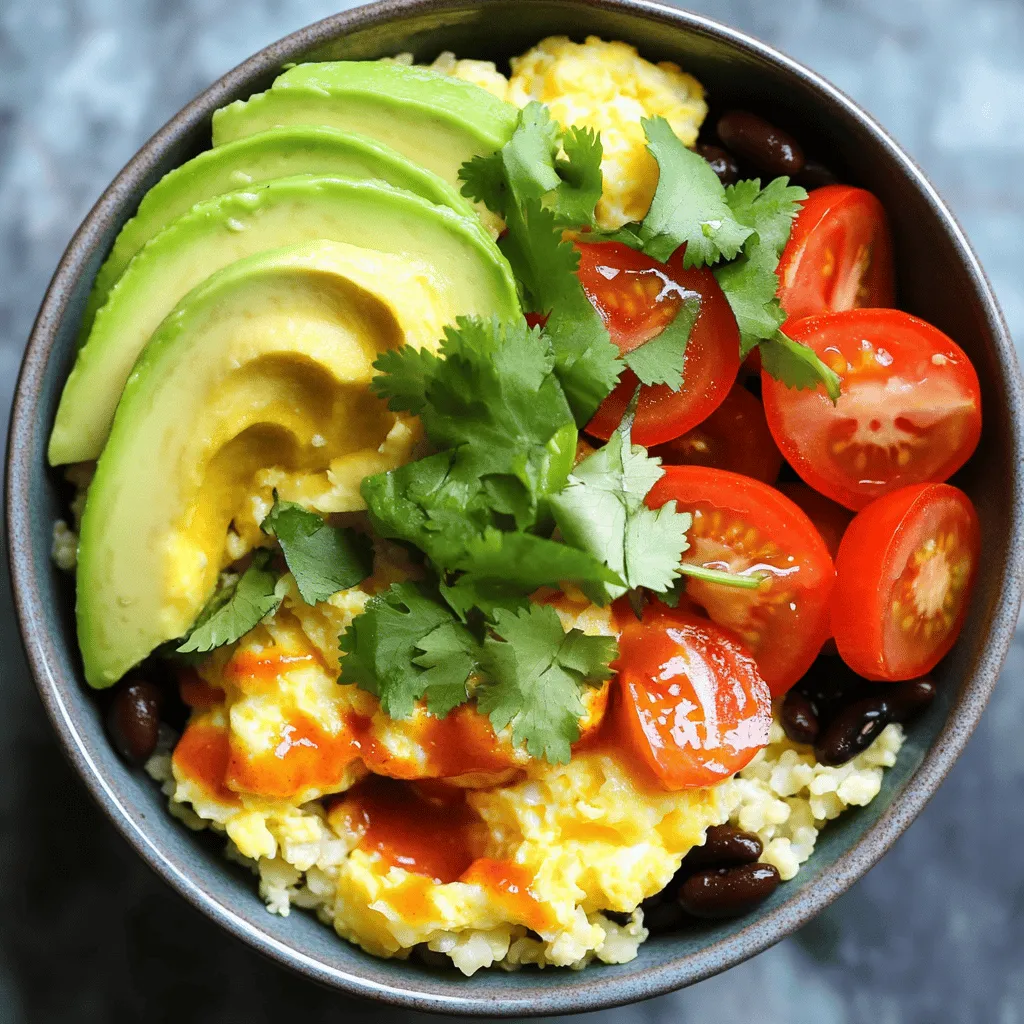
![To make delicious protein French toast, you need a few key items: - 4 slices of hearty whole grain bread - 2 large eggs - 1 cup unsweetened almond milk These ingredients form the base of your dish. Whole grain bread gives you fiber and nutrients. Eggs provide protein and help bind everything together. Almond milk adds creaminess without too many calories. To boost the protein in your French toast, consider these additions: - 1 scoop vanilla-flavored protein powder - Creamy Greek yogurt for serving - Optional toppings like fresh mixed berries Using protein powder makes your meal more filling. Greek yogurt on top adds creaminess and extra protein. Berries not only taste good but also add vitamins and antioxidants. You can make your French toast even better with these flavor enhancers: - 1 teaspoon ground cinnamon - 1 tablespoon pure vanilla extract - 1 tablespoon maple syrup (optional for sweetness) Cinnamon gives a warm, cozy taste. Vanilla adds a lovely aroma. Maple syrup can sweeten your dish, but it’s not necessary. You can adjust these flavors to fit your taste. For the complete recipe, check the [Full Recipe]. Start by mixing the egg and protein mixture. In a medium bowl, whisk together the eggs, almond milk, protein powder, ground cinnamon, vanilla extract, and optional maple syrup. You want this mix to be smooth and without lumps. This blend gives your French toast its protein punch. Next, choose the right skillet or griddle. A non-stick surface works best. Preheat it over medium heat. Add coconut oil and let it melt. Swirl the oil to cover the cooking area. This step helps prevent sticking and gives a nice flavor. Now, it’s time for dunking and coating the bread. Take each slice of hearty whole grain bread and dunk it in the egg mixture. Make sure both sides are well coated. Let any excess mixture drip off. This helps keep your toast from getting too soggy. When you have coated all the bread, carefully place the slices in the hot skillet. Cook each slice for about 3-4 minutes. Watch for a lovely golden brown color. When it’s time, flip the bread and cook the other side until golden and cooked through. For serving, stack the French toast on plates. It looks great when you pile the slices high. Top your toast with a mix of fresh berries. Strawberries, blueberries, and raspberries add color and flavor. Add a dollop of creamy Greek yogurt on top for extra richness. This makes your dish not just tasty, but nutritious too. For the complete recipe, check out the [Full Recipe]. Enjoy your protein-packed delight! When making protein French toast, the bread you choose matters. Whole grain bread is better than white bread. Whole grain has more fiber and nutrients. This helps keep you full longer. It also adds a nice texture. You can find many options at your local store. Just look for brands that list whole grain as the first ingredient. Using almond milk instead of cow's milk has its perks. Almond milk is lower in calories. It also fits many diets. It’s lactose-free, making it great for those who can’t have dairy. Plus, it has a light, nutty flavor. This pairs well with the sweet taste of the French toast. To keep your French toast from getting soggy, there are simple tricks. First, do not soak the bread too long in the egg mixture. A quick dip is enough to coat it. Let any extra mixture drip off before cooking. This helps keep the texture just right. Getting that perfect golden brown color is key for great French toast. Cook it on medium heat. This way, it cooks evenly. You can gently press down on the bread while it cooks. This helps it get a nice crust. Flip it carefully after a few minutes. Look for a rich, golden hue before serving. To boost the nutrition of your French toast, add fiber-rich ingredients. You can mix in oats or chia seeds to the egg mixture. These add fiber and keep you feeling full. They also give your meal a nice boost. If you want even more protein, consider using Greek yogurt as a topping. It adds creaminess and protein to your meal. You can also sprinkle some nuts or seeds on top for extra crunch and nutrients. These small changes can make your French toast even healthier while keeping it tasty. {{image_4}} You can make your protein French toast even more exciting by changing the flavors. Here are two fun ideas: - Cinnamon Raisin French Toast: Use cinnamon raisin bread instead of whole grain bread. This adds a nice touch of sweetness and spice. Just whisk your egg mixture with cinnamon and vanilla as usual. The raisins in the bread will plump up while cooking, giving you a delightful bite. - Chocolate Protein French Toast: For a chocolate twist, use chocolate protein powder. Mix it in with your eggs and almond milk. You can even sprinkle cocoa powder into the batter for more chocolate flavor. Top with banana slices or a drizzle of nut butter for extra yum. If you have dietary needs, you can still enjoy this dish: - Vegan Protein French Toast: Swap the eggs for a mixture of flaxseed meal and water. Use a plant-based protein powder and almond milk. This keeps the protein high and the dish totally vegan. - Gluten-Free Options: Use gluten-free bread. There are many tasty options available. Make sure your protein powder is also gluten-free. This way, you can enjoy French toast without worrying about gluten. Using seasonal ingredients can add fresh flavors to your French toast: - Using Seasonal Fruits for Topping: In spring and summer, try fresh berries. In fall, slices of warm apples or pears can add sweetness. Winter might call for citrus or pomegranate seeds. Each season offers unique tastes. - Adjusting Flavors with Seasonal Spices: You can change spices based on the time of year. In fall, add nutmeg or pumpkin spice. In summer, a hint of mint can brighten your dish. These small tweaks can make a big difference in taste. For a full recipe, check out the complete guide to making protein-packed French toast! To store your protein French toast, let it cool down first. Cooling helps prevent sogginess. Place each slice in a container. Use airtight containers to keep it fresh. You can also use plastic wrap if you do not have a container. This method prevents air from making your French toast dry. You can reheat protein French toast in the oven or microwave. The oven keeps it crispy. Preheat your oven to 350°F (175°C). Place the slices on a baking sheet for about 10 minutes. If you use a microwave, heat it in 30-second intervals. Check to avoid overheating, as this makes the bread chewy. Try to reheat only the slices you plan to eat. To freeze your protein French toast, first, cool it down completely. Wrap each slice in plastic wrap. Then, place them in a freezer bag. This keeps them safe from freezer burn. When you want to enjoy them again, thaw your slices in the fridge overnight. You can also microwave them for a quick thaw. This way, you keep the taste and texture intact. For the best results, reheat right after thawing. For the full recipe, check the earlier section. Enjoy your delicious, protein-packed French toast! Can I use any type of protein powder? Yes, you can use any type of protein powder. Whey, casein, or plant-based powders all work well. Choose a flavor you enjoy, like vanilla or chocolate. This choice affects the taste of your French toast. I prefer vanilla for its subtle sweetness. It blends nicely with the other ingredients. How can I make this recipe dairy-free? To make this recipe dairy-free, simply use almond milk or another plant milk. Avoid cow's milk and any dairy-based toppings. You can also use dairy-free yogurt instead of Greek yogurt. This keeps the dish creamy and delicious without dairy. Why is protein important for breakfast? Protein is vital for breakfast because it fuels your day. It helps you feel full longer. This keeps cravings at bay until lunch. Protein also supports muscle growth and repair. Eating protein-rich meals can boost your energy levels. How does a protein-packed breakfast affect muscle recovery? A protein-packed breakfast aids muscle recovery after workouts. It provides the essential amino acids your body needs. These acids help repair and build muscle tissue. Eating protein in the morning can also improve your overall performance. What if I don’t have coconut oil? If you don't have coconut oil, use any cooking oil you have. Olive oil or butter will work well. Just keep an eye on the heat to avoid burning. Each oil adds its own flavor, so choose one you like. Can I make this recipe ahead of time? Yes, you can make this recipe ahead of time! Cook the French toast and let it cool. Store it in the fridge. Reheat it in the oven or microwave when you're ready to eat. This makes breakfast quick and easy on busy mornings. In this post, we covered how to make protein-packed French toast. You learned about key ingredients like whole grain bread, eggs, and almond milk. We shared tips on cooking and serving techniques to ensure the perfect dish every time. You also discovered flavor variations and storage tips for leftovers. Remember, breakfast can be nutritious and tasty. With these ideas, you can enjoy a healthy start to your day. Give this recipe a try and delight in the flavors and benefits!](https://tastednest.com/wp-content/uploads/2025/06/f62eba6c-4cc8-4a3d-9cdd-4bac210ab345.webp)

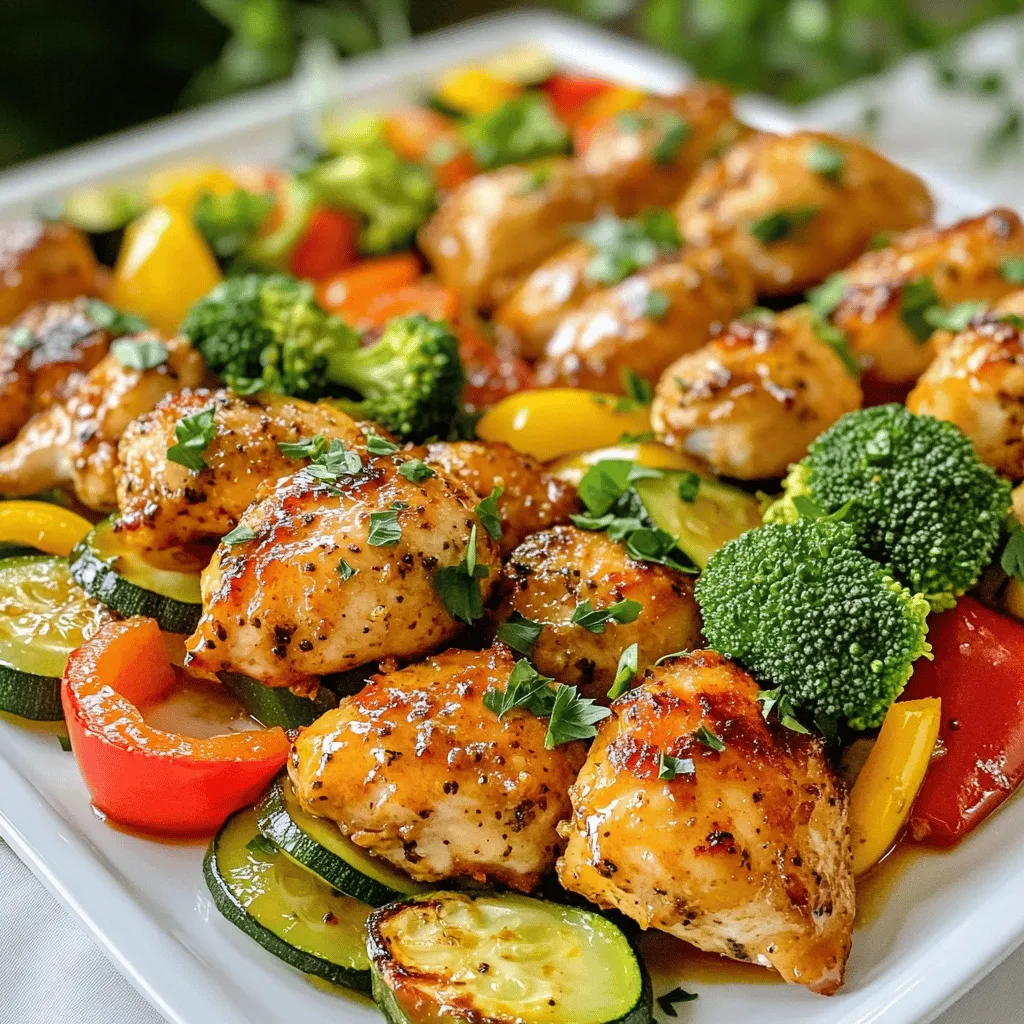
. Enjoy your cooking! {{image_4}} You can change the taste of your tilapia easily. For a spicy kick, add cayenne pepper to the seasoning. This gives the fish heat and flavor. Just a pinch will do if you want it mild. For a Mediterranean twist, mix in olives and tomatoes. This adds a fresh and savory taste. Toss in some capers for extra zing. These combinations can take your meal from simple to special. If you want to try something new, cook the tilapia in the oven. Preheat the oven to 400°F. Place the seasoned fillets on a baking sheet. Bake for about 12-15 minutes. This method keeps the fish moist and tender. You can also grill the tilapia. Grilling adds a nice smoky flavor. Simply place the fillets on a grill for about 3-4 minutes per side. Both methods give you tasty options for your meal. Feel free to explore these variations to make your meal unique. For the full recipe, you can find it in the earlier sections. Enjoy your cooking! To keep your easy skillet tilapia fresh, store leftovers in an airtight container. Make sure it cools completely before sealing. This helps keep the flavors intact. The recommended storage time for cooked tilapia is about 3 to 4 days in the fridge. If you want to keep it longer, consider freezing it. Just remember to wrap it tightly to prevent freezer burn. When it comes to reheating tilapia, a skillet works best. Heat the skillet over low to medium heat. Add a splash of olive oil or a bit of butter for moisture. This keeps the fish tender. You can also reheat it in the microwave, but be careful. Use a microwave-safe plate and cover it with a damp paper towel. This helps avoid drying out the fish. Aim for about 30-second intervals, checking until it's warm all the way through. Enjoy your delicious meal again! Cooking tilapia is quick and easy. It takes about 6 to 8 minutes total. You want to cook it for 3 to 4 minutes on each side. The fish should turn golden brown. When it flakes easily with a fork, it is done. Skillet tilapia pairs well with many sides. Here are some tasty options: - Steamed broccoli - Garlic mashed potatoes - Lightly sautéed spinach - Quinoa salad - Roasted vegetables These sides add color and flavor to your meal. Yes, you can use frozen tilapia! Here are some tips for cooking it: - Thaw the fillets in the fridge overnight. - If short on time, you can cook straight from frozen. Just add a few extra minutes to the cooking time. - Pat the fish dry before seasoning. This helps the spices stick better. Using frozen tilapia is a great way to save time and still enjoy a healthy meal. For the full recipe, check out the Zesty Lemon Garlic Skillet Tilapia! In this blog post, we explored cooking skillet tilapia, covering required and optional ingredients, detailed instructions, and helpful tips. You learned how to achieve a tasty, perfectly cooked dish and even tried different flavor combinations. For best results, remember to season well and avoid overcooking. Whether serving it with rice or enjoying it solo, skillet tilapia remains a favorite. Keep experimenting with variations and enjoy your culinary journey!](https://tastednest.com/wp-content/uploads/2025/06/c60c0c35-48e4-4cf1-93ef-0f4b7a3257fd.webp)
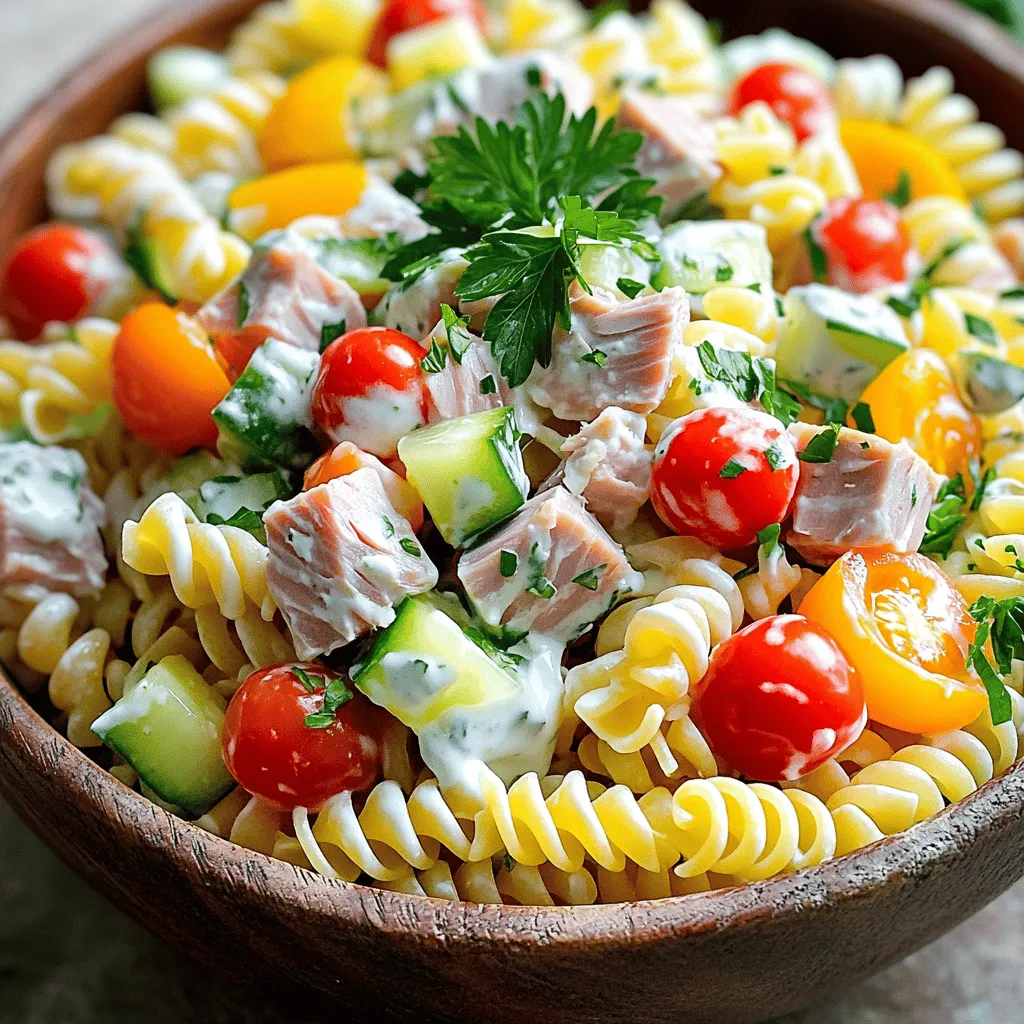
![- 2 large flatbreads - 1 cup cooked chicken breast, shredded - 1 cup Romaine lettuce, chopped - 1/2 cup Caesar dressing - 1/2 cup cherry tomatoes, halved - 1/4 cup grated Parmesan cheese - 1/4 cup croutons - Freshly cracked black pepper - Fresh basil leaves Gathering the right ingredients is key. Start with flatbreads as your base. They bring a nice crunch. Use cooked chicken breast for protein. Shred it so it mixes well. Romaine lettuce adds crispness. Cherry tomatoes give a fresh touch. Caesar dressing is a must. You can use store-bought or homemade. Adding grated Parmesan cheese boosts flavor. Croutons add extra crunch. Don't forget black pepper for spice. For garnish, fresh basil leaves look great and taste good too. This list keeps it simple and tasty. Follow the recipe for a delicious Chicken Caesar Flatbread. For more details, check the Full Recipe. - Preheat the oven to 400°F (200°C). - Line a baking sheet with parchment paper. These steps help get your oven hot and your flatbreads ready. Parchment paper keeps them from sticking. - Spread Caesar dressing on flatbreads. - Add shredded chicken evenly. - Layer with Romaine and cherry tomatoes. Start by spreading the dressing on each flatbread. This makes every bite tasty. Next, sprinkle the shredded chicken. Make sure to cover the flatbreads well. Then, pile on the Romaine and cherry tomatoes. This adds crunch and color. - Sprinkle with Parmesan and croutons. - Bake for 8-10 minutes until golden. - Cool slightly before slicing. After adding Parmesan, you can add croutons for extra crunch. Bake the flatbreads until they are golden and the cheese melts. Let them cool a bit to make slicing easier. Enjoy your Chicken Caesar Flatbread from the full recipe! - Ensure even spread of toppings. This helps the flatbread bake evenly. - Use fresh ingredients for optimal flavor. Fresh chicken and crisp lettuce make a big difference. - Consider homemade Caesar dressing for freshness. Making your own can elevate the taste. - Experiment with different cheese options. Try mozzarella or feta for a unique twist. - Pair with a side salad or soup. A light side balances the richness of the flatbread. - Serve with extra dressing for dipping. This adds a fun touch and extra flavor. For the full recipe, check out the detailed steps in the Chicken Caesar Flatbread section. {{image_4}} You can switch the chicken for other proteins. Grilled shrimp adds a nice twist. It pairs well with the Caesar dressing and fresh veggies. Steak is another great choice. The rich flavor complements the dish nicely. If you want a lighter option, consider grilled vegetables. Zucchini, bell peppers, and mushrooms work great. They add color and taste. Want to enhance the taste? Try adding slices of avocado. It gives a creamy texture that everyone loves. You can also spice things up. Add jalapeños for a kick! They bring heat and excitement to each bite. Experiment with these flavor twists to find your favorite. If you need a gluten-free option, don’t worry! Use gluten-free flatbreads; they work just as well. You can also try lettuce wraps. They are low in carbs and add a fresh crunch. Both options keep the essence of your Chicken Caesar Flatbread while fitting your diet. For the full recipe, check out the [Full Recipe]. To keep your Chicken Caesar Flatbread fresh, store it in the fridge. Wrap it tightly in plastic wrap or place it in an airtight container. This helps lock in flavor and moisture. For reheating, use an oven or toaster oven. Heat at 350°F (175°C) for about 5-8 minutes. This method keeps the flatbread crispy and the cheese melty. Yes, you can freeze Chicken Caesar Flatbreads! First, let them cool completely. Wrap each flatbread in plastic wrap, then place them in a freezer bag. This keeps out air and prevents freezer burn. To thaw, move them to the fridge overnight. For a quick option, microwave on defrost for a few minutes. Then, bake as usual for best results. Leftovers can be stored in the fridge for 3-4 days. After that, they may lose flavor and texture. If frozen, they can last up to 2-3 months. Just remember to check for any signs of spoilage before eating. Enjoy your Chicken Caesar Flatbread knowing it can last a while! Chicken Caesar Flatbread is a tasty dish made of flatbreads topped with chicken and Caesar salad. This dish merges the classic flavors of a Caesar salad with the fun of flatbread. The flatbread serves as a crunchy base, while the chicken adds protein. Caesar dressing brings it all together with its creamy flavor. This dish likely comes from Italian and American cuisines, where flatbreads are popular. It is easy to make and great for lunch or dinner. To make Chicken Caesar Flatbread healthier, focus on a few key tips. First, use whole wheat flatbreads instead of regular ones. This change adds fiber and nutrients. Second, choose a light Caesar dressing or make your own with Greek yogurt. This swap cuts down on calories and fat. Third, increase the amount of Romaine lettuce and tomatoes. More veggies boost vitamins and add crunch. Finally, skip the croutons or use whole grain versions. These changes make your meal tasty and lighter. Yes, you can make Chicken Caesar Flatbread ahead of time. Start by prepping the ingredients. Cook and shred the chicken, and chop the veggies. Store these items in the fridge separately. You can assemble the flatbreads right before baking. If you want to prep the flatbreads, assemble them without baking. Wrap them in plastic wrap and store in the fridge. When ready to eat, bake them straight from the fridge. This way, you save time and enjoy a fresh meal. For the full recipe, check out the complete guide. In this blog post, we explored how to make tasty Chicken Caesar Flatbreads. We shared the key ingredients like flatbreads, chicken, and Romaine lettuce. I provided simple steps to assemble and bake these delicious treats. You learned variations and tips to enhance flavors. Whether you try a different protein or customize the toppings, you have options. These flatbreads are fun to make and great for any meal. Enjoy your cooking adventure and taste the results!](https://tastednest.com/wp-content/uploads/2025/06/02783f7a-d990-4e45-b586-2f052924f8aa.webp)