Smores Brownie Skillet Irresistible Sweet Treat
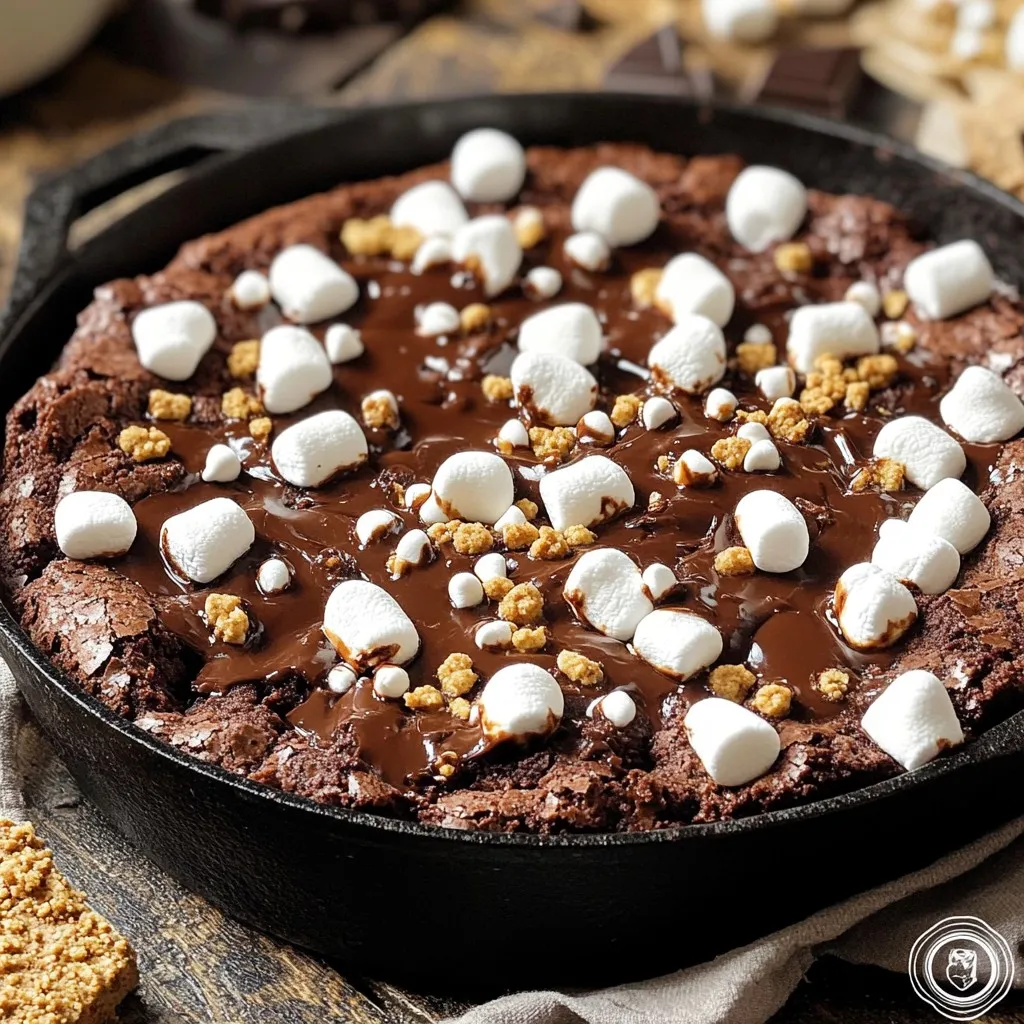
Ready for a sweet adventure? My S’mores Brownie Skillet combines two favorite treats into one indulgent dessert. Imagine rich brownies topped with gooey chocolate, warm marshmallows, and crunchy graham crackers, …