
Hot Honey Salmon Bites Flavorful and Easy Recipe
Deliciously seasoned salmon bites with a sweet and spicy honey glaze.
25 min
4
Starters and appetizers
Deliciously seasoned salmon bites with a sweet and spicy honey glaze.

Delicious bite-sized pieces of garlic bread topped with Parmesan cheese and herbs.

Delicious sliders made with shredded chicken tossed in buffalo sauce, topped with ranch dressing and...

Delicious quesadillas filled with BBQ chicken, cheese, and sautéed vegetables.

Delicious quesadillas filled with BBQ chicken, cheese, and fresh vegetables.
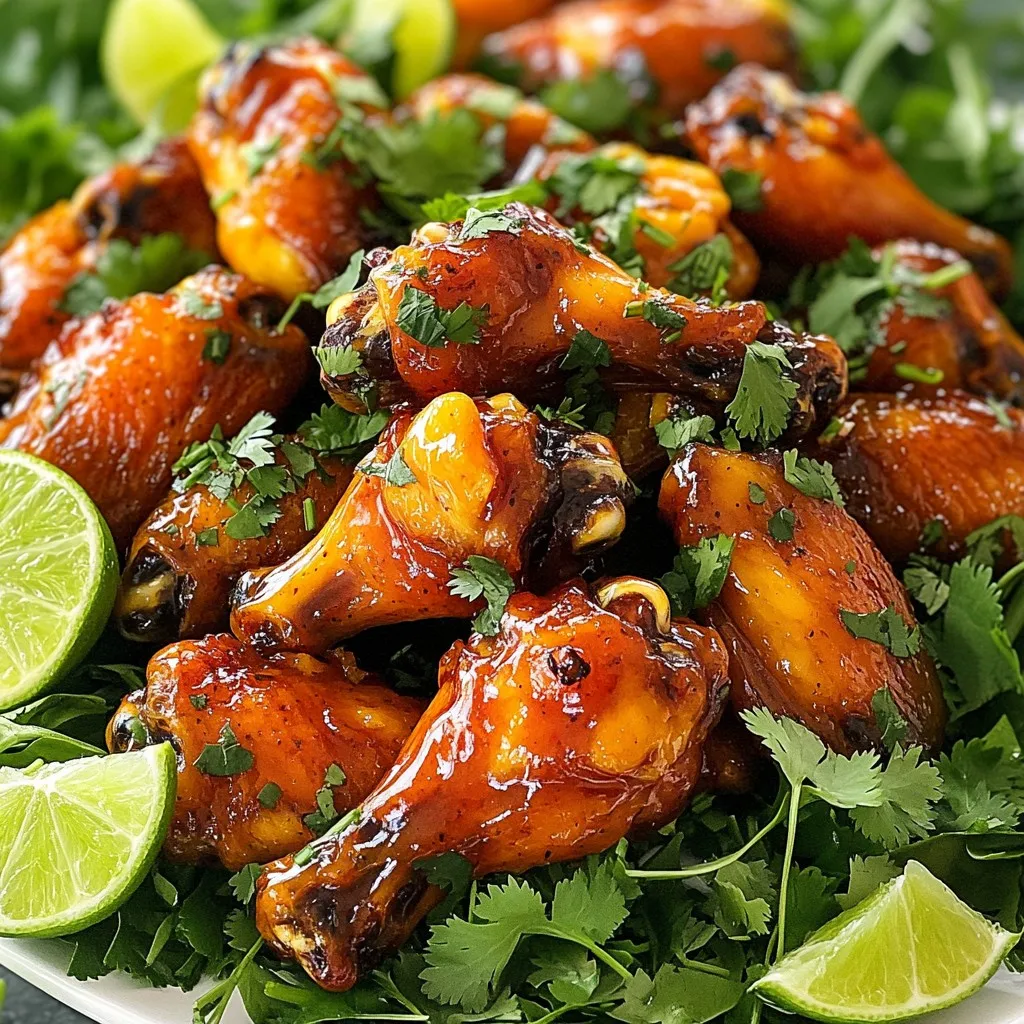
Deliciously sticky chicken wings with a sweet and spicy mango habanero glaze.

A delicious flatbread topped with pesto chicken, fresh mozzarella, and cherry tomatoes, perfect for...
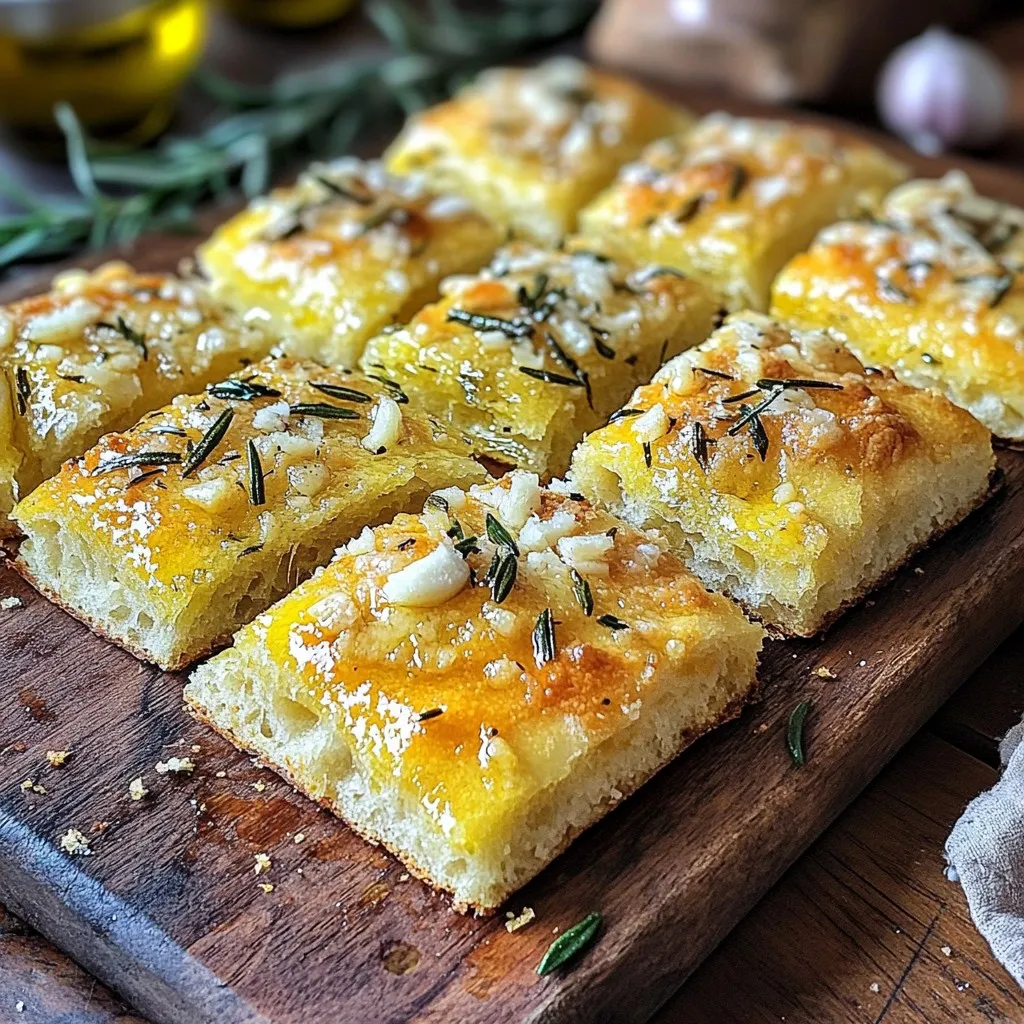
A deliciously soft and flavorful focaccia topped with garlic, Parmesan cheese, and fresh rosemary.
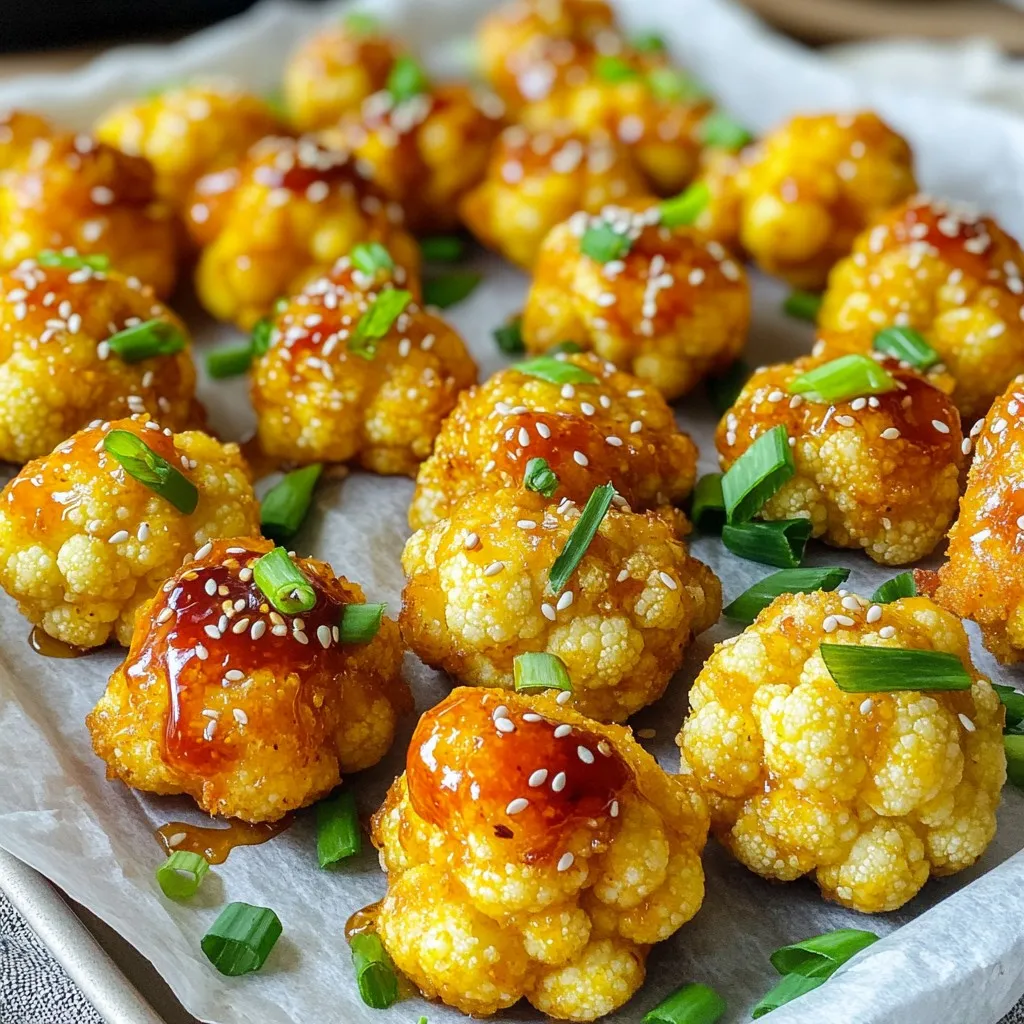
Crispy cauliflower bites coated in a sweet and spicy honey sriracha glaze, perfect as a snack or sid...
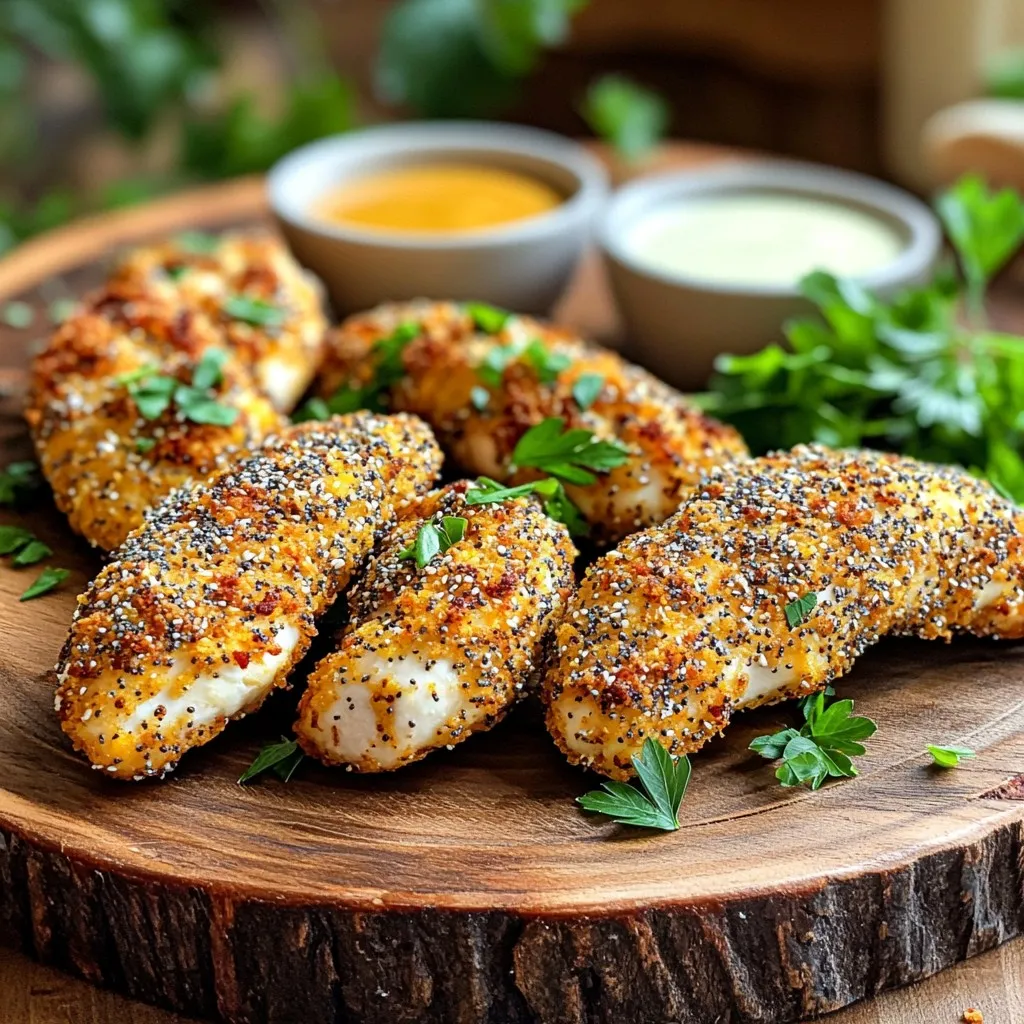
Crispy and flavorful chicken tenders coated with everything bagel seasoning, cooked to perfection in...
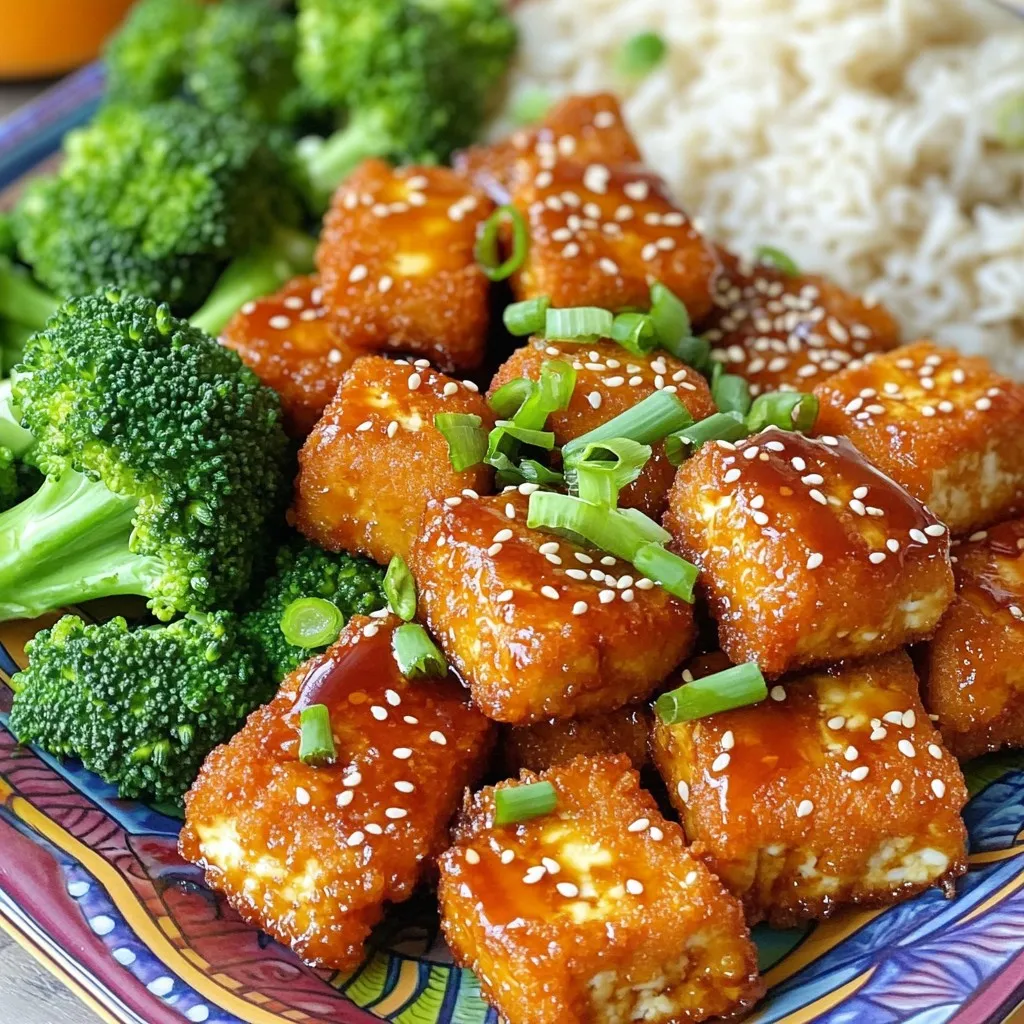
Crispy and flavorful tofu nuggets marinated in a homemade teriyaki sauce, perfect for a healthy snac...

Delicious bite-sized pieces of garlic bread topped with Parmesan cheese and herbs.