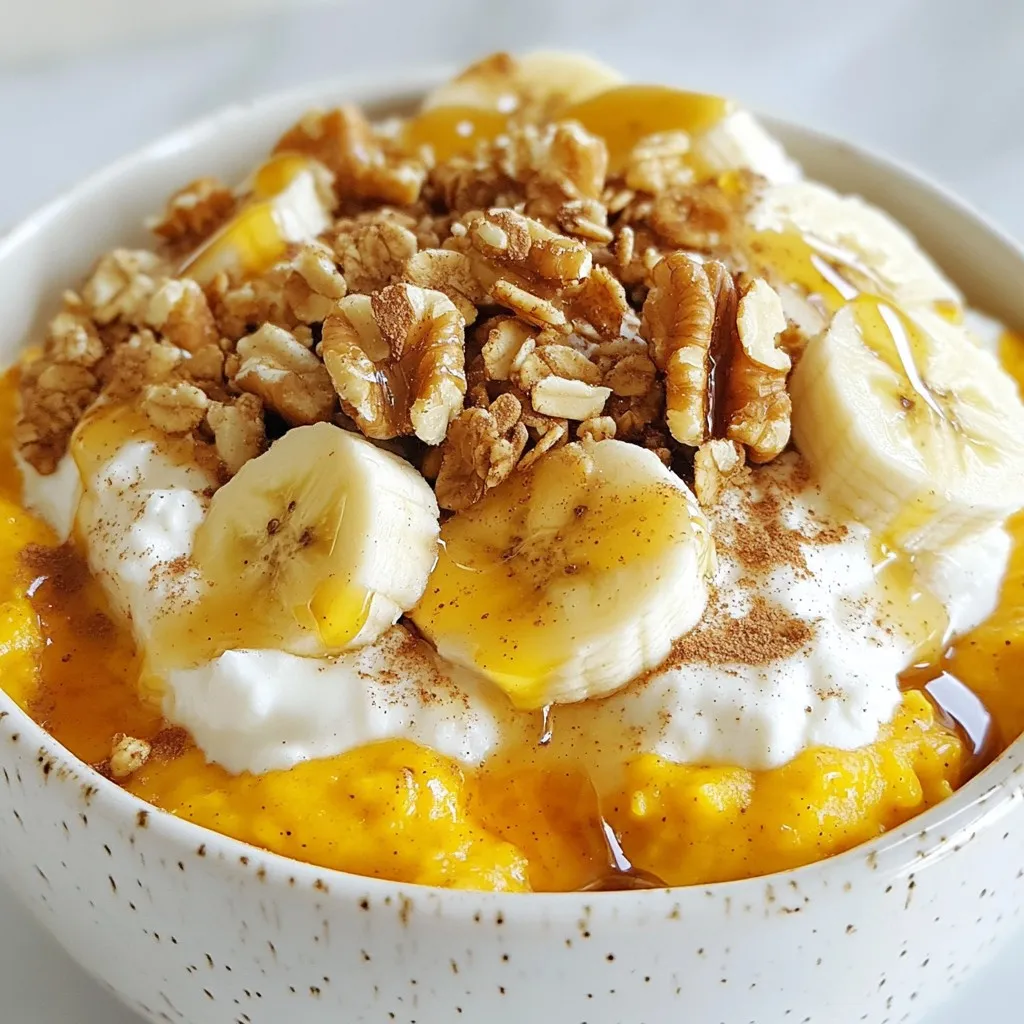
Pumpkin Cottage Cheese Breakfast Bowl Easy Recipe
A nutritious and delicious breakfast bowl combining cottage cheese and pumpkin puree, topped with fr...
10 min
1
Fresh and energizing breakfast options
A nutritious and delicious breakfast bowl combining cottage cheese and pumpkin puree, topped with fr...
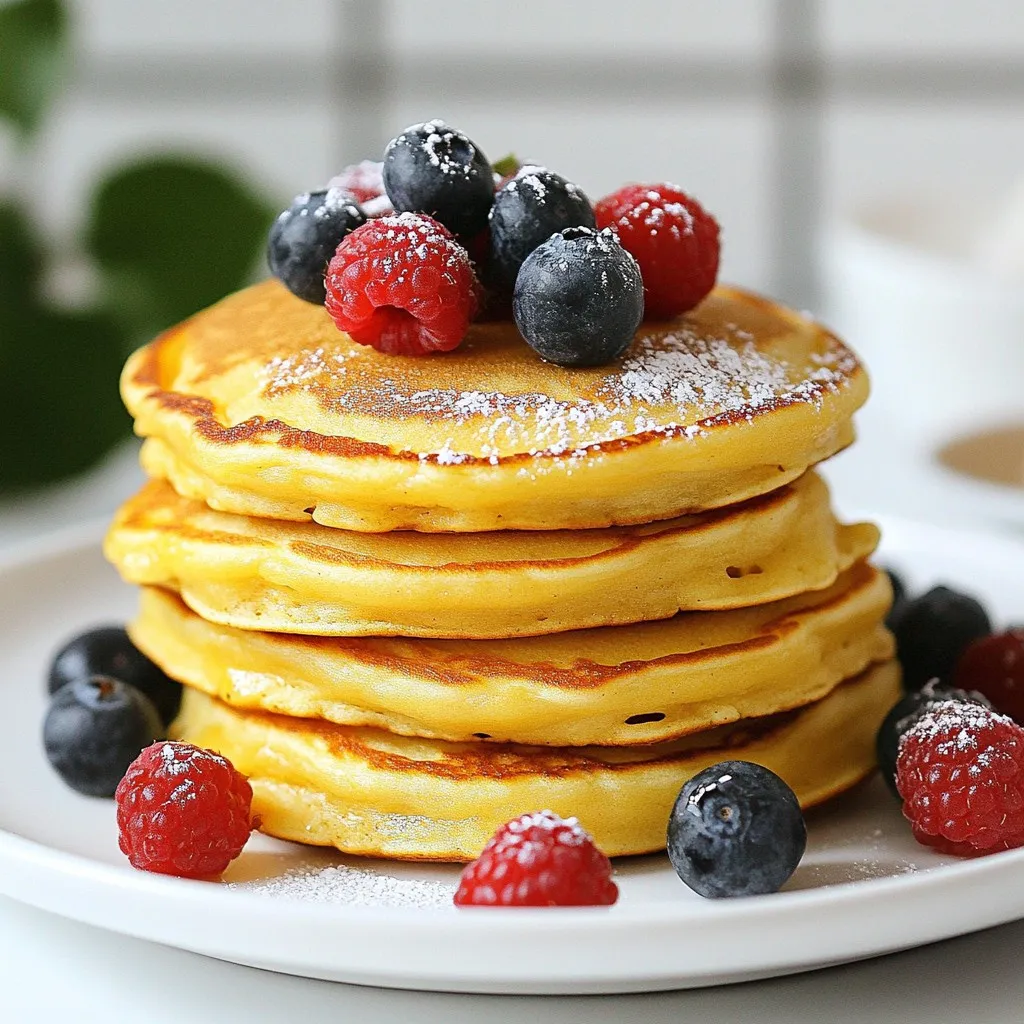
Delicious and light pancakes made with quark or Greek yogurt, perfect for a low-carb diet.
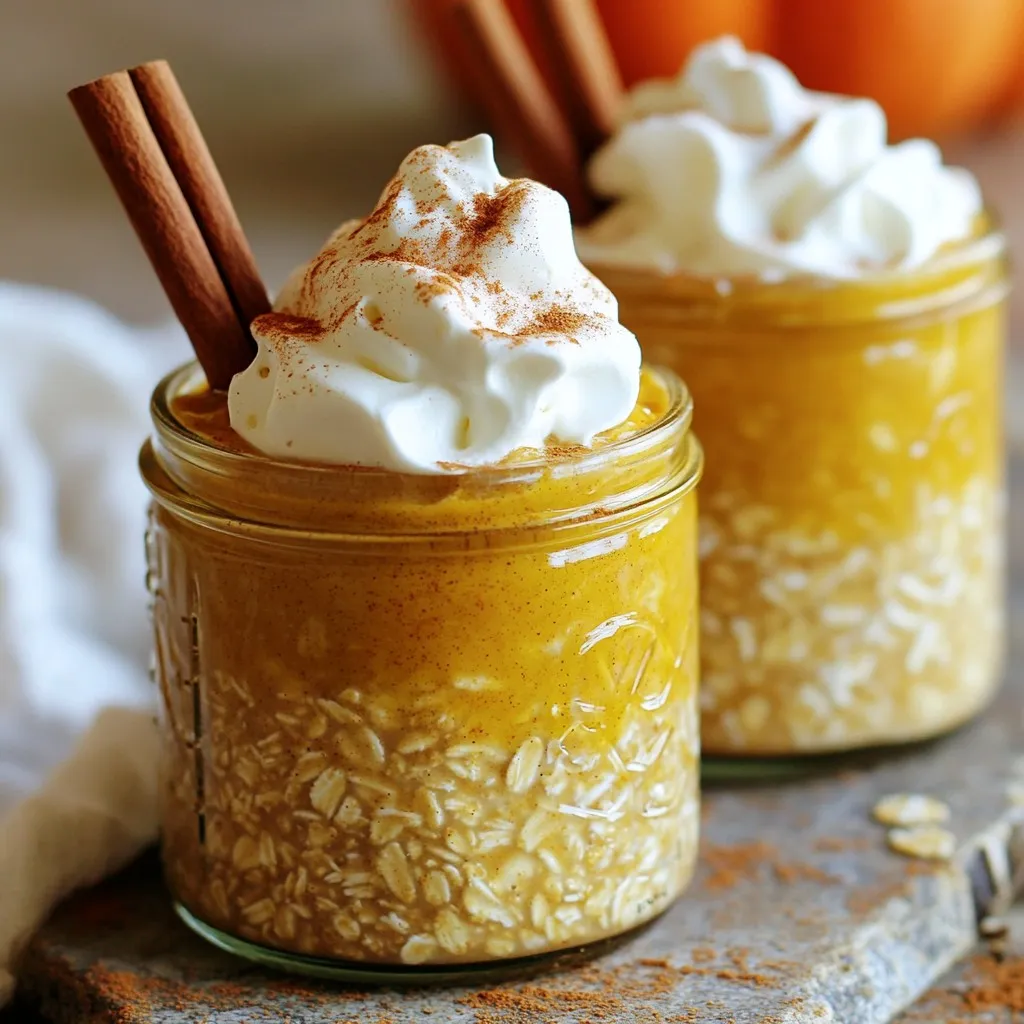
A delicious and creamy overnight oat recipe infused with pumpkin spice, perfect for a cozy breakfast...
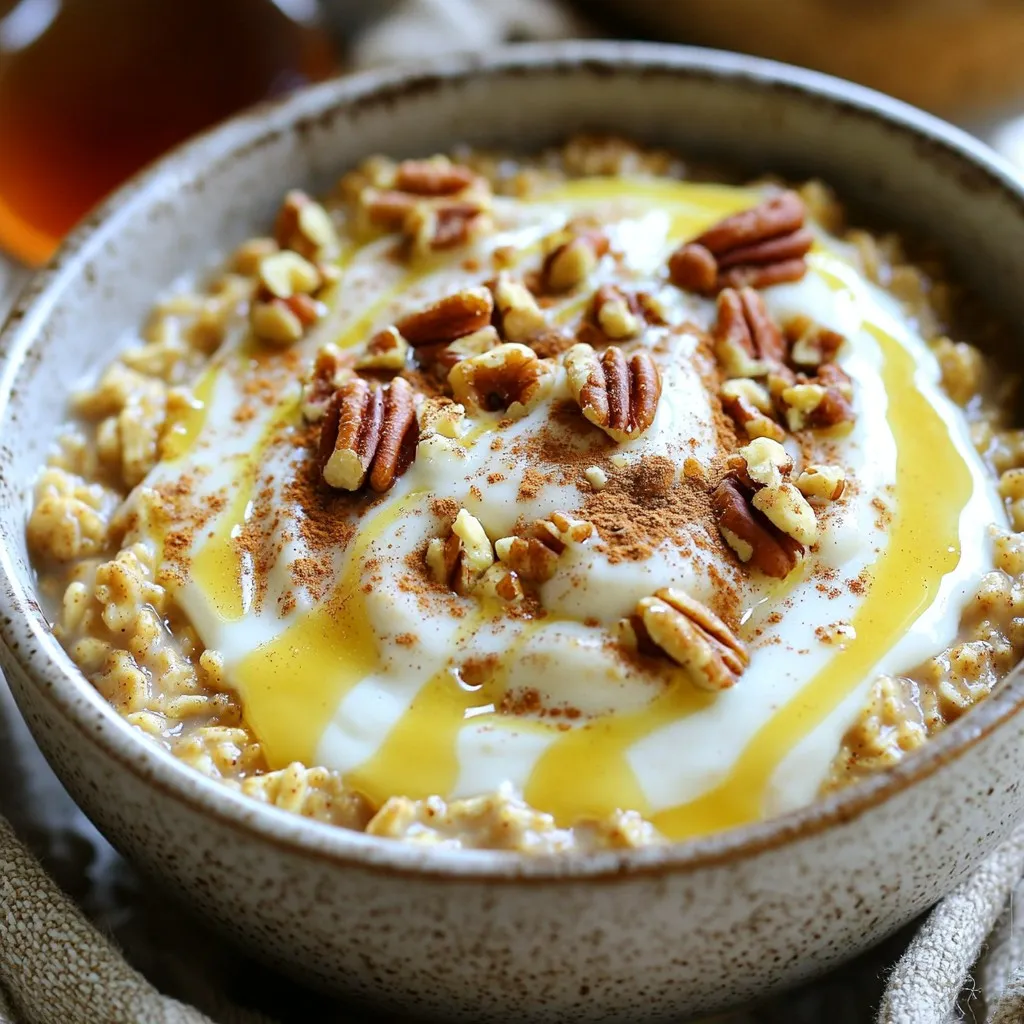
A warm and comforting oatmeal dish infused with cinnamon and topped with a creamy icing, perfect for...

Deliciously light and fluffy pancakes made with ricotta cheese and fresh lemon.
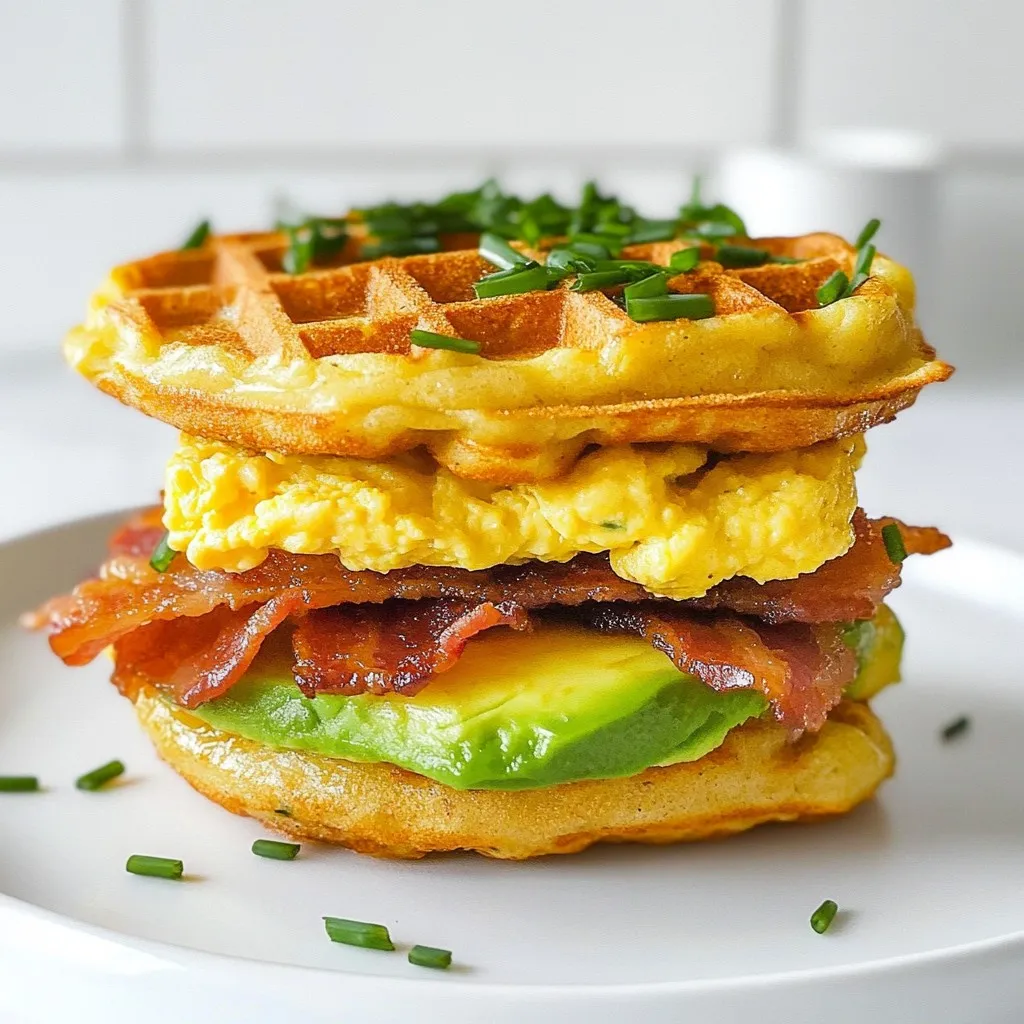
A delicious low-carb breakfast sandwich made with chaffles, eggs, avocado, and turkey bacon.

Delicious and healthy baked egg cups made with cottage cheese and fresh vegetables.
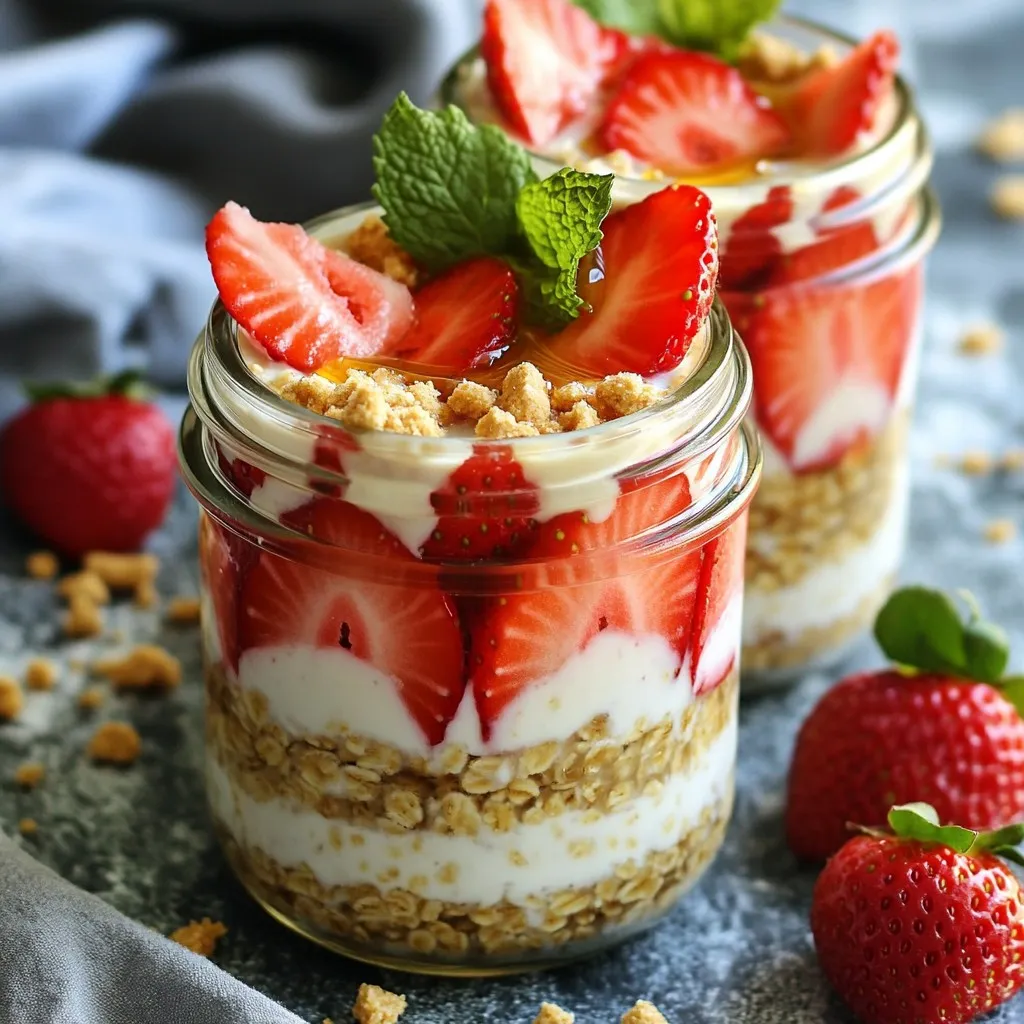
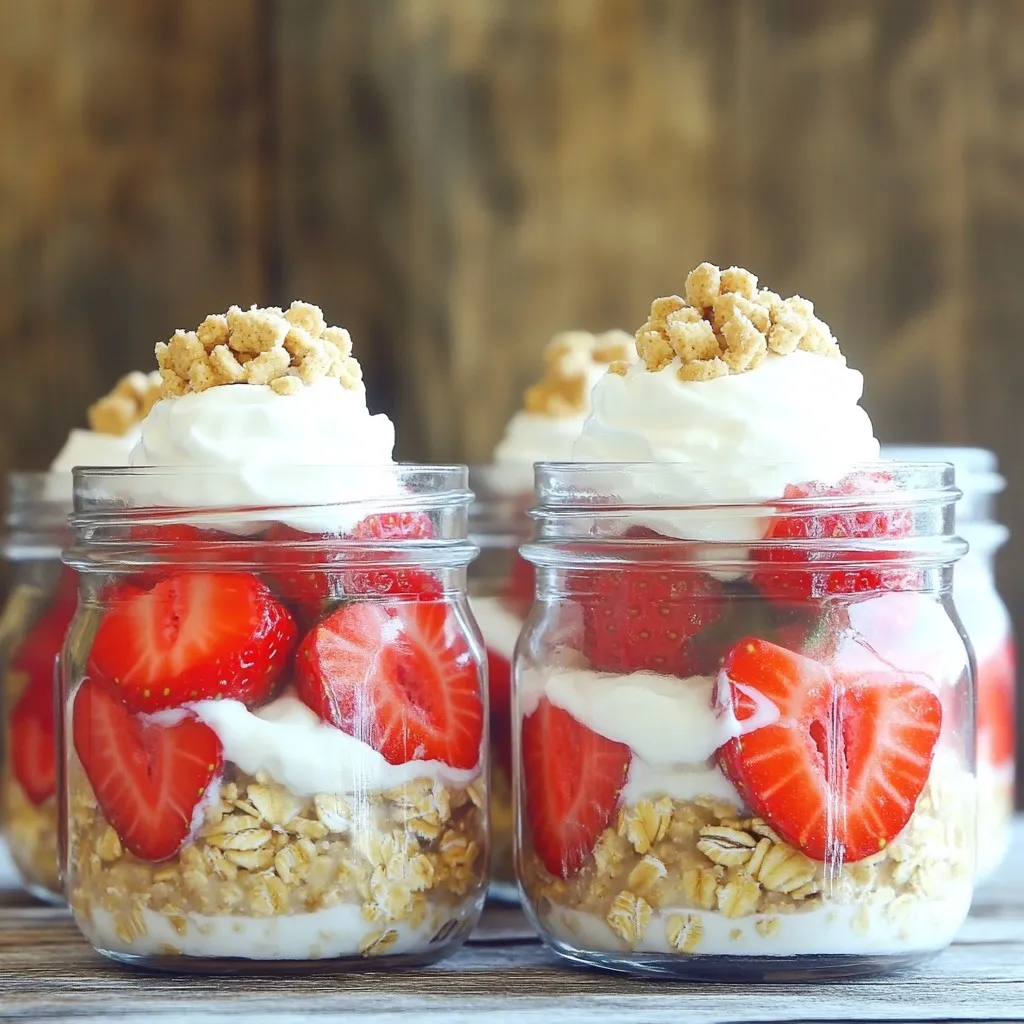
A delicious and healthy breakfast option featuring rolled oats, almond milk, fresh strawberries, and...
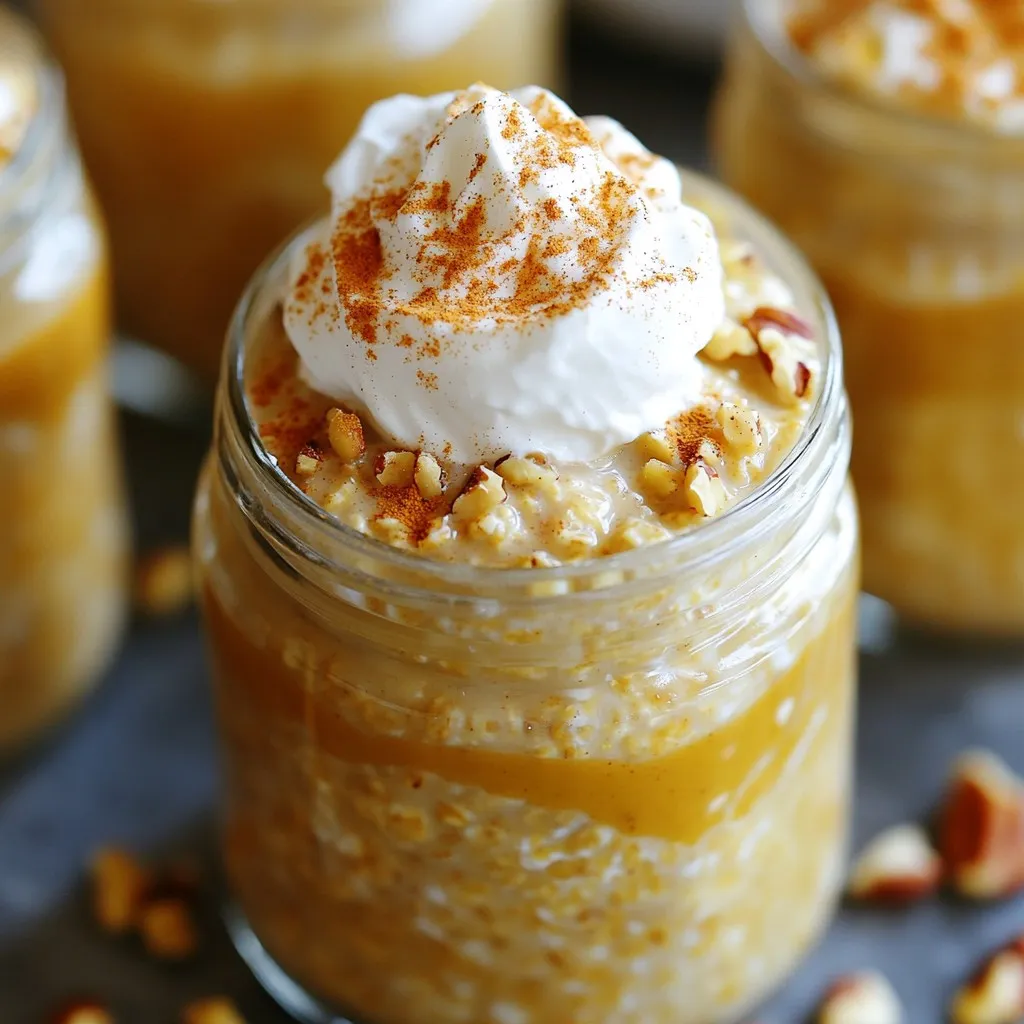
A creamy and flavorful overnight oats recipe infused with pumpkin and warm spices, perfect for a qui...
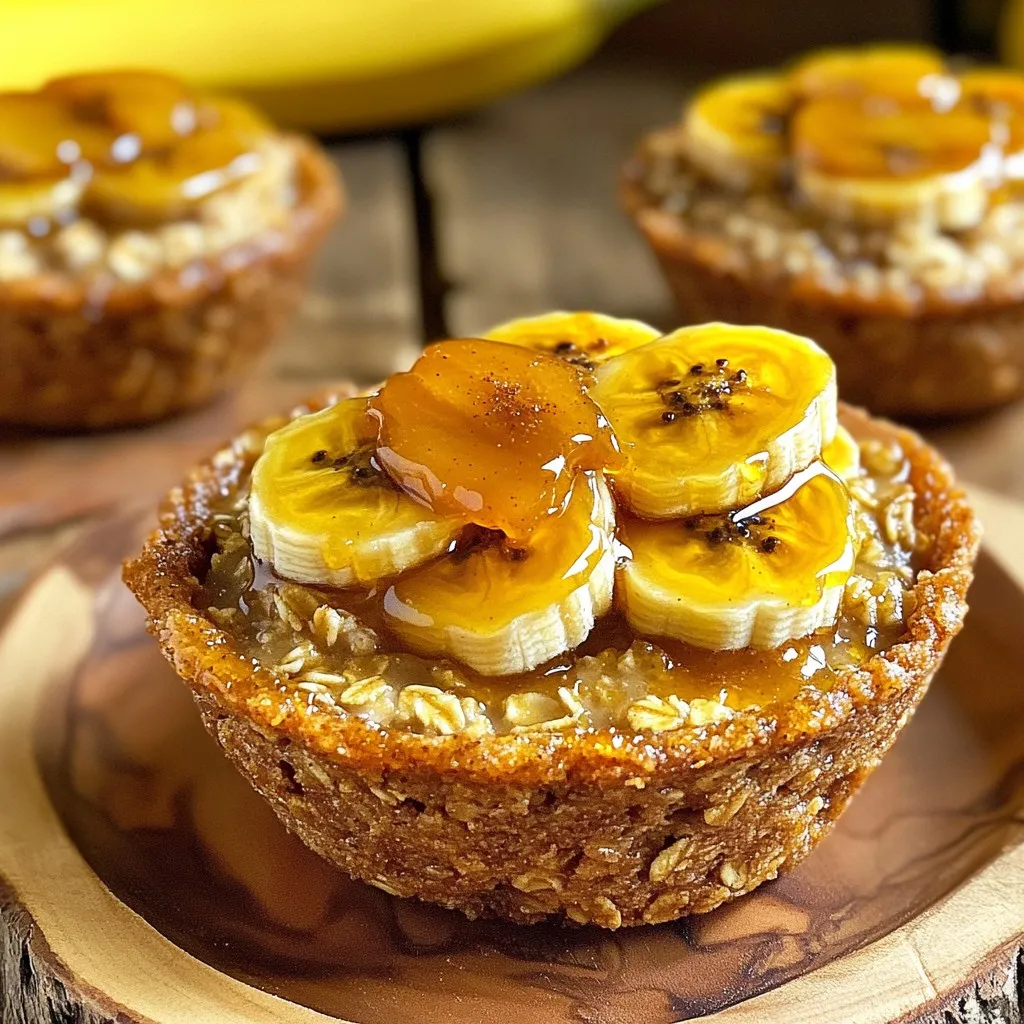
Delicious oatmeal cups made with ripe bananas, rolled oats, and topped with caramelized banana slice...
A delicious and healthy breakfast option made with rolled oats, Greek yogurt, and fresh strawberries...
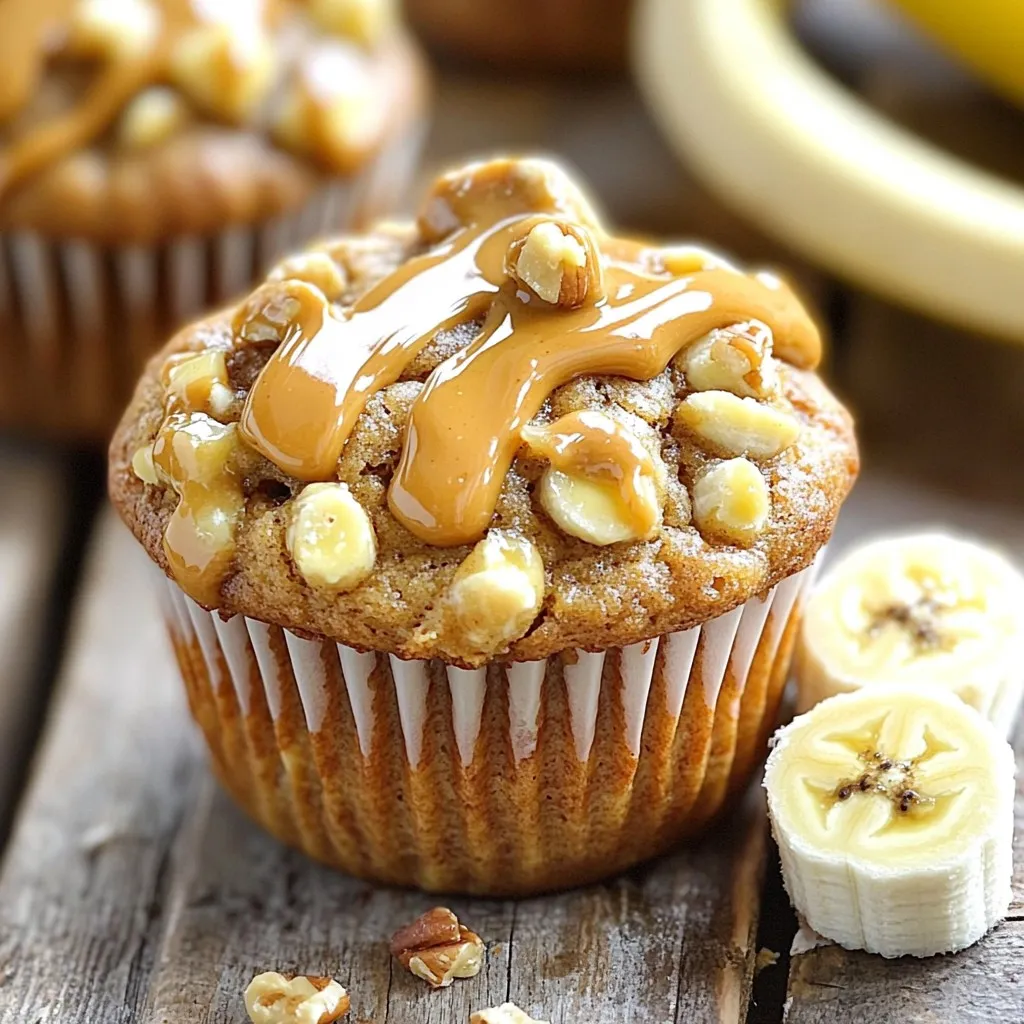
Delicious and healthy muffins made with ripe bananas and peanut butter, perfect for a quick breakfas...