
Healthy Apple Crisp Delightful and Simple Dessert
A delicious and nutritious dessert featuring spiced apples topped with a crunchy oat mixture.
45 min
8
Sweet treats and desserts
A delicious and nutritious dessert featuring spiced apples topped with a crunchy oat mixture.

A quick and easy chocolate dessert made in a mug, perfect for satisfying your sweet tooth in minutes...

Delicious sandwich cookies filled with creamy vanilla frosting and decorated with colorful sprinkles...

Delicious and healthy cookies made with oats and applesauce, perfect for a guilt-free treat.

A quick and healthy mug cake made with Greek yogurt and whole wheat flour.

Delicious bite-sized churro treats baked to perfection and coated in cinnamon sugar.
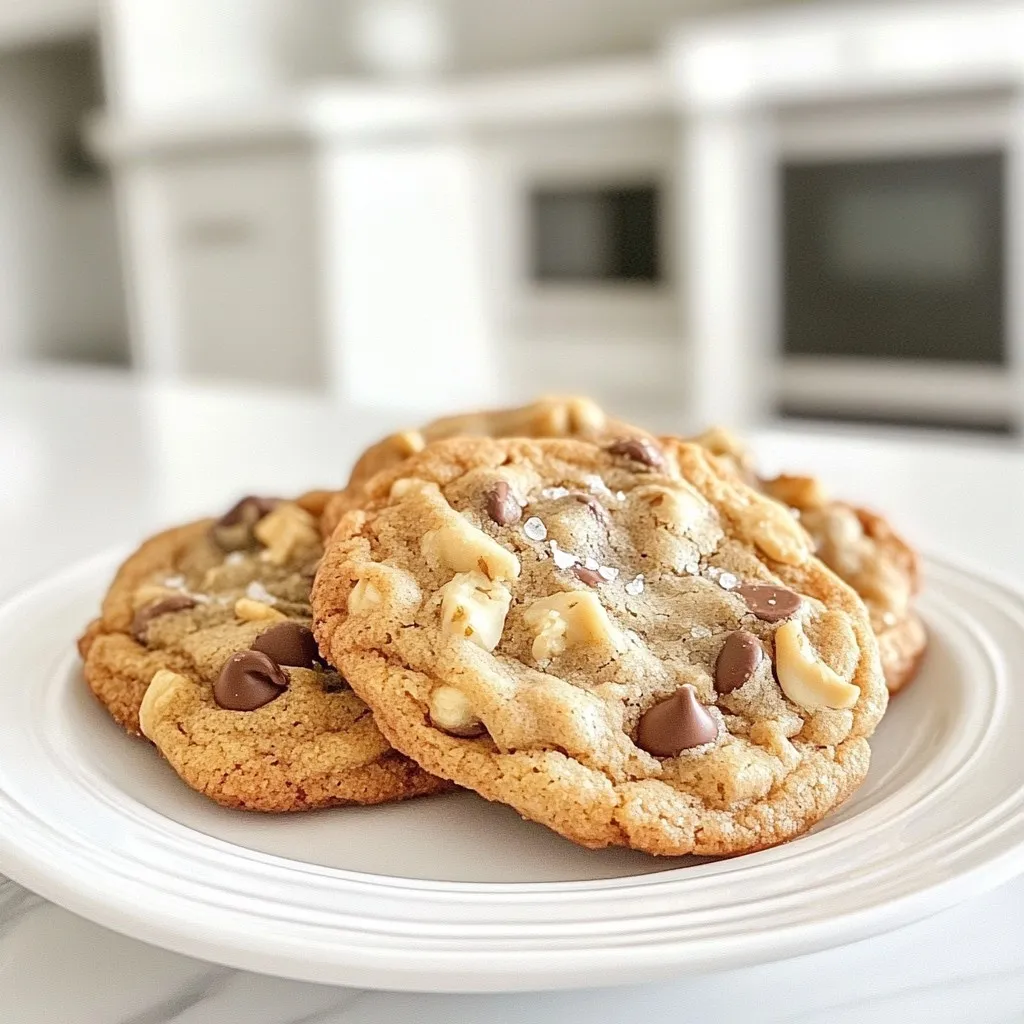
Deliciously chewy chocolate chip cookies with a perfect balance of sweetness and texture.
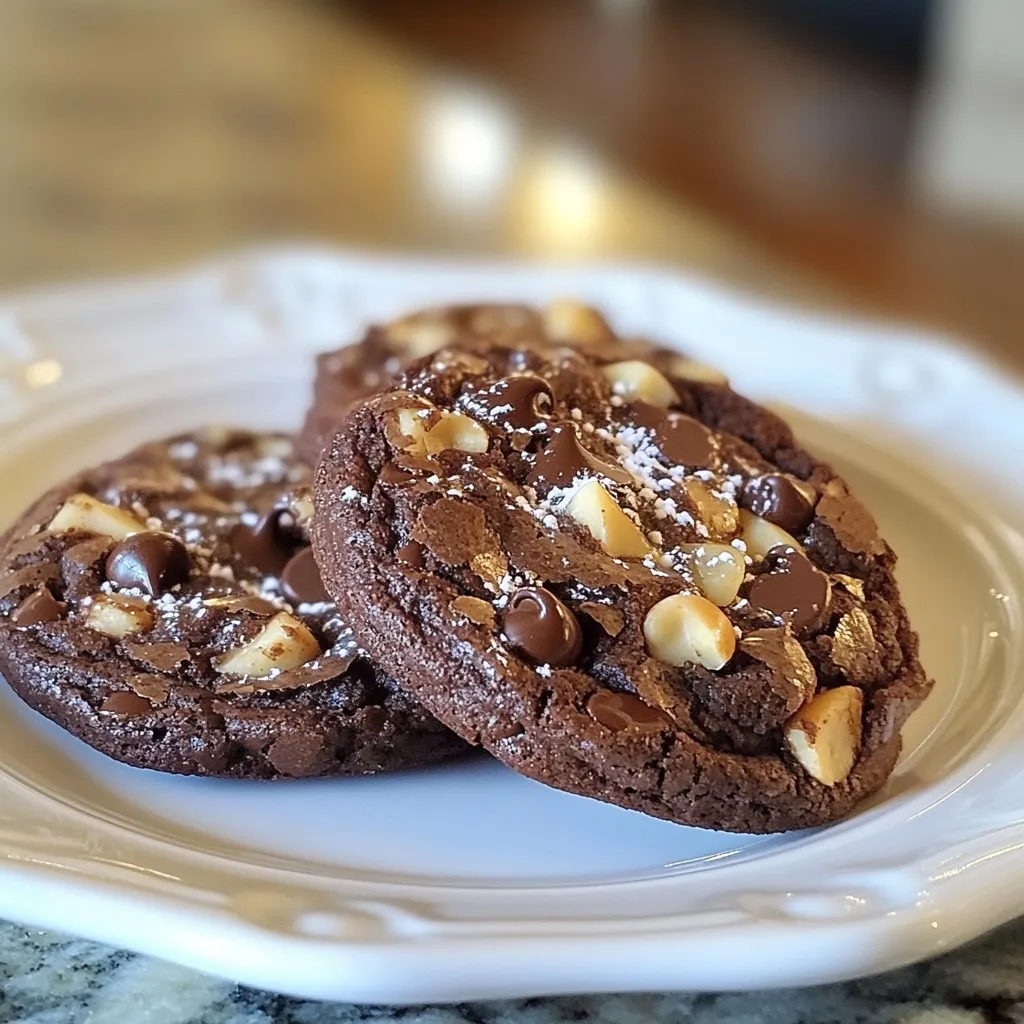
Deliciously rich and fudgy brownie cookies that are easy to make and perfect for chocolate lovers.

A delicious and safe-to-eat cookie dough made with heat-treated flour.

A quick and easy healthy brownie made in a mug, perfect for satisfying your chocolate cravings.
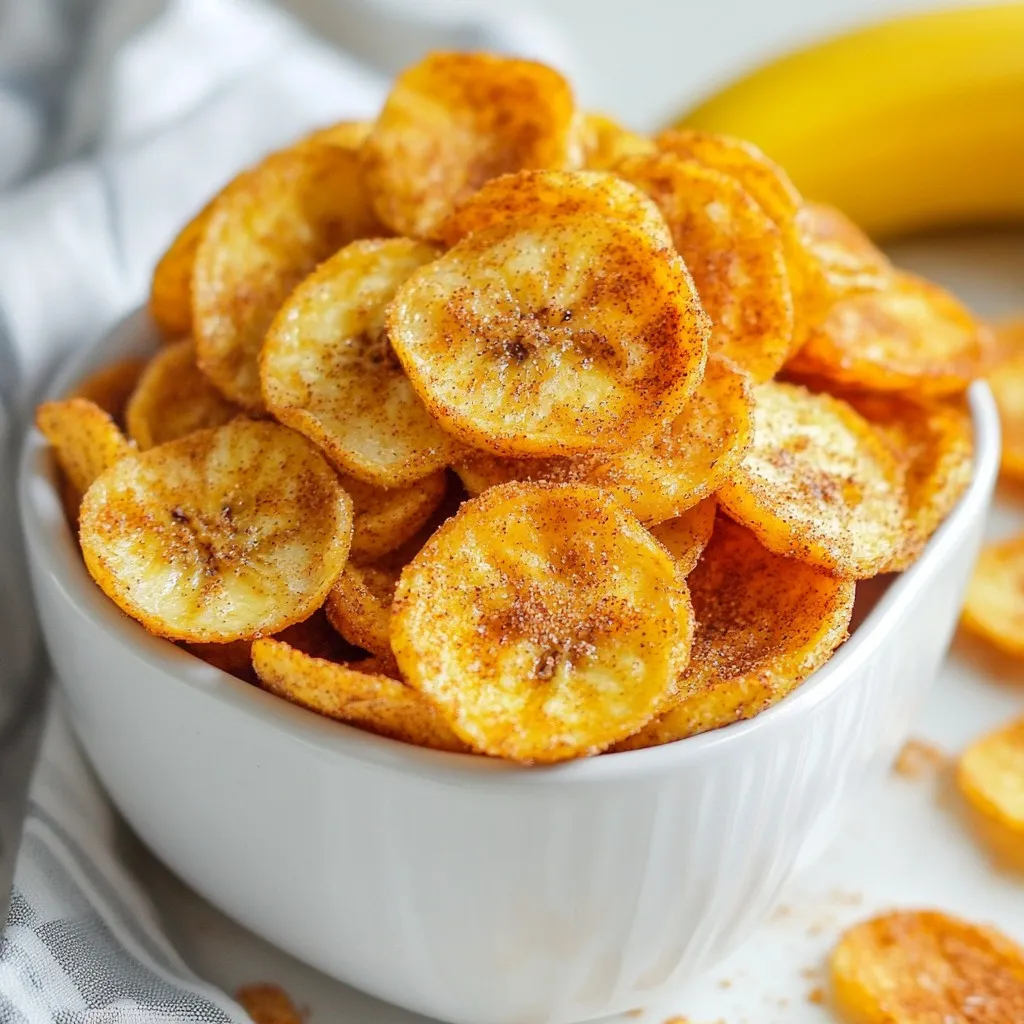
A healthy and delicious snack made from ripe bananas, lightly sweetened and spiced with cinnamon.

Delicious cookies that combine the classic flavors of s'mores with a gooey texture.