
Honey Garlic Chicken Flavorful and Easy Recipe
A delicious and sticky chicken dish with a sweet and savory honey garlic sauce.
50 min
4
Main course meals and dinner recipes
A delicious and sticky chicken dish with a sweet and savory honey garlic sauce.

A delicious and nutritious pasta dish packed with protein and fresh vegetables.
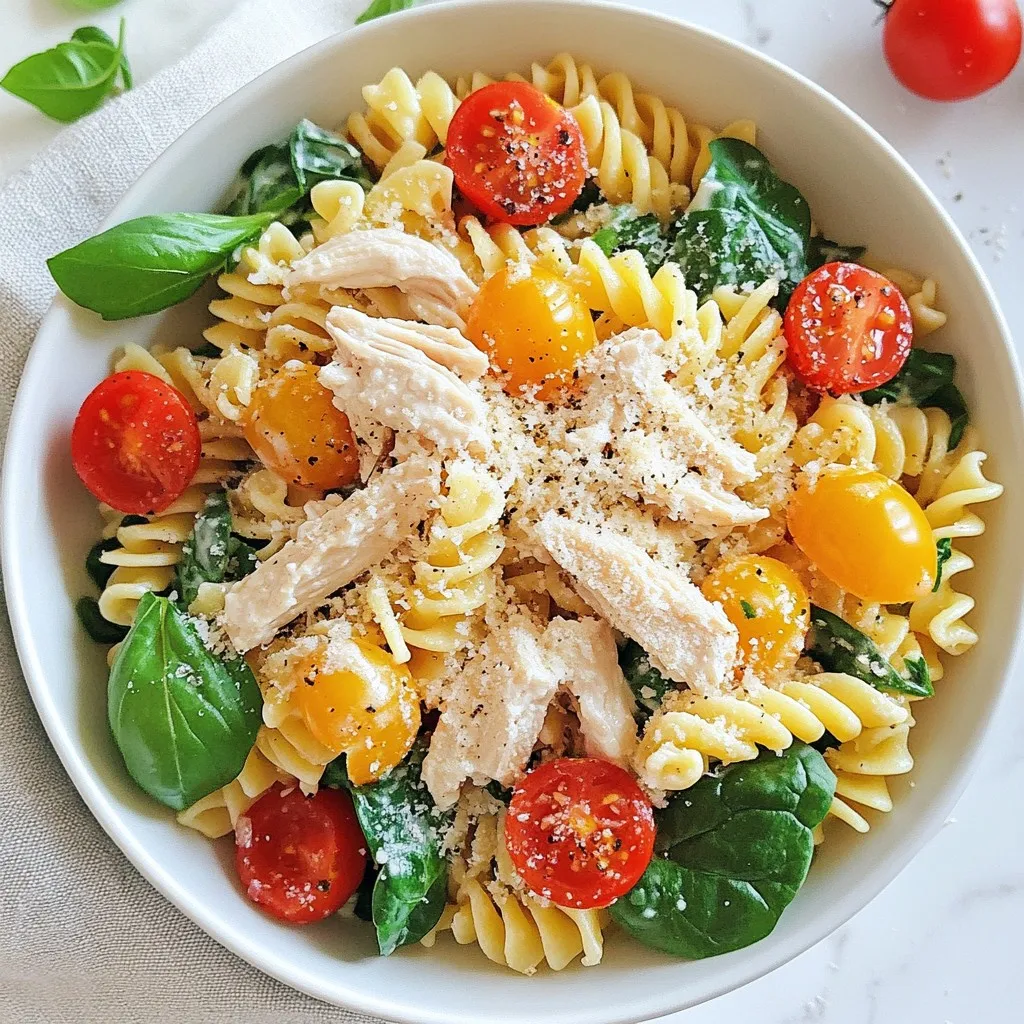
A delicious and nutritious pasta bowl packed with protein and fresh vegetables.
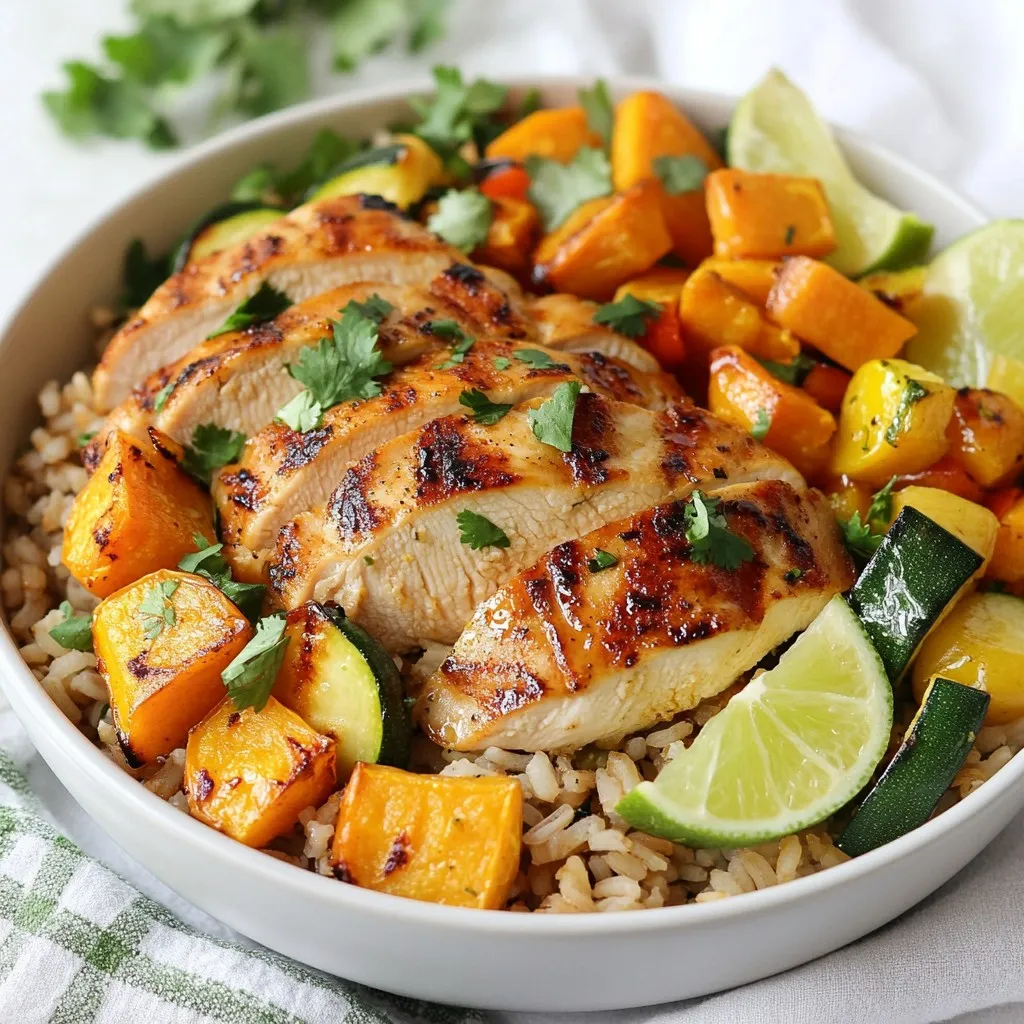
A delicious and nutritious rice bowl featuring roasted sweet potatoes, sautéed vegetables, and perfe...
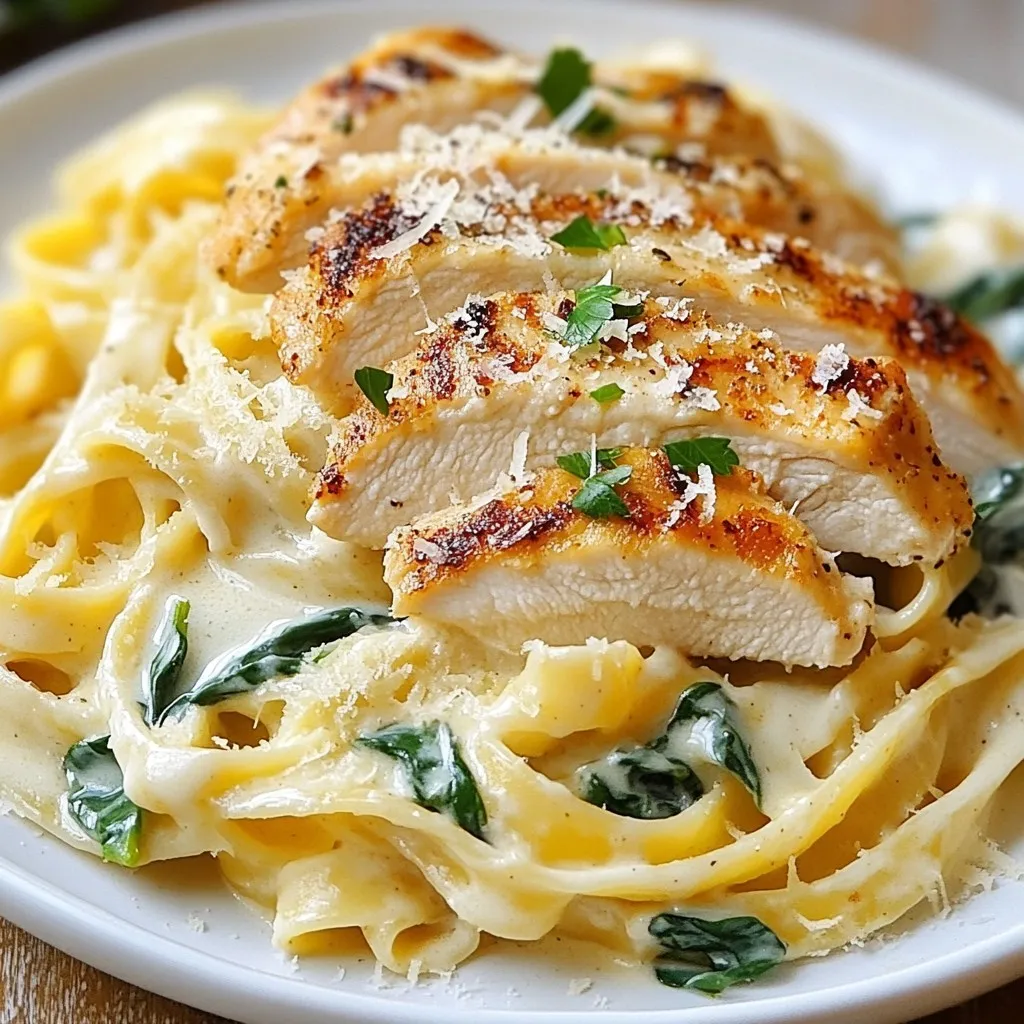
A creamy and flavorful pasta dish featuring chicken and garlic in a rich Alfredo sauce.
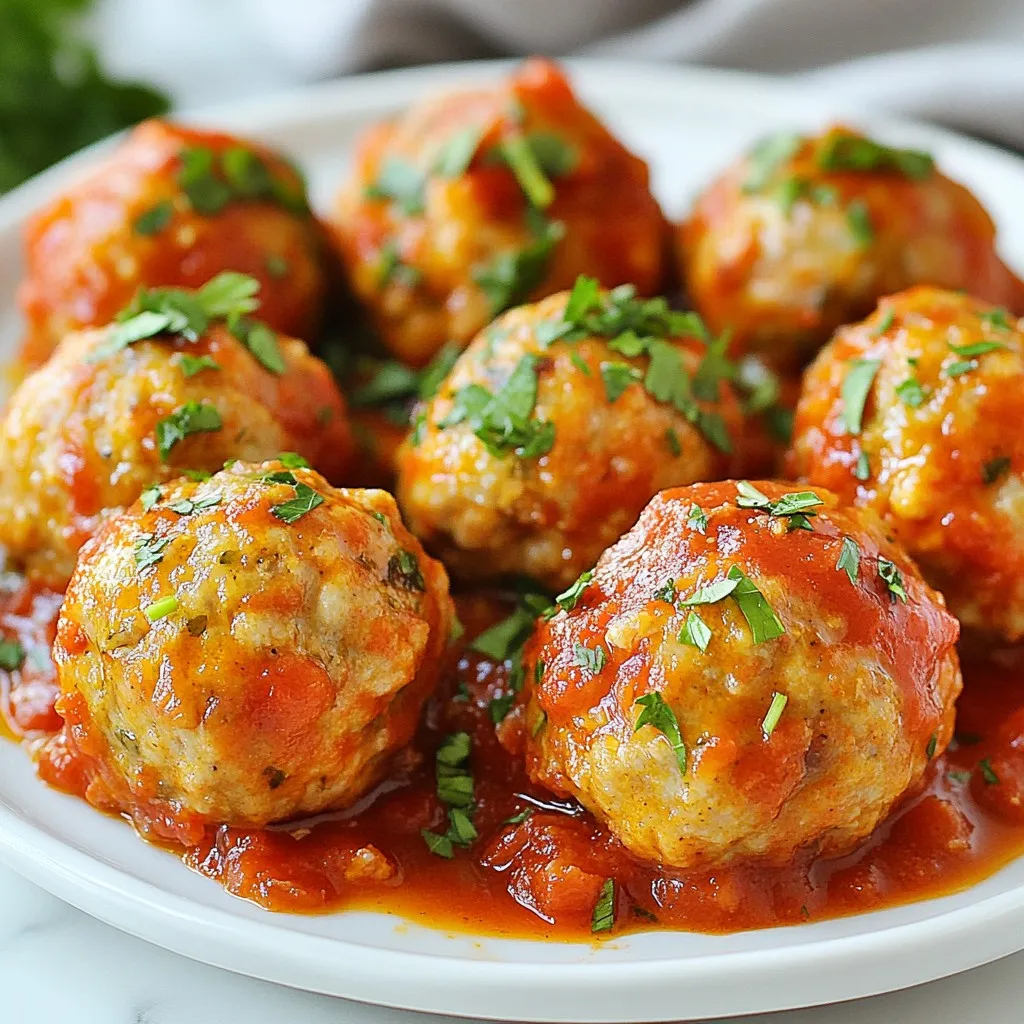
Delicious and healthy turkey meatballs made with almond flour and Parmesan, perfect for a keto diet.
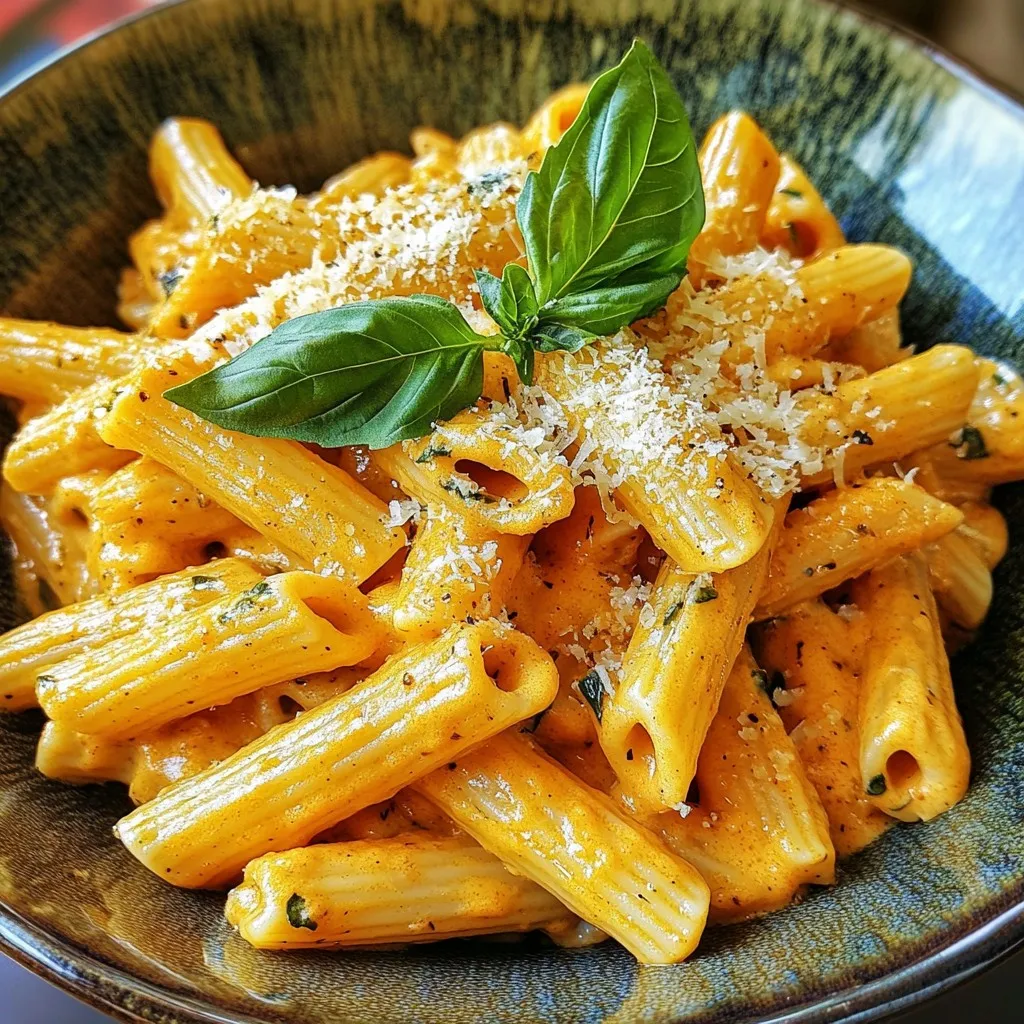
A rich and creamy pasta dish with a flavorful tomato sauce, perfect for any occasion.
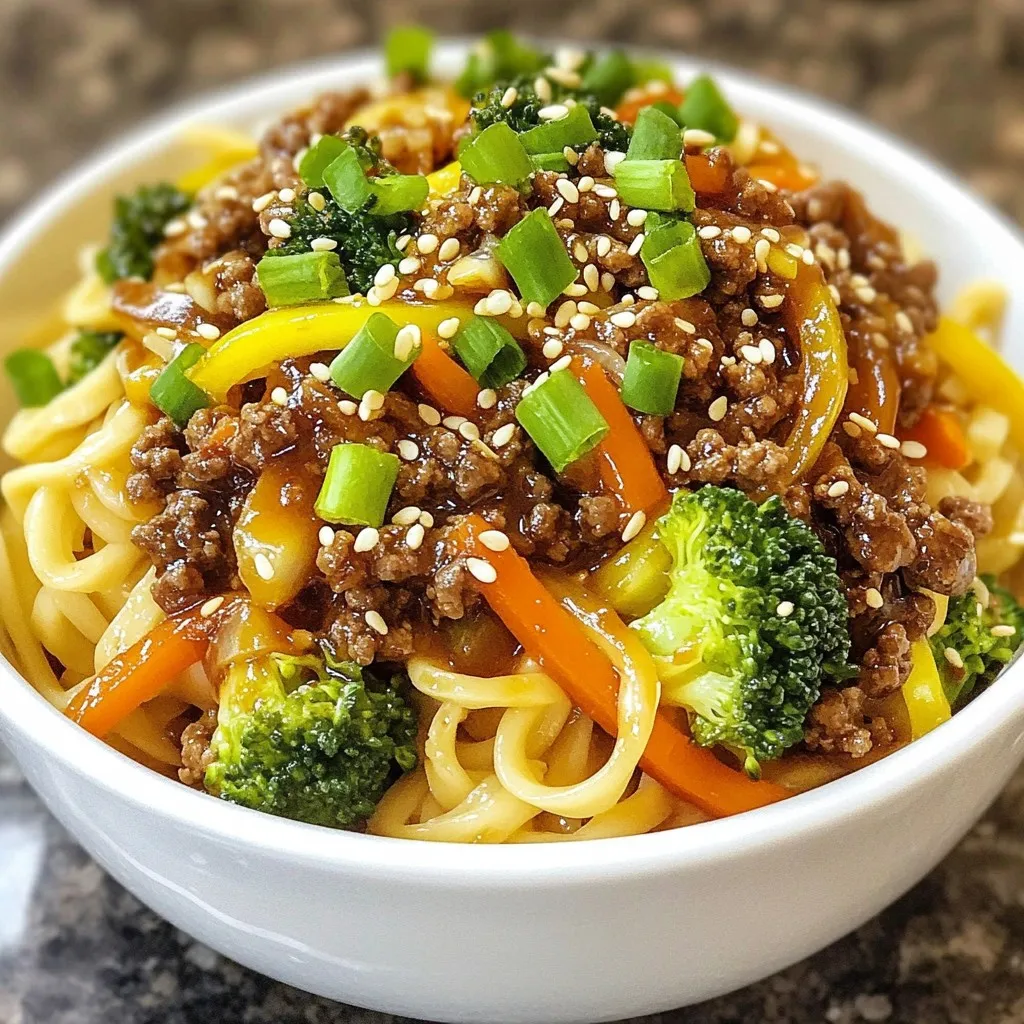
A flavorful dish featuring ground beef, vegetables, and egg noodles in a savory sauce.
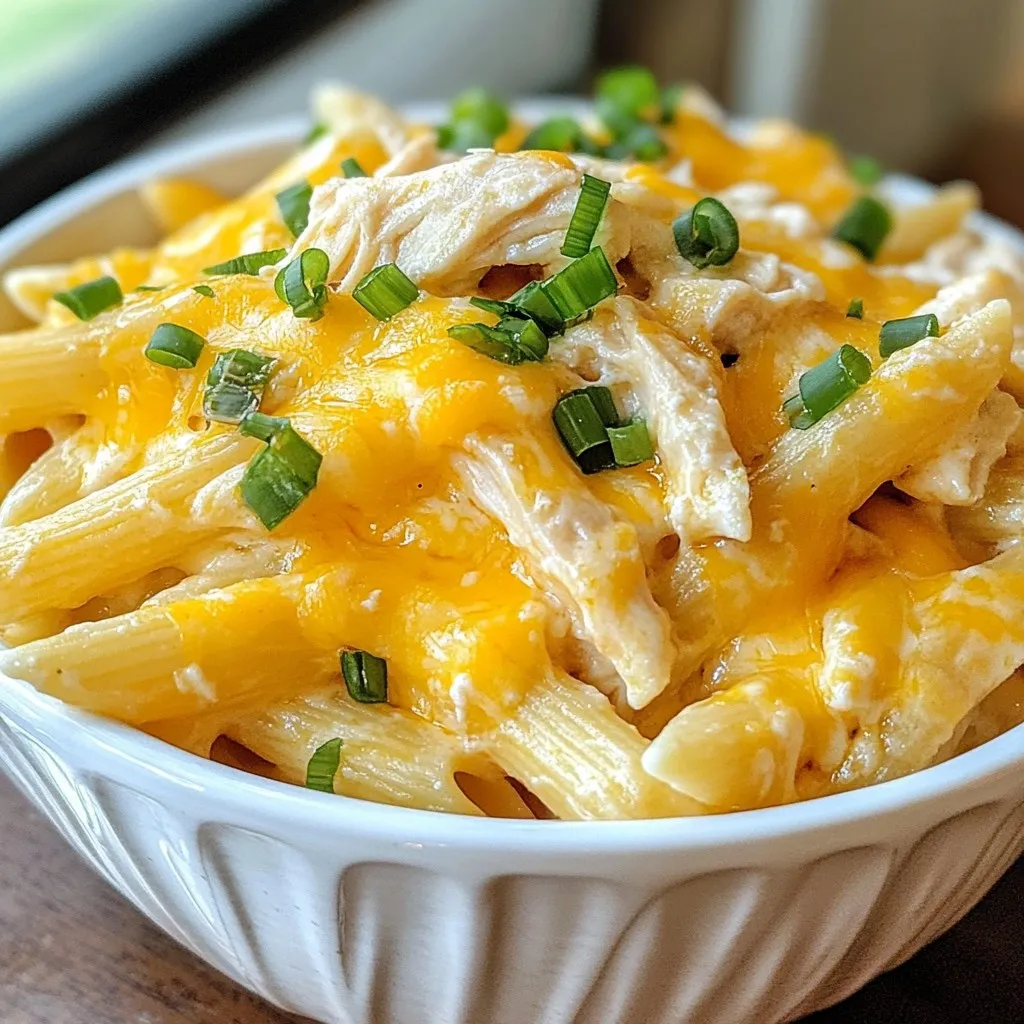
A creamy and cheesy pasta dish featuring shredded chicken and ranch flavors.
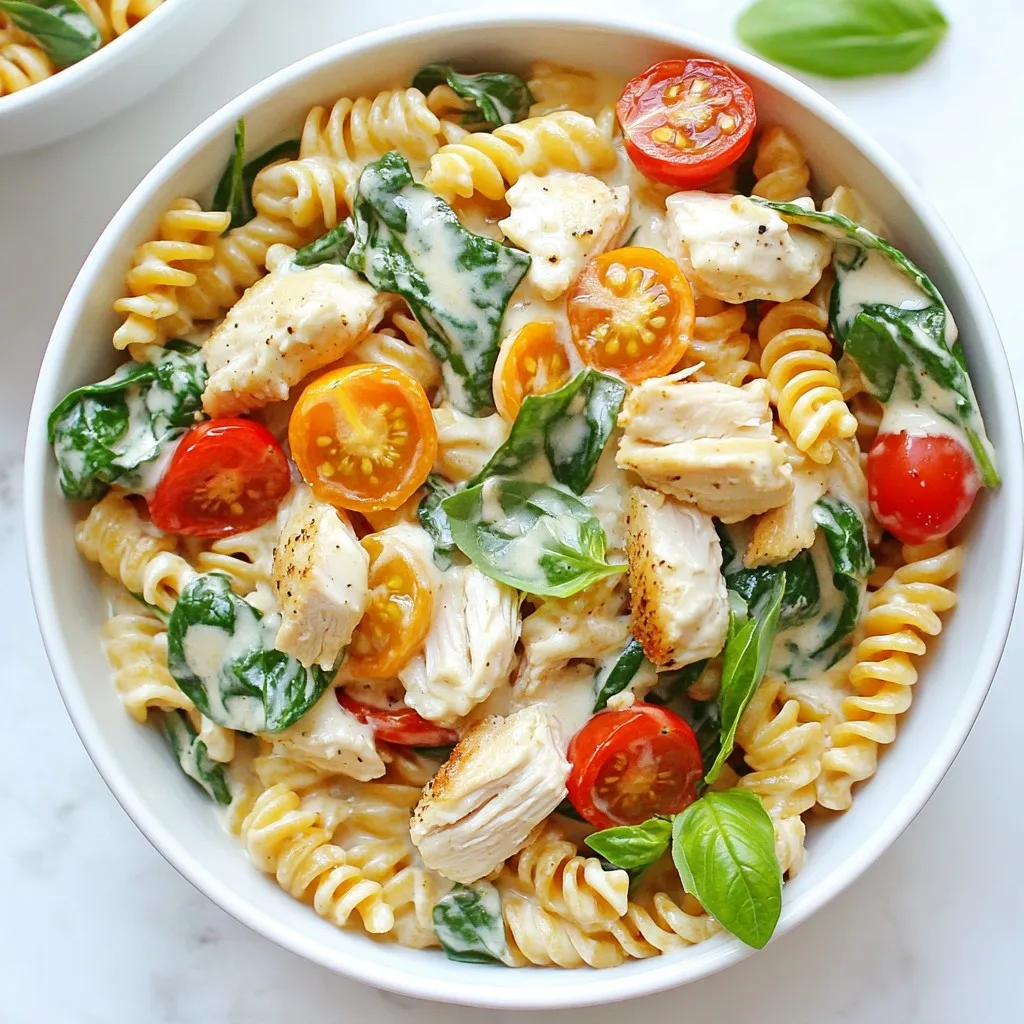
A delicious and healthy pasta dish packed with protein and flavor.
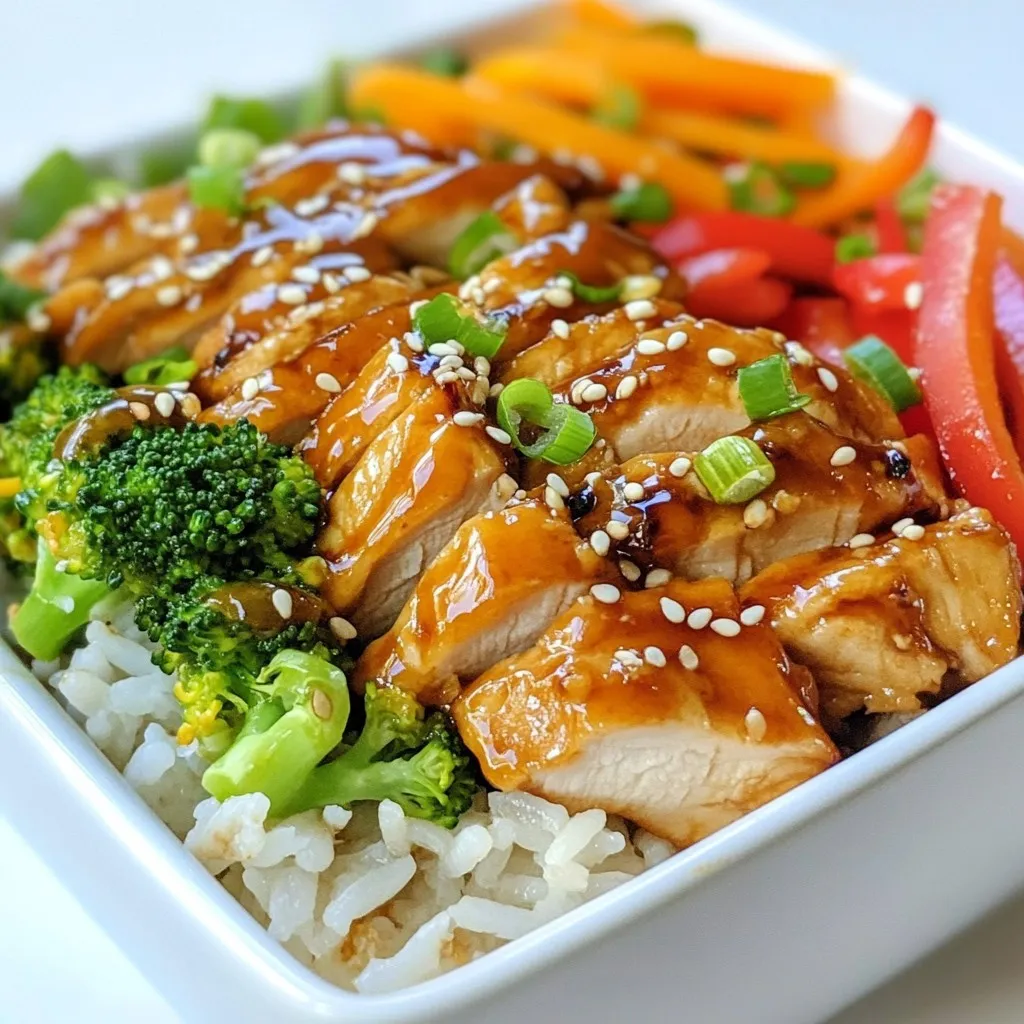
A delicious and healthy rice bowl featuring teriyaki chicken and fresh vegetables.
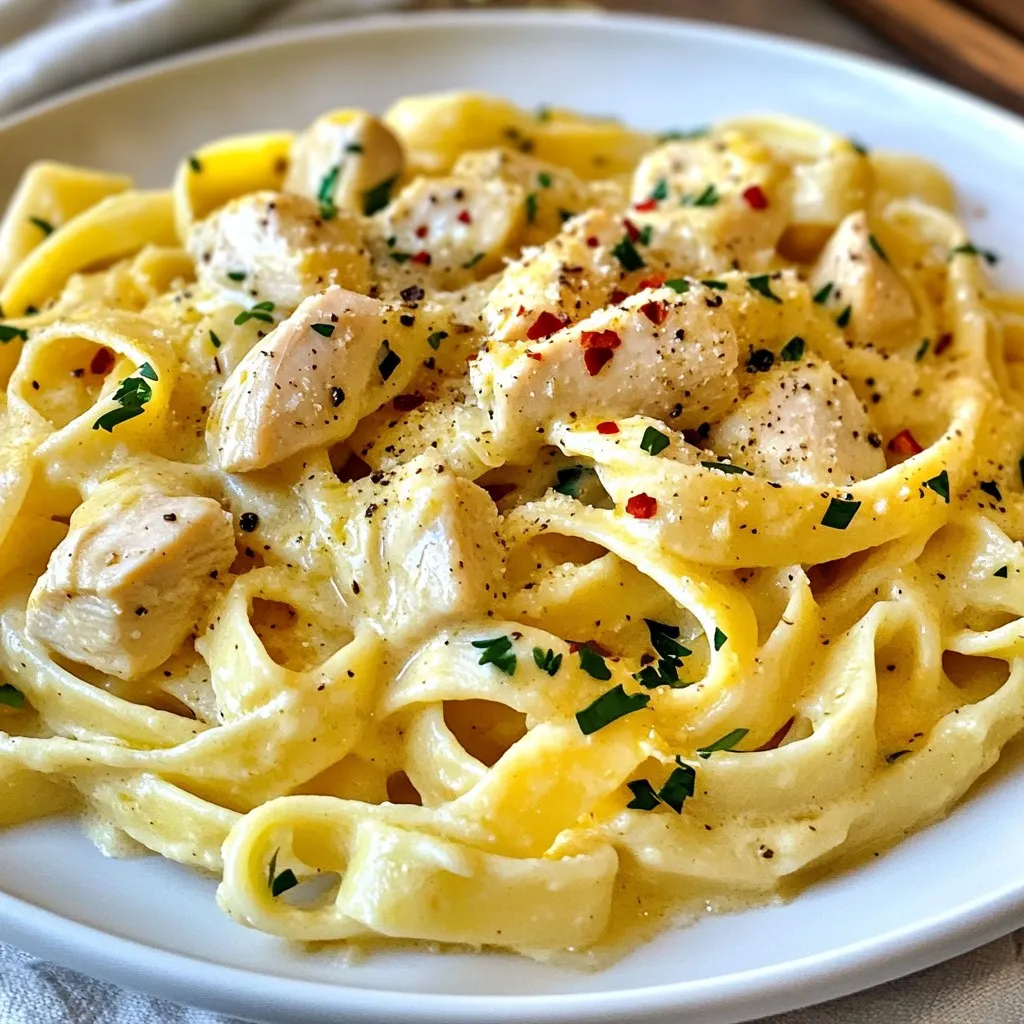
A creamy and flavorful pasta dish with tender chicken and garlic butter sauce.