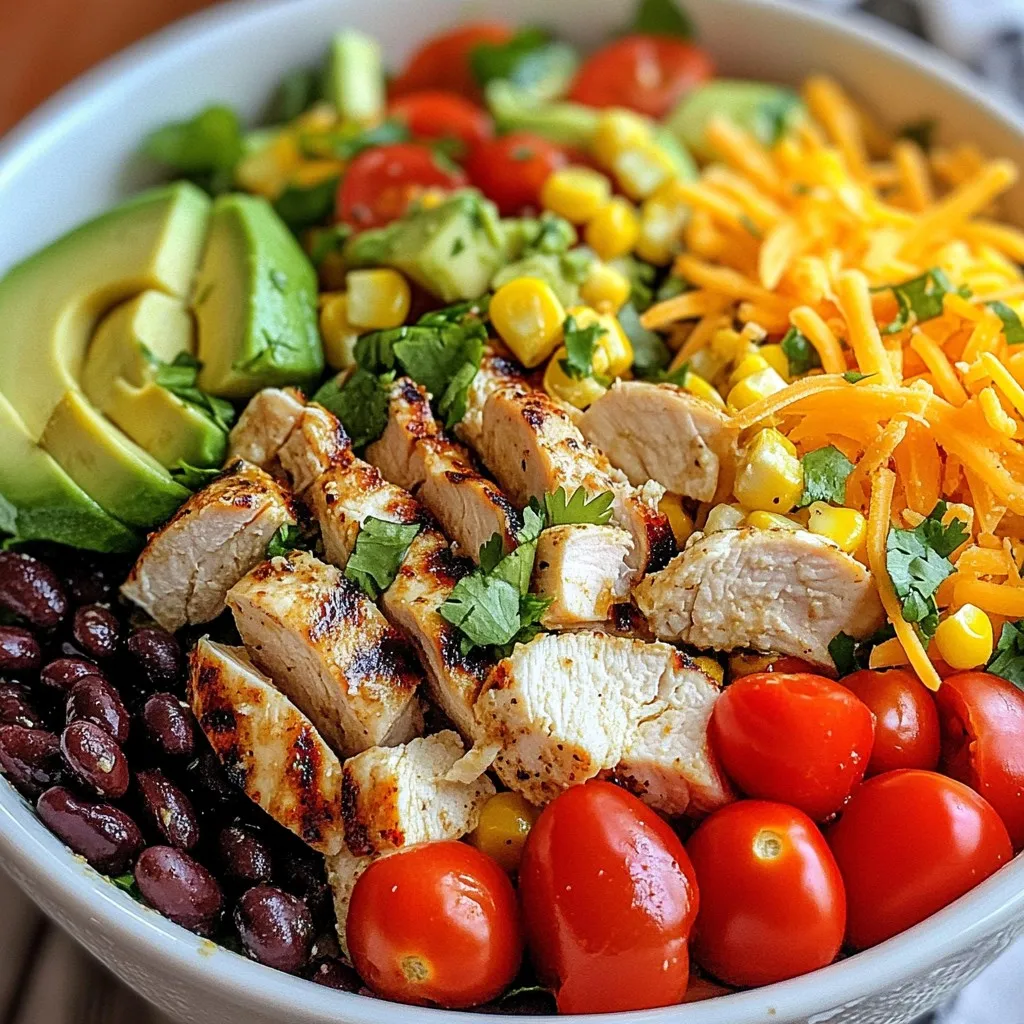
Southwest Chicken Salad Fresh and Flavorful Recipe
A vibrant and flavorful salad featuring grilled chicken, fresh vegetables, and a zesty dressing.
30 min
4
Fresh and healthy salads
A vibrant and flavorful salad featuring grilled chicken, fresh vegetables, and a zesty dressing.
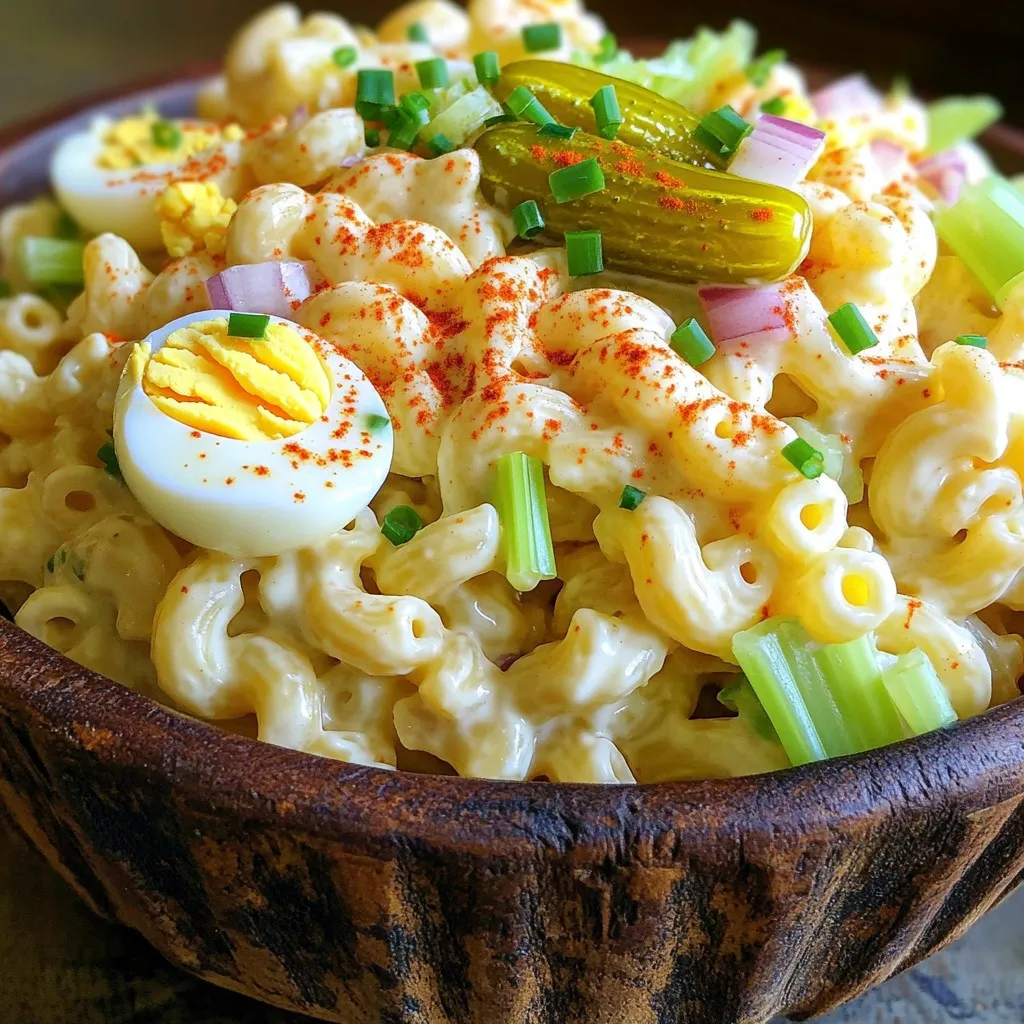
A creamy and flavorful macaroni salad with hard-boiled eggs, reminiscent of deviled eggs.
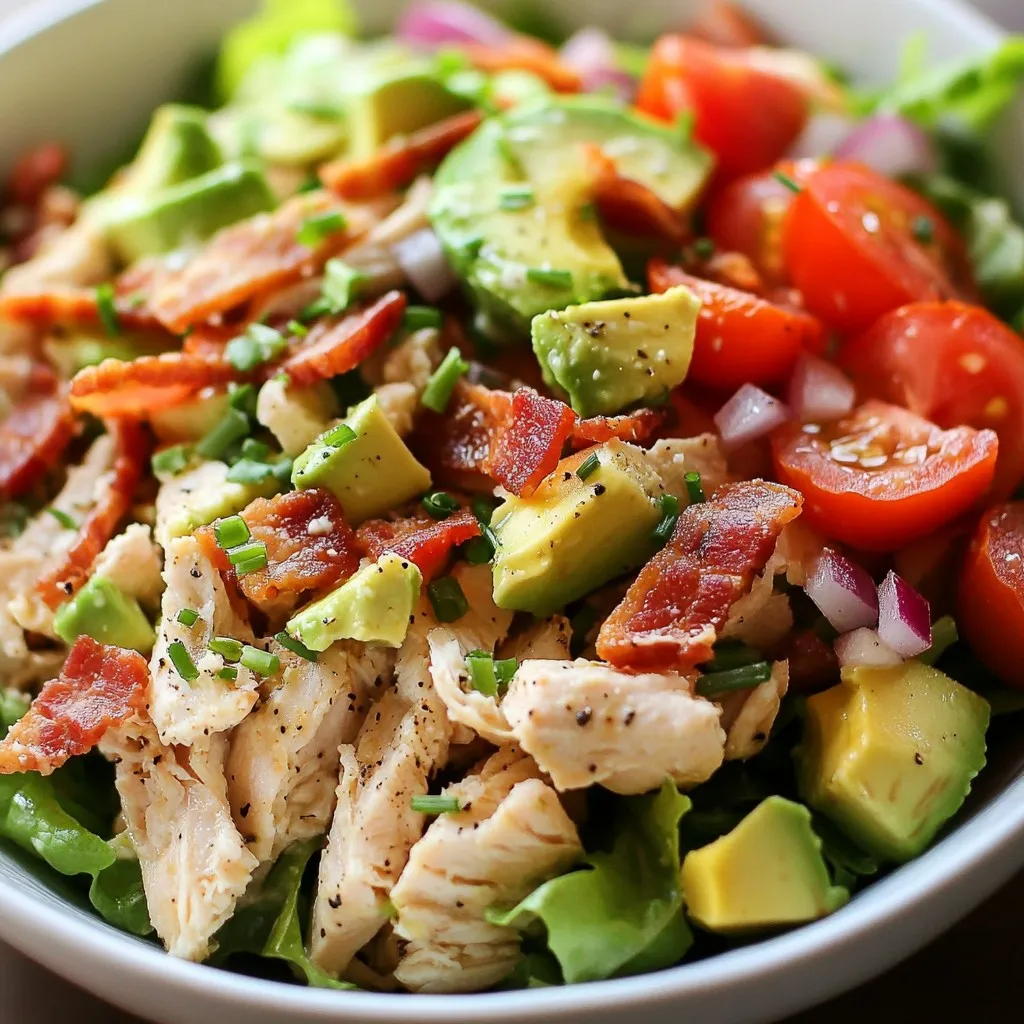
A refreshing and hearty salad combining chicken, bacon, and fresh vegetables.
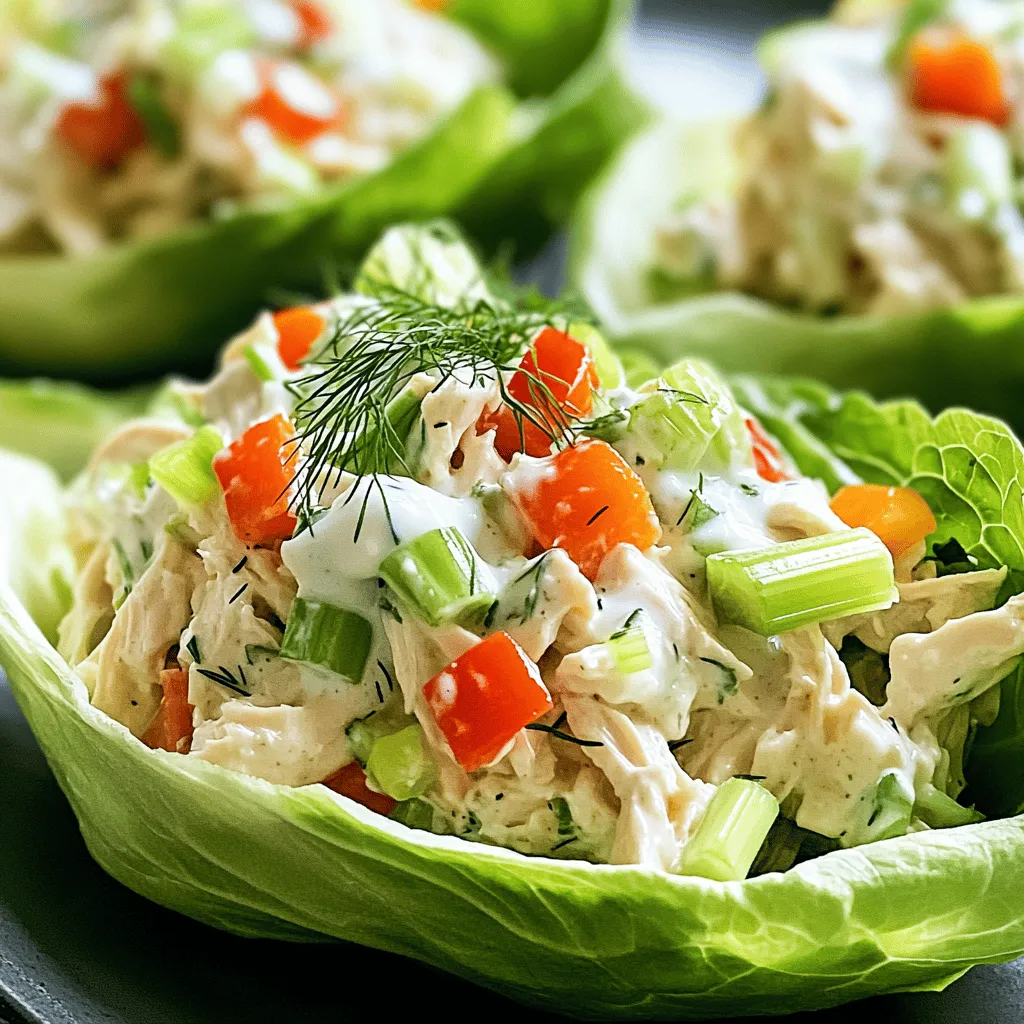
A light and refreshing chicken salad served in lettuce boats, perfect for a healthy meal.
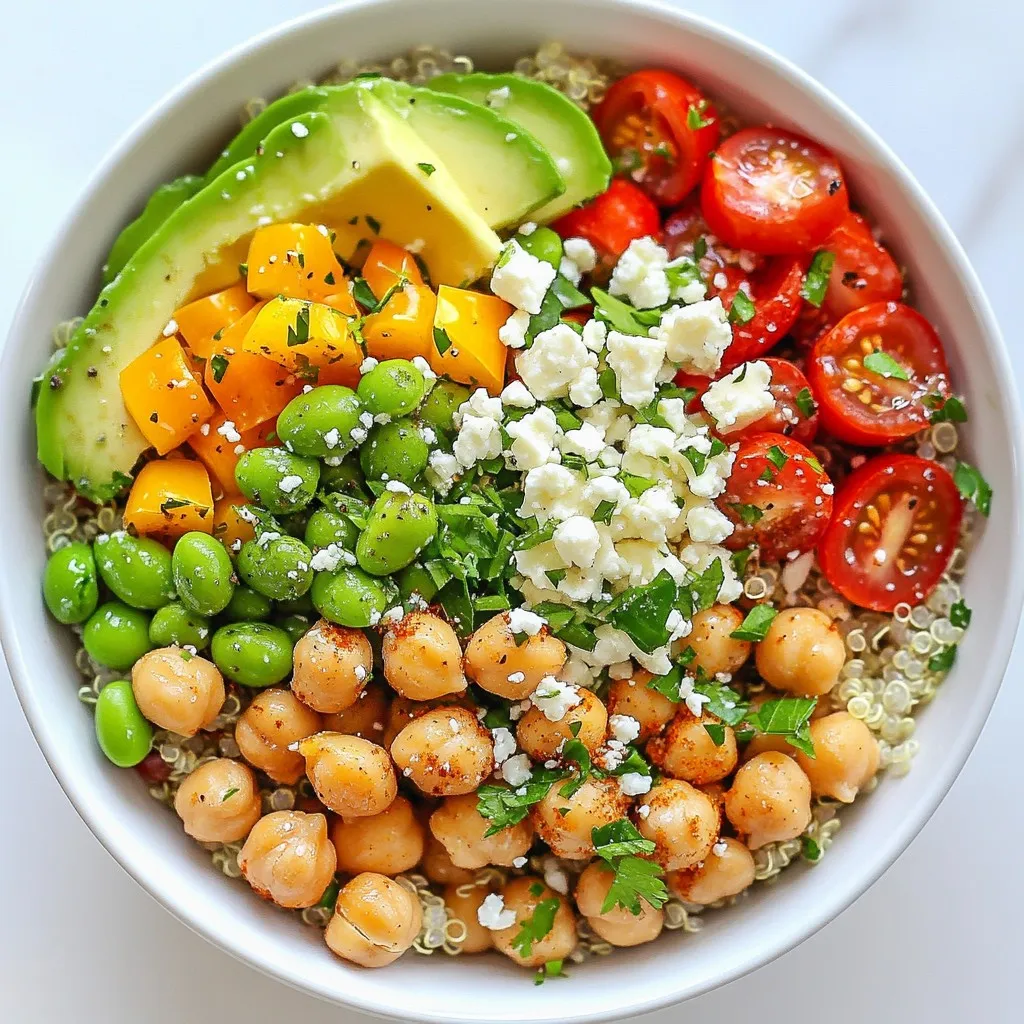
A nutritious and filling salad bowl packed with protein from quinoa, chickpeas, and edamame, topped...
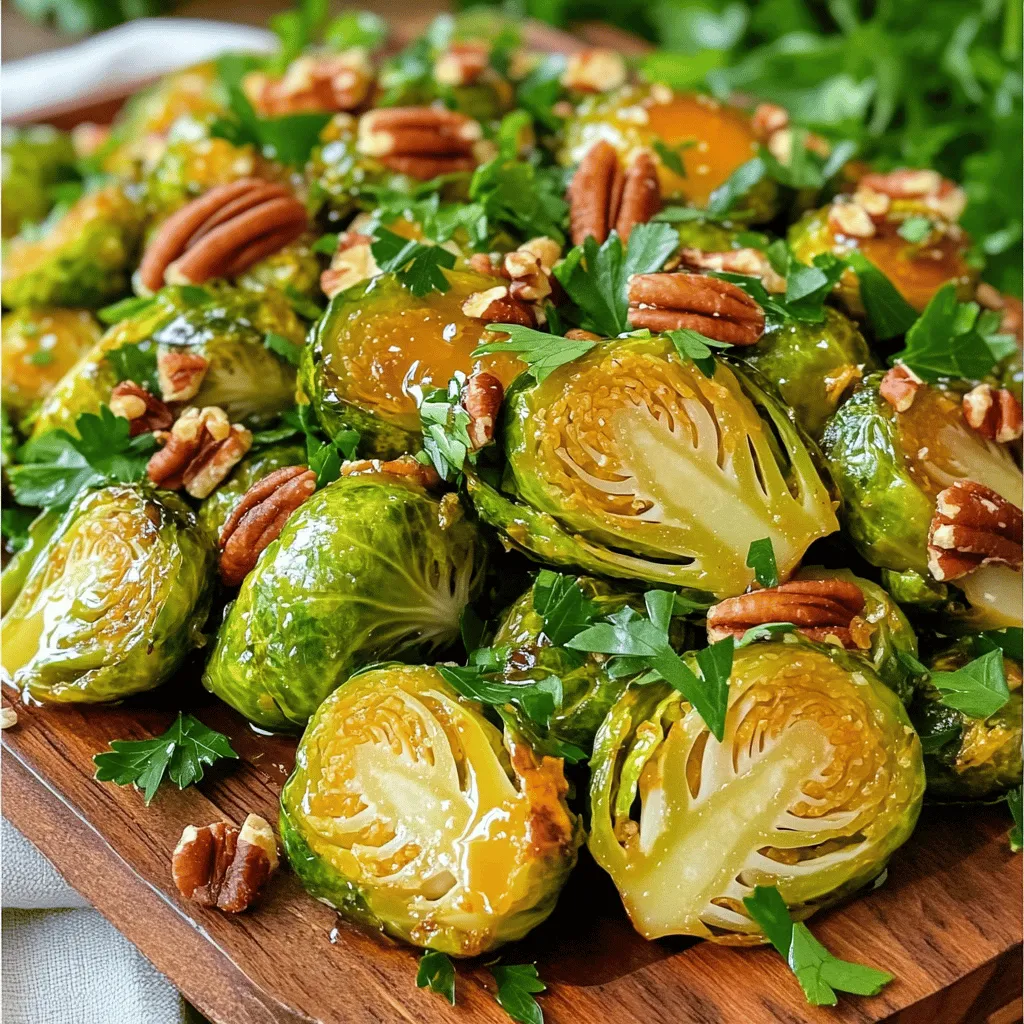
A delicious and healthy side dish featuring Brussels sprouts roasted with a sweet and tangy maple Di...
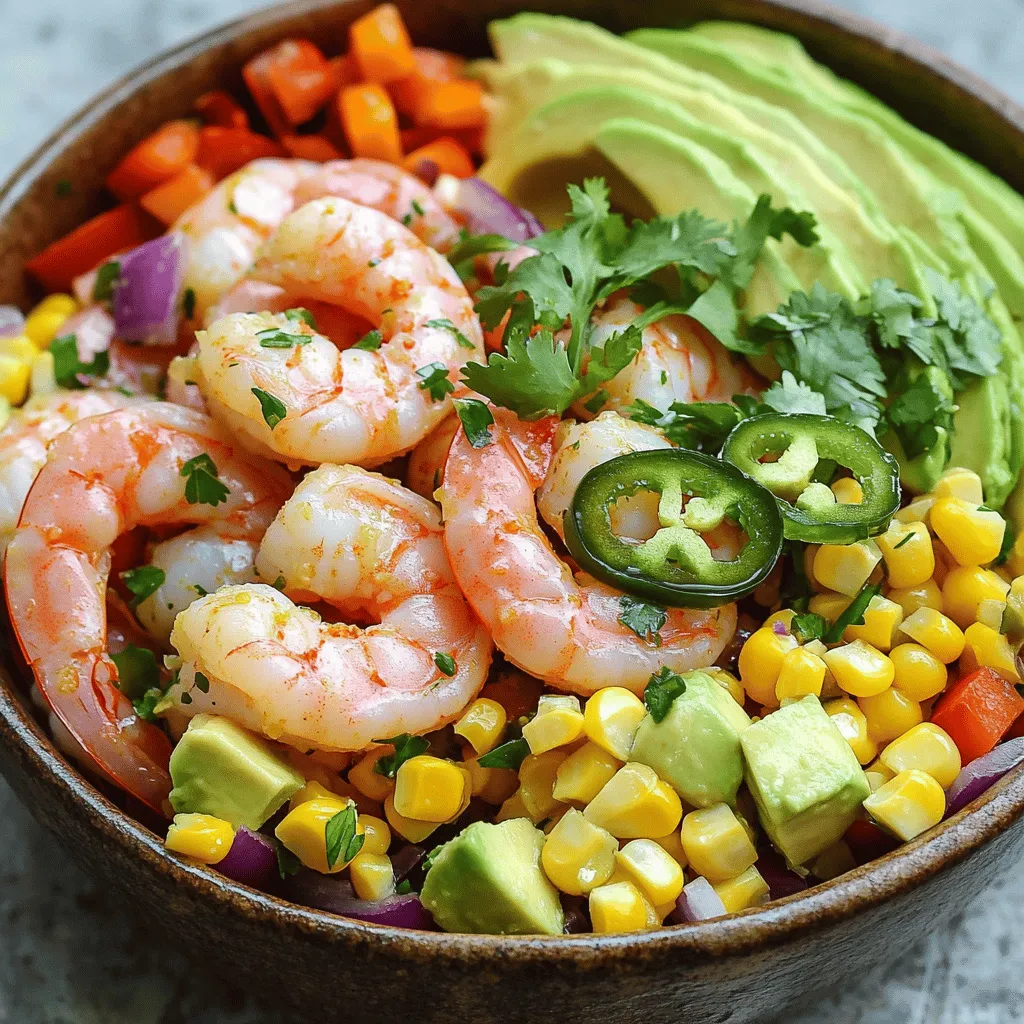
A refreshing salad featuring marinated shrimp, corn, and avocado with a zesty lime dressing.
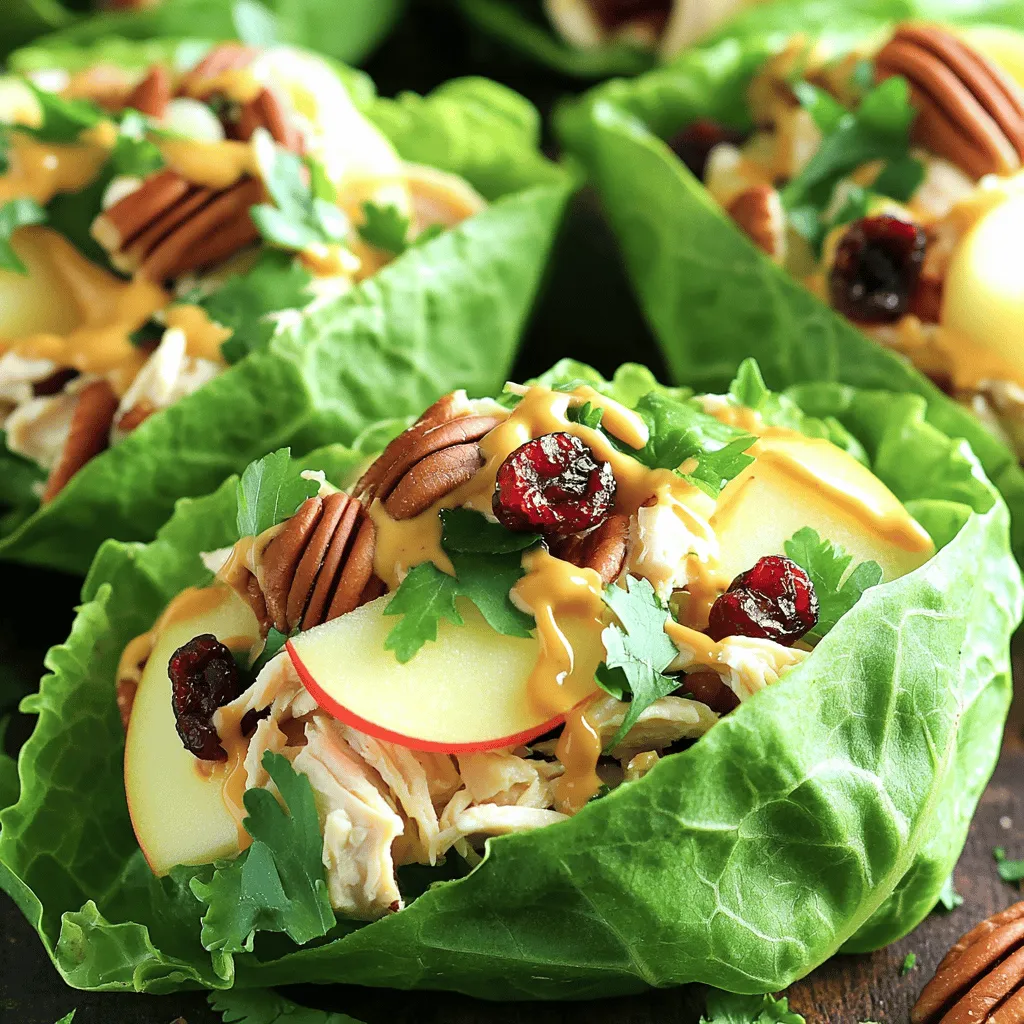
A refreshing and crunchy chicken salad wrapped in lettuce leaves, perfect for a light meal.
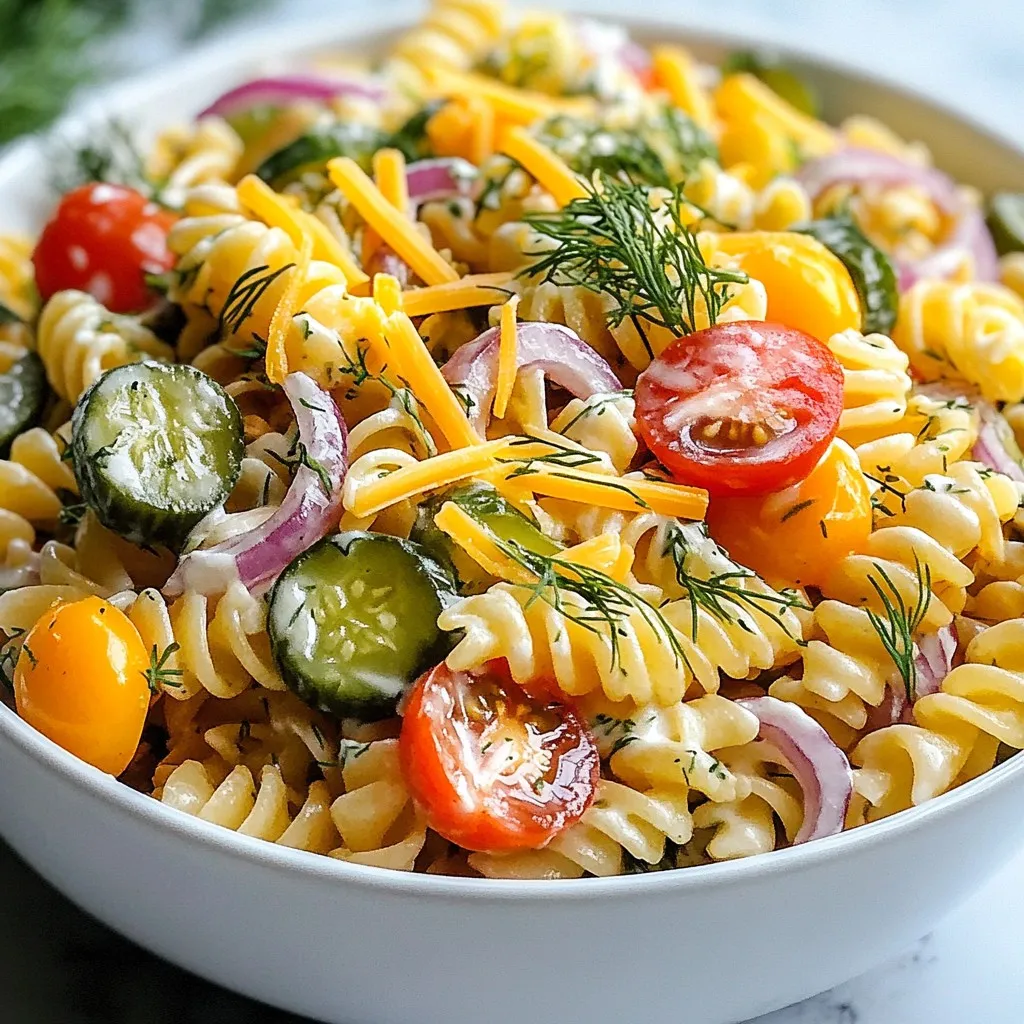
A refreshing pasta salad with the tangy flavor of dill pickles, perfect for summer gatherings.
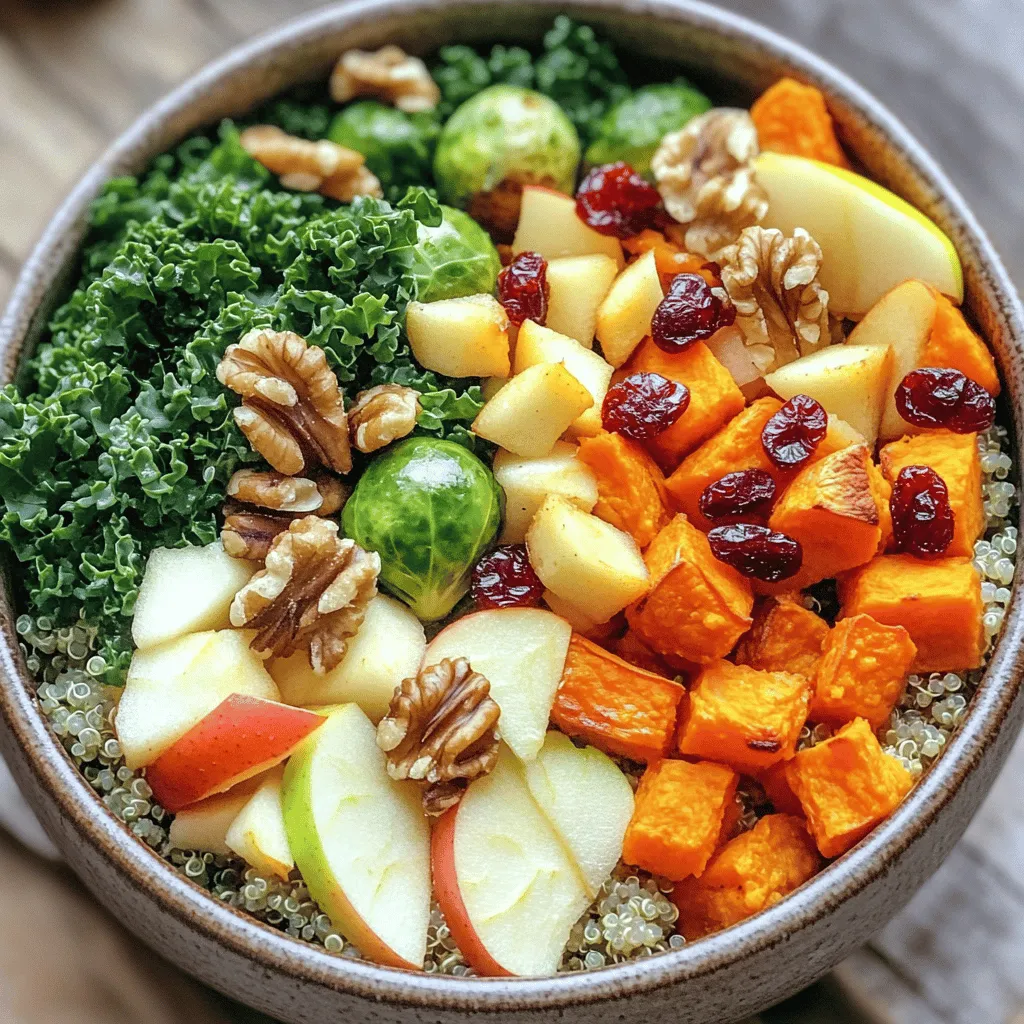
A nutritious and hearty bowl filled with quinoa, roasted vegetables, and fresh ingredients, perfect...
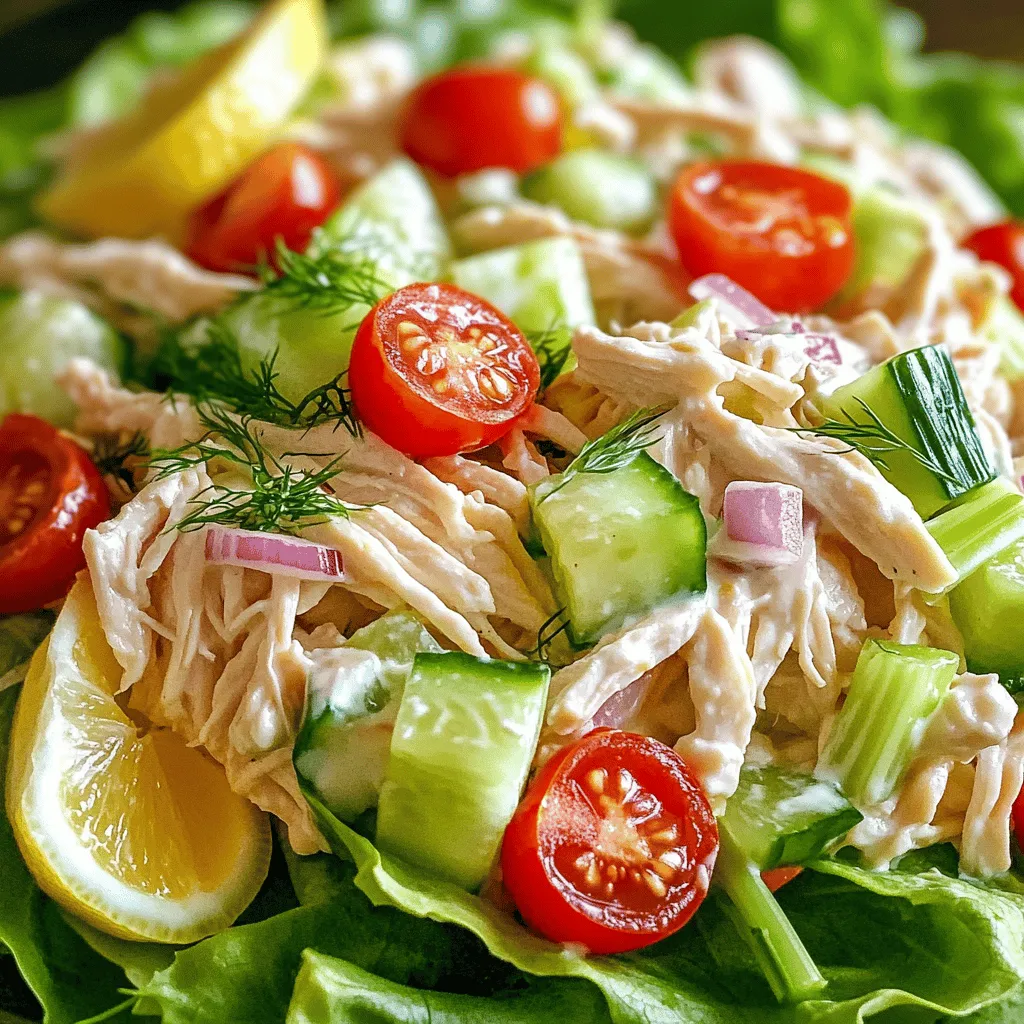
A refreshing and creamy chicken salad made with Greek yogurt, fresh vegetables, and herbs.
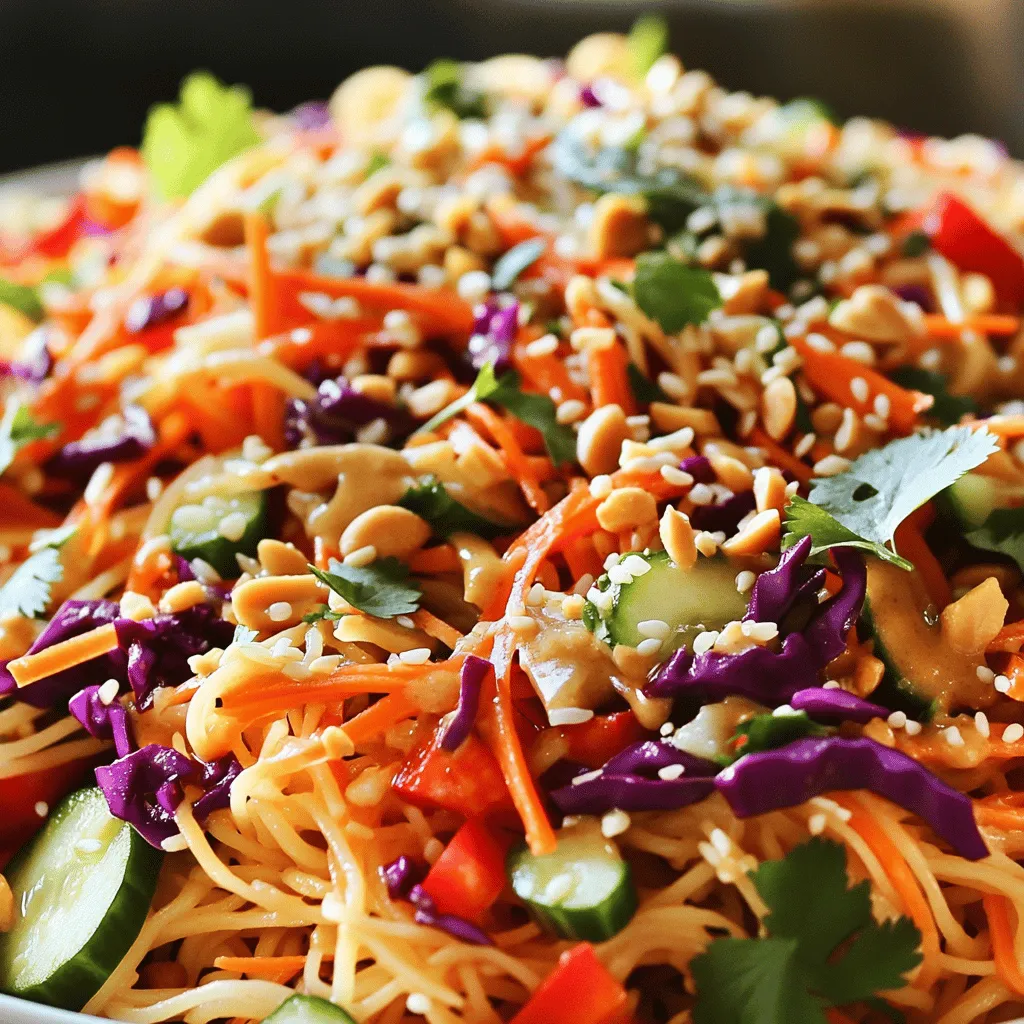
A refreshing and flavorful salad featuring rice noodles, fresh vegetables, and a creamy spicy peanut...