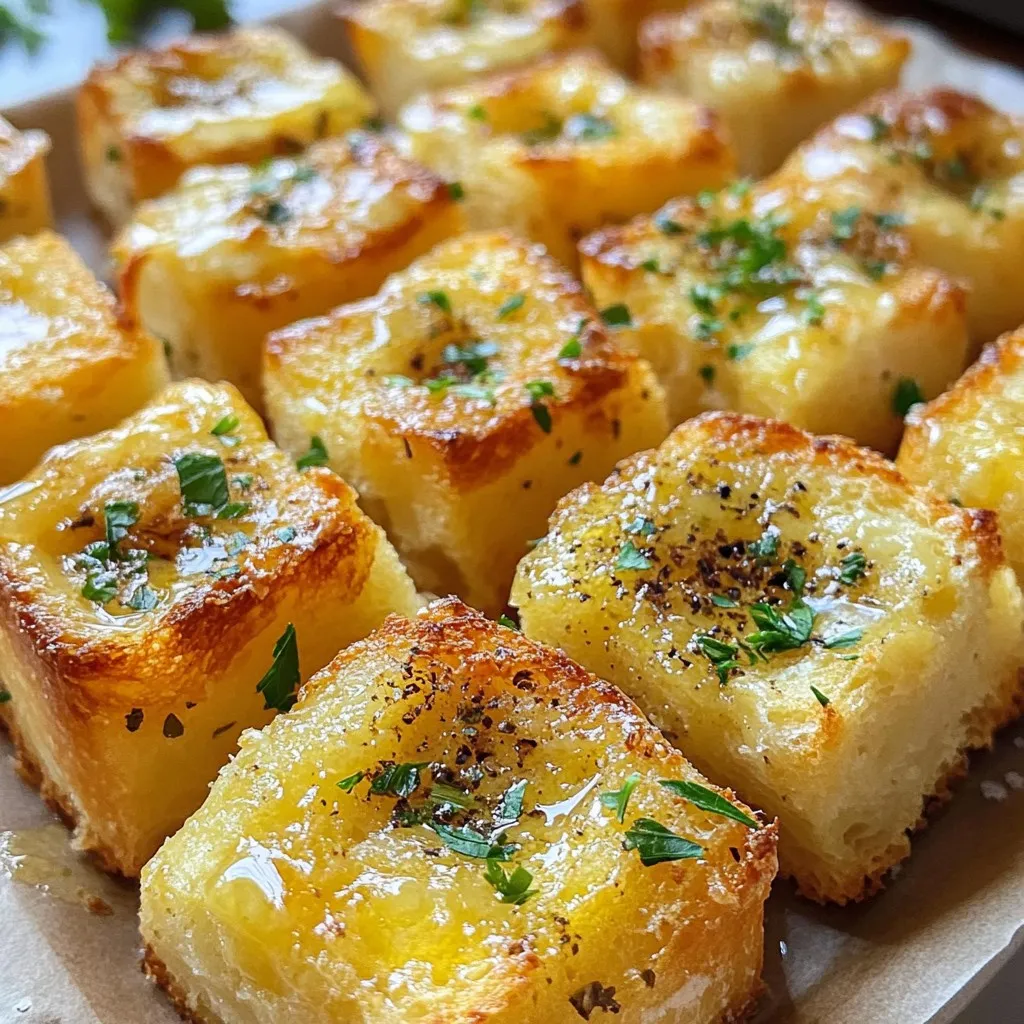
Are you ready for a cheesy treat that’s both tasty and super easy to make? These Garlic Butter Cheese Bombs will delight your taste buds and impress your friends. With just a few simple ingredients, you can whip up these delicious snacks in no time. Follow my step-by-step guide, and soon, you’ll be enjoying gooey cheese wrapped in buttery goodness. Let’s dive into this mouthwatering recipe!
Ingredients
List of Ingredients
– 1 can (16 oz) refrigerated biscuit dough
– 1 cup shredded mozzarella cheese
– 1/2 cup cream cheese, softened
– 1/4 cup unsalted butter, melted
– 4 cloves garlic, minced
– 1 tablespoon fresh parsley, finely chopped
– 1 teaspoon Italian seasoning
– 1/2 teaspoon salt
– 1/4 teaspoon black pepper
– Optional: pinch of red pepper flakes for a spicy kick
Measurements and Alternatives
You can use any brand of refrigerated biscuit dough. If you want a lighter option, try reduced-fat cream cheese. You can swap mozzarella for cheddar or another cheese you love. For a vegan option, use dairy-free cream cheese and vegan butter. Adjust the garlic to your taste. If you like heat, add more red pepper flakes to the mix.
Nutritional Information per Serving
Each cheese bomb contains about 150 calories. They provide 8 grams of fat and 3 grams of protein. You get 1 gram of carbs, which makes these a tasty snack. The garlic and herbs add flavor without extra calories. If you want to make them healthier, you can cut back on the butter. Adding veggies can boost the fiber and nutrients as well. Enjoy your Garlic Butter Cheese Bombs guilt-free!
Step-by-Step Instructions
Preparation Steps
Start by preheating your oven to 375°F (190°C). This step is key for great baking. Line a baking sheet with parchment paper. This helps the cheese bombs not stick.
In a bowl, mix the melted butter, minced garlic, and chopped parsley. Stir this well. The smell will be amazing! Next, in another bowl, combine shredded mozzarella and softened cream cheese. Mix until smooth. Add salt, black pepper, and Italian seasoning. Make sure to mix these well for even taste.
Now, open the can of biscuit dough. Carefully separate the biscuits. Roll each one into a small circle with your hands. This part is fun! Take a spoonful of the cheese mixture and place it in the center of each biscuit. Leave space around the edges.
Baking Instructions
Fold the edges of the biscuit over the cheese filling. Pinch the seams to seal them tight. Form them into nice balls. Dip each ball into the garlic butter mixture. Make sure they are well coated.
Place the cheese bombs on the prepared baking sheet. Leave some space between them to bake evenly. Bake for 15 to 18 minutes. Look for a golden brown color. You’ll know they’re ready when they smell delicious!
Once done, take them out of the oven. Brush the tops with any leftover garlic butter while warm. This adds even more flavor!
Tips for Perfecting the Dish
To make the best garlic butter cheese bombs, use fresh ingredients. Always measure your cheese and spices. This helps keep the taste balanced.
If you want a spicy kick, add red pepper flakes to the cheese mix. For a fun twist, try mixing in different cheeses.
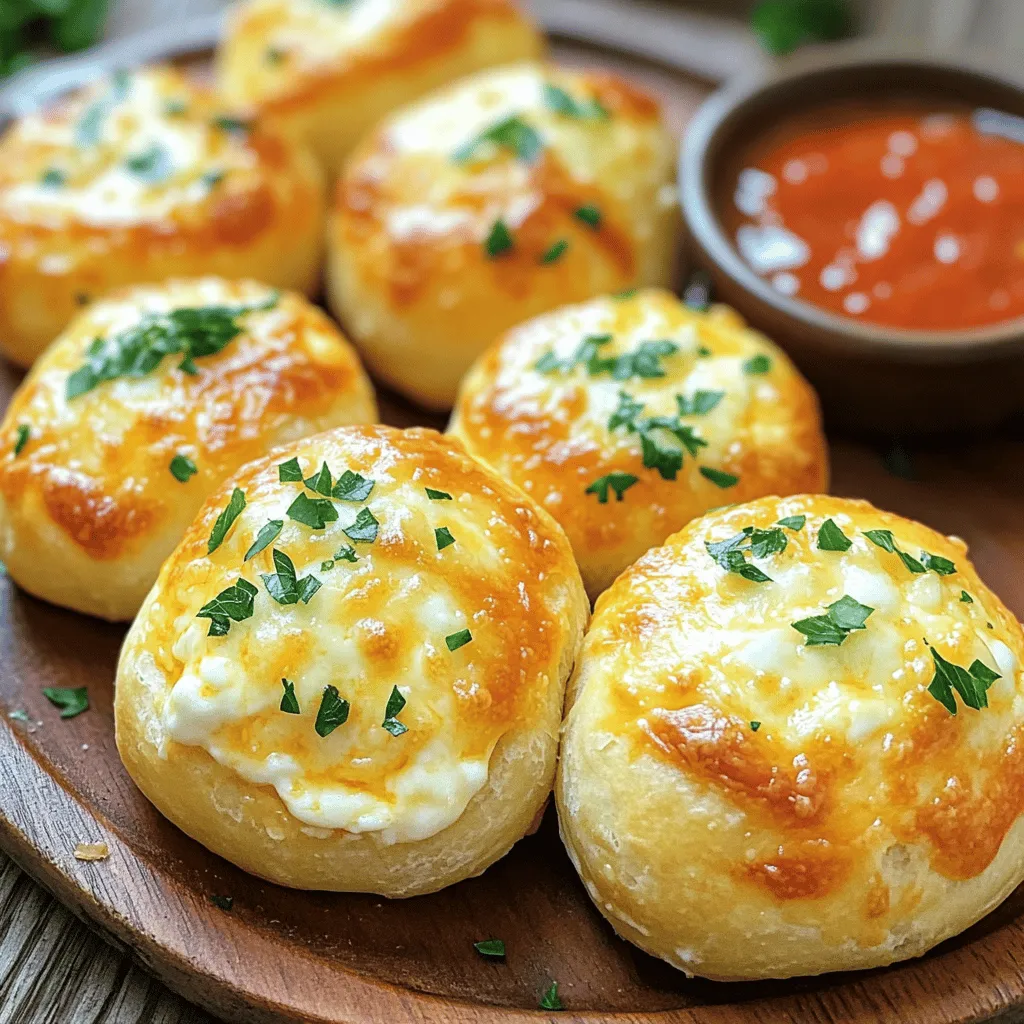
Serve the cheese bombs warm on a platter. Garnish with extra parsley for color. Pair with marinara sauce for dipping. Trust me, these tips make a big difference! For the full recipe, check out the details above.
Tips & Tricks
Common Mistakes to Avoid
When making garlic butter cheese bombs, a few mistakes can ruin your dish. First, avoid using cold cheese. Always let your cream cheese soften first. This helps it mix well with mozzarella. If you skip this step, the filling won’t be smooth. Next, don’t skip the garlic butter dip. This adds flavor and keeps the bombs moist. Lastly, watch the baking time. Overbaking can lead to dry cheese bombs. Check them at 15 minutes; they should be golden brown.
How to Customize Your Cheese Bombs
You can make these cheese bombs your own. Start by changing the cheese. Use cheddar for a sharper taste or pepper jack for heat. Add herbs like oregano or basil for extra flavor. You can even mix in chopped sun-dried tomatoes or spinach. For a twist, sprinkle in some cooked bacon bits. Each change can lead to a new flavor adventure. Just remember to keep the balance of cheese and dough.
Best Tools and Equipment for Making Cheese Bombs
Having the right tools makes this recipe easier. Here’s what you need:
– Baking sheet
– Parchment paper
– Mixing bowls
– Spoon for filling the dough
– Brush for the garlic butter
Using these tools helps keep your kitchen neat and your cheese bombs perfect. A good baking sheet ensures they cook evenly. Parchment paper makes cleanup a breeze. With these basics, you can focus on making your cheese bombs delicious and fun to eat.
You can find the full recipe above and make your own tasty garlic butter cheese bombs!
Variations
Flavor Combinations to Try
You can mix and match flavors to create your own cheese bombs. Try adding cooked bacon bits for a smoky taste. You can also include fresh herbs like basil or chives for a fresh touch. If you love heat, add jalapeños or some spicy cheese. A little bit of ranch seasoning can also bring a fun twist. Feel free to experiment with these options!
Vegan or Gluten-Free Alternatives
To make these delicious bombs vegan, use dairy-free cheese and vegan butter. Look for gluten-free biscuit dough if you need a gluten-free option. Many brands make great gluten-free dough that works well. Just make sure to check the labels for any hidden gluten. With these simple swaps, everyone can enjoy these tasty treats!
Different Cheeses to Use
While mozzarella and cream cheese are classic, you can explore other cheeses. Cheddar adds a sharp flavor that many love. Pepper jack gives a nice kick and melts beautifully. For a gourmet touch, try goat cheese or feta. Each cheese brings its own unique flavor. Mix and match to find your perfect combo for your cheese bombs!
For the full recipe, refer to the earlier section.
Storage Info
Storing Leftovers
After enjoying your Garlic Butter Cheese Bombs, store any leftovers in an airtight container. This keeps them fresh for up to three days. If you want to keep them longer, consider freezing them.
Reheating Guidelines
When you’re ready to enjoy your leftovers, reheat them in the oven. Preheat your oven to 350°F (175°C). Place the cheese bombs on a baking sheet and heat for about 10 minutes. This method keeps them crispy and warm. You can also use a microwave, but be careful. Microwaving may make them chewy instead of crispy.
Freezing Tips for Future Enjoyment
To freeze your cheese bombs, let them cool completely first. Then, place them in a single layer on a baking sheet and freeze. After they are frozen, transfer them to a freezer-safe bag. They will stay good for about two months. When you’re ready to bake them, no need to thaw! Just bake at 375°F (190°C) for a few extra minutes. Enjoy your Garlic Butter Cheese Bombs anytime! For the full recipe, check the main section.
FAQs
How to make Garlic Butter Cheese Bombs healthier?
To make Garlic Butter Cheese Bombs healthier, you can swap the biscuit dough for whole wheat or gluten-free options. Use low-fat cheese instead of regular mozzarella and cream cheese. You can also reduce the amount of butter or use olive oil to cut down on saturated fat. Adding vegetables like spinach or diced peppers can boost the nutrition without losing flavor.
Can I make these cheese bombs ahead of time?
Yes, you can make these cheese bombs ahead of time. Prepare the cheese filling and assemble the bombs, then cover them and refrigerate. Bake them when you’re ready to serve. This way, you enjoy fresh, warm cheese bombs without last-minute work. Just remember to let them sit at room temperature for a bit before baking.
What can I serve with Garlic Butter Cheese Bombs?
Garlic Butter Cheese Bombs pair well with many sides. You can serve them with marinara sauce for dipping. A fresh salad with a light vinaigrette complements the richness of the cheese bombs. You might also try a savory soup or a simple garlic bread for a complete meal. For a fun twist, add some spicy dipping sauces or flavored oils.
Feel free to check out the Full Recipe for more detailed instructions!
In this post, we explored the key ingredients, step-by-step instructions, and helpful tips for making cheese bombs. We shared customization ideas, variations for different diets, and storage methods. Remember, avoiding common mistakes will ensure a delicious outcome. Experimenting with flavors can add your special twist. Enjoy these cheesy delights fresh or saved for later. Happy cooking, and relish every bite!