
Craving a sweet treat that hits all the right notes? Let me introduce you to Peanut Butter Brownie Cookies! These rich, chewy delights combine the creamy goodness of peanut butter with the luscious taste of chocolate. With just a few simple ingredients, you can bake a batch that will wow your family and friends. Join me as I guide you through the easy steps to make this perfect dessert!
Ingredients
Complete List of Ingredients
– 1 cup creamy peanut butter
– 1 cup granulated sugar
– 1 large egg
– 1 teaspoon pure vanilla extract
– 1/2 cup unsweetened cocoa powder
– 1/2 teaspoon baking soda
– 1/4 teaspoon salt
– 1/2 cup semi-sweet chocolate chips (optional)
When making these peanut butter brownie cookies, it’s key to gather all your ingredients first. This will make the process smoother and more enjoyable. Each ingredient plays a role in the flavor and texture of your cookies.
The creamy peanut butter gives a rich taste and a chewy texture. The sugar adds sweetness and helps the cookies spread. The egg binds everything together, while the vanilla extract adds a lovely depth. Cocoa powder brings that classic chocolate flavor which makes it a brownie cookie. Baking soda helps the cookies rise, and salt balances the sweetness.
You can also add chocolate chips for an extra chocolate burst. It’s all about personal choice. Just remember, each ingredient matters.
Equipment Needed
– Mixing bowls
– Hand mixer or spatula
– Baking sheet
– Parchment paper
– Cookie scoop or tablespoon
To bake these cookies, you’ll need some basic tools. A mixing bowl is a must for combining your ingredients. A hand mixer or spatula helps mix everything well. A baking sheet lined with parchment paper keeps cookies from sticking. Finally, a cookie scoop or tablespoon helps you measure out the dough.
Gathering your tools before you start will help you feel organized. It also makes the baking process a lot of fun! Use the [Full Recipe] for step-by-step guidance.
Step-by-Step Instructions
Preheating and Preparation
– Preheat oven to 350°F (175°C)
– Prepare the baking sheet with parchment paper
Start by preheating your oven. This step is key for even baking. While the oven warms up, grab a baking sheet. Line it with parchment paper. This helps stop the cookies from sticking.
Mixing Wet Ingredients
– Blend peanut butter and sugar until smooth
– Add egg and vanilla, mixing until fully combined
In a large bowl, add your creamy peanut butter and granulated sugar. Use a hand mixer or spatula to blend them. You want a smooth, creamy mix. Next, crack in a large egg. Add the teaspoon of pure vanilla extract. Mix until everything is well combined.
Incorporating Dry Ingredients
– Whisk together cocoa, baking soda, and salt
– Gently mix dry ingredients into wet mixture
In a separate bowl, whisk together the unsweetened cocoa powder, baking soda, and salt. This helps to evenly distribute the dry ingredients. Now, gently mix this dry blend into your wet peanut butter mixture. Be careful not to overmix.
Shaping and Baking Cookies
– Scoop out dough on baking sheet, spacing 2 inches apart
– Flatten slightly with fork, then bake for 10-12 minutes
Using a tablespoon or cookie scoop, scoop out rounded balls of dough. Place them on the lined baking sheet. Make sure to leave about 2 inches between each ball. This space is important for spreading. Once they are all on the sheet, slightly flatten each dough ball using a fork. This helps them bake evenly. Now, place the baking sheet in the oven. Bake for about 10 to 12 minutes. Keep an eye on them. They should look set at the edges but soft in the center. After baking, let them cool slightly before transferring to a wire rack. Enjoy your cookies! For the full recipe, refer to the complete instructions above.
Tips & Tricks
Achieving the Perfect Cookie Texture
To get that perfect chewy texture, avoid overmixing the dough. Mix until just combined. Overmixing will make your cookies tough instead of fudgy. Baking time is also key. Check your cookies at 10 minutes; they should look soft in the middle. The edges should be set, but the center will firm up as they cool.
Serving Suggestions
These cookies pair wonderfully with milk or coffee. The rich flavors balance perfectly with a hot drink. You can also make ice cream sandwiches using these cookies. Just add a scoop of your favorite ice cream between two cookies for a tasty treat.
Presentation Ideas
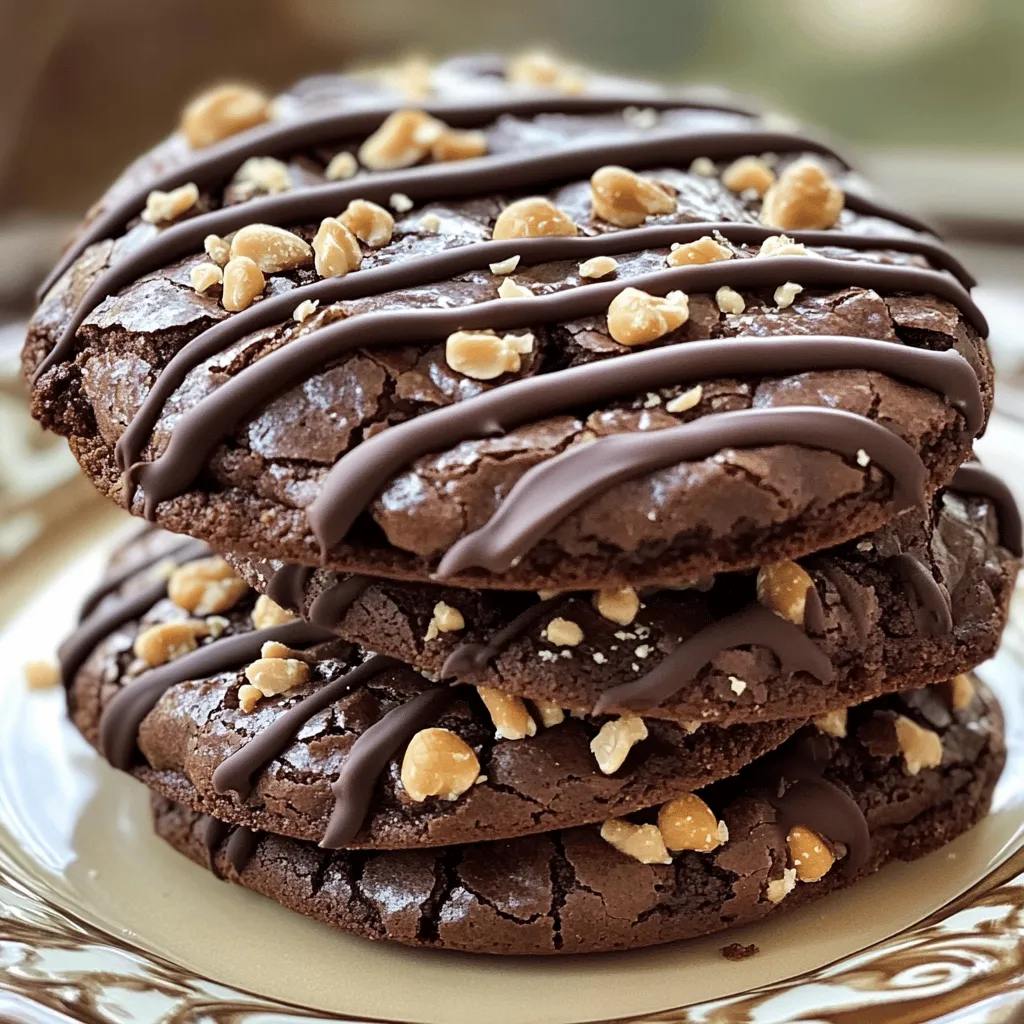
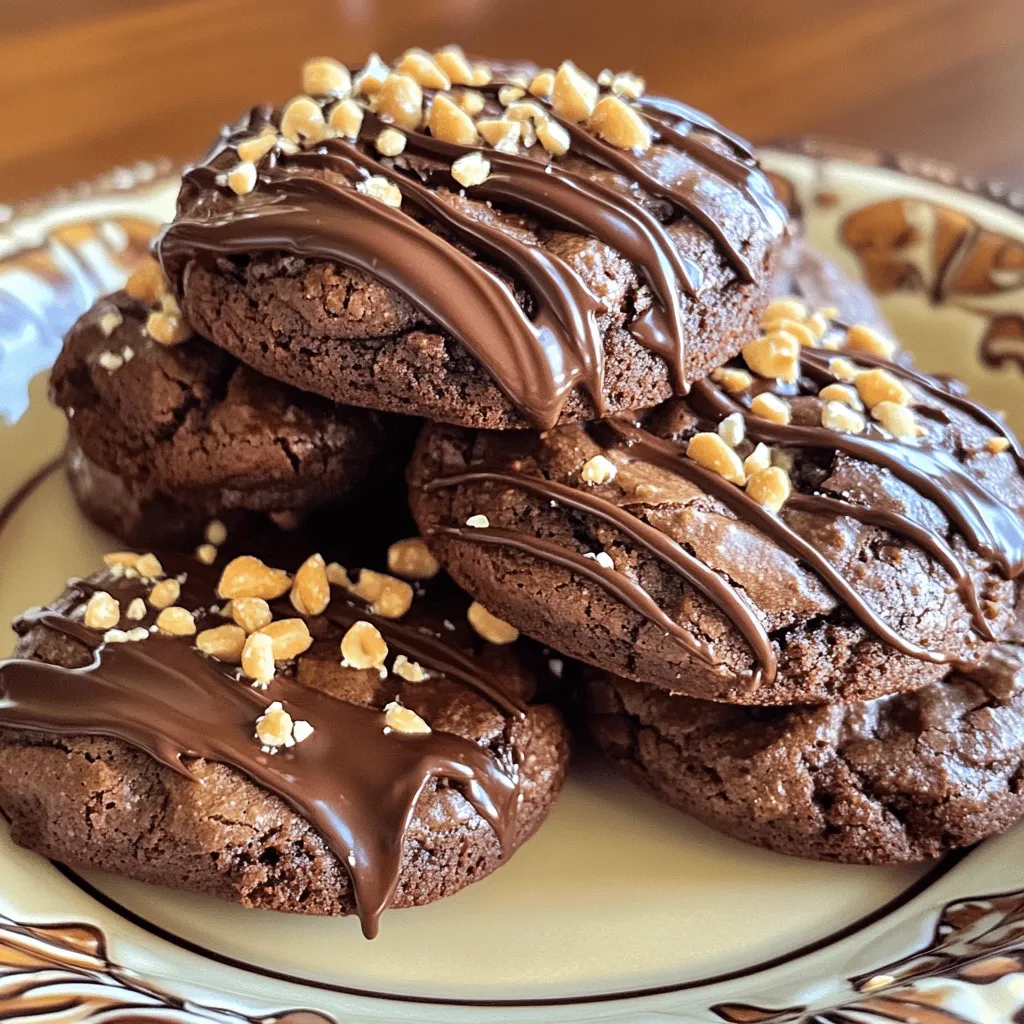
For a stunning look, drizzle melted chocolate over the cookies. It adds a nice touch and extra flavor. You can also sprinkle crushed peanuts on top for added crunch. This not only enhances the taste but also makes your cookies look fancy and inviting.
Variations
Additional Flavor Options
You can play around with flavors to make these cookies unique.
– Add chopped nuts for crunch: Walnuts or pecans add a great bite.
– Substitute almond butter for a different taste: Almond butter gives a nice twist.
Dietary Modifications
You can also modify the recipe to fit your dietary needs.
– Make it gluten-free by using gluten-free cocoa powder: This keeps the cookies safe for gluten-sensitive folks.
– Sweeten with honey or agave for a healthier option: These natural sweeteners can cut refined sugar.
Different Forms
Get creative with how you bake these cookies.
– Bake as a brownie instead of cookies: Just spread the batter in a pan and bake.
– Use mini muffin tins for bite-sized treats: These little bites are perfect for parties or snacks.
For the full recipe and more details, check out the [Full Recipe].
Storage Info
Best Practices for Storage
To keep your peanut butter brownie cookies fresh, store them in an airtight container at room temperature. This helps prevent them from drying out. If you want them to last longer, place them in the fridge. The cold will keep them tasty for about a week.
Freezing Cookies
You can easily freeze these cookies for future use. First, make sure they are fully cooled. Next, place them in a single layer on a baking sheet. Freeze until solid, then transfer them to a freezer bag. This method saves space and keeps them fresh for up to three months.
When you’re ready to enjoy them, simply take them out and let them thaw at room temperature. For the best taste, you can warm them slightly in the oven. This way, they will taste fresh and chewy, just like when you first baked them.
FAQs
Can I use crunchy peanut butter instead of creamy?
Yes, but it may alter the texture of the cookies. Crunchy peanut butter adds a fun twist. You will get little bits of peanuts in each bite. This can make the cookies feel more rustic and textured.
How do I know when the cookies are done baking?
Edges should be set, with slightly soft centers. The cookies will continue to cook after you take them out. Look for a firm edge and a soft middle. If you wait too long, they can become dry.
Are these cookies suitable for freezing?
Yes, they freeze well for up to 3 months. Let the cookies cool completely before freezing. Place them in a single layer in an airtight container. When you want one, just take it out and let it thaw. Enjoy your treat anytime!
You now have a simple recipe for peanut butter cookies. From using the right ingredients to following easy steps, this guide makes baking fun and simple. Remember to store your cookies in an airtight container for freshness. Don’t be afraid to try variations, like adding nuts or making brownies. Enjoy making these treats with friends or family. Baking can bring joy, and these cookies are sure to please everyone. Now, grab your ingredients and start creating!


