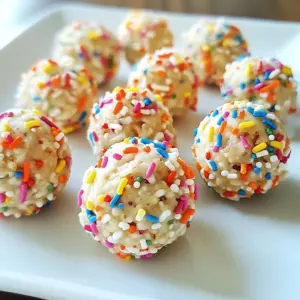
Birthday Cake Protein Balls
Delicious and festive protein balls that are perfect for a birthday celebration.
Ingredients
- 1 cup rolled oats
- 1/2 cup vanilla protein powder
- 1/4 cup almond flour
- 1/2 cup nut butter (such as almond or cashew)
- 1/4 cup maple syrup
- 1 teaspoon vanilla extract
- 1/4 cup colorful sprinkles (plus extra for rolling)
- a pinch salt
Instructions
- In a large mixing bowl, combine the rolled oats, vanilla protein powder, almond flour, and a pinch of salt. Stir these dry ingredients together thoroughly until they are well blended and evenly mixed.
- In a separate bowl, blend the nut butter, maple syrup, and vanilla extract until the mixture is smooth and creamy. This will create a sweet and flavorful base.
- Gradually pour the nut butter mixture into the bowl with the dry ingredients. Mix with a spatula or your hands until the two mixtures are fully combined. The dough should be slightly sticky but cohesive.
- Gently fold in the colorful sprinkles, saving a few to use for visual decoration later. This adds a fun and festive flair to your protein balls.
- Once the mixture is combined, place it in the refrigerator for about 15-20 minutes. Chilling will make the dough firmer and easier to handle.
- After chilling, use a tablespoon to scoop out portions of the dough. Roll each portion into a ball between your palms until they are smooth and round. Continue until all the mixture has been shaped into balls.
- To add a festive touch, roll each protein ball in the extra sprinkles, ensuring they are coated completely.
- Arrange the finished protein balls on a plate or on a baking sheet lined with parchment paper. Return them to the refrigerator for an additional 30 minutes to set and chill before serving.
Notes
Present the protein balls on a cheerful platter, and scatter a handful of sprinkles around them for an additional burst of color.