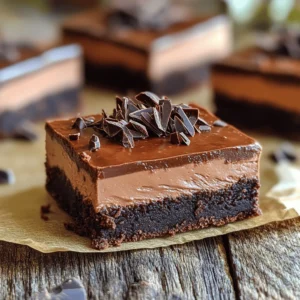
Layered Chocolate Mousse Brownies
Indulge in the decadent delight of Layered Chocolate Mousse Brownies! This irresistible dessert combines rich brownies with creamy chocolate mousse for an unforgettable treat. Follow our easy step-by-step recipe featuring simple ingredients like butter, chocolate chips, and heavy cream. Perfect for special occasions or a cozy night in, these brownies will impress family and friends. Click to explore the full recipe and satisfy your sweet tooth today!