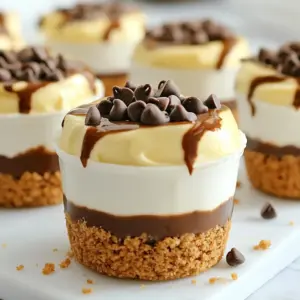
No-Bake Cookie Butter Cheesecake Cups
Indulge in these delicious no-bake cheesecake cups featuring creamy cookie butter for an effortless dessert that everyone will love. This easy cheesecake recipe is layered with a buttery graham cracker crust, making it the perfect treat for any occasion. Enjoy these sweet, creamy cheesecake cups topped with cookie butter drizzle and mini chocolate chips. Perfect for parties or a simple sweet craving! Save this recipe to impress your friends! #NoBakeCheesecakeCups #CookieButterDessert #EasyCheesecakeRecipe #GrahamCrackerCrust