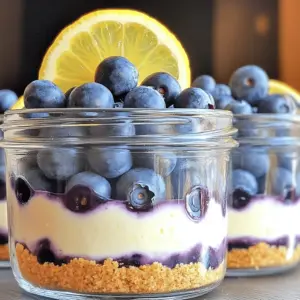
No-Bake Lemon Blueberry Cheesecake Jars
Indulge in a delicious and easy No-Bake Lemon Blueberry Cheesecake Jars recipe that's perfect for any occasion. With a creamy cheesecake filling and a zesty lemon kick, these jars are a delightful treat! Follow simple steps to create a stunning dessert that impresses your guests. Click through to explore the full recipe and create your own scrumptious cheesecake jars that everyone will love!