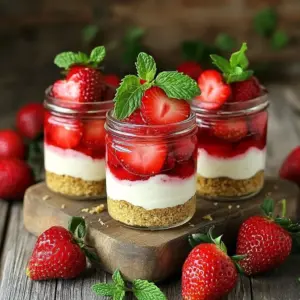
No-Bake Strawberry Cheesecake Jars
Indulge in the delightful taste of No-Bake Strawberry Cheesecake Jars with this easy recipe! Perfect for warm days, these creamy, fruity desserts are quick to make and require no baking. Layered with a buttery graham cracker crust, rich cream cheese, and fresh strawberries, they make a stunning treat for any occasion. Click to explore how you can whip up these mouthwatering jars and impress your guests today!