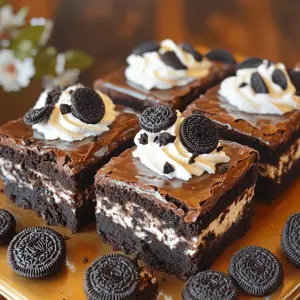
Oreo Cookies and Cream Brownies
Indulge in the ultimate dessert with these Oreo Cookies and Cream Brownies Delight! This rich and fudgy brownie recipe is packed with chocolate chips and crunchy Oreo pieces, topped with a creamy cookies and cream frosting. Perfect for parties or a sweet treat at home, these brownies will wow your guests. Ready to create a delicious masterpiece? Click through to explore the full recipe and bring this delightful dessert to life!