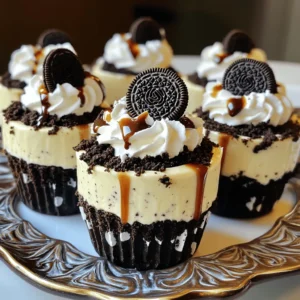
Oreo No-Bake Cheesecake Cups
Indulge in the ultimate dessert experience with these creamy Oreo No-Bake Cheesecake Cups! This simple recipe features a delicious Oreo crust and a light, fluffy cheesecake filling topped with crushed Oreos. Perfect for any occasion, these cups are easy to make and are sure to impress your guests. Discover how to whip up this delightful treat and add a touch of sweetness to your day. Click to find the full recipe and get started today!