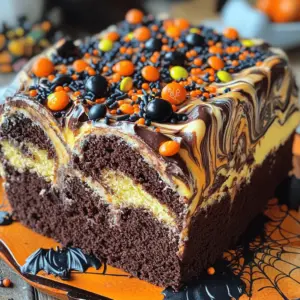
- Spooky Halloween Marble Cake
Get ready to impress your guests with this Spooky Halloween Marble Cake that's perfect for your festive gatherings! Combining rich chocolate and fluffy vanilla, this delicious treat is not only fun to make but also a visual delight with its marbled design. Discover the simple steps to create this seasonal masterpiece and wow everyone at the party. Click through to explore the full recipe and take your Halloween baking to the next level!