
Honey Garlic Chicken Flavorful and Easy Recipe
A delicious and sticky chicken dish with a sweet and savory honey garlic sauce.
50 min
4

Recipe Creator
Owner & Founder of TastedNest
I love sharing perfected dishes from my kitchen. I’m sure they’ll earn a spot in your heart. Let’s savor this journey together!.
Delicious creations
A delicious and sticky chicken dish with a sweet and savory honey garlic sauce.
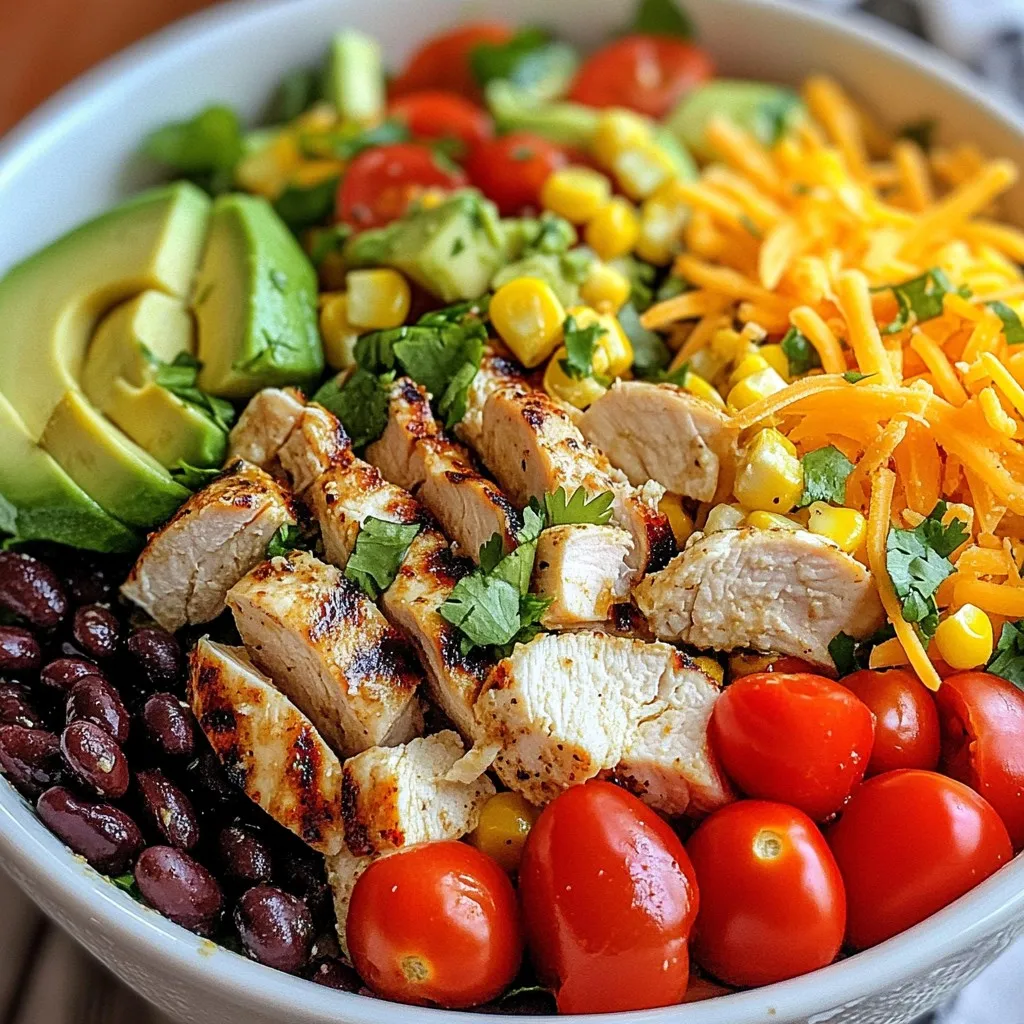
A vibrant and flavorful salad featuring grilled chicken, fresh vegetables, and a zesty dressing.
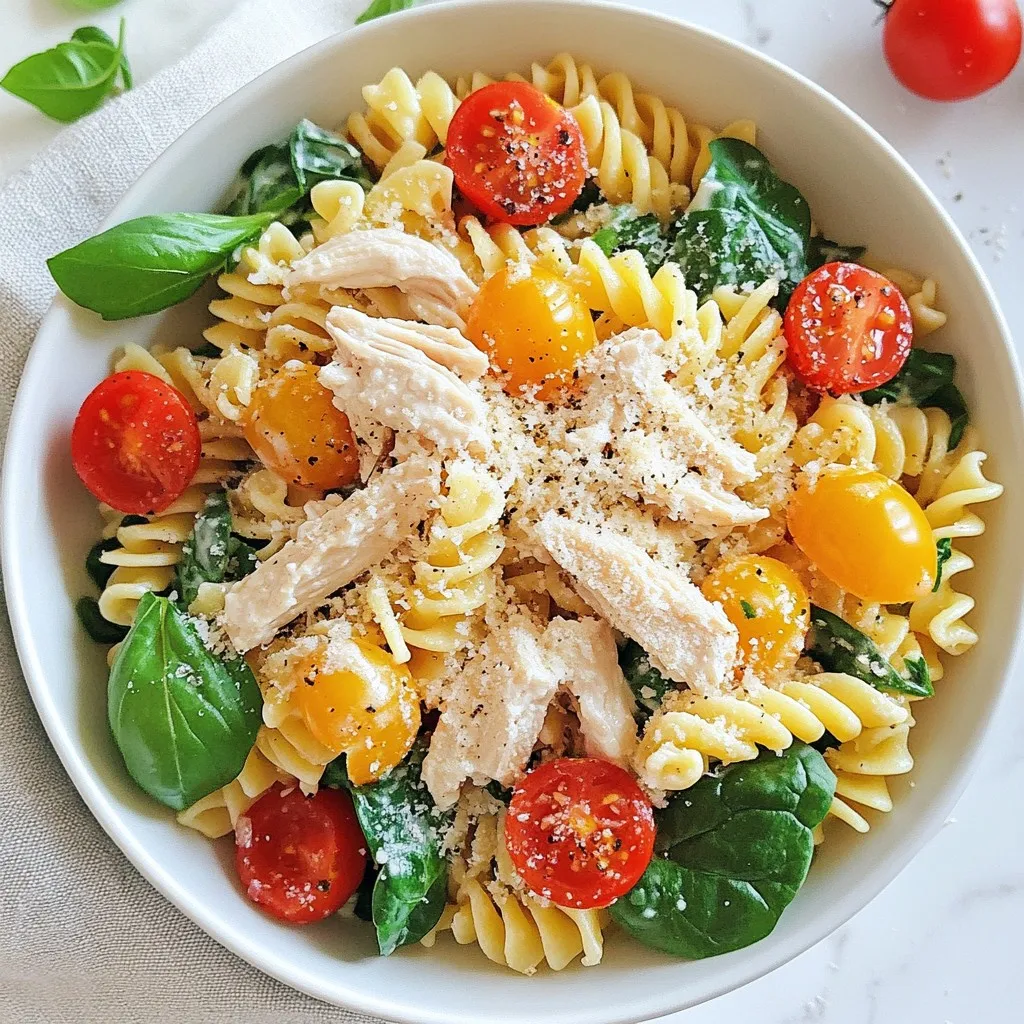
A delicious and nutritious pasta bowl packed with protein and fresh vegetables.
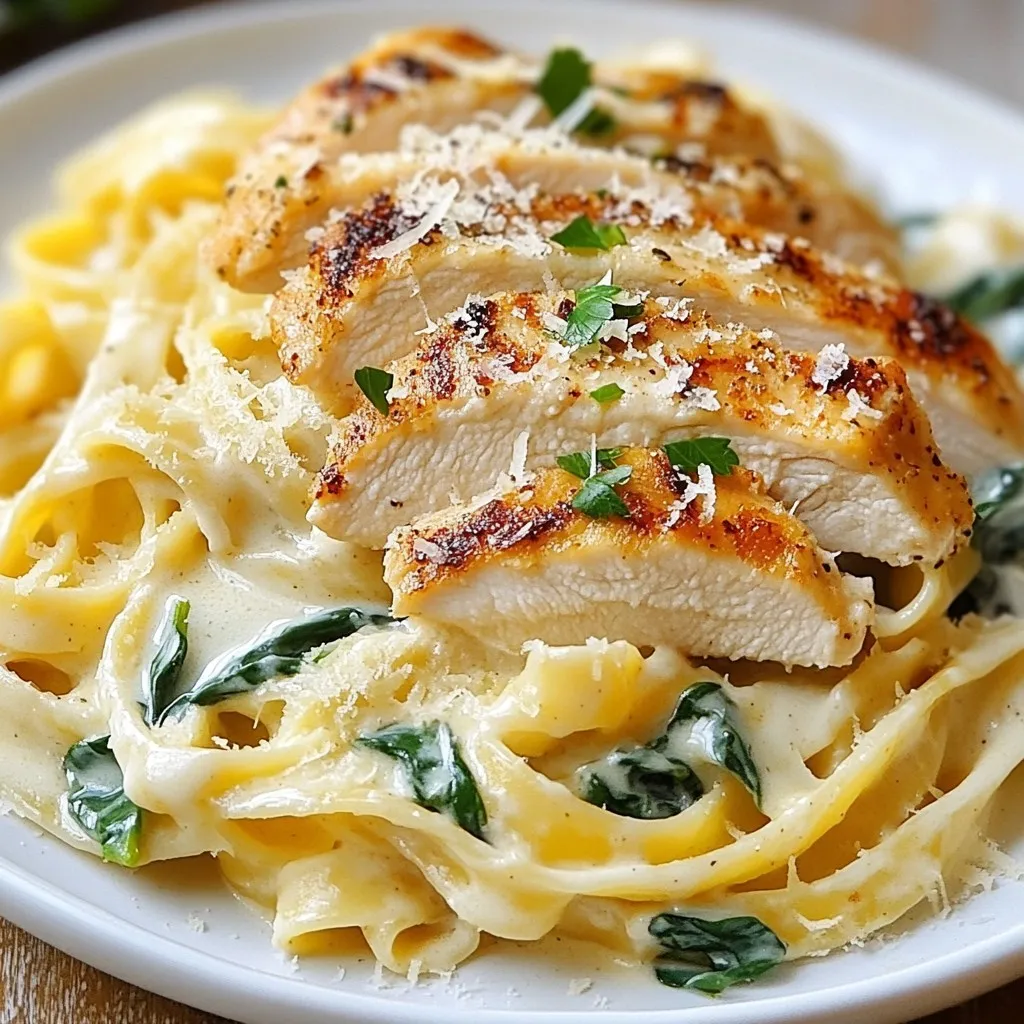
A creamy and flavorful pasta dish featuring chicken and garlic in a rich Alfredo sauce.

A quick and easy chocolate dessert made in a mug, perfect for satisfying your sweet tooth in minutes...
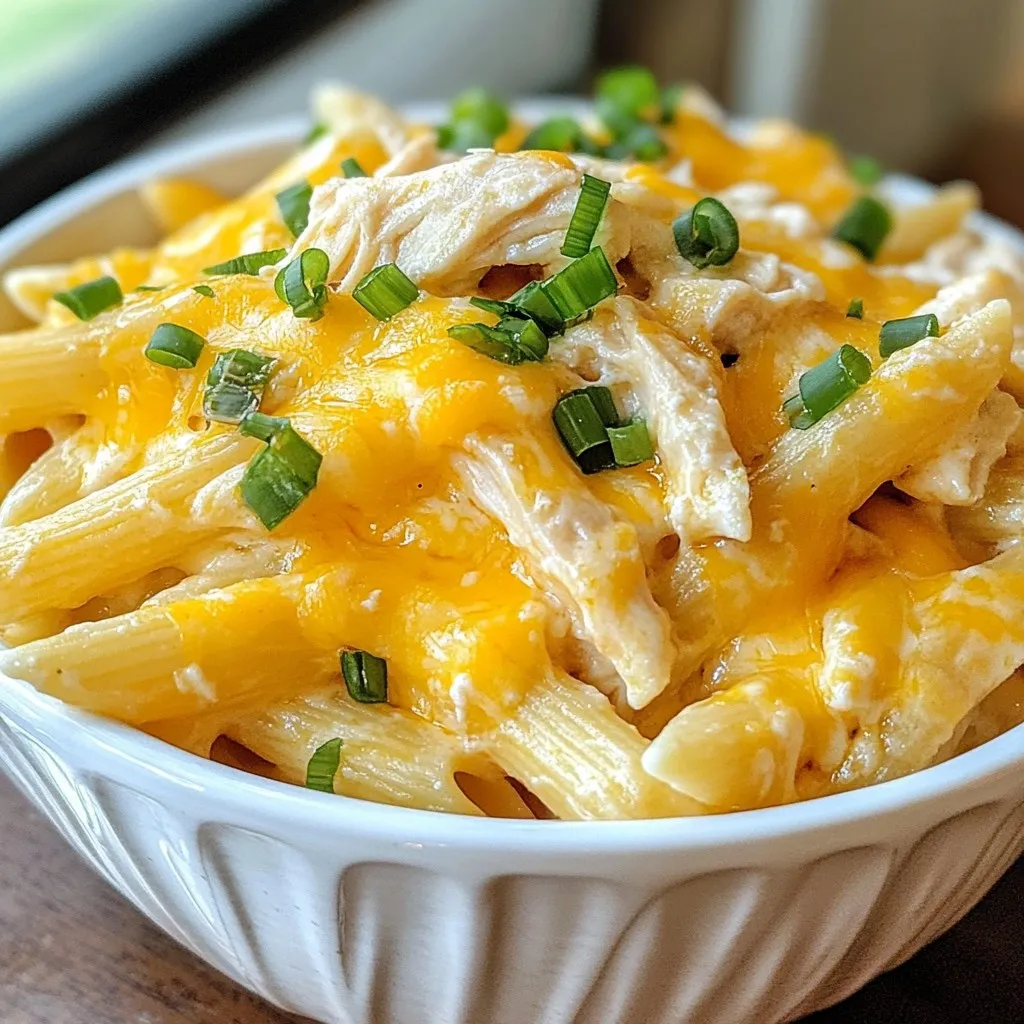
A creamy and cheesy pasta dish featuring shredded chicken and ranch flavors.
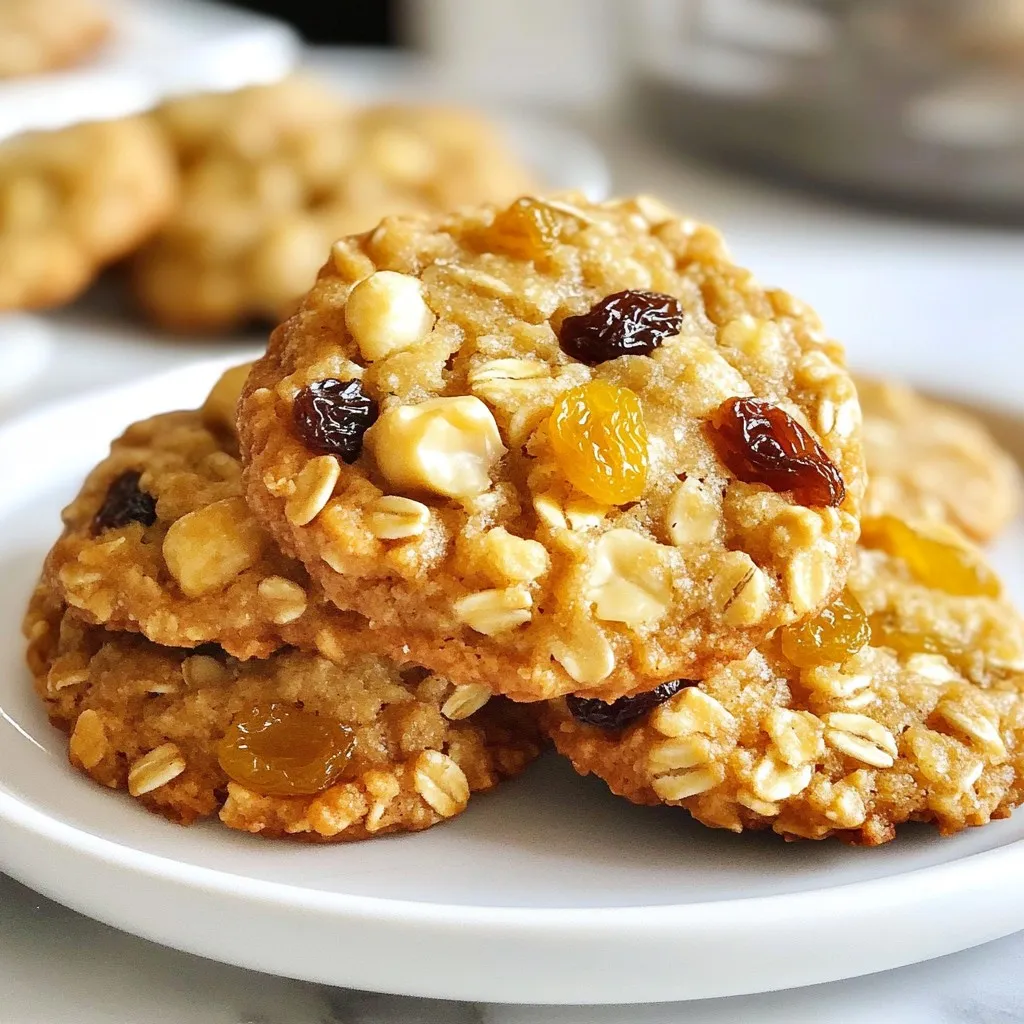
Delicious and healthy cookies made with oats and applesauce, perfect for a guilt-free treat.

A quick and healthy mug cake made with Greek yogurt and whole wheat flour.
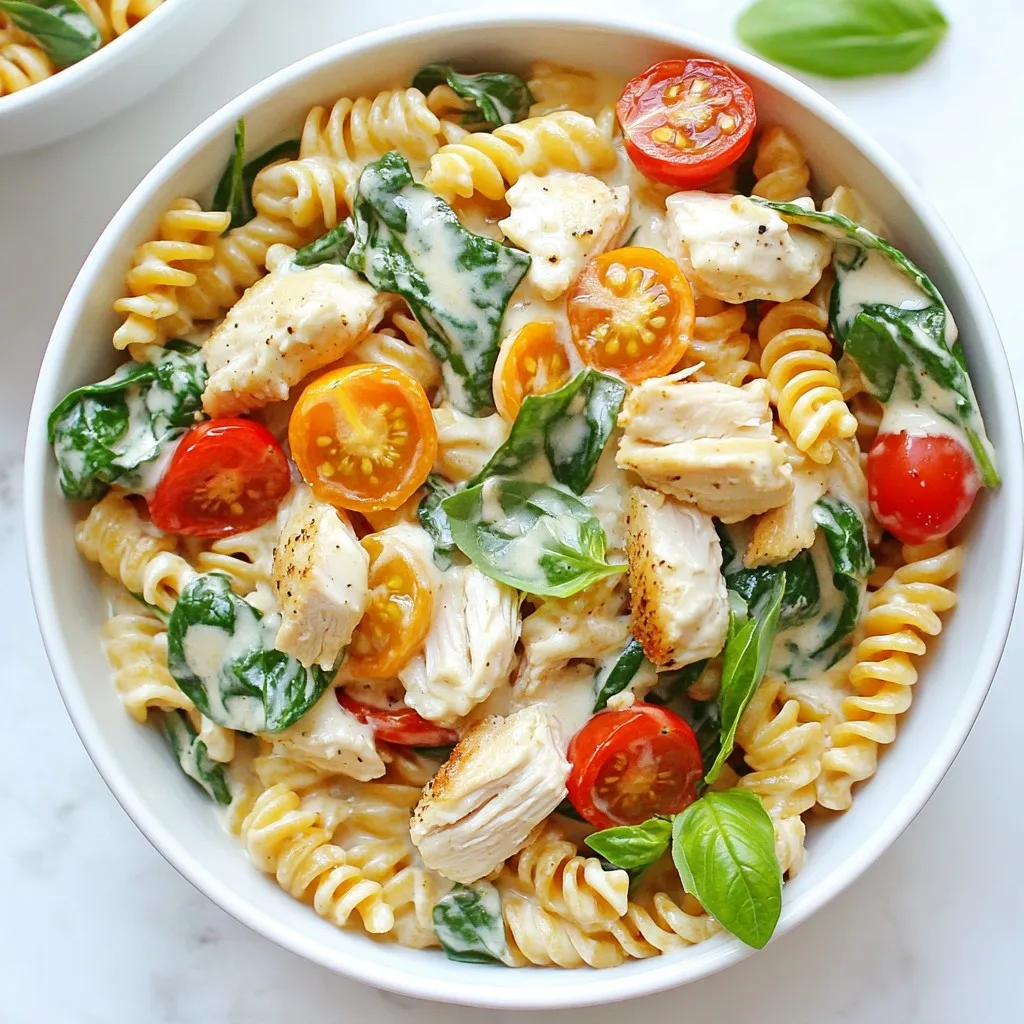
A delicious and healthy pasta dish packed with protein and flavor.
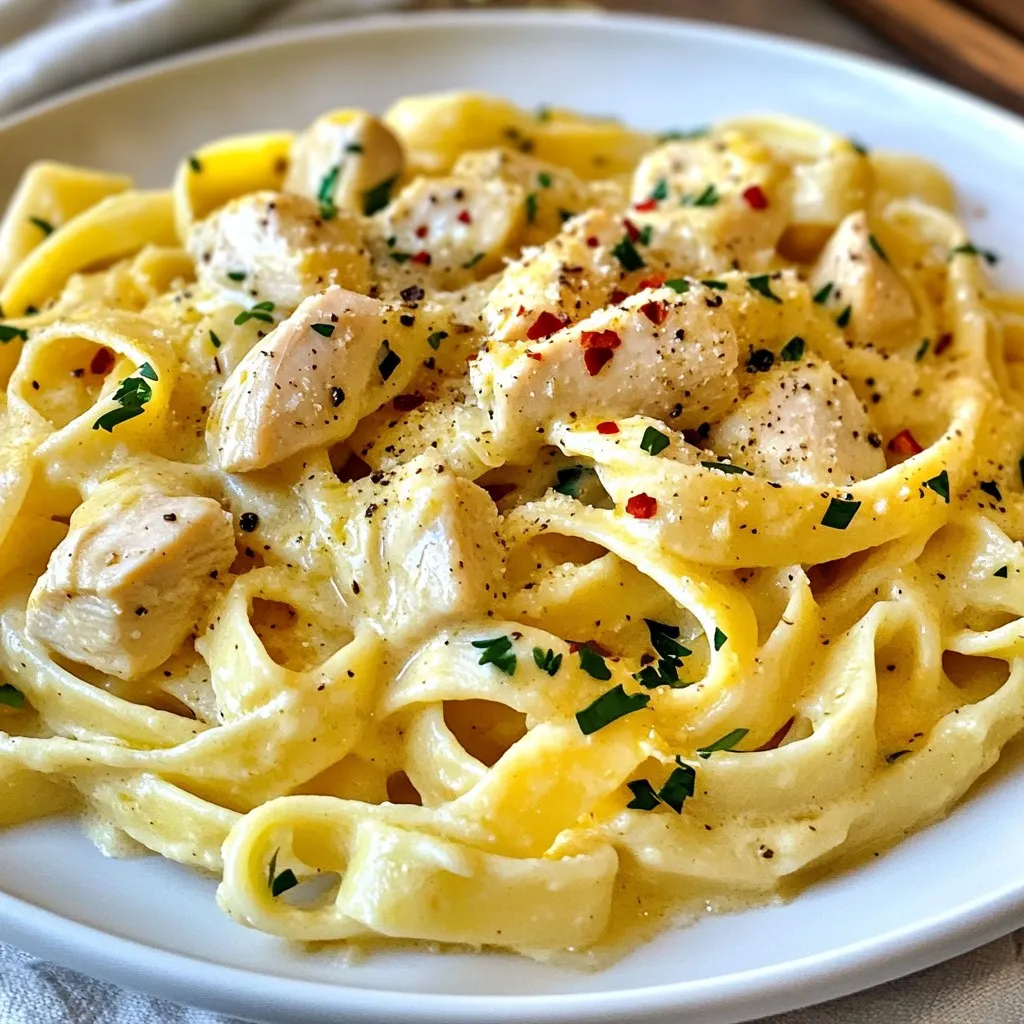
A creamy and flavorful pasta dish with tender chicken and garlic butter sauce.
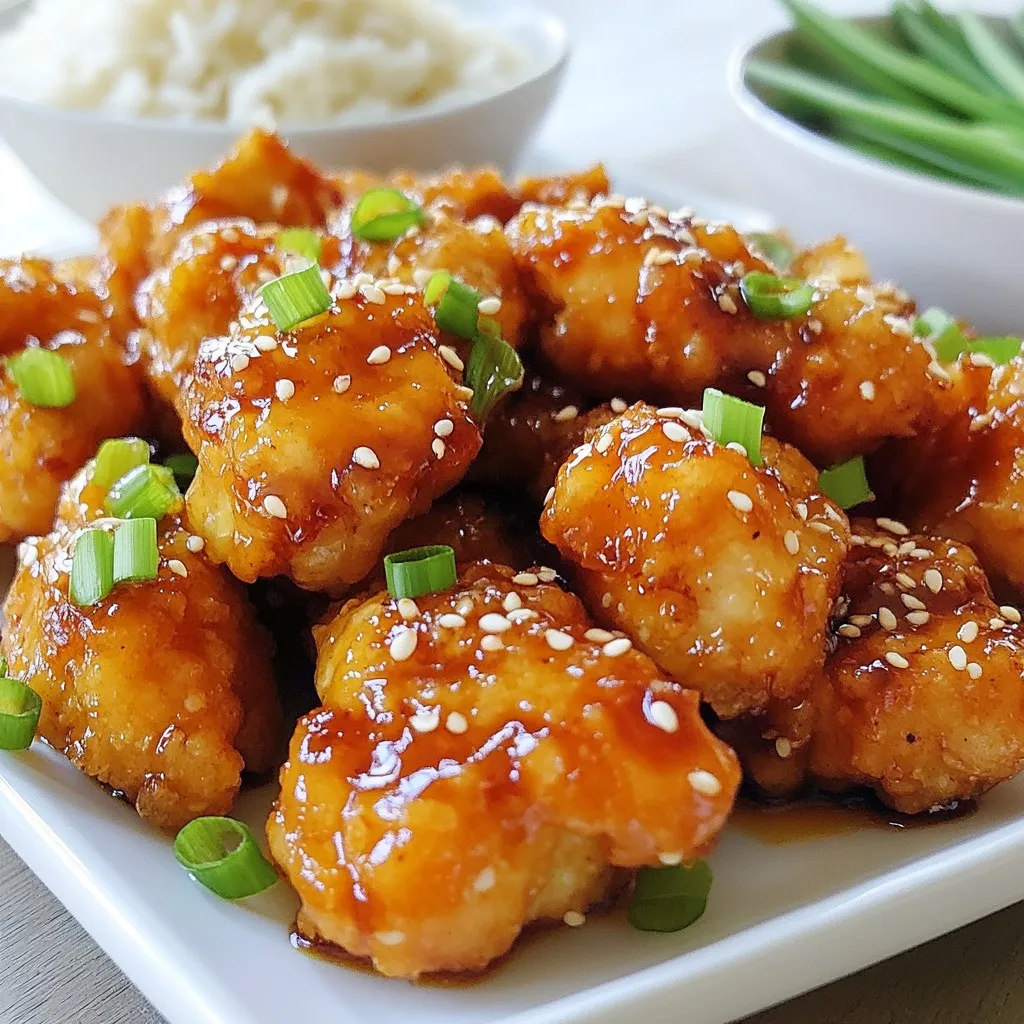
Deliciously marinated chicken bites fried to perfection and coated in a sweet and savory honey garli...
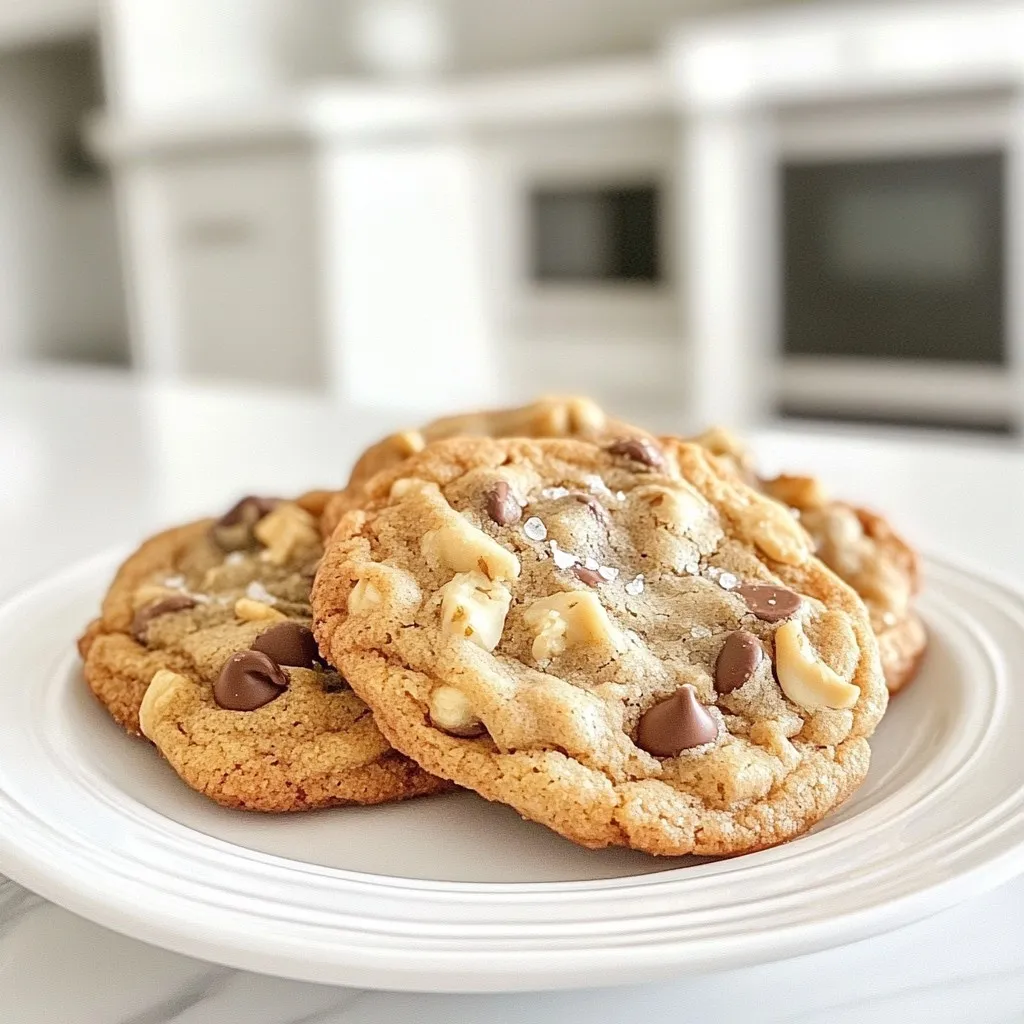
Deliciously chewy chocolate chip cookies with a perfect balance of sweetness and texture.