
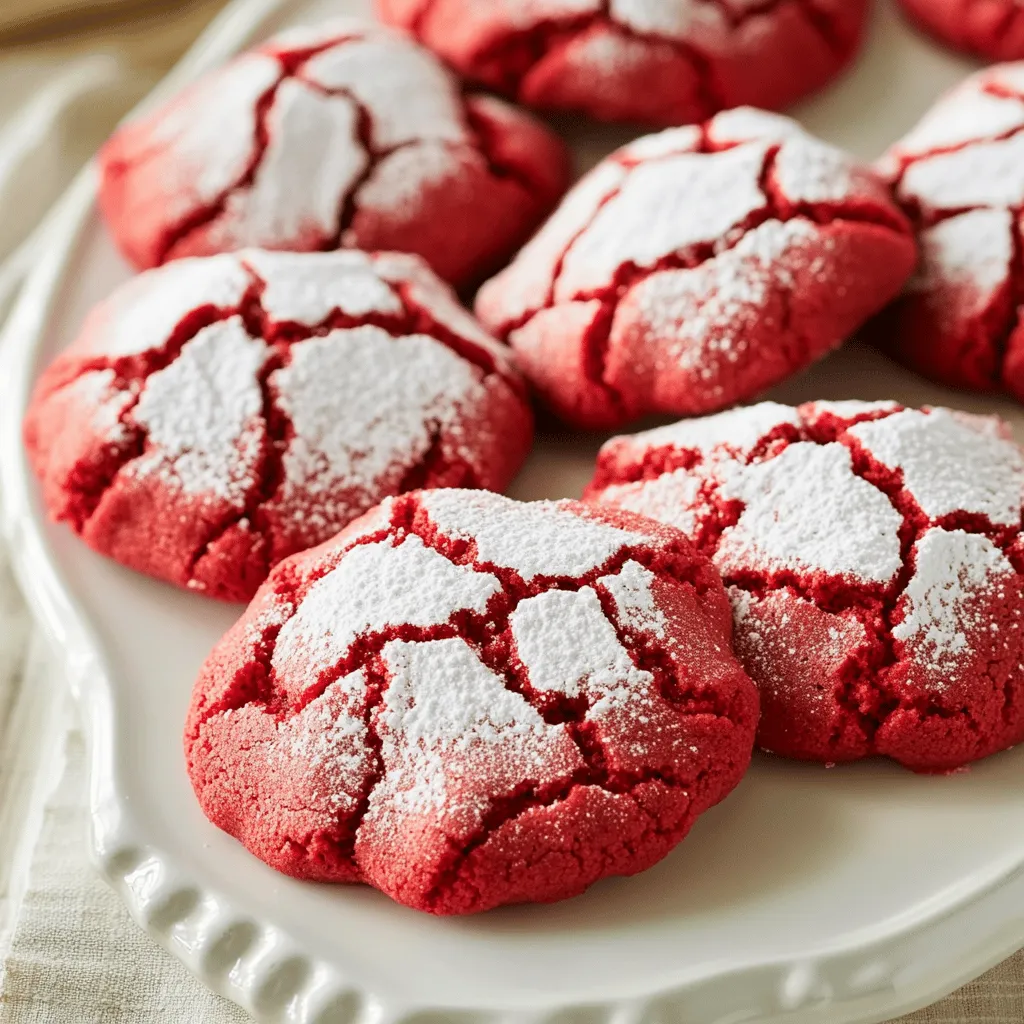
Are you ready to impress your friends and family with a sweet treat? Bakery-style red velvet crinkle cookies offer that perfect mix of soft, chewy goodness and eye-catching red color. In this post, I’ll guide you through each step, from mixing the ingredients to achieving that stunning crinkle effect. Grab your apron and let’s make cookies that taste as good as they look!
Ingredients
To make the best bakery-style red velvet crinkle cookies, gather these key ingredients:
– 1 and 1/2 cups all-purpose flour
– 1/2 cup unsweetened cocoa powder
– 1 teaspoon baking powder
– 1/2 teaspoon baking soda
– 1/4 teaspoon salt
– 1/2 cup unsalted butter, softened
– 1 cup granulated sugar
– 1 large egg
– 1 tablespoon red gel food coloring
– 1 teaspoon vanilla extract
– 1/2 cup powdered sugar, for rolling
Each ingredient plays a vital role. The flour gives structure to the cookie. Cocoa powder adds rich chocolate flavor. Baking powder and baking soda help the cookies rise. Salt enhances the sweetness.
Softened butter creates a creamy texture. Sugar sweetens and helps with the crinkle look. The egg binds the mixture together. Red gel food coloring gives the cookie its signature hue. Vanilla extract adds depth to the flavor.
The powdered sugar is key for that beautiful, crinkled finish. It coats the dough balls and creates a lovely contrast against the red.
Now that you have your ingredients ready, you’re one step closer to making these delightful cookies!
Step-by-Step Instructions
Preparation Overview
To make red velvet crinkle cookies, start by gathering your ingredients. You need flour, cocoa powder, and sugar. Don’t forget the egg and red food coloring too. This recipe takes about an hour from start to finish.
Mixing the Ingredients
First, preheat your oven to 350°F (175°C). This ensures your cookies bake evenly. Line a baking sheet with parchment paper. In a bowl, mix the dry ingredients. Whisk together flour, cocoa powder, baking powder, baking soda, and salt. Set this bowl aside.
In a separate bowl, beat the softened butter and granulated sugar. Use a mixer on medium speed until it’s fluffy. This takes about 2-3 minutes. Next, add the egg, red food coloring, and vanilla extract. Mix until everything is smooth. Then, slowly add the dry mix to the wet mix. Stir gently until blended. The dough should feel thick and sticky.
Chilling and Shaping the Dough
Now, wrap the dough in plastic wrap. Chill it in the fridge for about 30 minutes. This step helps the cookies keep their shape when baking. After chilling, scoop out tablespoon-sized portions of dough. Roll each piece into a ball in your hands.
Next, roll the dough balls in powdered sugar. Make sure they are fully coated. This sugar gives the cookies their signature crinkle look. Finally, place the dough balls on the baking sheet. Space them about 2 inches apart to allow them to spread.
Now your dough is ready for the oven!
Tips & Tricks
Achieving the Perfect Crinkle Effect
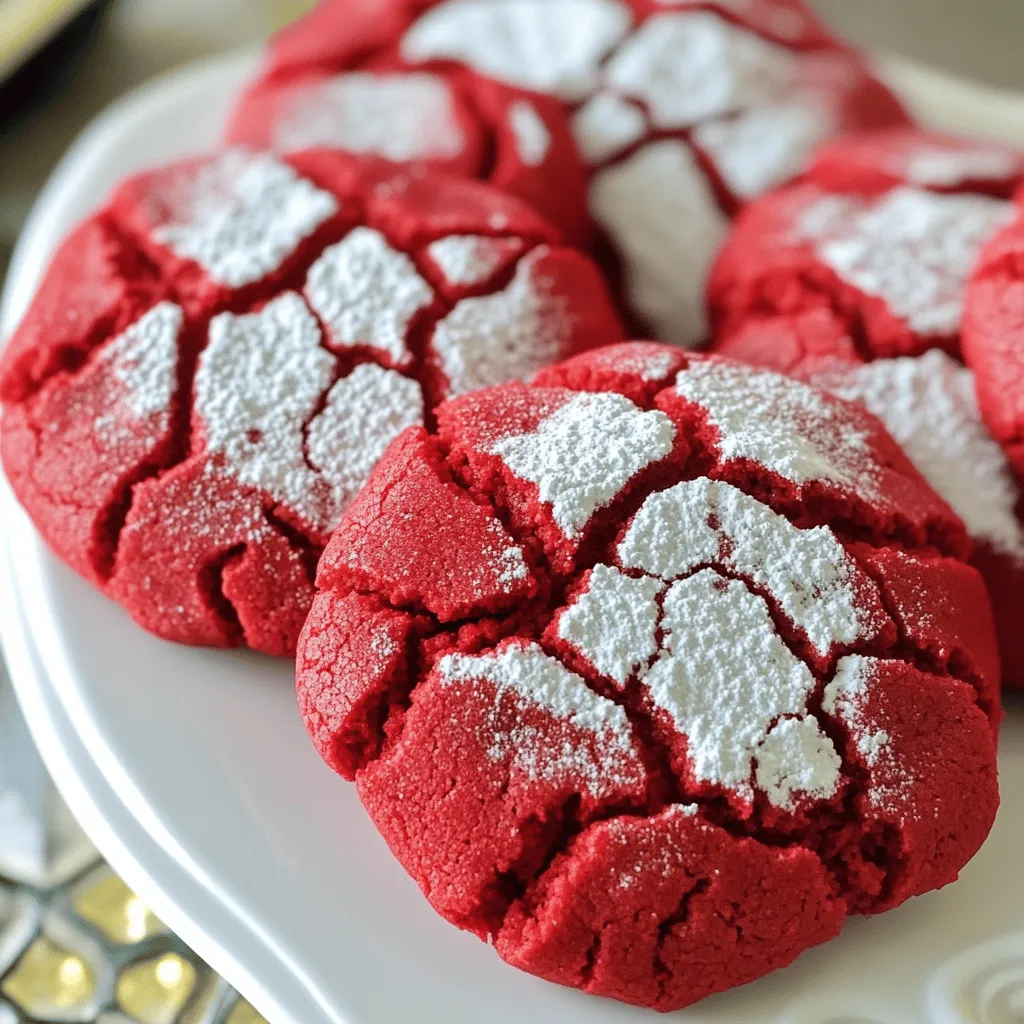
To get those beautiful crinkles, coat your dough balls in powdered sugar. Make sure each ball is fully covered. This sugar will create a lovely contrast with the red color. Bake them at 350°F for 10-12 minutes. Watch for the tops to crack and look soft. This tells you they are done!
Storing Cookies for Freshness
Store your cookies in an airtight container. This keeps them soft and fresh. Place parchment paper between layers to prevent sticking. If you need to keep them longer, freeze them. Just make sure they are in a safe, sealed bag.
Common Mistakes to Avoid
One common mistake is overmixing the dough. This can lead to tough cookies. Mix just until the dry and wet ingredients combine. Another error is skipping the chilling step. Chilling helps the cookies hold their shape. Make sure to chill the dough for at least 30 minutes.
Variations
Different Flavors
You can change the red velvet flavor to chocolate or vanilla. For chocolate, use more cocoa powder. Replace some flour with cocoa powder to keep the texture right. For vanilla, skip the cocoa and add more vanilla extract. You can also add a bit of almond extract for a twist. Each flavor keeps the soft texture and crinkle look, but offers a new taste.
Add-Ins
Add-ins can make these cookies even better. You can toss in chocolate chips for extra sweetness. Dark chocolate pairs well with the red velvet flavor. Nuts like walnuts or pecans add a nice crunch. You can also use white chocolate chips for a fun contrast. Just mix them in when you’re adding the dry ingredients.
Seasonal Variations
You can make these cookies festive for the holidays. For Valentine’s Day, shape the dough into hearts. Use pink or white food coloring for a sweet touch. During Christmas, add peppermint extract or crushed candy canes. For Halloween, use orange food coloring and add some spooky sprinkles. These fun ideas make your cookies special for any occasion.
Storage Info
Best Practices for Keeping Cookies Fresh
To keep your cookies fresh, store them in an airtight container. This helps keep moisture in and air out. Place parchment paper between layers to prevent sticking. If you use a cookie jar, make sure it has a tight seal. Keep them at room temperature, away from heat and light. They’ll stay fresh for about a week.
Freezing Instructions for Longer Storage
Freezing cookies is easy! To freeze your red velvet crinkle cookies, let them cool completely first. Then, arrange them in a single layer on a baking sheet. Freeze for about an hour until firm. Once firm, place them in a freezer bag. Remove as much air as possible before sealing. They can last up to three months in the freezer.
How to Reheat Frozen Cookies
To enjoy your frozen cookies, let them thaw at room temperature for about 30 minutes. If you prefer them warm, preheat your oven to 350°F (175°C). Place the cookies on a baking sheet and heat for 5-7 minutes. This will give you that fresh-baked taste again! Enjoy them with milk or your favorite drink.
FAQs
How do I know when the cookies are done baking?
You will know the cookies are done when the edges are firm. They should look slightly soft in the middle. The tops will have that beautiful crinkle effect. If you touch the edges, they should feel set. Bake for about 10 to 12 minutes at 350°F.
Can I use liquid food coloring instead of gel?
Yes, you can use liquid food coloring, but gel is better. Gel gives a richer color. It also requires less liquid, so your dough stays thick. If you use liquid, add a little more flour to keep the right texture.
What can I pair these cookies with for serving?
These cookies pair great with a glass of milk or hot chocolate. You can also serve them on a bright platter. A light dusting of powdered sugar adds a nice touch. They look festive and inviting!
Can I make the dough ahead of time?
Absolutely! You can make the dough in advance. After mixing, wrap it in plastic. Chill it in the fridge for up to 3 days. When you’re ready, just scoop, roll, and bake. It’s that easy!
We covered how to make delicious cookies from scratch. We talked about key ingredients, step-by-step instructions, and helpful tips. You can explore fun variations to fit every taste. Storing cookies properly helps keep them fresh for longer. Remember, baking can be fun and creative. With practice, you’ll master these recipes. Enjoy sharing your tasty treats with friends and family. Baking brings joy, and these cookies will surely impress.


