
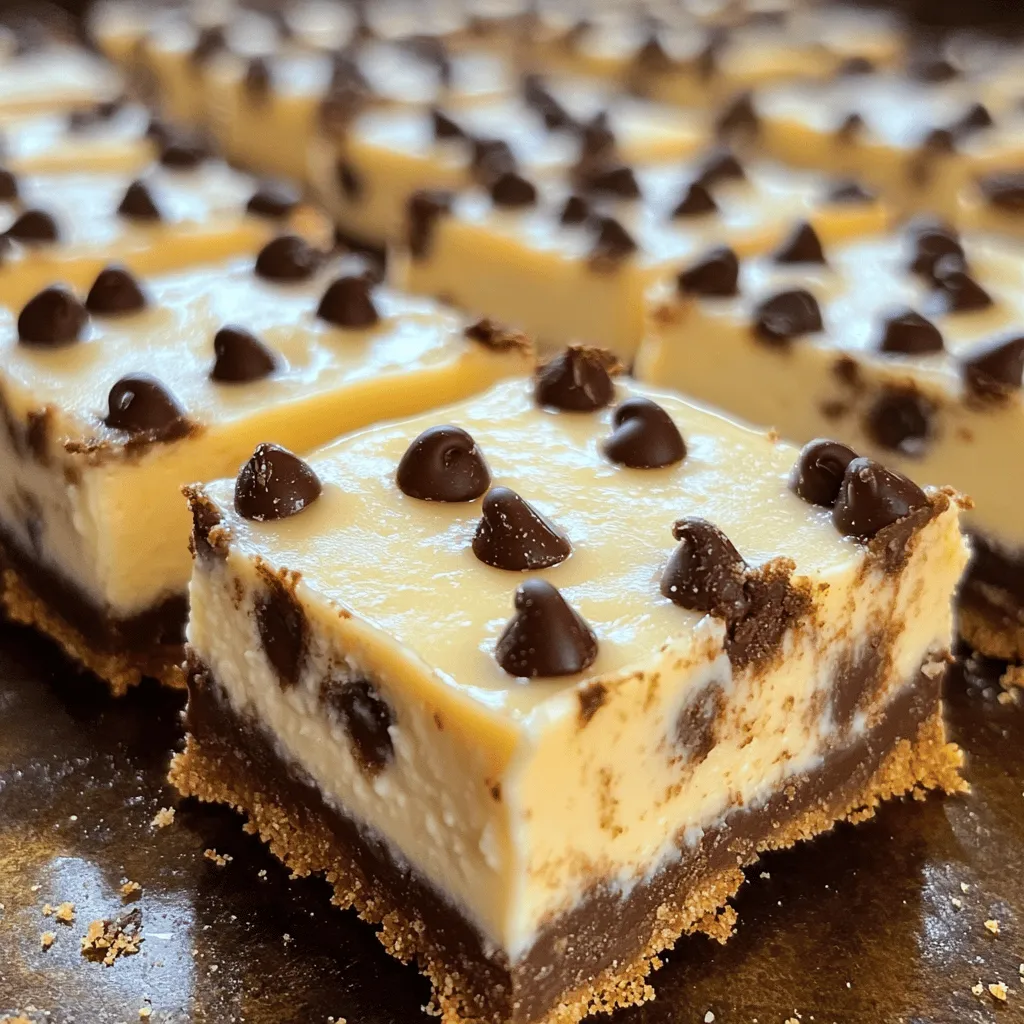
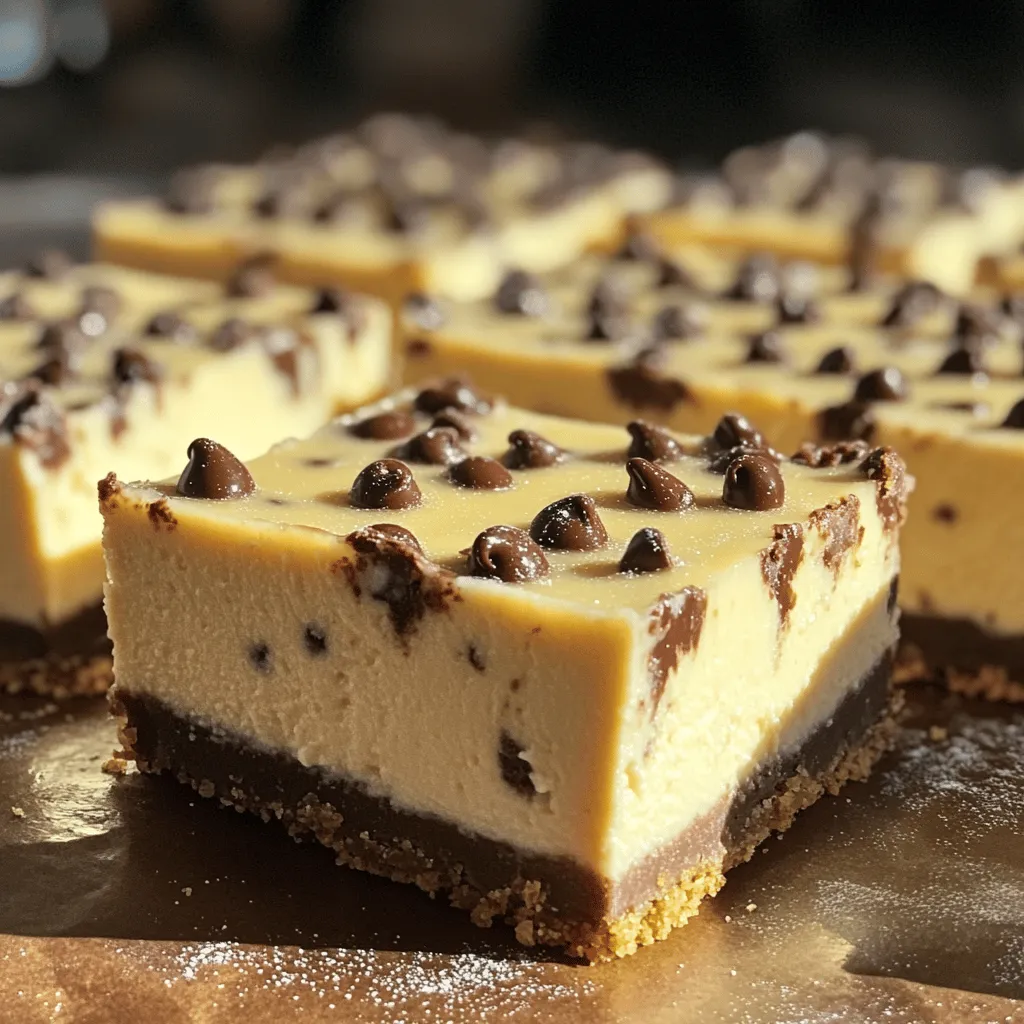
Get ready to treat yourself to a dessert that combines two favorites: chocolate chip cookies and cheesecake! In this article, I’m going to share my easy recipe for Chocolate Chip Cheesecake Bars. These creamy, dreamy bars are perfect for any occasion. I’ll guide you through the simple steps, from preparing the crust to adding decadent chocolate chips. Let’s make your sweet cravings a reality!
Ingredients
List of Necessary Ingredients
– 1 ½ cups graham cracker crumbs
– ½ cup unsalted butter, melted
– 1 tablespoon granulated sugar
– 2 packages (8 oz each) cream cheese, softened at room temperature
– ¾ cup granulated sugar
– 2 large eggs
– 1 teaspoon pure vanilla extract
– 1 cup sour cream
– 1 cup semi-sweet chocolate chips
Gather these simple ingredients first. You will need graham cracker crumbs for the crust. The unsalted butter helps bind it together. One tablespoon of sugar adds just the right sweetness. For the filling, cream cheese is key. Use two packages, as they create a rich base. Add ¾ cup granulated sugar to sweeten it up.
Next, two large eggs bring everything together. Pure vanilla extract adds flavor. Sour cream gives the filling a creamy texture. Finally, semi-sweet chocolate chips make these bars special.
Suggested Tools
– Mixing bowls
– Electric mixer
– Baking pan (9×13 inch)
– Parchment paper or cooking spray
You will need a few tools to make this recipe easier. Mixing bowls are great for combining ingredients. An electric mixer helps beat the cream cheese smoothly. A 9×13 inch baking pan works well for baking the bars. Line it with parchment paper or use cooking spray for easy removal later.
With these ingredients and tools, you are ready to make chocolate chip cheesecake bars. If you want the full recipe, check out the provided link.
Step-by-Step Instructions
Preparation of the Oven and Pan
– Preheat the oven to 325°F (160°C).
– Prepare a 9×13 inch baking pan by greasing it with cooking spray or lining it with parchment paper. This helps with easy removal after baking.
Making the Crust
– In a medium bowl, combine 1 ½ cups of graham cracker crumbs, ½ cup of melted unsalted butter, and 1 tablespoon of granulated sugar.
– Mix well until the crumbs are evenly coated in butter.
– Press this mixture firmly into the bottom of the prepared baking pan. It should form an even layer.
– Bake the crust in the preheated oven for 10 minutes. Remove it and let it cool slightly while you make the filling.
Preparing the Cheesecake Filling
– In a large mixing bowl, beat 2 packages of softened cream cheese using an electric mixer. Mix for about 2-3 minutes until it is creamy and smooth.
– Gradually add ¾ cup of granulated sugar and mix until well combined. Scrape down the bowl’s sides as needed.
– Add 2 large eggs, one at a time, mixing well after each addition. Stir in 1 teaspoon of pure vanilla extract and 1 cup of sour cream. Mix until the filling is smooth and creamy.
Combining Everything
– Gently fold in 1 cup of semi-sweet chocolate chips into the cheesecake mixture. Be careful not to overmix.
– Pour the cheesecake filling over the cooled crust, spreading it evenly with a spatula.
– Bake in the oven for 30-35 minutes. Watch for the edges to set but leave the center slightly jiggly.
– After baking, turn off the oven and crack the door slightly. Let the cheesecake cool for about 1 hour. This step helps prevent cracks.
– Transfer the cheesecake to the fridge and chill for at least 4 hours, or overnight, to set fully and enhance flavors.
– When ready to serve, lift the cheesecake out of the pan using the parchment paper. Cut it into squares or bars and enjoy these delightful treats!
For the complete details, check the Full Recipe.
Tips & Tricks
Achieving the Perfect Consistency
To get the best texture, mix your cream cheese well. I beat it until it looks smooth. This helps avoid lumps. When adding sugar, do it slowly. This keeps the mixture creamy. Mix until it’s all combined, but don’t overdo it. When baking, watch the time. Overbaking makes the bars dry. Look for the edges to set while the center jiggles a bit.
Preventing Cracks
Cooling is key to a lovely surface. Once your cheesecake is done, turn off the oven. Leave the door ajar for about an hour. This helps it cool slowly. To further reduce cracks, use a water bath. Place your pan inside a larger one filled with water. This keeps the heat even and moist.
Serving Suggestions
For a beautiful presentation, cut the bars into neat squares. Place them on a pretty platter. You can add fresh mint leaves for color. Drizzling melted chocolate on top adds flair too. Pair these bars with coffee or a glass of milk. The rich flavors balance perfectly with a warm drink.
Variations
Flavor Variations
You can change the flavor of your chocolate chip cheesecake bars easily. Adding fruit toppings makes it fresh and fun. Try strawberries, raspberries, or blueberries. They add color and taste. You can also swap chocolate types. Use dark chocolate, white chocolate, or even butterscotch chips. Each choice brings a new twist.
Healthier Alternatives
If you want a healthier treat, consider reducing the sugar. You can use a sugar substitute like stevia or monk fruit. This keeps the sweetness without extra calories. Another option is to create a gluten-free crust. Use almond flour or gluten-free graham crackers instead of regular ones. It makes the bars friendly for many diets.
Seasonal Twists
Seasonal flavors can make your bars unique. For autumn, try a pumpkin spice version. Add pumpkin puree and pumpkin pie spice to the filling for a cozy treat. In winter, a mint chocolate chip variation is delightful. Just mix in peppermint extract and green chocolate chips for a festive touch. These twists keep your chocolate chip cheesecake bars exciting all year round.
Storage Info
Best Practices for Storing
To keep your chocolate chip cheesecake bars fresh, refrigerate them right after they cool. Wrap the bars tightly in plastic wrap. This helps prevent them from drying out. You can also use an airtight container. This keeps them safe from other smells in the fridge.
Freezing Guidelines
You can freeze cheesecake bars for later enjoyment. Cut them into squares before freezing. Place them in a single layer on a baking sheet to freeze first. After they are solid, transfer them to a freezer-safe bag or container. When you want to eat them, take them out and let them thaw in the fridge overnight.
Shelf Life
In the fridge, your cheesecake bars can last up to a week. To enjoy them at their best, eat them within the first few days. For optimal freshness, keep them covered. This helps maintain their creamy texture and flavor. If you freeze them, they can last for about two months.
FAQs
Can I use low-fat cream cheese?
Yes, you can use low-fat cream cheese. The texture may change slightly. The bars will still taste good but may not be as rich.
How do I know when the cheesecake is done?
Look for these signs: the edges should be set while the center is slightly jiggly. It will firm up as it cools.
Can I make these in advance?
Absolutely! You can make these bars a day or two ahead. Just chill them well in the fridge. They taste better after a day.
What can I serve with chocolate chip cheesecake bars?
You can serve them with whipped cream, fresh berries, or a drizzle of chocolate sauce. Ice cream also makes a great pairing!
How do I cut cheesecake bars evenly?
To cut evenly, use a sharp knife. Dip the knife in hot water and wipe it dry between cuts. This helps get clean edges and nice squares.
You now have all the tools to make delicious chocolate chip cheesecake bars. We covered the ingredients, tools, and easy step-by-step instructions. Tips helped ensure your bars turn out perfect every time. You can even mix in flavors or lighten them for a healthier treat.
Remember to store them properly for the best taste. By following these guidelines, you’ll impress your friends and family. Enjoy your baking adventure, and share your cheesecake bars with everyone!


