
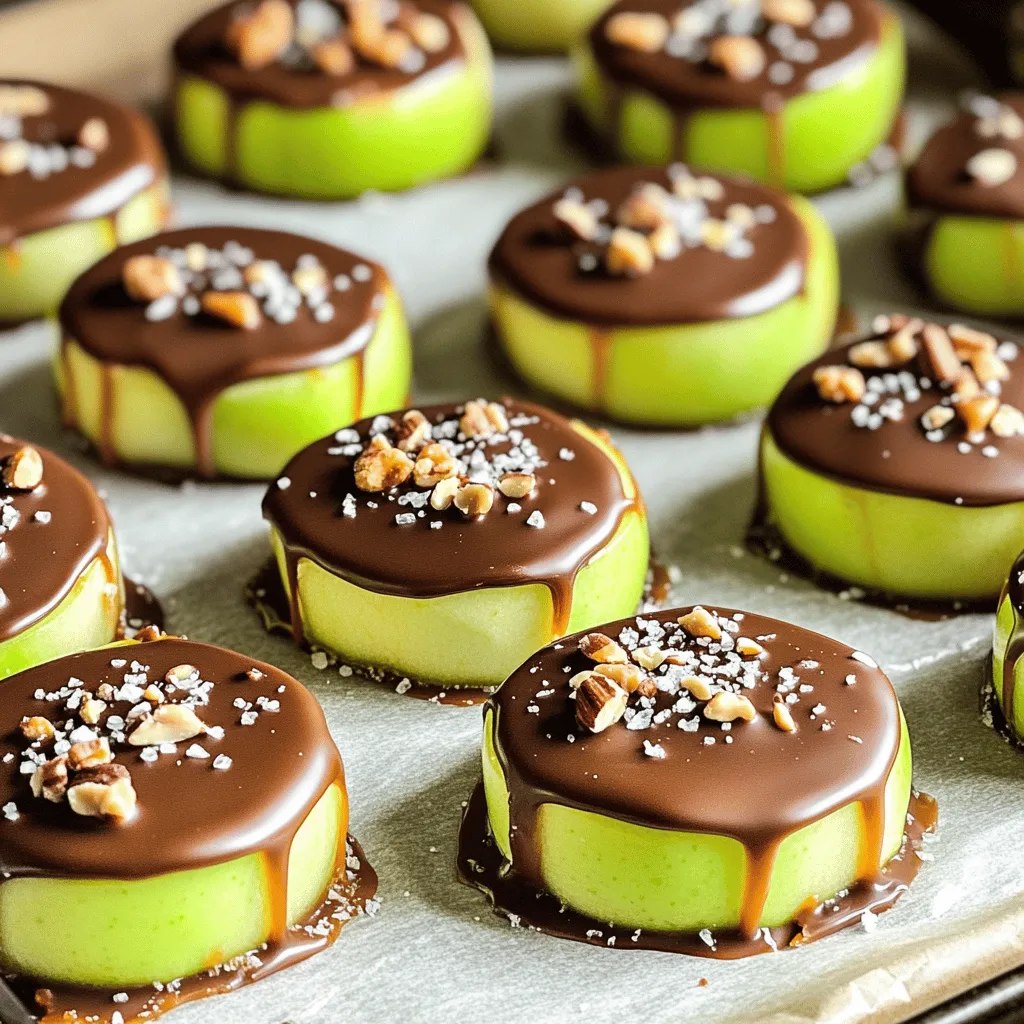
Get ready for a sweet treat that’s both fun and easy to make! Chocolate covered caramel apple slices combine the crispiness of apples with rich caramel and smooth chocolate. In this post, I’ll share simple steps to craft these delightful snacks. Whether you’re craving a quick dessert or want to impress friends, this recipe is for you. Let’s dive into the tasty details and create a delicious masterpiece together!
Ingredients
Main Ingredients for Chocolate Covered Caramel Apple Slices
To make these tasty treats, you need a few key items:
– 2 large apples (recommended: Granny Smith or Honeycrisp for tartness)
– 1 cup caramel candies (or use homemade caramel sauce for a gourmet touch)
– 1 tablespoon heavy cream (to ensure smooth melting of caramel)
– 1 cup dark chocolate chips (or substitute with milk chocolate if preferred)
– 1 teaspoon coconut oil (to achieve a silky texture in the chocolate)
– Sea salt (for a savory finish on top)
Recommended Apple Varieties
For the best flavor, I suggest using tart apples. Granny Smith apples work great. They add a nice crunch and balance the sweetness of the caramel and chocolate. Honeycrisp apples are also a fantastic choice. They are sweet and juicy, making each bite a delight.
Optional Toppings and Additions
You can take your chocolate covered caramel apple slices to the next level with some fun toppings. Here are a few ideas:
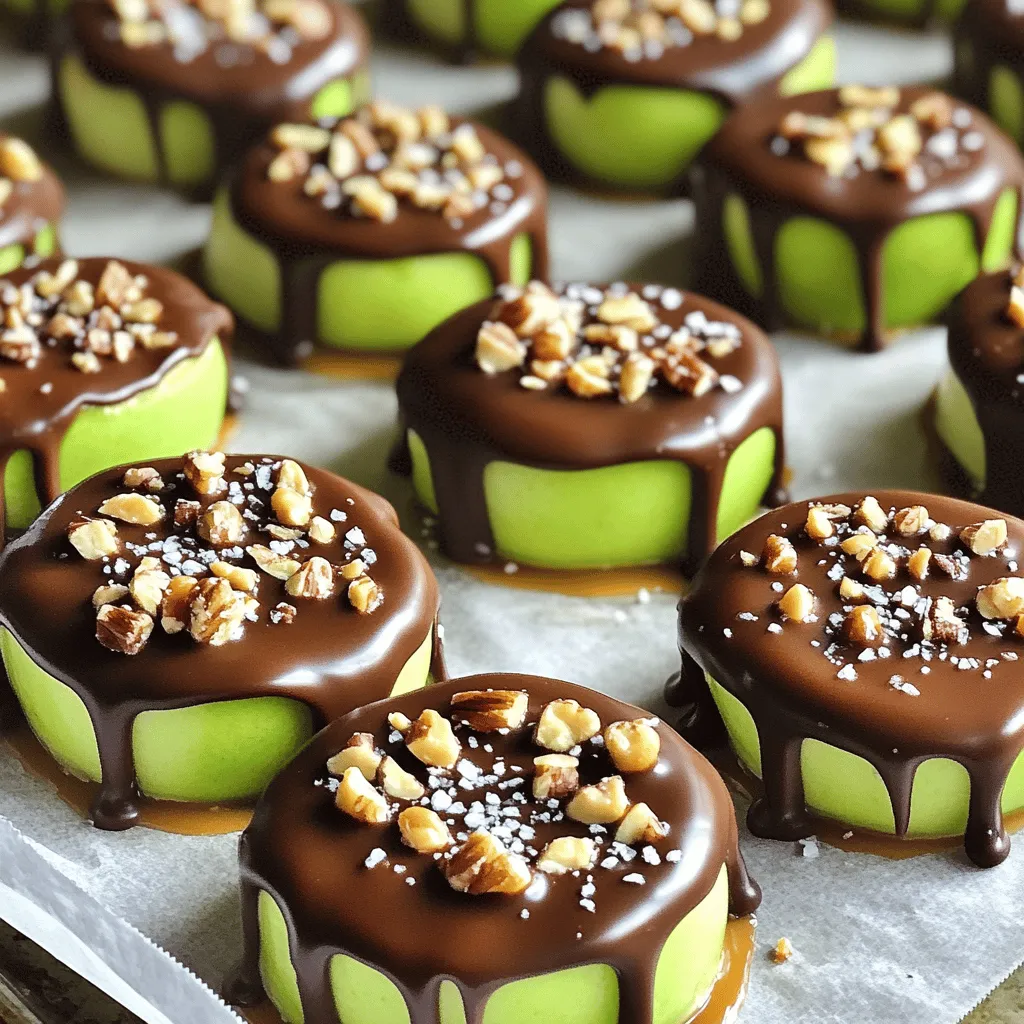
– Crushed nuts (like pecans or almonds) for crunch
– Mini chocolate chips for extra sweetness
– Sprinkles for a festive touch
– A drizzle of white chocolate for a pretty finish
Feel free to mix and match these toppings to make your slices unique! For the full recipe, check out the details above.
Step-by-Step Instructions
Preparing the Apples
Start by washing your apples well. Use cool water to remove any wax. Dry each apple completely with a clean towel. Next, slice the apples into ½-inch thick rounds. Make sure to remove the core from each slice. This step helps keep your apple slices crisp and easy to eat.
Melting the Caramel
Now, grab a microwave-safe bowl. Add the caramel candies and heavy cream. Heat this mix in the microwave. Do it in 30-second bursts, stirring after each time. Be patient; it may take a couple of rounds to melt smoothly. Once it’s all melted, it should look rich and glossy.
Dipping the Apple Slices
Take each apple slice and dip it into the warm caramel. Make sure the slice gets a nice, even coating. Use a fork or a toothpick for easier handling. Let any extra caramel drip off before placing the slice on a parchment-lined baking sheet. Once all slices are coated, chill them in the fridge for 15-20 minutes. This helps the caramel set. After that, melt your chocolate as described in the Full Recipe. Finally, dip each caramel-coated slice into the chocolate. Sprinkle some sea salt or toppings if you like. Return them to the fridge again, letting the chocolate harden. Enjoy your sweet, crunchy treats!
Tips & Tricks
Ensuring Perfect Caramel Consistency
To get the best caramel, use high-quality caramel candies. Melt them slowly with heavy cream. Microwaving in 30-second bursts works well. Stir often to avoid lumps. The goal is a smooth, thick caramel. If it’s too thick, add a bit more cream. This makes it easier to coat your apple slices.
Achieving Smooth Chocolate Coating
For a nice chocolate layer, use dark chocolate chips. Mixing in coconut oil helps the chocolate flow better. Melt the chocolate in short intervals, stirring after each. This keeps it from burning. A smooth, glossy finish makes your apple slices look great and taste even better.
Ideal Cooling Times for Best Results
Cooling times are key to great texture. After caramel coating, chill the slices for 15-20 minutes. This helps the caramel harden. Once you dip in chocolate, chill again for another 10-15 minutes. This step ensures the chocolate sets well, giving you that perfect bite. For the best results, resist the urge to rush this process.
Variations
Different Chocolate Options (Dark, Milk, White)
You can choose from different types of chocolate. Dark chocolate gives a rich flavor and pairs well with apples. Milk chocolate is sweeter and creamy, perfect for kids. White chocolate adds a touch of sweetness and a nice contrast. Each chocolate brings its own charm. Try mixing chocolates for a fun look and taste.
Flavor Enhancements (Spices, Extracts)
You can boost the flavor of your chocolate-covered caramel apple slices. Adding a pinch of cinnamon or nutmeg can warm up the taste. A few drops of vanilla extract adds depth and sweetness. For a twist, try adding a splash of orange or almond extract. These small changes can make your treats unique and exciting.
Alternative Toppings (Sprinkles, Coconut, Dried Fruits)
Toppings can make your apple slices even more fun. Use colorful sprinkles for a festive look. Shredded coconut adds a chewy texture and tropical flavor. Dried fruits like cranberries or apricots provide a sweet and chewy contrast. Crushed nuts like almonds or pecans give a nice crunch. Mix and match these toppings to create your perfect treat!
Storage Info
Best Practices for Storing Chocolate Covered Caramel Apple Slices
To keep your chocolate covered caramel apple slices fresh, store them in an airtight container. Line the container with parchment paper to prevent sticking. Place a layer of apple slices, then add more parchment paper before stacking more slices. This method keeps them intact and ready to enjoy.
How Long They Last in the Refrigerator
In the refrigerator, these tasty treats last for about 3 to 5 days. The apples will stay crisp, and the chocolate will remain firm. Just remember to keep them covered to maintain their flavor and texture. If you notice any moisture, it’s best to eat them sooner.
Freezing Options for Longer Storage
If you want them to last longer, freezing is a great option. Wrap each slice in plastic wrap and then place them in a freezer-safe bag. They can stay frozen for up to 2 months. To enjoy, let them thaw in the fridge overnight before snacking. Enjoy the delicious flavors of caramel and chocolate even after a long freeze!
FAQs
Can I use homemade caramel for this recipe?
Yes, you can use homemade caramel. It adds a personal touch to your slices. Just make sure it has the right consistency. A thick, gooey caramel works best for dipping.
What type of chocolate works best?
Dark chocolate is my favorite for this recipe. It balances the sweet caramel and tart apple well. Milk chocolate also works if you prefer a sweeter flavor. White chocolate can be used for a fun twist too!
How do I prevent the chocolate from cracking?
To avoid cracking, make sure the chocolate is melted smoothly. Adding coconut oil helps create a nice, glossy finish. Let the chocolate cool slightly before dipping. This will give a beautiful coat without cracking.
Where can I find pre-made chocolate covered caramel apple slices?
You can find them at many grocery stores or specialty shops. Look in the dessert section or the candy aisle. Some bakeries also sell them fresh. If you want the full experience, try making them at home with the [Full Recipe].
You can enjoy making chocolate-covered caramel apple slices using simple steps. We covered the key ingredients and the best types of apples. You learned how to prepare, melt, and dip the apples for a perfect treat. With handy tips on caramel and chocolate, you can ensure great results every time. Play with different chocolate types and toppings for fun variations. Store them carefully to keep the flavor fresh. Now, go ahead and create some tasty slices for yourself and friends!


