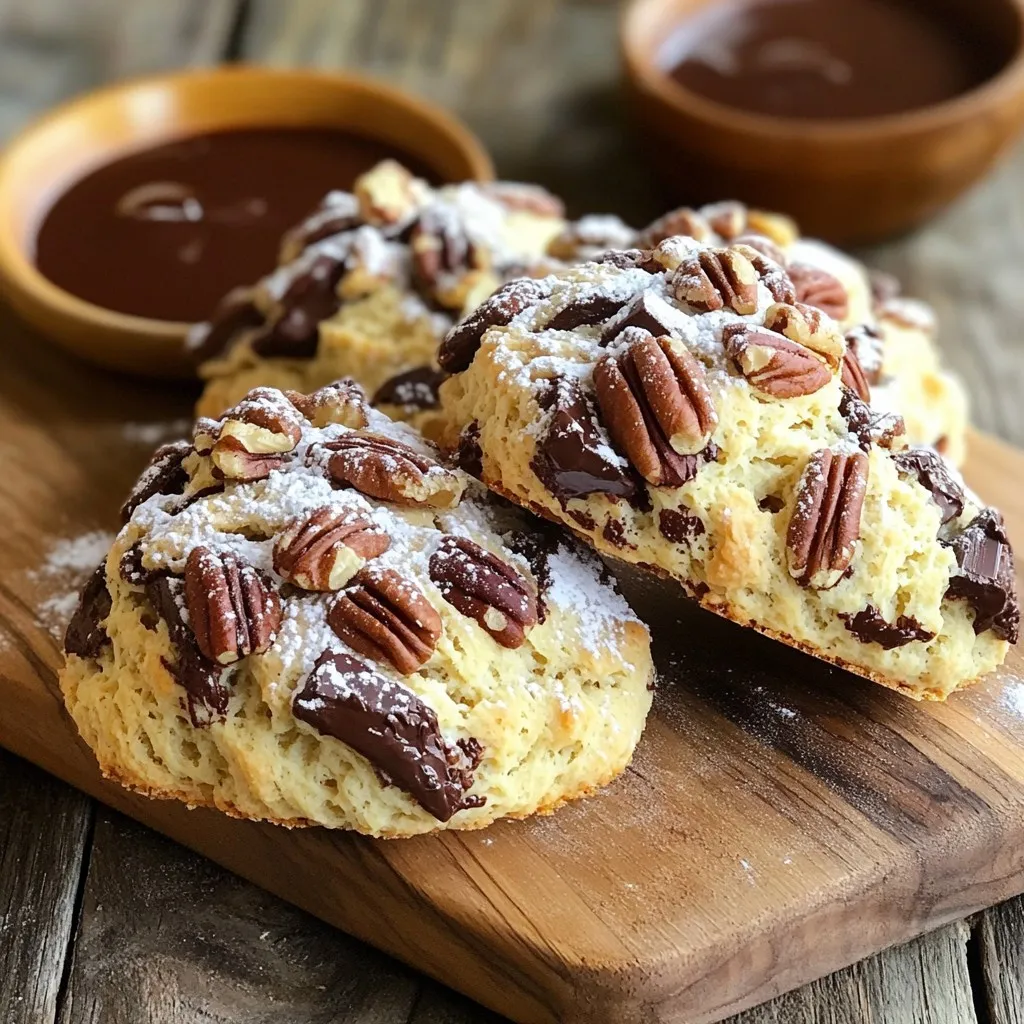
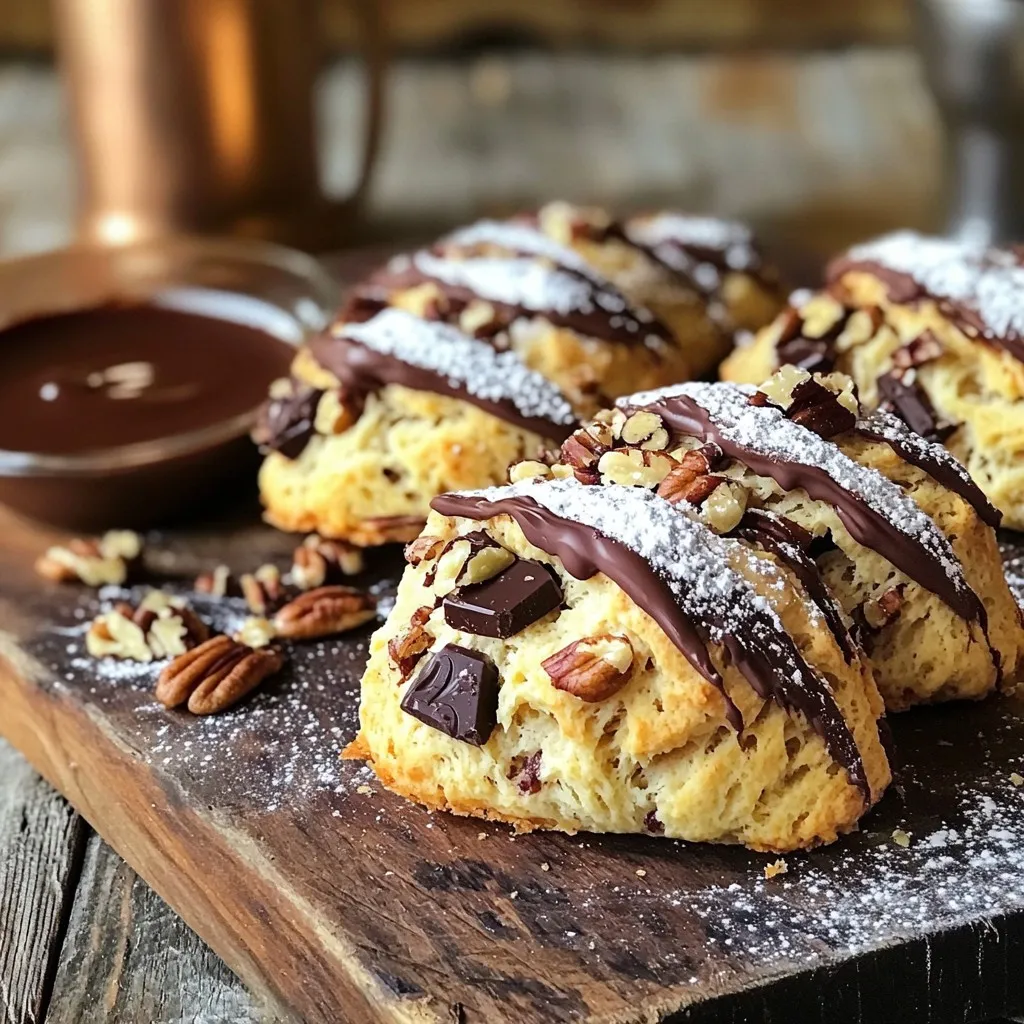
Indulge in the delightful world of Chocolate Pecan Scones! In this easy guide, I’ll show you how to whip up these soft, buttery treats in no time. With rich chocolate and crunchy pecans, you’re in for a tasty surprise that will make breakfast or snack time special. Join me as we explore simple steps, helpful tips, and tasty variations to make your scones a hit. Ready to bake? Let’s get started!
Ingredients
List of Ingredients
– 2 cups all-purpose flour
– 1/3 cup granulated sugar
– 1 tablespoon baking powder
– 1/2 teaspoon salt
– 1/2 cup cold unsalted butter, cut into small cubes
– 1/2 cup pecans, roughly chopped
– 1/2 cup chocolate chips (semi-sweet or dark)
– 3/4 cup heavy cream
– 1 teaspoon pure vanilla extract
– 1 large egg, beaten (for egg wash)
Optional Ingredients for Flavor Enhancement
– 1/2 teaspoon cinnamon for warmth
– 1/2 teaspoon espresso powder for depth
– Zest of one orange for brightness
– 1/4 cup dried fruit like cranberries for added texture
Tips for Selecting Quality Ingredients
Choose fresh, high-quality flour. This makes a huge difference in scone texture. Look for butter that is unsalted. It allows you to control the salt level. For chocolate, select semi-sweet or dark chips. The richness of good chocolate enhances the flavor. Fresh pecans add crunch and taste. Always check for a good aroma and avoid any that smell stale.
Step-by-Step Instructions
Preheat the Oven and Prepare the Baking Sheet
First, preheat your oven to 400°F (200°C). This step helps the scones rise well. Next, line a baking sheet with parchment paper. This makes it easy to remove the scones later.
Mixing Dry Ingredients
In a large bowl, add 2 cups of all-purpose flour, 1/3 cup of granulated sugar, 1 tablespoon of baking powder, and 1/2 teaspoon of salt. Whisk these together until there are no lumps. This mix gives the scones their structure and sweetness.
Incorporating Butter and Adding Pecans & Chocolate Chips
Now, take 1/2 cup of cold, cubed unsalted butter and add it to the dry mix. Use a pastry cutter or your fingers to blend the butter. You want it to look like coarse breadcrumbs. Then, fold in 1/2 cup of roughly chopped pecans and 1/2 cup of chocolate chips. This adds a crunchy texture and rich flavor.
Combining Wet and Dry Ingredients
In a separate bowl, mix 3/4 cup of heavy cream and 1 teaspoon of pure vanilla extract. Slowly pour this mix into the dry ingredients. Stir gently with a spatula until just combined. The dough should be a bit sticky. Avoid overmixing to keep the scones light.
Shaping and Cutting the Dough
Next, turn the dough out onto a floured surface. Pat it into a round disc about 1 inch thick. Use a sharp knife to cut the disc into 8 equal wedges. Make sure to cut through completely. This helps each scone bake evenly.
Baking the Scones
Move the scone wedges onto your prepared baking sheet. Space them out so they can rise. Brush the tops with a beaten egg. This gives them a nice golden color. Bake in the preheated oven for 15-20 minutes. Check doneness by inserting a toothpick into a scone; it should come out clean. Once baked, cool them slightly on a wire rack before serving.
Tips & Tricks
Achieving the Perfect Scone Texture
To get the best scone texture, keep your butter cold. Cold butter makes your scones flaky. Cut your butter into small cubes before mixing it with flour. You want to blend until it looks like coarse crumbs. Don’t overmix the dough when adding the cream. Mix just until combined. A little stickiness helps the scones rise nicely.
Common Mistakes to Avoid
One common mistake is overworking the dough. This makes scones tough instead of light. Another mistake is using warm butter. Warm butter will not create the right texture. Make sure to measure your ingredients accurately. Too much flour can dry out the scones. Also, remember to space the scones on the baking sheet. They need room to grow while baking.
How to Store and Reheat Leftover Scones
To store leftover scones, place them in an airtight container. Keep them at room temperature for up to two days. If you need to keep them longer, freeze them. Wrap each scone in plastic wrap before placing them in a freezer bag. When you want to enjoy them again, thaw at room temperature. To reheat, pop them in the oven at 350°F (175°C) for about 5-10 minutes. This will refresh their texture and warmth.

Variations
Swapping Nuts: Other Options to Try
If you want to change up your scones, try using different nuts. Walnuts add a rich taste. Almonds give a nice crunch. Pecans are great, but hazelnuts can also bring a unique twist. Just make sure to chop them roughly, so they mix well into the dough. You can even mix and match nuts for more flavor.
Experimenting with Different Chocolate Types
You can use various chocolate types in your scones. Semi-sweet chocolate chips are classic and sweet. Dark chocolate offers a bold taste. If you love milk chocolate, it adds a creaminess. You can also try chocolate chunks for bigger bites of chocolate. Consider mixing chocolates too, like dark and milk, for a fun blend.
Flavor Additions: Spices and Zest Ideas
Spicing up your scones can make them special. Adding cinnamon gives warmth. Nutmeg adds a cozy flavor. You can also add lemon or orange zest for a fresh twist. A touch of espresso powder can enhance the chocolate taste. Just a little can make a big difference. Experiment with these ideas to find your favorite mix!
Storage Info
Best Practices for Storing Scones
To keep your chocolate pecan scones fresh, store them in an airtight container. This helps prevent them from drying out. Place a piece of parchment paper between layers if you stack them. This way, they won’t stick together. Store them at room temperature for the best taste.
Freezing for Later Use
If you want to save some for later, freezing works great. Wrap each scone in plastic wrap. Then place them in a freezer-safe bag or container. Label the bag with the date. You can freeze them for up to three months. When you’re ready to enjoy, just thaw them at room temperature.
How Long Do Scones Last?
Freshly baked scones last about two to three days at room temperature. If you store them properly, they can stay tasty even longer. If you freeze them, they can last for months. Always check for any signs of spoilage before eating. Enjoy your scones while they are fresh for the best flavor!
FAQs
Can I make chocolate pecan scones ahead of time?
Yes, you can make chocolate pecan scones ahead of time. You can prepare the dough a day in advance. Just wrap it tightly in plastic wrap and refrigerate. When you are ready to bake, slice the dough into wedges and bake them fresh. This way, you enjoy warm scones, which taste best right out of the oven.
What can I substitute for heavy cream?
If you need a substitute for heavy cream, you have options. You can use half-and-half or whole milk mixed with melted butter. For a dairy-free version, try coconut cream or almond milk combined with a bit of oil. These alternatives will give you a nice texture, but may alter the flavor slightly.
How do I know when the scones are done baking?
You can tell when the scones are done by checking their color. Look for a light golden brown on the tops. You can also use a toothpick; insert it into the center of a scone. If it comes out clean, the scones are ready. Baking usually takes about 15-20 minutes, so keep an eye on them!
What is the best way to serve chocolate pecan scones?
The best way to serve chocolate pecan scones is warm. You can dust them lightly with powdered sugar for a nice touch. Pair them with whipped cream or rich chocolate sauce for dipping. Enjoy them with tea or coffee for a perfect treat!
You learned how to make chocolate pecan scones from scratch. We covered key ingredients and tips for quality. I shared step-by-step instructions, crucial tips for the perfect texture, and common mistakes to avoid. You can explore fun variations and how to store your scones properly.
Baking should be fun, and you now have the tools to enjoy it. Experiment, learn, and make delicious treats! Your next bake will be a hit.

