
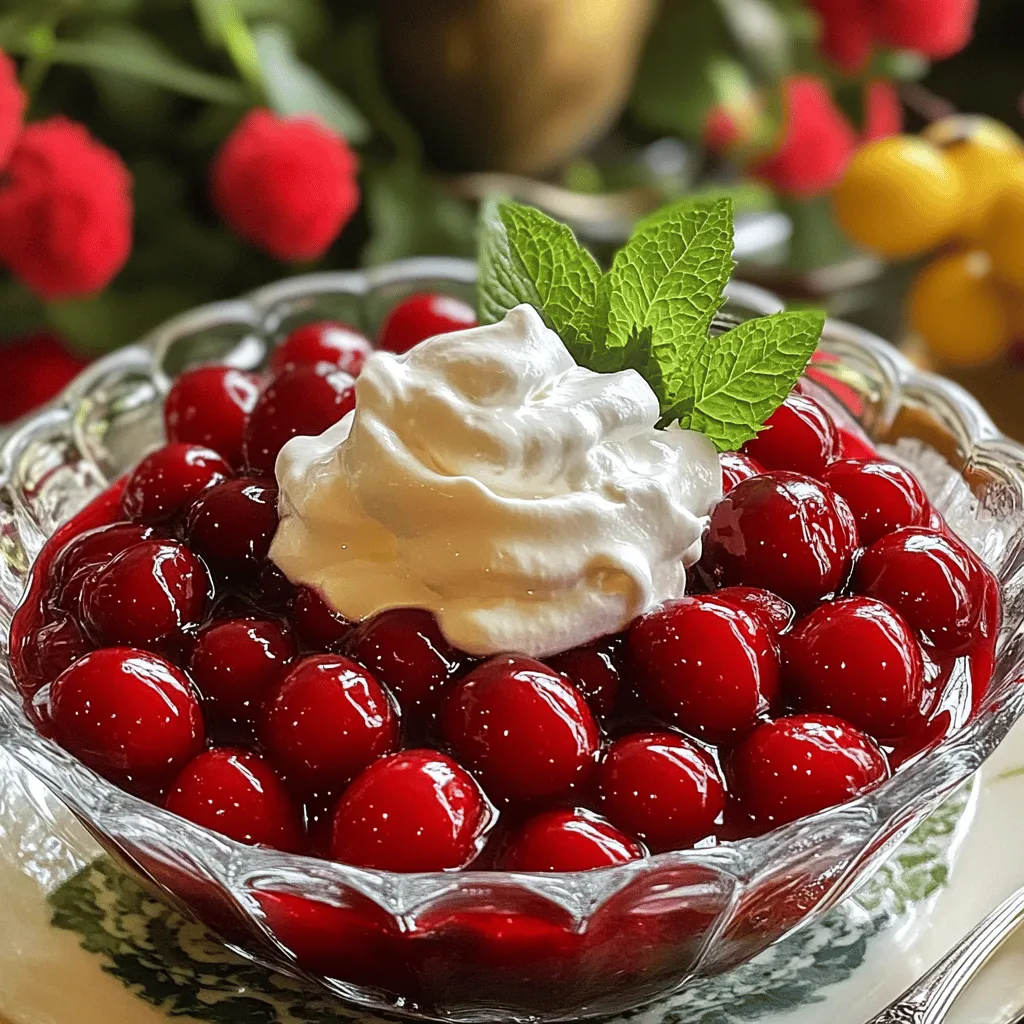
If you’re craving a sweet treat that’s both classic and delicious, look no further than Classic Cherry Delight. This dish brings together the tartness of fresh cherries and sweet vanilla for a mouthwatering dessert. Not only is it easy to make, but it also features simple ingredients you likely have on hand. Let’s dive into how you can whip up this irresistible delight and impress your friends and family!
Ingredients
Fresh ingredients make Classic Cherry Delight shine. Here’s what you need:
– 2 cups fresh cherries, pitted and halved
– 1 cup granulated sugar
– 1/4 cup cornstarch
– 1 tablespoon freshly squeezed lemon juice
– 1 teaspoon pure vanilla extract
– 1 cup water
– 1 tablespoon unsalted butter
– 1 cup whipped cream (for serving)
– Fresh mint leaves (for garnish)
Using ripe cherries is key. They give the dessert a sweet burst of flavor. The sugar helps to enhance the natural taste of the cherries. Cornstarch thickens the mixture, giving it a nice texture. The lemon juice adds a hint of tartness, balancing the sweetness. Vanilla extract brings warmth, while butter adds richness. Whipped cream provides a fluffy topping, making it even more delightful. Fresh mint leaves add a pop of color and a refreshing finish.
Ready to create this sweet treat? Check the Full Recipe for detailed steps!
Step-by-Step Instructions
Preparation Steps
1. In a medium-sized saucepan, combine the cherries, sugar, cornstarch, lemon juice, and water. Mix well. This step ensures the cherries get sweet and thick.
2. Set the saucepan over medium heat. Cook the mixture, stirring now and then. You want it to boil gently, which takes about 5 to 7 minutes.
3. When it boils, reduce the heat to low. Keep cooking for another 3 to 5 minutes. Stir gently until the mixture thickens and the cherries soften just right.
Final Touches
1. Take the saucepan off the heat. Stir in the vanilla extract and butter. Mix until melted and combined. This adds a rich flavor to your cherry delight.
2. Let the mixture cool for about 10 minutes. Then, transfer it to a serving dish or divide it into bowls.
3. Place the dish in the fridge. Chill for at least 1 hour. This helps the mixture set nicely.
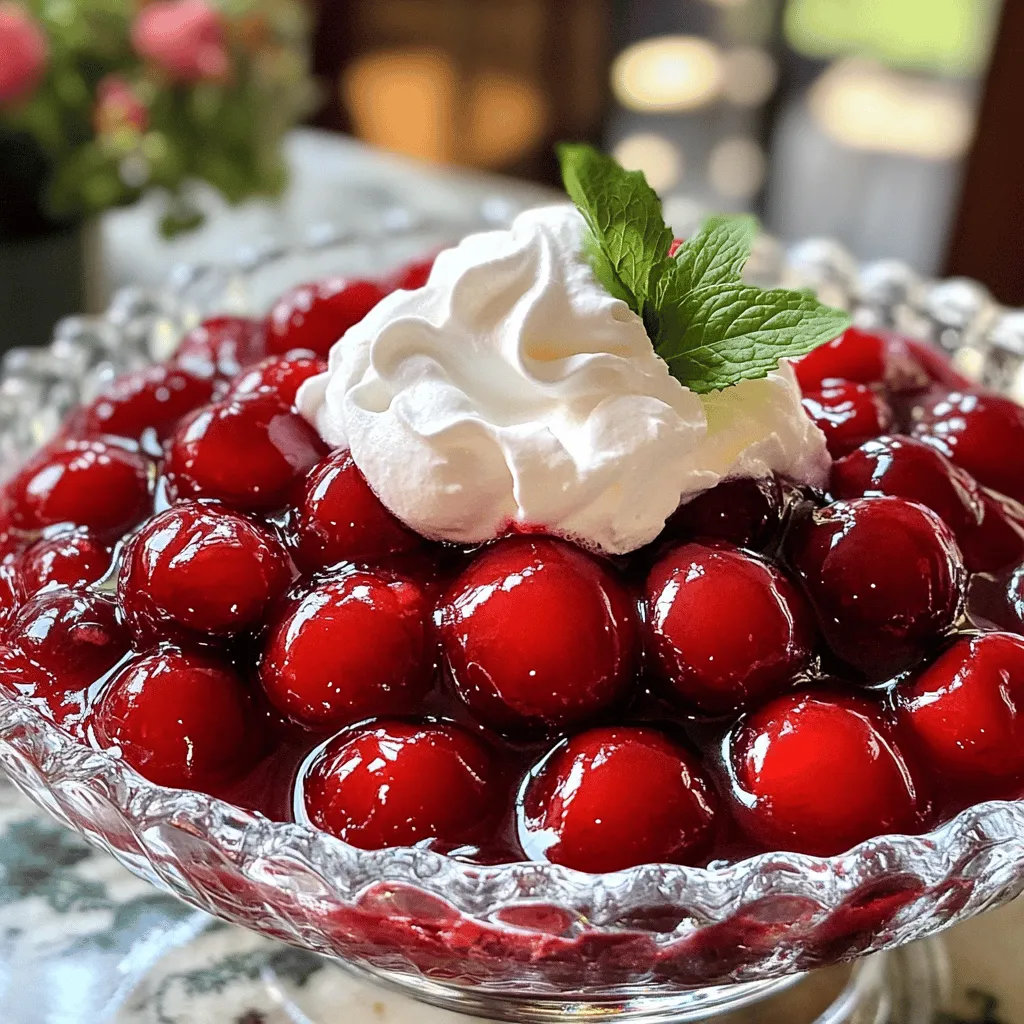
4. To serve, spoon the cherry delight into bowls. Top each portion with whipped cream. Garnish with fresh mint leaves for a pop of color.
Enjoy making this Classic Cherry Delight! For the complete recipe, check out the Full Recipe.
Tips & Tricks
Perfecting the Recipe
– Aim for firm yet tender cherries: Fresh cherries add flavor and texture. Pick ripe cherries that are not too soft.
– Adjust sweetness to preference: Taste the mixture as you cook. If you like it sweeter, add more sugar.
– Ensure proper thickening with cornstarch: Mix cornstarch with water first. This helps it dissolve well in the cherry mix.
Serving Recommendations
– Use glass cups for presentation: Clear cups show off the lovely red color. It makes the dessert look fancy.
– Pair with additional toppings if desired: Consider adding nuts or chocolate shavings. These toppings add a fun twist to the flavor and texture.
Try these tips to elevate your Classic Cherry Delight! For the full recipe, check the earlier section.
Variations
Ingredient Swaps
You can easily change the flavors of Classic Cherry Delight. Consider using different fruits to create your own twist. Blueberries or raspberries work great! They add a new taste and color. You can also swap out the sweetener. Try honey or agave syrup for a natural option. These will still give you that sweet flavor you love.
Dietary Modifications
If you want a vegan version, use coconut cream instead of whipped cream. It adds a rich, creamy texture. For those who need gluten-free options, use a compatible thickener like arrowroot instead of cornstarch. This keeps the recipe safe for all diets. These simple swaps let everyone enjoy this sweet treat!
You can find the full recipe to start making your Classic Cherry Delight today!
Storage Info
Proper Storage Methods
To keep your Classic Cherry Delight fresh, store it in airtight containers. This helps prevent air from getting in, which can affect the taste. Always keep it refrigerated. It will stay fresh for about three to five days in the fridge.
Freezing Options
Can cherry delight be frozen?
Yes, you can freeze Classic Cherry Delight. Just scoop it into a freezer-safe container. Make sure to leave some space at the top for expansion. This treat can last for two to three months in the freezer.
Tips for thawing and serving after freezing
To thaw, place the container in the fridge overnight. This way, it thaws slowly and keeps its texture. When ready to serve, give it a good stir. If you want, add a fresh dollop of whipped cream and a mint leaf for a beautiful finish.
FAQs
Common Questions
How long does Classic Cherry Delight last in the fridge?
Classic Cherry Delight lasts about three to four days in the fridge. Store it in an airtight container. This keeps the dessert fresh and tasty.
Can I make Classic Cherry Delight ahead of time?
Yes, you can make Classic Cherry Delight a day in advance. Just chill it in the fridge. This gives the flavors more time to blend.
What can I use instead of whipped cream?
You can use Greek yogurt or coconut cream instead of whipped cream. Both options add creaminess and taste great.
Troubleshooting Tips
What if my mixture doesn’t thicken?
If your mixture doesn’t thicken, try cooking it a bit longer. Make sure the heat is low enough to avoid burning. Adding a little more cornstarch can also help.
How to fix overly sweet cherry delight?
To fix overly sweet cherry delight, add a splash of lemon juice. This adds tartness and balances the sweetness. Another option is to mix in some unsweetened yogurt for a tangy kick.
In this blog post, you learned how to make Classic Cherry Delight using fresh ingredients. We walked through clear steps for preparation and final touches. I shared tips on perfecting the recipe and ideas for fun variations. Proper storage methods help keep your dessert fresh and delightful. Remember, this recipe is flexible—feel free to experiment with different fruits and dietary needs. Enjoy your homemade treat, and don’t be afraid to get creative in the kitchen!


