
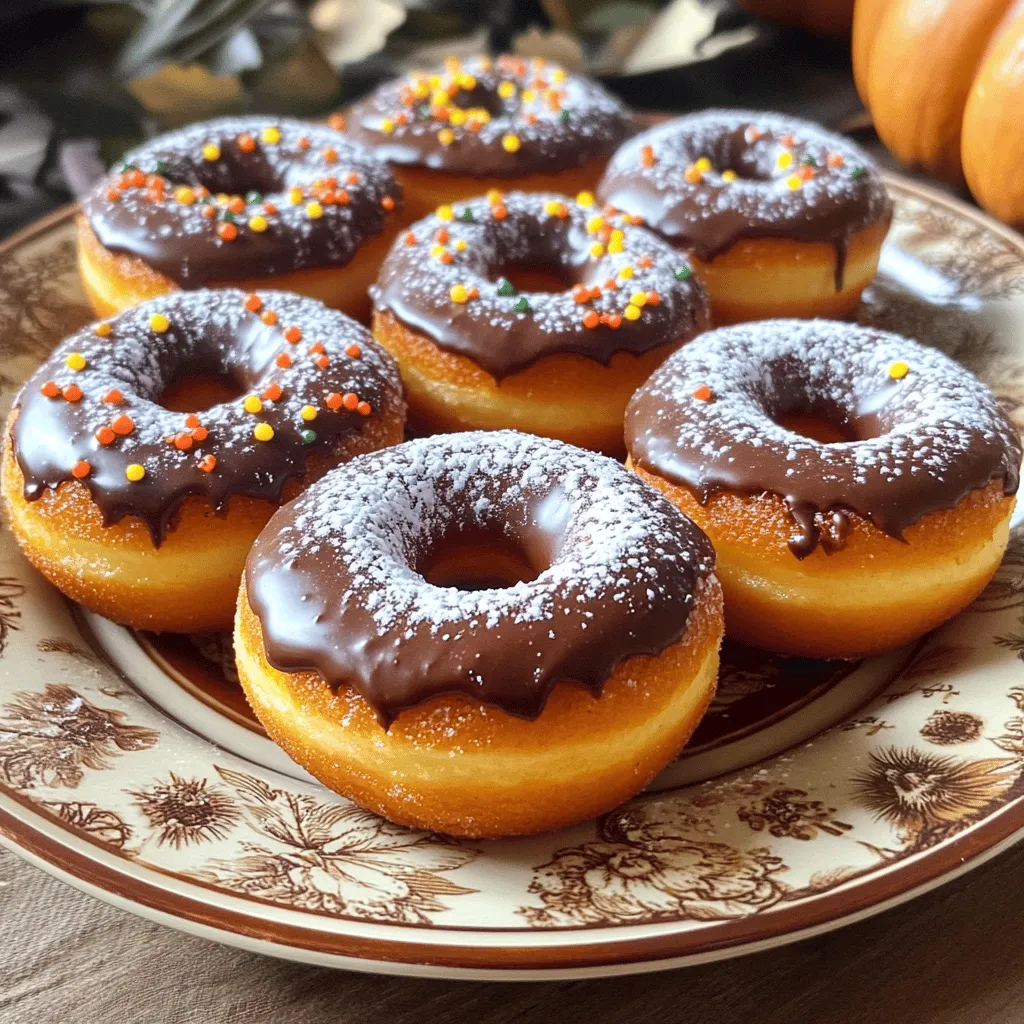
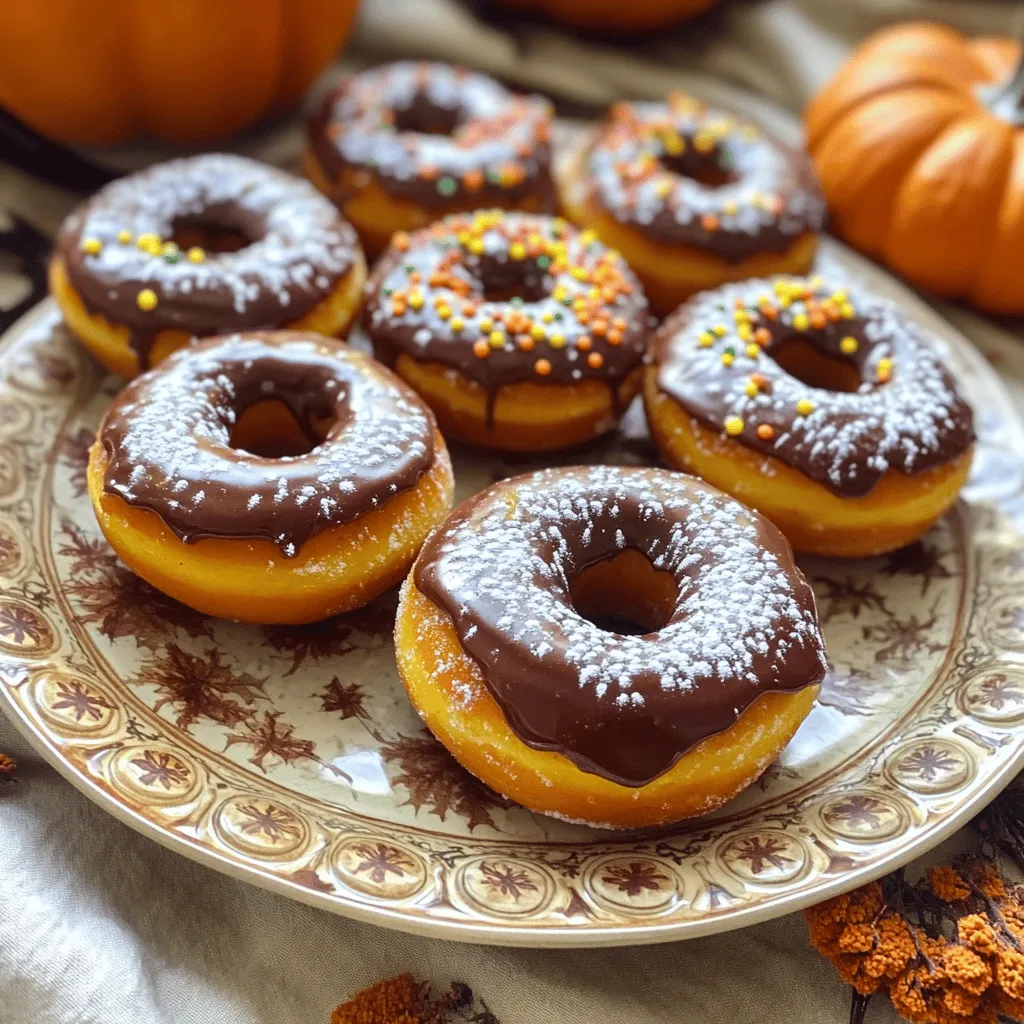
Looking for a tasty fall treat? You’ll love these gluten-free pumpkin donuts! They combine the warm spices of autumn with a soft, fluffy texture that satisfies every craving. I’ll guide you through easy steps, helpful tips, and fun variations, ensuring your baking success. Get ready to dive into the delicious world of gluten-free delights that everyone can enjoy! Let’s make your kitchen smell like fall bliss!
Ingredients
Essential Ingredients for Gluten-Free Pumpkin Donuts
To make gluten-free pumpkin donuts, start with key ingredients. Here’s what you need:
– 1 cup gluten-free all-purpose flour
– 1/2 cup pumpkin puree
– 1/2 cup almond flour
– 1/2 cup sugar (coconut sugar works well)
– 1/4 cup pure maple syrup
– 1 teaspoon baking powder
– 1/2 teaspoon baking soda
– 1 teaspoon ground cinnamon
– 1/4 teaspoon ground nutmeg
– 1/4 teaspoon ground cloves
– 1/2 teaspoon salt
– 2 large eggs
– 1/4 cup melted coconut oil or unsalted butter
– 1 teaspoon pure vanilla extract
These ingredients create a moist and flavorful treat. The pumpkin puree brings warmth, while spices give that cozy fall vibe.
Alternative Gluten-Free Flours
If you want to mix things up, try different gluten-free flours. Here are some good options:
– Oat flour
– Brown rice flour
– Cassava flour
Each flour has its own taste and texture. Oat flour adds a nutty flavor, while cassava flour keeps it light and fluffy.
Optional Ingredients for Flavor Enhancement
You can take your donuts to the next level with these optional ingredients:
– Chocolate glaze for a sweet touch
– Maple glaze for a classic flavor
– Chopped nuts for crunch
These extras allow you to customize your donuts. I love adding a chocolate glaze for a rich taste. You can find the full recipe for these delicious gluten-free pumpkin donuts in the main article. Enjoy experimenting!
Step-by-Step Instructions
Prepping Your Ingredients
Start with gathering all your ingredients. This makes cooking easier and more fun. Here’s what you need:
– 1 cup gluten-free all-purpose flour
– 1/2 cup pumpkin puree
– 1/2 cup almond flour
– 1/2 cup sugar
– 1/4 cup pure maple syrup
– 1 teaspoon baking powder
– 1/2 teaspoon baking soda
– 1 teaspoon ground cinnamon
– 1/4 teaspoon ground nutmeg
– 1/4 teaspoon ground cloves
– 1/2 teaspoon salt
– 2 large eggs
– 1/4 cup melted coconut oil or unsalted butter
– 1 teaspoon pure vanilla extract
– Optional: Chocolate glaze or maple glaze for topping
Make sure everything is fresh. Preheat your oven to 350°F (175°C). Grease your donut pan with coconut oil or baking spray. This step helps the donuts come out easily.
Mixing Dry and Wet Ingredients
In a large bowl, mix the dry ingredients first. Combine the gluten-free flour, almond flour, sugar, baking powder, baking soda, cinnamon, nutmeg, cloves, and salt. Whisk them until well blended.
In a separate bowl, whisk the wet ingredients. Mix the pumpkin puree, maple syrup, eggs, melted coconut oil, and vanilla. Keep whisking until it is smooth and creamy.
Now, pour the wet mixture into the dry ingredients. Stir gently. Be careful not to overmix; this keeps your donuts soft.
Baking the Donuts
Transfer your donut batter into a piping bag or a ziplock bag. Snip off one corner for easy filling. Pipe the batter into the donut pan, filling each cavity about 2/3 full. This allows space for the donuts to rise while baking.
Place the pan in your preheated oven. Bake for 12-15 minutes. Check if they’re done by inserting a toothpick in the center. If it comes out clean, they are ready!
Once baked, take the pan out and let the donuts cool for about 5 minutes. Then, move them to a wire rack to cool completely. If you want, dip the tops in chocolate or maple glaze for a tasty touch. Enjoy your flavorful fall treat! For the full recipe, check the earlier section.
Tips & Tricks
Achieving the Perfect Texture
To get fluffy gluten-free pumpkin donuts, use a mix of flours. I suggest both gluten-free all-purpose flour and almond flour. This blend gives a nice balance of lightness and moisture. Make sure you measure your flour correctly. Too much flour can make your donuts dense. Always spoon flour into your measuring cup and level it off.
Common Mistakes to Avoid
One common mistake is overmixing the batter. Mix just until combined to keep the donuts light. Another pitfall is using too much pumpkin puree. Stick to a half cup for the best texture. Also, remember to check your oven’s temperature. An oven that is too hot can cause donuts to bake too fast and become dry.
Best Practices for Glazing Your Donuts
Glazing adds an extra touch to your donuts. Let your donuts cool completely before glazing. This way, the glaze won’t slide off. For a good glaze, dip the tops of the donuts into your chosen glaze. Move them quickly for a nice, even coat. You can even sprinkle some toppings right after glazing to make them more fun. For the full recipe, check out the complete instructions.
Variations
Different Flavor Add-Ins
You can make these donuts even more fun with flavor add-ins. Here are a few ideas:
– Chopped nuts: Walnuts or pecans add a nice crunch.
– Chocolate chips: Dark or dairy-free chips bring a rich sweetness.
– Dried fruit: Cranberries or raisins give a chewy texture.
– Zest: Grated orange or lemon zest brightens the flavors.
Try mixing in one or more of these for a unique twist!
Vegan Gluten-Free Pumpkin Donuts
For a vegan version, you can easily swap a few ingredients. Use flax eggs instead of regular eggs. Mix 1 tablespoon of ground flaxseed with 3 tablespoons of water for each egg. You can also use plant-based milk in place of any dairy. This keeps the donuts soft and moist. Plus, use coconut oil or a vegan butter substitute for the fat. These swaps ensure everyone can enjoy these tasty treats.
Mini Pumpkin Donuts Option
If you want bite-sized donuts, a mini donut pan is your friend. Simply follow the same recipe but fill the mini pan cavities only halfway. Bake for about 8-10 minutes instead of the longer time needed for regular donuts. Mini donuts are perfect for parties or snacks. They are easy to grab and eat, plus they look adorable on a platter!
For the full recipe, check out the Spooky Gluten-Free Pumpkin Donuts section.
Storage Info
How to Store Gluten-Free Donuts
To keep your gluten-free pumpkin donuts fresh, store them in an airtight container. This helps lock in moisture and flavor. Place a piece of parchment paper between layers to avoid sticking. You can keep them at room temperature for up to three days. If you want them to last longer, refrigerate them. Just make sure to let them cool before sealing.
Freezing and Reheating Tips
If you want to freeze your donuts, it’s best to do so without glaze. Allow them to cool completely, then wrap each donut tightly in plastic wrap. Place them in a freezer bag and label it with the date. They can last up to three months in the freezer. To reheat, take one out and let it thaw. You can warm it in the microwave for about 10-15 seconds. This brings back the soft texture.
Shelf Life and Freshness Tips
Homemade gluten-free donuts taste best when fresh. However, they can stay good for a few days. Check for any signs of spoilage before eating. If they start to smell off or have a strange texture, it’s best to toss them. Enjoy your donuts at their peak freshness for the best taste experience! For the full recipe, follow the link here: [Full Recipe].
FAQs
Can I substitute pumpkin puree with something else?
Yes, you can use applesauce or mashed banana instead of pumpkin puree. Both options add moisture and sweetness. However, they will change the taste of the donuts. If you prefer a milder flavor, applesauce works well. You can also try butternut squash puree for a similar taste and texture.
How do I know when my gluten-free donuts are done?
Your gluten-free donuts are ready when they are golden brown and spring back when touched. You can also use a toothpick to check. Insert it into the center of a donut. If it comes out clean, the donuts are done. Keep an eye on them during baking. Overbaking can make them dry.
What’s the best way to frost gluten-free donuts?
To frost your gluten-free donuts, wait until they cool completely. You can dip the tops in chocolate glaze or maple glaze. For a simple glaze, mix powdered sugar with a splash of milk or water until smooth. Drizzle the glaze on top for a fun look. Add sprinkles for extra flair! For more tips, check out the Full Recipe.
These gluten-free pumpkin donuts are both fun and easy to make. We explored key ingredients, including fun flavor add-ins and different flours. We also discussed baking steps, ensuring the perfect texture, and avoiding common mistakes. Plus, you learned how to store your donuts for freshness. In the end, you can create tasty variations to fit your diet. Enjoy these sweet treats without worry! Try making them your own with simple tweaks.


