
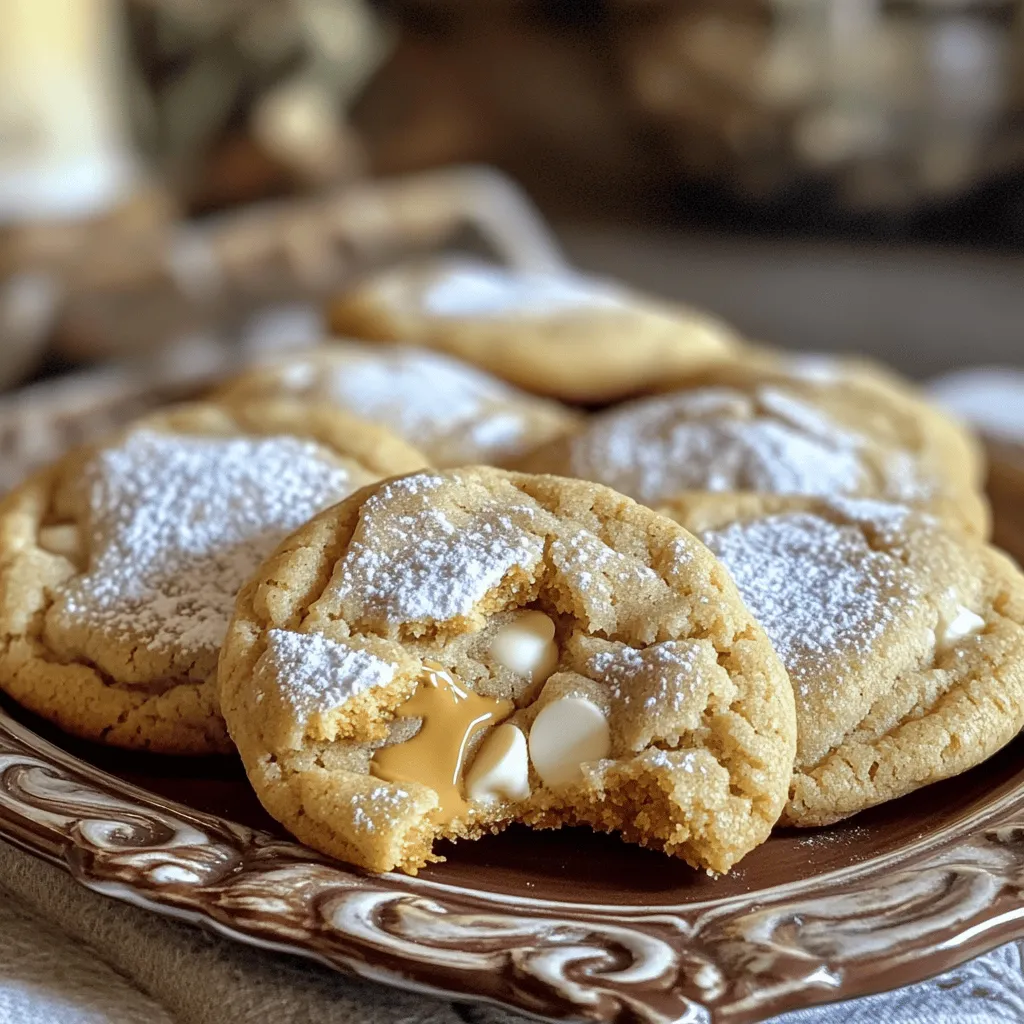
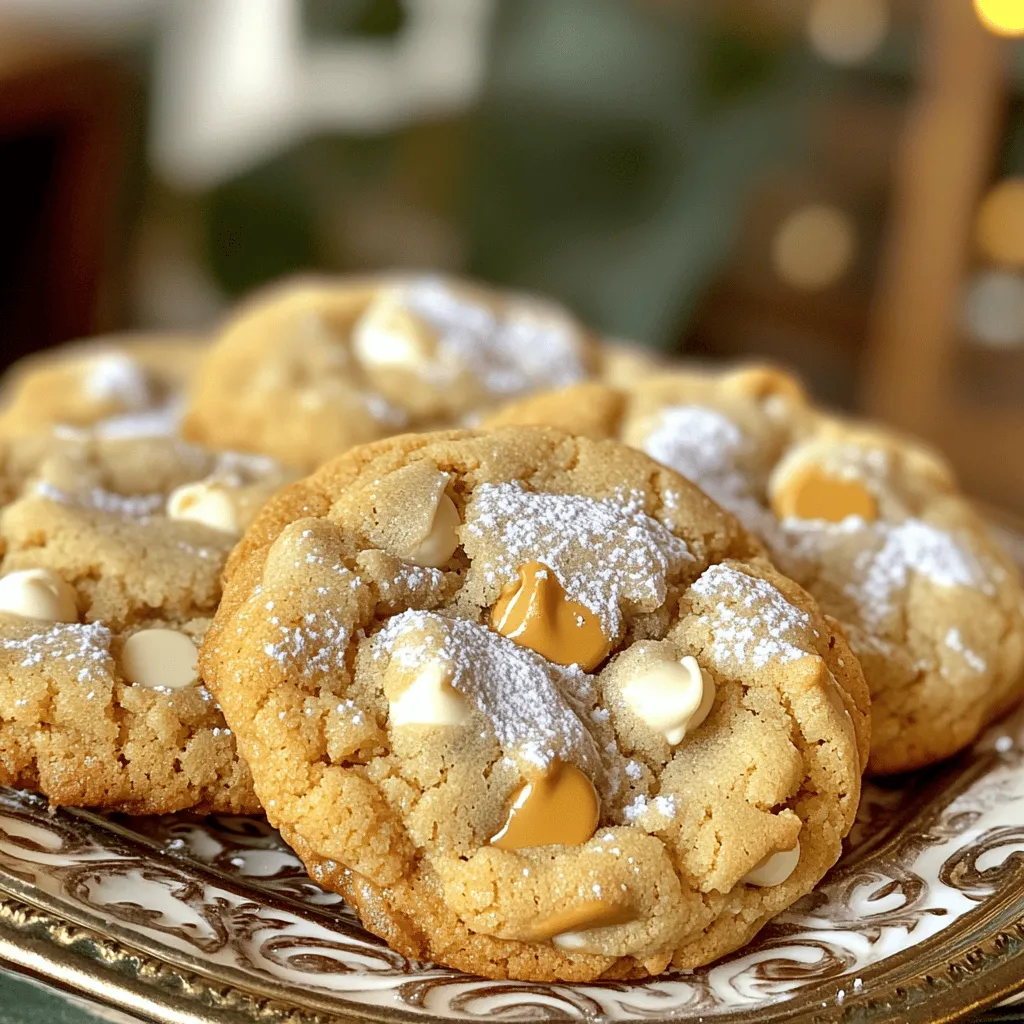
If you’re a Harry Potter fan, you’ll love these Butterbeer Cookies. They bring the magic of Hogwarts right to your kitchen! These sweet and wholesome treats are easy to make and packed with buttery flavors you can’t resist. In this guide, I’ll share all the ingredients, step-by-step instructions, and tips to make the perfect Butterbeer Cookies. Get ready to impress your friends with this delightful wizarding world recipe!
Ingredients
Complete List of Ingredients
To make Harry Potter Butterbeer Cookies, you will need:
– 2 ½ cups all-purpose flour
– 1 teaspoon baking soda
– ½ teaspoon salt
– 1 cup unsalted butter, softened
– 1 cup packed brown sugar
– ½ cup granulated sugar
– 1 tablespoon vanilla extract
– 2 large eggs
– 1 tablespoon butterscotch syrup (or caramel syrup)
– 1 cup butterscotch chips
– 1 cup white chocolate chips
– A pinch of nutmeg (optional)
Optional Ingredients for Enhanced Flavor
You can add a few things to make your cookies even better:
– A sprinkle of sea salt can add a nice contrast.
– A dash of cinnamon or ginger gives warmth and spice.
– Add chopped nuts like pecans for a crunchy texture.
Suggested Substitutes for Allergens
If you have allergies, here are some swaps:
– Use gluten-free flour if you need a gluten-free option.
– Replace butter with coconut oil for a dairy-free cookie.
– Swap eggs with flaxseed meal and water for a vegan choice.
– Use dairy-free chocolate chips to avoid dairy.
These swaps allow you to enjoy the cookies without worry. The Full Recipe will guide you to a fun baking experience.
Step-by-Step Instructions
Preparation and Preheating the Oven
First, set your oven to 350°F (175°C). This temperature is key for baking. While the oven heats, prepare two baking sheets. Line them with parchment paper. This step helps keep your cookies from sticking.
Mixing Dry and Wet Ingredients
In a medium bowl, mix the dry ingredients. Combine 2 ½ cups of flour, 1 teaspoon of baking soda, and ½ teaspoon of salt. If you want a warm flavor, add a pinch of nutmeg. Whisk this mix until it’s well blended.
In a large bowl, cream 1 cup of softened butter. Add 1 cup of brown sugar and ½ cup of granulated sugar. Beat this mix for 3-4 minutes. It should be light and fluffy. Next, pour in 1 tablespoon of vanilla extract and 1 tablespoon of butterscotch syrup. Mix well until everything blends.
Add 2 large eggs, one at a time. Beat well after each egg. This makes sure everything is smooth. Gradually add the dry mix to the wet mix. Stir gently until it’s just combined. Take care not to overmix. This keeps your cookies nice and tender.
Forming and Baking the Cookies
Now, it’s time to fold in the fun! Add 1 cup of butterscotch chips and 1 cup of white chocolate chips. Make sure they spread evenly through the dough.
Use a spoon or a cookie scoop to drop tablespoon-sized balls onto your baking sheets. Space them about 2 inches apart. This gives them room to spread while baking.
Place the sheets in the oven and bake for 10-12 minutes. Look for light golden edges and soft centers. When they’re done, take them out and let them cool on the sheets for about 5 minutes. Then, move them to wire racks to cool completely.
For the full recipe, check the details above. Enjoy your magical Butterbeer cookies!
Tips & Tricks
Best Practices for Cookie Texture
To get the best texture for your Harry Potter Butterbeer cookies, focus on a few key points. First, start with room-temperature butter. This helps create a light and fluffy dough. Cream the butter and sugars well. Aim for a pale color and a smooth texture. This process adds air to the mix, making cookies tender.
Next, use the right flour. All-purpose flour works great for this recipe. It gives the cookies structure without being too tough. You can add a bit of cornstarch to make them even softer. Just mix one tablespoon of cornstarch with your flour.
How to Avoid Overmixing
Overmixing can ruin the texture of your cookies. When you add the dry ingredients to the wet mix, stir gently. Use a spatula to fold the mixture together. Stop mixing as soon as you no longer see dry flour. The dough should be a bit lumpy but not dry. This helps keep your cookies soft and chewy.
Cooling and Storing Cookies
Once the cookies bake, let them cool on the baking sheets for about five minutes. This step helps them set without breaking. Then, transfer the cookies to wire racks. Let them cool completely before storing.
To store the cookies, place them in an airtight container. They stay fresh for up to a week. For longer storage, freeze them. Just place the cookies in a zip-top bag. They keep well for up to three months. Enjoy your cookies fresh or frozen! For the full recipe, check the recipe section.
Variations
Gluten-Free Butterbeer Cookies
You can make gluten-free Butterbeer cookies easily. Simply swap all-purpose flour with a gluten-free blend. Look for blends that contain xanthan gum, as it helps with texture. The rest of the recipe stays the same. You will enjoy tasty cookies that everyone can eat.
Vegan Butterbeer Cookie Options
To make vegan Butterbeer cookies, replace the eggs with flax eggs. Mix 1 tablespoon of ground flaxseed with 2.5 tablespoons of water. Let it sit for 5 minutes to thicken. Use coconut oil instead of butter and a plant-based butterscotch syrup. These swaps keep the cookies rich and sweet.
Flavor Enhancements
You can add more flavors to your Butterbeer cookies. Consider mixing in spices like cinnamon or ginger for warmth. A splash of almond extract can add a nice twist too. For a richer taste, try adding a bit of caramel extract. These small changes can create a fun and new flavor profile.
For the full recipe, check out the detailed steps above, and enjoy experimenting with these variations!
Storage Info
How to Store Leftover Cookies
After baking your Harry Potter Butterbeer cookies, you might have some left. To keep them fresh, place the cookies in an airtight container. This will stop air from making them stale. You can layer parchment paper between the cookies to keep them from sticking together. Keep the container at room temperature for the best taste.
Freezing Cookies for Later Use
If you want to save cookies for later, freezing is a great option. First, let the cookies cool completely. Then, place them in a single layer on a baking sheet. Freeze them for about an hour. Once firm, transfer them to a freezer-safe bag. Remove as much air as possible before sealing. You can freeze these cookies for up to three months. When ready to enjoy, thaw them at room temperature.
Shelf Life and Freshness Tips
These cookies stay fresh for about one week when stored correctly. To check if they are still good, look at their texture and smell. If they feel hard or smell off, it is best to toss them. For the best flavor, use the cookies within the first few days. Enjoying them fresh makes the taste even better.
FAQs
What is the best way to achieve the perfect texture for Butterbeer cookies?
To get the best texture, focus on mixing. Cream the butter and sugars well. This makes the cookies fluffy. After adding the eggs, mix just until combined. Overmixing makes them tough. Use the right flour measurement. Too much flour makes cookies dry. Also, bake them until just golden. This keeps them soft inside.
Can I use different types of chips in this recipe?
Yes, you can swap the chips! Instead of butterscotch and white chocolate, try dark chocolate or milk chocolate. You can also mix in nuts or dried fruit for extra flavor. Just keep the total amount of chips at two cups. This way, the cookies stay balanced.
How do I make Butterbeer cookies more festive for holidays?
To make your cookies festive, add sprinkles or colored sugar on top before baking. You can also shape the dough into holiday-themed forms. For a winter vibe, add cinnamon or nutmeg. You can serve them on a decorative plate or in a festive jar. This adds charm and makes them special!
You now have a complete guide to Butterbeer cookies. We discussed ingredients, step-by-step baking, and tips for texture. Remember to explore variations like gluten-free or vegan options. Storing your cookies properly keeps them fresh longer. Achieving the perfect cookie is easier with these tips and tricks. Keep experimenting and making them your own. Happy baking!


