
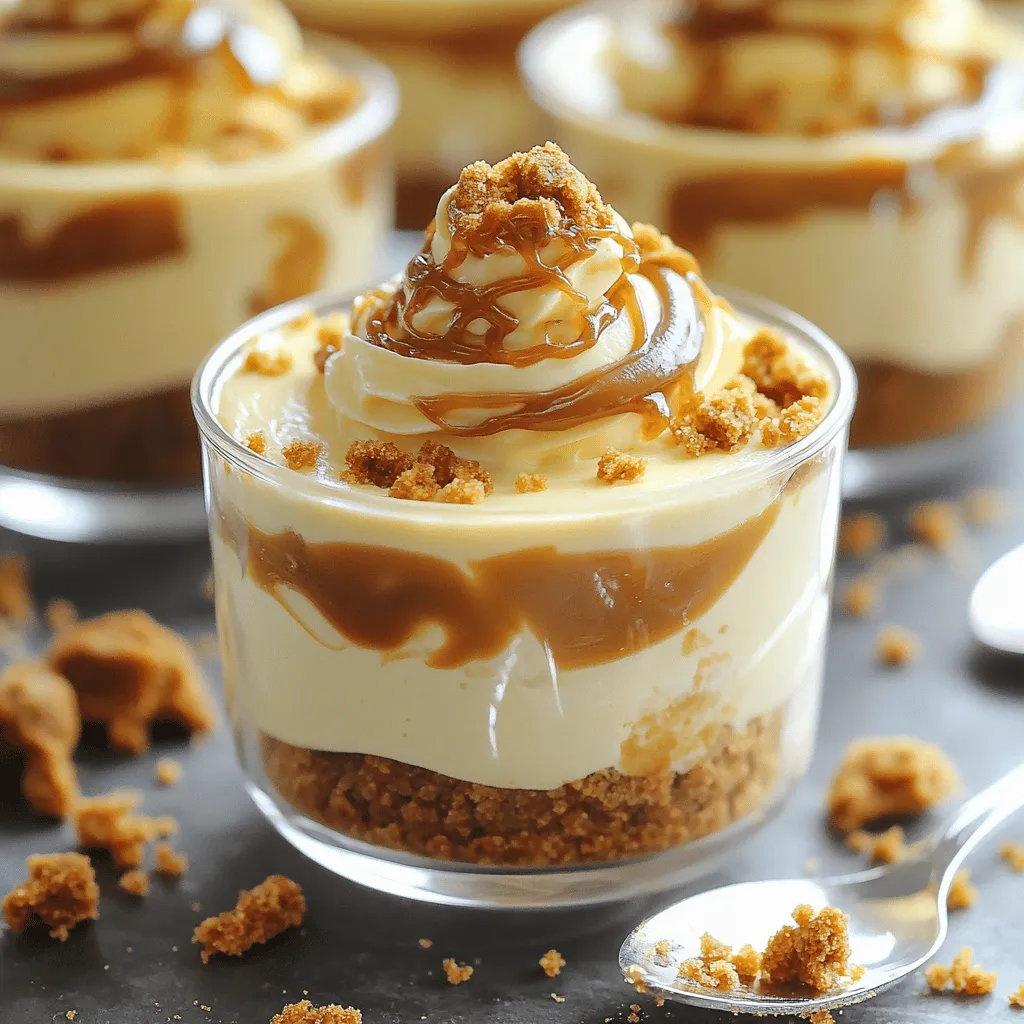
Craving a sweet treat that’s quick and easy? You’re in the right place! These No-Bake Biscoff Cheesecake Cups are a delight, perfect for any occasion. With just a few simple ingredients, you can whip up a creamy, delicious dessert that will impress your friends and family. Let’s dive into the easy steps, tips, and variations to make your cheesecake cups truly special!
Ingredients
List of Essential Ingredients
To make No-Bake Biscoff Cheesecake Cups, gather these key ingredients:
– 1 cup Biscoff cookies, finely crushed
– 4 tablespoons unsalted butter, melted
– 1 cup cream cheese, softened
– 1 cup powdered sugar
– 1 teaspoon vanilla extract
– 1 cup heavy whipping cream, chilled
– 1/2 cup Biscoff spread (for layering and topping)
– Extra Biscoff cookies, crushed, for garnish
These ingredients create a rich and creamy dessert. The Biscoff cookies give a unique flavor, while the cream cheese adds a smooth texture.
Optional Add-ins or Toppings
You can personalize your cheesecake cups with these fun add-ins or toppings:
– Chocolate chips for extra sweetness
– Caramel sauce for a drizzle
– Fresh fruit like strawberries or bananas
– Nuts for a crunchy finish
Feel free to mix and match for your ideal flavor profile. Each option can add a new twist to the recipe.
Equipment Needed
To prepare these cheesecake cups, you will need:
– Mixing bowls
– Electric mixer or whisk
– Measuring cups and spoons
– Serving cups or dessert glasses
– Spatula for folding
Having the right equipment makes the process smooth and easy. Make sure you have everything ready before you start!
Step-by-Step Instructions
Preparation of the Cookie Crust
To start, gather your Biscoff cookies and unsalted butter. Crush the cookies finely in a bowl. You want them to look like sand. Next, melt the butter in the microwave. Pour the melted butter into the bowl with the cookies. Mix them well until the texture feels like wet sand. Now, take your serving cups and divide the cookie mix evenly. Press it firmly into the bottoms of each cup. This creates a solid crust for your cheesecake.
Making the Cheesecake Filling
For the filling, grab your cream cheese and let it soften first. In a clean mixing bowl, beat the cream cheese until it’s smooth. This helps to remove lumps. Gradually add the powdered sugar and vanilla extract. Mix until it’s creamy and well combined. In another bowl, whip the chilled heavy cream until you see stiff peaks. This step adds air and makes the filling light. Carefully fold the whipped cream into the cream cheese mixture. Be gentle so you keep that airy texture.
Layering the Cups
Now it’s time to layer your cheesecake. Warm the Biscoff spread in the microwave for about 10-15 seconds. It should be pourable but not hot. Start by spooning the cream cheese mixture over the cookie crust in each cup. Then, add a layer of the warmed Biscoff spread. Repeat this process until each cup is filled. Finish with the cheesecake mixture on top. For a beautiful touch, drizzle extra Biscoff spread on each cup. Garnish with crushed Biscoff cookies for crunch and flair. Place the cups in the fridge for at least 2 hours to set. Enjoy this fun and delicious treat!
Tips & Tricks
Achieving a Creamy Texture
To get a creamy texture, start with softened cream cheese. This warmth helps it mix well. Beat the cream cheese in a bowl until smooth. Slowly add in the powdered sugar and vanilla. Mix until you see no lumps. This step is key for a rich taste.
How to Properly Fold Whipped Cream
Folding whipped cream needs care. First, whip your cream until it forms stiff peaks. This means it stands tall without falling. Then, take a scoop of the whipped cream. Add it to the cream cheese mix. Use a spatula to gently fold it in. Keep folding until combined, but don’t stir too hard. This keeps the mix light and fluffy.
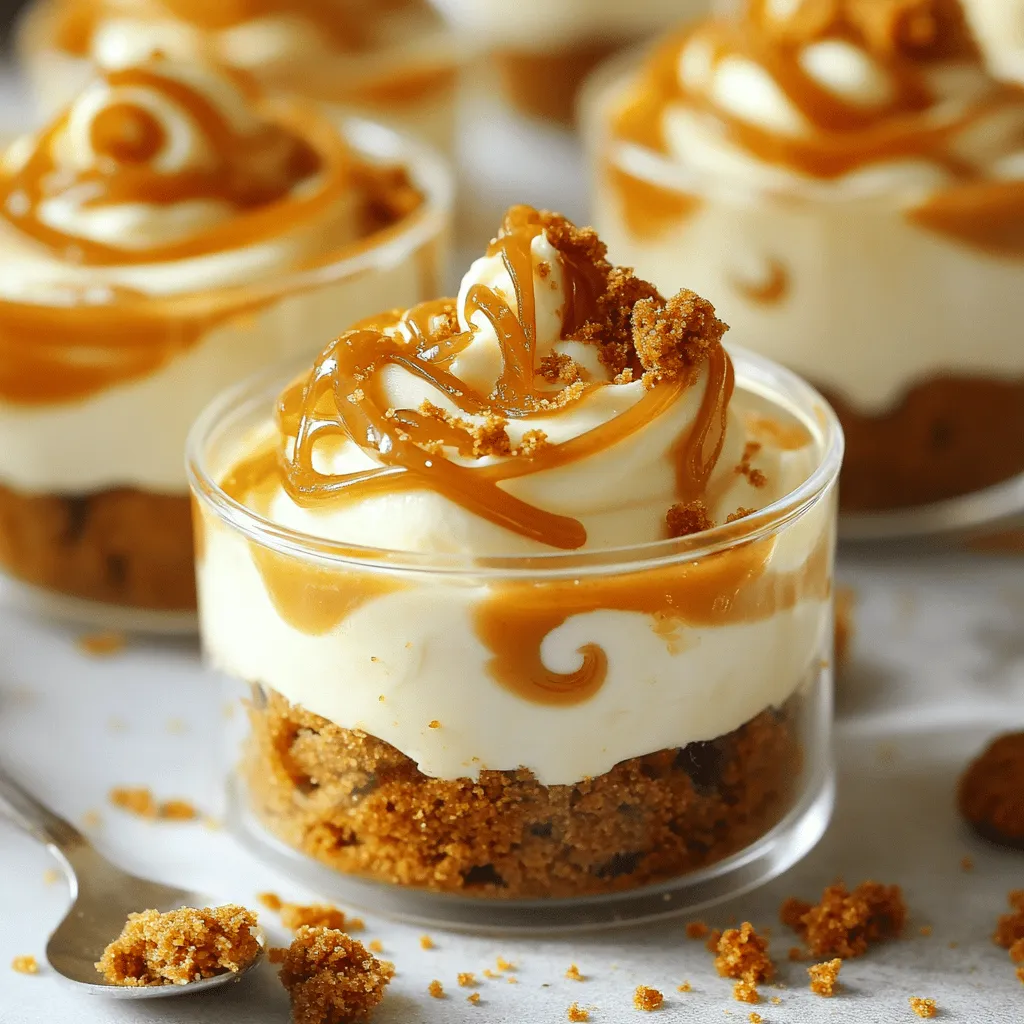
Serving and Presentation Suggestions
Presenting your cheesecake cups is fun! Use clear cups to show off the layers. Drizzle extra Biscoff spread on top for a sweet touch. Sprinkle crushed Biscoff cookies to add crunch. Place a small spoon next to each cup. This makes it easy for guests to dig in. Enjoy these chilled for the best taste!
Variations
Alternative Cookie Bases
You can change the cookie base for different flavors. Try using Oreos, graham crackers, or even shortbread cookies. Each option gives a new taste. For a chocolate twist, use chocolate cookies. You will enjoy how these bases mix with the creamy filling.
Flavor Infusions
Want to add more flavor? You can infuse your cheesecake cups! Drizzle caramel sauce between layers. This adds a sweet touch. You can also mix in melted chocolate in the cream cheese filling. Chocolate chips or chunks work well too. These small changes can take your dessert to the next level.
Vegan and Dairy-Free Options
You can make this dessert vegan and dairy-free. Swap cream cheese with a vegan cream cheese alternative. Use coconut cream instead of heavy cream. For the sugar, check for vegan options. Use dairy-free cookies for the crust. This way, everyone can enjoy these cheesecake cups!
Storage Info
Refrigeration Guidelines
Keep your No-Bake Biscoff Cheesecake Cups in the fridge. Store them in an airtight container. This helps maintain their creamy texture and flavor. Make sure they are chilled before serving.
Freezing Instructions
You can freeze these cheesecake cups if you want to save some for later. Place them in freezer-safe containers. Wrap them tightly with plastic wrap before sealing. They can last up to three months in the freezer.
How Long Cheesecake Cups Last
In the fridge, these cheesecake cups last about five days. After that, they may lose their taste and texture. Always check for signs of spoilage before eating. Enjoy them fresh for the best flavor!
FAQs
Can I use other cookie types for the crust?
Yes, you can. Other cookies work well too. Try Oreos for a chocolate twist. Graham crackers also make a great base. Just crush them finely. Mix with melted butter, just like with Biscoff. The flavor will change, but the dessert will still be tasty!
How do I know when the cheesecake cups are ready to serve?
The cheesecake cups are ready after chilling for at least 2 hours. They should feel firm to the touch. If they still feel too soft, give them more time in the fridge. A good test is to check if they hold their shape when removed from the cup.
What are some ways to serve No-Bake Biscoff Cheesecake Cups?
You can serve these cups in many fun ways! Try adding whipped cream on top for extra creaminess. A drizzle of melted Biscoff spread looks beautiful and tastes great. You can also sprinkle more crushed cookies on top for added crunch. Place a small spoon beside each cup for easy eating!
You now have all the tools to create delicious no-bake Biscoff cheesecake cups. We discussed essential ingredients, step-by-step instructions, and helpful tips to perfect your treat. You can customize flavors and bases for extra fun. Always store them correctly to keep them fresh. Enjoy experimenting and serving these tasty cups at your next gathering. Your friends and family will love them!


