
Craving a treat that’s both simple and indulgent? Look no further! These No Bake Oreo Truffles will make your sweet dreams come true without turning on the oven. With just a few easy steps, only five ingredients, and no baking required, you can whip up a creamy, chocolatey delight that everyone will love. Get ready to impress your friends and family with this decadent dessert!
Ingredients
Main Ingredients
– 36 Oreo cookies
– 8 oz cream cheese, softened to room temperature
– 1 cup white chocolate chips
– 1 tablespoon coconut oil (optional, for a smoother chocolate coating)
– 1/4 cup crushed Oreo cookies (for garnish)
Tools Needed
– Food processor or rolling pin
– Large mixing bowl
– Baking sheet
– Parchment paper
– Microwave-safe bowl
– Fork
You need these main ingredients to make No Bake Oreo Truffles. First, Oreo cookies are the base. Their chocolatey taste gives the truffles a rich flavor. Cream cheese adds creaminess and binds everything together. White chocolate chips create a sweet coating. Coconut oil helps the chocolate melt smooth. Crushed Oreos sprinkle on top make it pretty.
For tools, a food processor is best to crush the cookies. If you don’t have one, a rolling pin and a plastic bag work too. A large mixing bowl mixes the ingredients. You will need a baking sheet lined with parchment paper to hold the truffles. A microwave-safe bowl melts the chocolate. Lastly, a fork helps dip the truffles into the chocolate.
Gather these items, and you’ll be ready to create a sweet treat that everyone will love!
Step-by-Step Instructions
Preparation of Oreo Mixture
– Crush the Oreos: Start by placing 36 Oreo cookies in a food processor. Pulse them until they are finely crushed. If you do not have a processor, use a rolling pin on a resealable bag. You want a texture that feels like sand.
– Mix in the cream cheese: Next, pour the crushed Oreos into a large mixing bowl. Add 8 oz of softened cream cheese. Use your hands or a spatula to mix well. Aim for a thick dough that holds together firmly.
Shaping and Chilling
– Shape the truffles into balls: Now, take small pieces of the Oreo-cream cheese mix. Roll them into balls about 1 inch wide. Place these on a parchment-lined baking sheet to catch drips.
– Chill the truffles in the refrigerator: Place the baking sheet in the fridge for about 30 minutes. This helps the truffles firm up, making them easier to coat in chocolate.
Melting and Coating
– Melt the white chocolate: While your truffles chill, melt 1 cup of white chocolate chips. In a microwave-safe bowl, mix the chocolate chips with 1 tablespoon of coconut oil if you want a smoother coat. Heat for 30 seconds and stir until smooth.
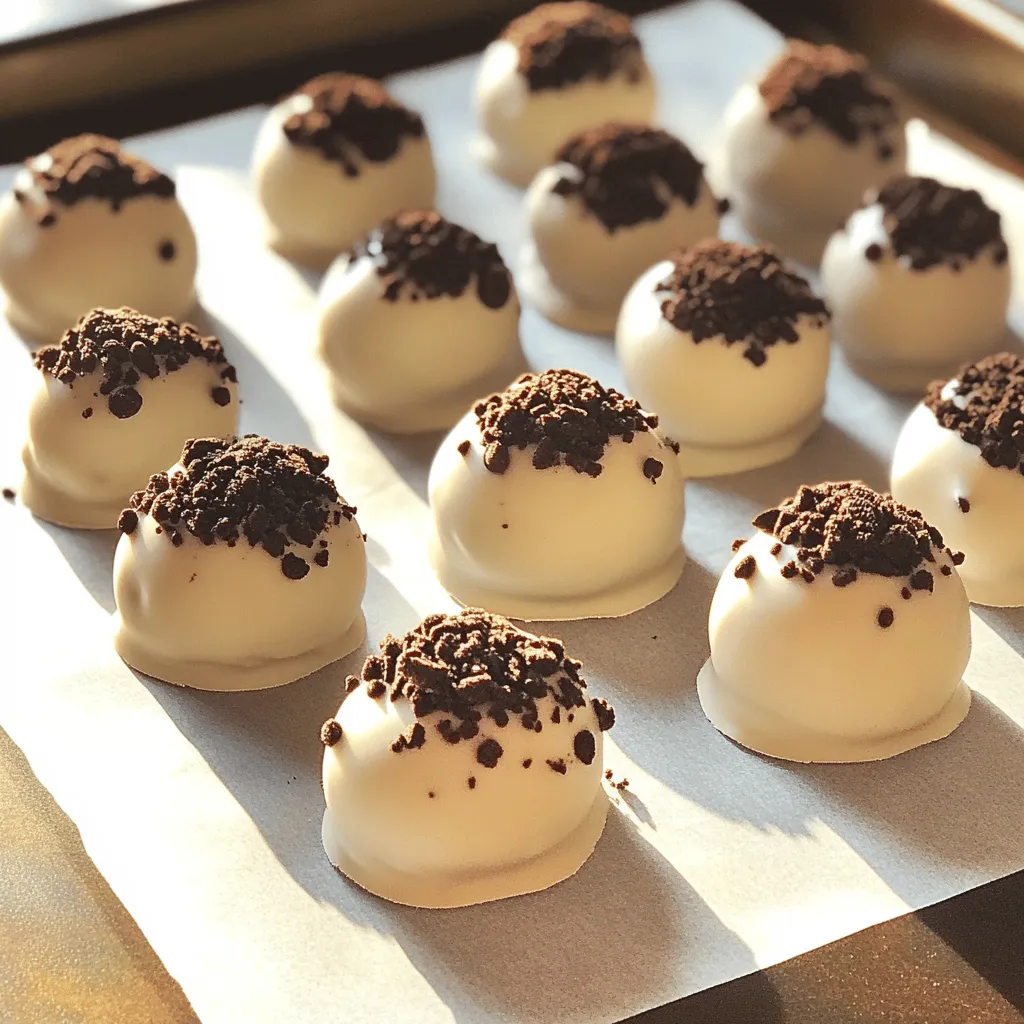
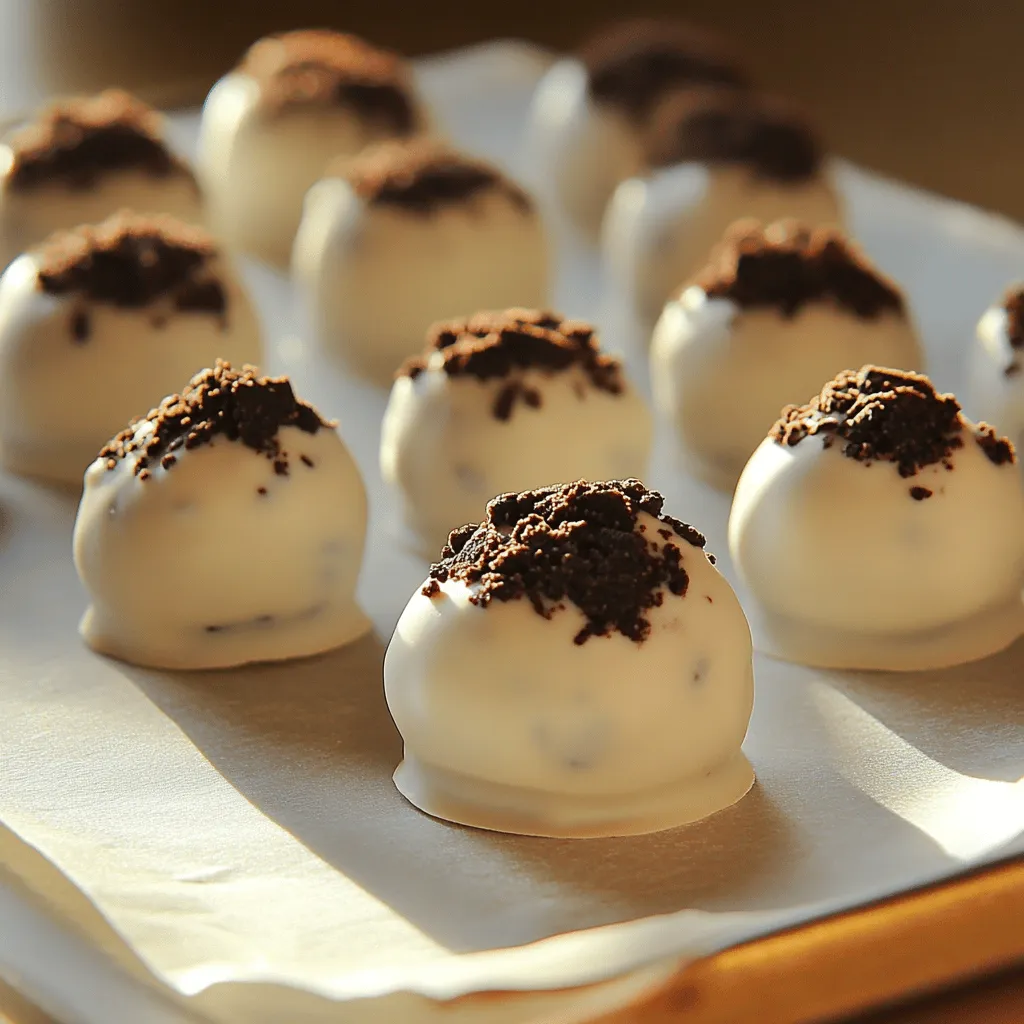
– Coat the truffles in chocolate: After chilling, take the truffles out. Use a fork to dip each ball into the melted chocolate. Make sure each truffle gets an even coat. Let any extra chocolate drip off before placing them back on the baking sheet.
– Add the topping before chocolate sets: Before the chocolate hardens, sprinkle a little crushed Oreo cookies on top. This gives your truffles a nice finish and extra crunch.
Tips & Tricks
Perfecting the Texture
To make the best Oreo truffles, get the right Oreo to cream cheese ratio. Use 36 Oreos and 8 oz of softened cream cheese. This mix gives you a rich and creamy texture. If the dough feels too dry, add a bit more cream cheese. For a smoother mix, make sure your cream cheese is at room temperature.
When rolling the truffles, make them about 1 inch wide. If they stick to your hands, dampen your hands slightly. This keeps them smooth and round. If you find the mixture too soft, chill it for a bit before rolling.
Chocolate Coating Techniques
For a smooth chocolate finish, melt your white chocolate slowly. Heat it in a microwave-safe bowl in 30-second bursts. Stir often to avoid burning. If you want an extra smooth coating, add 1 tablespoon of coconut oil to the chocolate. This will help the chocolate glide on easily.
If you don’t like white chocolate, you can try dark chocolate or milk chocolate. Just melt it the same way. Each type will give your truffles a different flavor.
Serving Suggestions
To show off your truffles, place them on a pretty plate. Use a cupcake liner for each one to make them pop. You can also sprinkle some crushed Oreos on top for a fun look.
For drinks, pair these truffles with milk, coffee, or even a sweet dessert wine. Each option brings out the Oreo flavor and makes your treat even better!
Variations
Flavor Modifications
You can easily change the taste of your Oreo truffles! Adding flavor extracts like vanilla or almond gives them a new twist. Just a small amount can make a big difference. You can also try using different types of chocolate. Dark chocolate gives a rich flavor, while milk chocolate is sweeter. Experiment with what you love!
Garnishing Options
Garnishing can make these truffles even more fun. You can add sprinkles for color or crushed nuts for crunch. Try using flavored chocolate coatings, too! For example, a mint chocolate coating can give a fresh taste. Get creative and make them your own!
Dietary Adjustments
If you follow a special diet, don’t worry! You can swap out the cream cheese for vegan options, like cashew cream. For chocolate, look for dairy-free versions. If you need gluten-free treats, check that your Oreos are certified gluten-free. These simple changes let everyone enjoy your delicious truffles!
Storage Info
Best Practices for Storing Truffles
To keep your truffles fresh, use an airtight container. A glass or plastic container works well. Line the bottom with parchment paper. This helps to absorb any moisture. Store the container in the refrigerator. This keeps the truffles firm and tasty.
Shelf Life
In the refrigerator, these truffles last about one week. If you want to keep them longer, freezing is a great option. Properly stored, truffles can last up to three months in the freezer. Just ensure they are well-wrapped to avoid freezer burn.
Thawing Instructions
To thaw frozen truffles, move them to the fridge. Let them sit overnight for best results. If you need them faster, you can leave them at room temperature for about 30 minutes. Avoid using the microwave, as it can change the texture of the chocolate.
FAQs
Can I use regular cream cheese instead of softened?
Yes, you can use regular cream cheese. However, softened cream cheese mixes much better. It combines smoothly with the crushed Oreos. This mix creates a nice dough that holds together well. It also helps the truffles be creamy and rich.
How do I prevent the white chocolate from hardening too fast?
To keep the white chocolate from hardening too fast, use a microwave-safe bowl. Melt the chocolate in short bursts, stirring often. You can also add a tablespoon of coconut oil. This helps the chocolate stay smooth and easy to work with.
What can I substitute for Oreos?
You can use other cookies if you like. Chocolate wafer cookies or even gluten-free cookies work well. Just make sure they are similar in texture. This way, the truffles still taste great.
Can I make these truffles a day in advance?
Yes, you can make these truffles a day ahead. Just keep them in the fridge in an airtight container. This helps the flavors blend better. Plus, it saves you time if you have a busy day ahead.
How do I keep the truffles from sticking together?
To stop the truffles from sticking, chill them well. After rolling them, place them on parchment paper. You can also dust them lightly with cocoa powder. This adds flavor and keeps them from sticking.
Making Oreo truffles is a fun and simple process. We covered key ingredients like Oreos and cream cheese, along with easy steps to prepare and chill. I shared tips for the perfect texture and suggested storage for freshness. You can even vary flavors or make them vegan. With these methods, you’ll impress anyone with delicious treats. Enjoy crafting your own truffles whenever you crave a sweet snack!


