
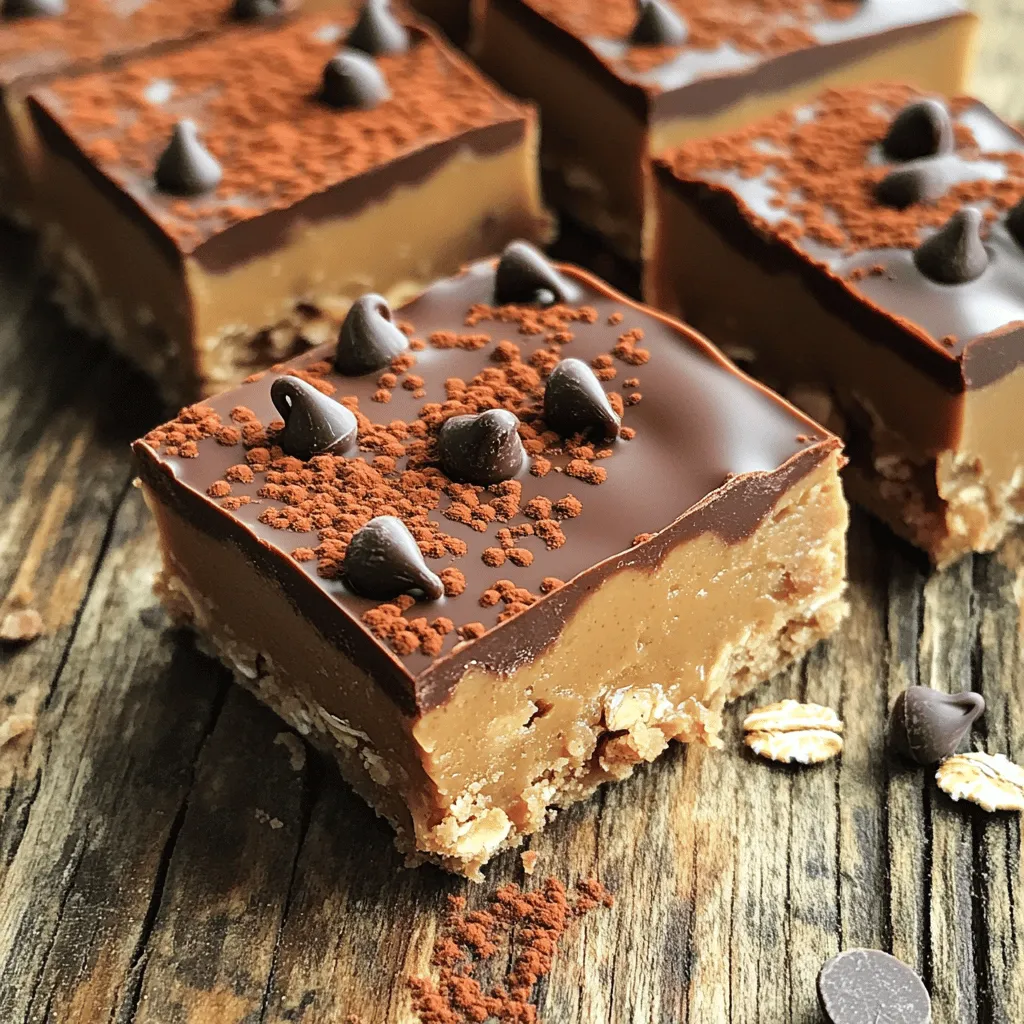
Craving a sweet treat that won’t heat up your kitchen? Let me introduce you to my No-Bake Peanut Butter Bars! This easy recipe combines creamy peanut butter, oats, and cocoa for a delicious snack. Just mix, press, and chill, and you’ll have a tasty treat ready in no time. Perfect for busy days, these bars are both satisfying and simple. Let’s dive into how to whip them up right now!
Ingredients
List of Ingredients
– 1 cup creamy peanut butter
– 1/2 cup honey or maple syrup
– 2 cups rolled oats
– 1/2 cup almond flour
– 1/4 cup unsweetened cocoa powder
– 1/4 cup chocolate chips (optional)
– 1 teaspoon vanilla extract
– A pinch of high-quality sea salt
These ingredients come together to make a sweet and chewy treat. I love using creamy peanut butter for a smooth texture. Honey or maple syrup adds a nice sweetness that blends well. The rolled oats give the bars a hearty feel. Almond flour helps keep them soft and adds taste. Unsweetened cocoa powder gives a rich chocolate flavor without extra sugar. If you want more chocolate, toss in some chocolate chips. The vanilla extract brightens the flavors, while a pinch of sea salt rounds everything out.
With these ingredients, you can create a delicious snack that’s easy to make. I find that having the right ingredients makes all the difference. You can mix and match based on your taste. Enjoy the journey of making your own no-bake peanut butter bars!
Step-by-Step Instructions
Preparing the Peanut Butter Mixture
Start by heating a medium pan on low. Add 1 cup of creamy peanut butter and 1/2 cup of honey or maple syrup. Stir it well with a spatula. Keep stirring until it melts and looks smooth. This takes about 3-5 minutes. Remove it from heat. Now, add 1 teaspoon of vanilla extract and a pinch of sea salt. Stir until mixed well.
Mixing Dry Ingredients
In a large bowl, combine 2 cups of rolled oats, 1/2 cup of almond flour, and 1/4 cup of unsweetened cocoa powder. Use a whisk or spatula to mix these dry ingredients. Make sure they blend evenly. This step is key for great flavor in every bite.
Combining Mixtures
Gradually pour the warm peanut butter mixture over the dry ingredients. Use a wooden spoon to mix everything together. Keep stirring until it is fully combined. If you want to add a treat, fold in 1/4 cup of chocolate chips now. This makes the bars extra rich and yummy.
Pressing into the Baking Dish
Get an 8×8 inch square baking dish. Line it with parchment paper. Leave some paper hanging over the sides. This helps lift the bars out later. Now, transfer the peanut butter mixture into the dish. Use your hands or a spatula to press it down firmly. Make sure the surface is smooth and even.
Chilling the Bars
Place the dish in the fridge. Let it chill for at least 1 hour. This helps the bars set up and become firm. After chilling, you can lift them out using the parchment paper. Cut them into squares or bars. Enjoy your tasty no-bake peanut butter bars!
Tips & Tricks
Perfecting Texture and Flavor
To get a smooth melting of peanut butter, use low heat. Stir gently and keep an eye on it. This helps avoid burning. If you want a creamier mix, choose creamy peanut butter. Mix the melted mix with dry ingredients until fully blended. Use a wooden spoon or spatula to combine them well.
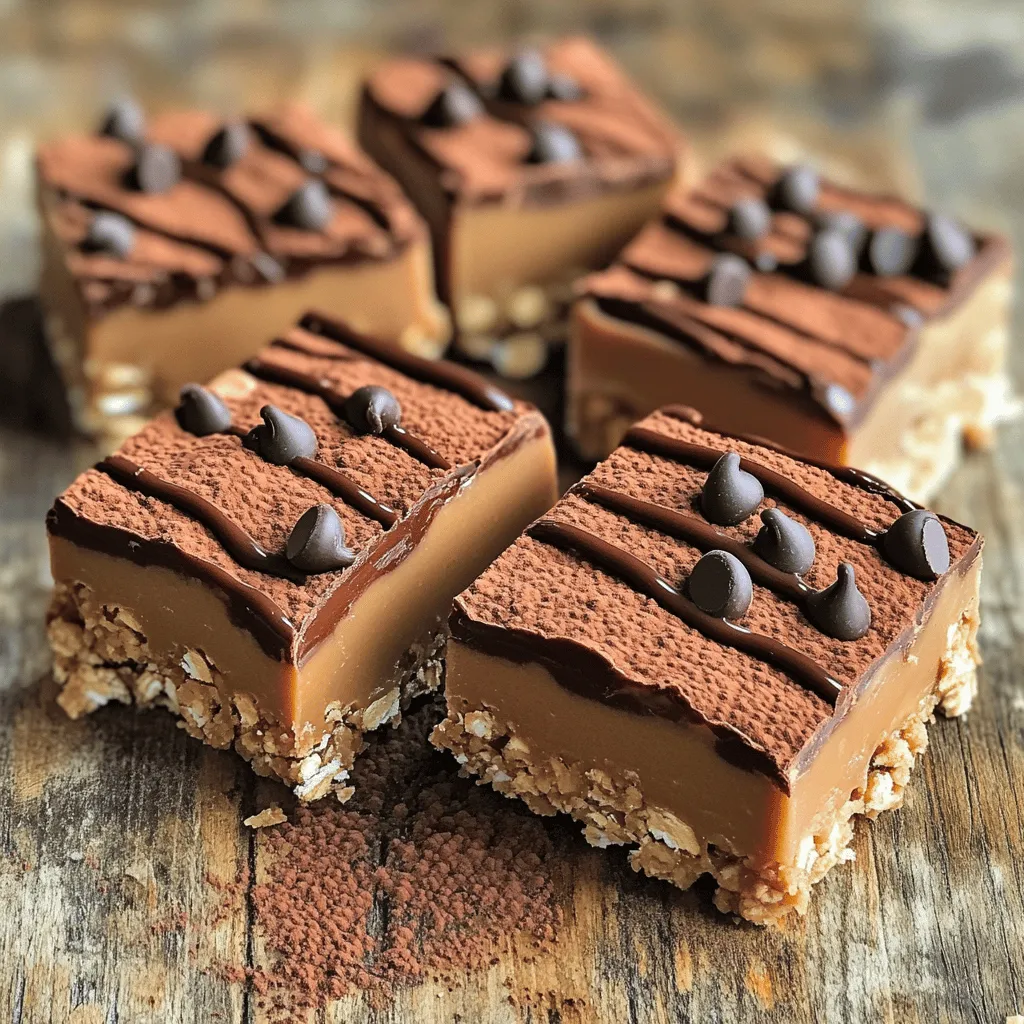
Serving Suggestions
To present these bars nicely, serve them on a pretty platter. You can drizzle melted chocolate on top. Adding crushed peanuts can give a nice crunch. These small touches make your bars more appealing and fun to eat.
Adjusting Sweetness
You can change how sweet your bars are. If you like it sweeter, add more honey or maple syrup. If you want less, use less sweetener. Taste as you mix to find your perfect sweetness. This way, you can make the bars just how you like them!
Variations
Vegan Option
You can easily make these bars vegan. Instead of honey, use maple syrup. Maple syrup adds a nice flavor. It also helps bind the bars just like honey does.
Nut-Free Alternative
For a nut-free option, swap out peanut butter for sunflower seed butter. Sunflower seed butter works well. It keeps the bars creamy and tasty without nuts. This option is perfect for schools or homes with nut allergies.
Add-Ins and Flavor Enhancements
You can make these bars even better with fun add-ins. Try mixing in dried fruit like cranberries or raisins. Seeds like chia or flax also add nutrition and crunch. Chocolate chips add sweetness, but you can skip them. Get creative and find your favorite mix!
Storage Info
Proper Storage Techniques
To keep your no-bake peanut butter bars fresh, store them in an air-tight container. Place parchment paper between layers to prevent sticking. This helps maintain their texture and flavor. Always keep them in a cool place, away from direct sunlight. If you live in a warm area, the fridge is best.
Freezing for Long-Term Storage
Want to save some bars for later? Freezing is easy! First, cut the bars into pieces. Then, wrap each piece in plastic wrap. Place the wrapped bars in a freezer bag or container. They can stay in the freezer for up to three months. To enjoy, simply take them out and let them thaw in the fridge for a few hours.
Shelf Life
How long do these bars last? At room temperature, they stay fresh for about a week. If you store them in the fridge, they can last for about two weeks. Always check for any signs of spoilage before eating. Enjoy the rich taste and smooth texture for as long as possible!
FAQs
Can I use crunchy peanut butter instead of creamy?
Yes, you can use crunchy peanut butter. It adds texture and flavor. The bars will still taste great. Just remember, the chunks will change the smoothness of each bite.
How do I make these bars gluten-free?
To make these bars gluten-free, use certified gluten-free oats. Many brands offer oats without gluten. This simple swap ensures you enjoy your treat without worry.
What can I substitute for almond flour?
You can use oat flour or whole wheat flour instead of almond flour. If you need a nut-free option, try sunflower seed flour. Just make sure the texture remains similar for best results.
Can I make these bars in advance?
Absolutely! You can make these bars up to a week ahead. Just store them in an airtight container. This way, you always have a tasty treat ready to enjoy.
How do I know when the bars are fully set?
The bars are fully set when they feel firm to the touch. If they are still soft, chill them longer. They should hold their shape when you cut them.
These no-bake bars are easy to make with just a few simple steps. You mix creamy peanut butter, honey, oats, and almond flour for a tasty treat. You can customize flavors and textures with variations like maple syrup or dried fruit.
In the end, they are perfect for snacks, lunches, or quick desserts. Following these tips ensures your bars stay fresh and delicious. Enjoy making these treats your way!


