
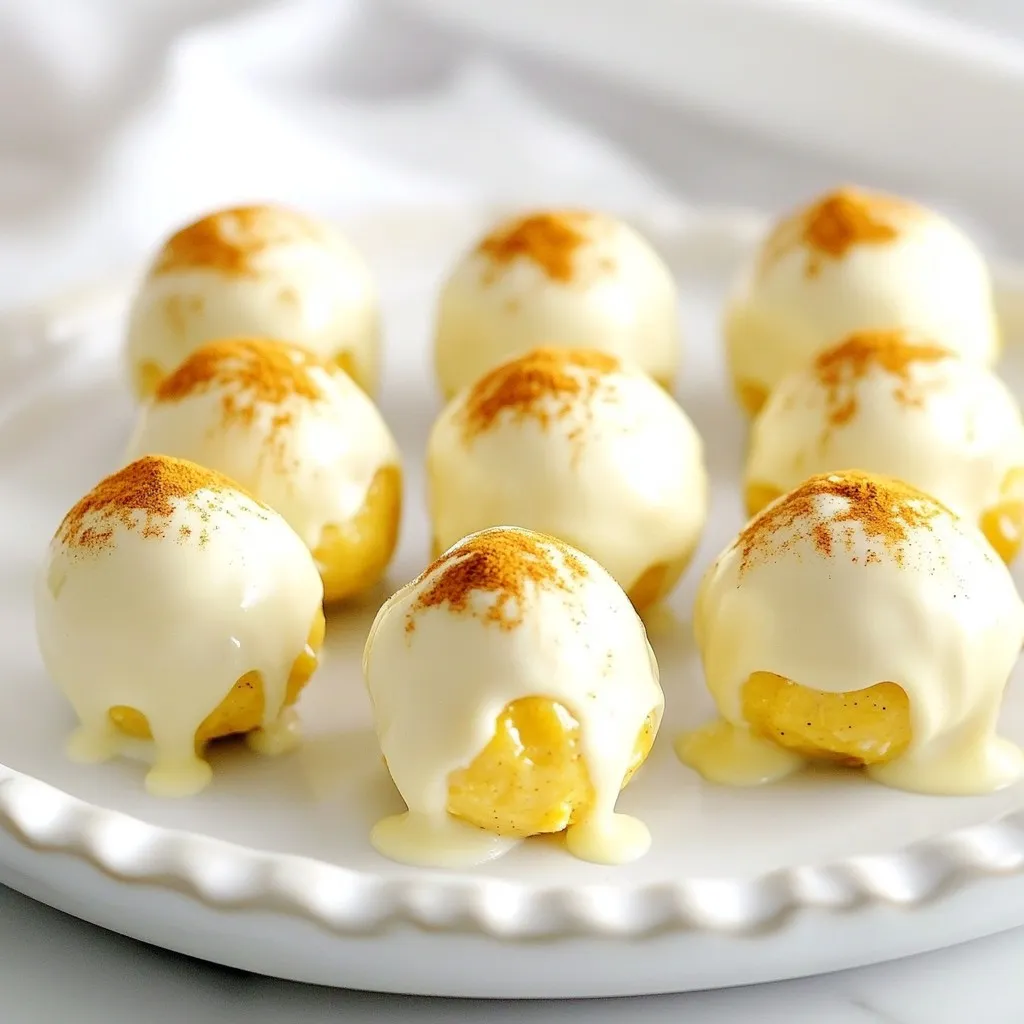
Fall is here, and what better way to celebrate the season than with No-Bake Pumpkin Cheesecake Balls? These sweet bites are quick, easy, and perfect for gatherings or a cozy night in. Using simple ingredients like pumpkin puree and cream cheese, you’ll have a tasty treat in no time. Get ready to impress your friends and family with these delightful little balls of goodness that capture all the flavors of autumn!
Why I Love This Recipe
- Easy to Make: This no-bake recipe requires minimal effort, making it perfect for busy days or last-minute gatherings.
- Delicious Flavor: The combination of pumpkin, cream cheese, and warm spices creates a rich and satisfying treat that captures the essence of fall.
- Customizable: You can easily swap ingredients or add toppings to suit your taste, such as different types of chocolate or nuts.
- Great for Sharing: These pumpkin cheesecake balls are bite-sized and fun to share, making them a hit at parties and gatherings.
Ingredients
Main Ingredients
– 1 cup pumpkin puree
– 8 ounces cream cheese, softened
– 1/2 cup powdered sugar
Additional Ingredients
– 1 teaspoon vanilla extract
– 1 teaspoon pumpkin pie spice
– 1 cup crushed graham crackers (plus extra for garnish)
Coating Ingredients
– 1/2 cup white chocolate chips, melted
– 1 tablespoon coconut oil
– A pinch of salt
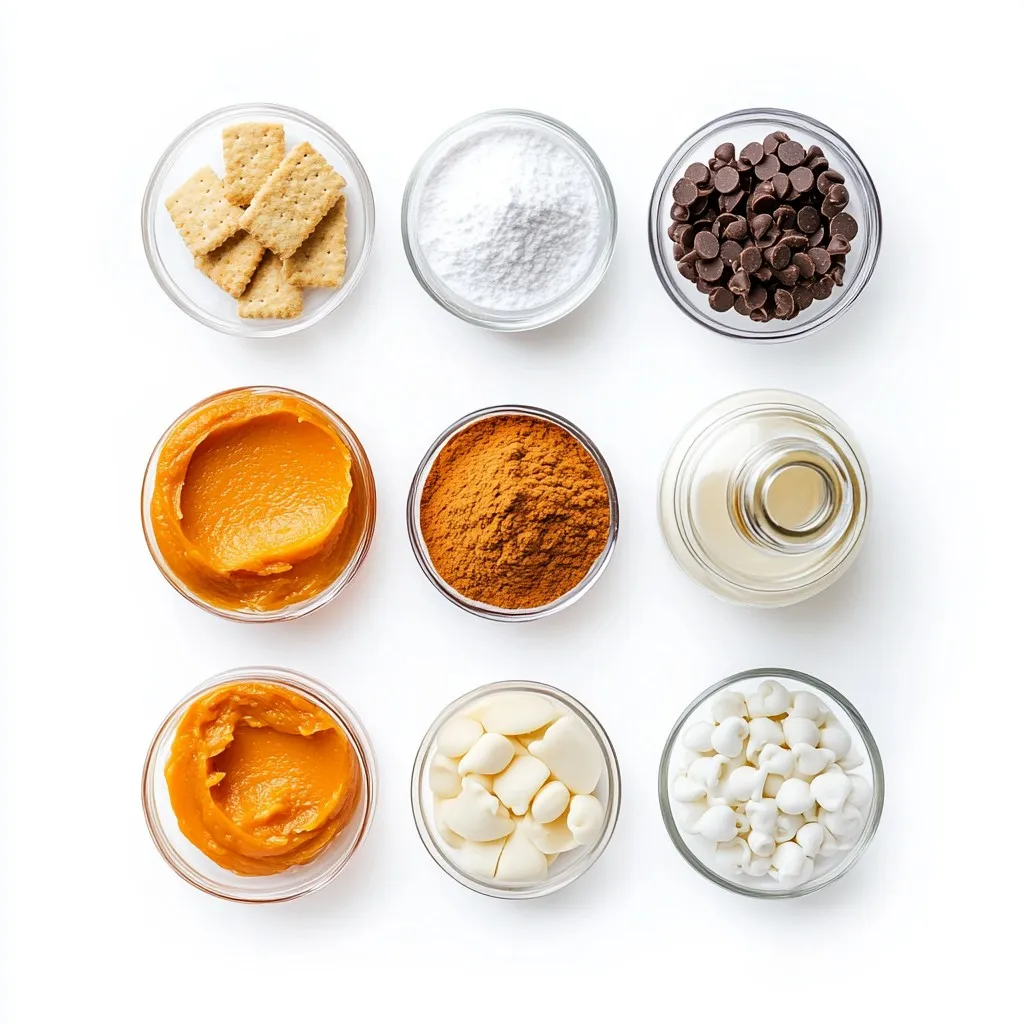
The main ingredients for these no-bake pumpkin cheesecake balls are simple and tasty. Pumpkin puree brings that lovely fall flavor and rich color. Cream cheese adds creaminess and a nice tang. Powdered sugar sweetens the mix without being too gritty.
For the additional ingredients, vanilla extract gives a warm aroma. Pumpkin pie spice adds a mix of cinnamon and nutmeg, making it cozy. Crushed graham crackers create a nice crunch and keep the balls from being too soft.
Finally, the coating ingredients are a treat. White chocolate chips melt into a sweet shell. Coconut oil helps the chocolate become smooth and easy to work with. A pinch of salt balances the sweetness.
This combination makes every bite of these pumpkin cheesecake balls a delight.
Step-by-Step Instructions
Preparing the Filling
First, gather your ingredients. You will need pumpkin puree, cream cheese, powdered sugar, vanilla extract, pumpkin pie spice, and a pinch of salt. In a large mixing bowl, combine the pumpkin puree, softened cream cheese, powdered sugar, vanilla extract, pumpkin pie spice, and salt. Use a hand mixer or spatula to blend these ingredients until smooth. It should be creamy without lumps. This mixture forms the tasty base of your cheesecake balls.
Chilling the Mixture
Chilling is key to making your mixture easier to shape. It helps firm up the filling and makes it less sticky. After mixing, cover the bowl with plastic wrap and place it in the fridge. Chill for about 30 minutes. This time allows the flavors to meld and improves the texture of the filling.
Shaping the Balls
Once chilled, take the mixture out of the fridge. Use a small cookie scoop or your hands to portion the mixture. Aim for bite-sized balls, about 1 inch in diameter. Roll each portion between your palms to create a smooth ball. Line a baking sheet with parchment paper and place the shaped balls on it, leaving space between each one.
Coating with Chocolate
Now it’s time to coat the balls! In a microwave-safe bowl, combine white chocolate chips and coconut oil. Microwave the mixture in 30-second intervals. Stir well after each interval until it is smooth and melted. Dip each pumpkin cheesecake ball into the melted chocolate. Make sure it is well-coated, then let any excess chocolate drip off before placing it back on the parchment paper.
Setting the Chocolate
After dipping all the balls, return the baking sheet to the fridge. Chill them for another 30 minutes. This step allows the chocolate to set completely and firm up your treats. If you want, before the chocolate sets, sprinkle some pumpkin pie spice or crushed graham crackers on top for extra flavor and style.
Tips & Tricks
Achieving the Perfect Texture
To get a smooth filling, blend the cream cheese and pumpkin well. Use a hand mixer or spatula for the best results. You want it creamy and free of lumps. If you find it too sweet, add a pinch of salt. This will balance the flavors nicely.
Presentation Ideas
For a beautiful display, serve these cheesecake balls in a fun bowl. You can also use a decorative platter. Sprinkle some cinnamon on top, or add mini pumpkin candies around the balls. This adds color and makes them more inviting.
Common Mistakes to Avoid
One common mistake is overmixing the filling. This can make the texture too airy. Also, don’t skip the chilling time. If you don’t chill the mixture long enough, it will be hard to shape the balls. Aim for at least 30 minutes in the fridge.
Pro Tips
- Chill for Better Texture: Allow the mixture to chill for at least 30 minutes before rolling. This helps the balls hold their shape and makes them easier to handle.
- Use High-Quality Chocolate: For the best flavor, choose high-quality white chocolate chips. They will melt smoothly and provide a rich, creamy coating for your cheesecake balls.
- Experiment with Spices: Feel free to customize the flavor by adding a pinch of nutmeg or cinnamon to the mixture for an extra aromatic kick.
- Make Ahead: These pumpkin cheesecake balls can be made a day in advance. Just store them in an airtight container in the refrigerator until you’re ready to serve!
Variations
Flavor Variations
You can change up the flavor of your pumpkin cheesecake balls. Try chocolate pumpkin cheesecake balls. Just add cocoa powder to the cream cheese mix. For a richer taste, you can also use dark chocolate chips instead of white chocolate.
Spice can also play a big role. Add nutmeg or cinnamon to your mix for a warm kick. These spices can brighten the flavor and give your treats a cozy feel.
Dietary Adjustments
If you want to make these pumpkin cheesecake balls gluten-free, swap the graham crackers for gluten-free ones. There are many great options available. This small change keeps the crunch while making it safe for gluten-sensitive friends.
For a vegan version, use dairy-free cream cheese and coconut cream. You can also use maple syrup instead of powdered sugar. These swaps keep the taste delicious while fitting a plant-based diet.
Different Coatings
Coatings can really change how your pumpkin cheesecake balls taste. Try using dark chocolate or milk chocolate for a twist. Each type of chocolate brings its own flavor and richness.
You can also experiment with toppings. Crushed nuts or sprinkles can add a nice crunch. Try adding a bit of sea salt for a sweet and salty combo. These toppings can make your treats even more fun and appealing!
Storage Info
Best Storage Practices
To keep your leftover pumpkin cheesecake balls fresh, place them in an airtight container. I recommend using a container that seals tightly. This helps maintain their flavor and texture. Layer parchment paper between the balls if stacking them. This will prevent sticking and make serving easier.
Shelf Life
Refrigerate the cheesecake balls for up to one week. Make sure they are in the airtight container. If you want to keep them longer, you can freeze them. They last for about three months in the freezer. Just ensure they’re well-wrapped to avoid freezer burn.
Thawing Instructions
To thaw frozen pumpkin cheesecake balls, move them to the fridge for a few hours. This way, they defrost slowly and remain creamy. If you’re in a hurry, you can set them out at room temperature for about 30 minutes. When ready to serve, feel free to dip them again in melted chocolate or add fresh toppings for a nice touch.
FAQs
Can I make these pumpkin cheesecake balls ahead of time?
Yes, you can make these pumpkin cheesecake balls ahead of time. They store well in the refrigerator. Prepare them a day or two in advance for a fun treat.
How long can I keep the leftovers?
Leftovers can last up to five days if stored correctly. Place them in an airtight container in the fridge. This keeps them fresh and safe to eat.
What can I substitute for cream cheese?
You can use Greek yogurt or mascarpone cheese. These options provide a similar creamy texture. Both will work well in this recipe, giving you a tasty treat.
Are these no-bake pumpkin cheesecake balls suitable for kids?
Absolutely! These pumpkin cheesecake balls are great for kids. They have a sweet taste and fun texture. Just keep an eye on any chocolate coating, as it can be messy.
Can I use fresh pumpkin instead of canned?
Yes, you can use fresh pumpkin. Just cook and puree it first to get a smooth texture. This option adds a fresh taste and can make the treat extra special.
This post covered how to make delicious pumpkin cheesecake balls. We explored the key ingredients like pumpkin puree and cream cheese. I shared the step-by-step instructions to ensure perfect texture and taste. Remember to chill your mixture for the best results. I offered tips to avoid common mistakes and highlighted fun variations for any dietary need. These treats store well and are easy to make ahead. Enjoy creating these tasty snacks, and feel free to share with friend


