
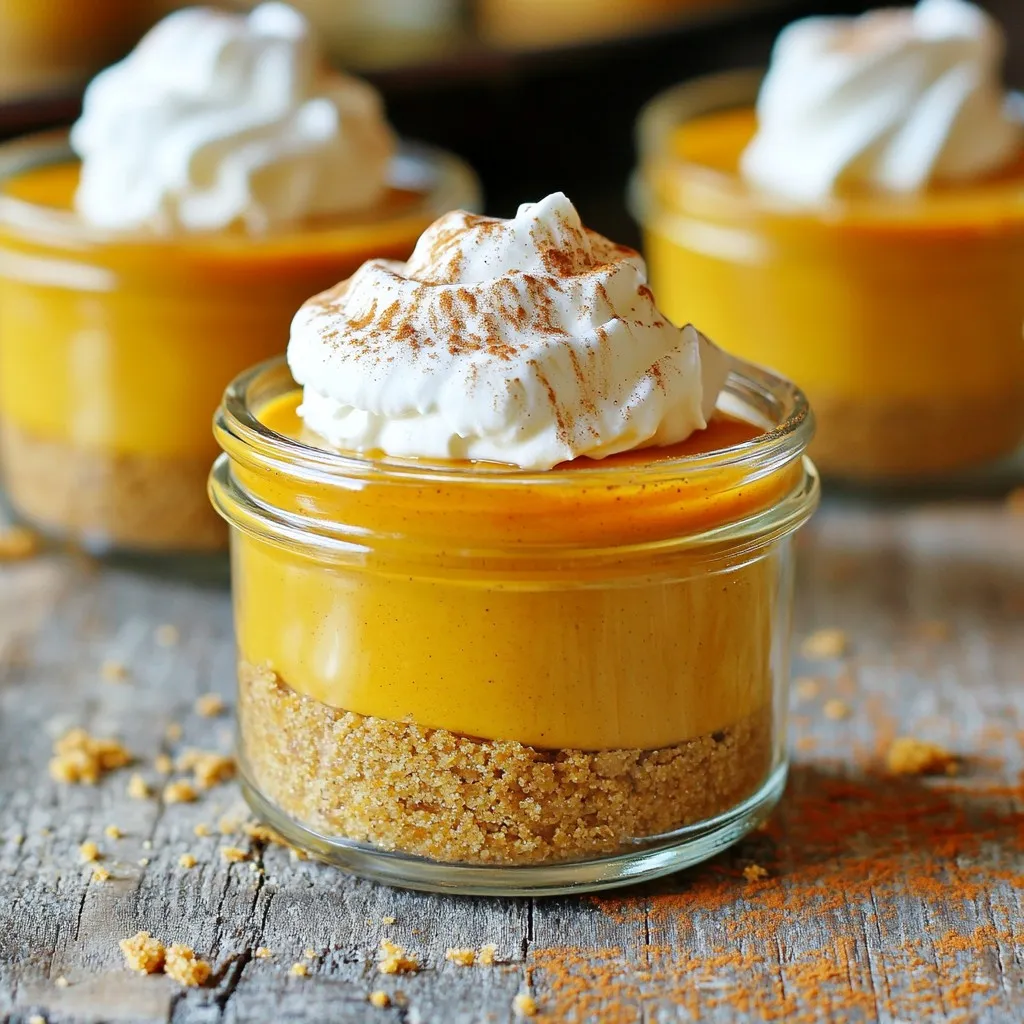
Are you ready to dive into a delicious fall treat? No-bake pumpkin pie cheesecake cups offer all the rich flavors of pumpkin pie without the hassle! This easy recipe combines creamy pumpkin goodness with a crunchy graham cracker crust. You’ll learn how to make these delightful cups step-by-step. Plus, I’ll share tips, variations, and storage secrets. Let’s get started on creating this simple, tasty dessert!
Ingredients
Main Ingredients
– 1 cup pumpkin puree
– 8 oz cream cheese, softened to room temperature
– 1/2 cup powdered sugar
– 1 teaspoon pure vanilla extract
– 1 teaspoon pumpkin pie spice
– 1/2 cup heavy whipping cream
For this recipe, pumpkin puree gives a rich flavor. I love using fresh puree, but canned works too. Cream cheese adds creaminess and depth. It’s key to let it warm up so it blends well. Powdered sugar sweetens the mix without grittiness. Vanilla extract adds warmth, while pumpkin pie spice brings that cozy fall taste. Finally, heavy whipping cream makes the filling light and fluffy.
Crust Ingredients
– 1 cup crushed graham crackers
– 4 tablespoons unsalted butter, melted
– 2 tablespoons packed brown sugar
The crust is easy and delicious. Crushed graham crackers create a nice crunch. Melted butter helps hold it together. Brown sugar adds a hint of caramel flavor. This combination makes the perfect base for your cheesecake cups.
Toppings
– Whipped cream
– Ground cinnamon
Toppings are the final touch. Whipped cream adds sweetness and creaminess. A sprinkle of ground cinnamon enhances the pumpkin flavor. Together, they make each bite delightful and visually appealing.
Step-by-Step Instructions
Preparing the Crust
– Start by combining 1 cup of crushed graham crackers, 4 tablespoons of melted unsalted butter, and 2 tablespoons of packed brown sugar in a medium bowl.
– Mix these ingredients until they feel like wet sand.
– Next, evenly distribute this mixture into your serving cups.
– Press down firmly with a spoon or your fingers to ensure a solid base.
Making the Cheesecake Filling
– In a larger bowl, beat 8 ounces of softened cream cheese until it is perfectly smooth.
– Gradually mix in 1 cup of pumpkin puree, ½ cup of powdered sugar, 1 teaspoon of pure vanilla extract, and 1 teaspoon of pumpkin pie spice.
– Keep mixing until the mixture is smooth and well combined.
Folding in Whipped Cream
– In a clean bowl, whip ½ cup of heavy whipping cream until you reach stiff peaks.
– Gently fold this whipped cream into the pumpkin mixture using a spatula.
– Be careful not to deflate the whipped cream. Fold until no white streaks remain.
Assembling the Cups
– Use a spoon or piping bag to fill each cup with the cheesecake mixture.
– Aim to fill them about three-quarters full, leaving space at the top.
– Finally, place the filled cups in the refrigerator. Chill them for at least 4 hours until the filling is set.
Tips & Tricks
Achieving the Perfect Texture
To get the best texture for your cheesecake cups, use room temperature cream cheese. This makes it easier to blend and helps avoid lumps. If you forget to take it out early, you can cut it into small cubes. Let it sit for about 15 minutes to soften.
Whipping the cream properly is key. Start with chilled heavy cream in a clean bowl. Use a whisk or an electric mixer. Beat it until stiff peaks form. This means the cream holds its shape. Be careful not to over-whip, or it will turn grainy.
Serving Suggestions
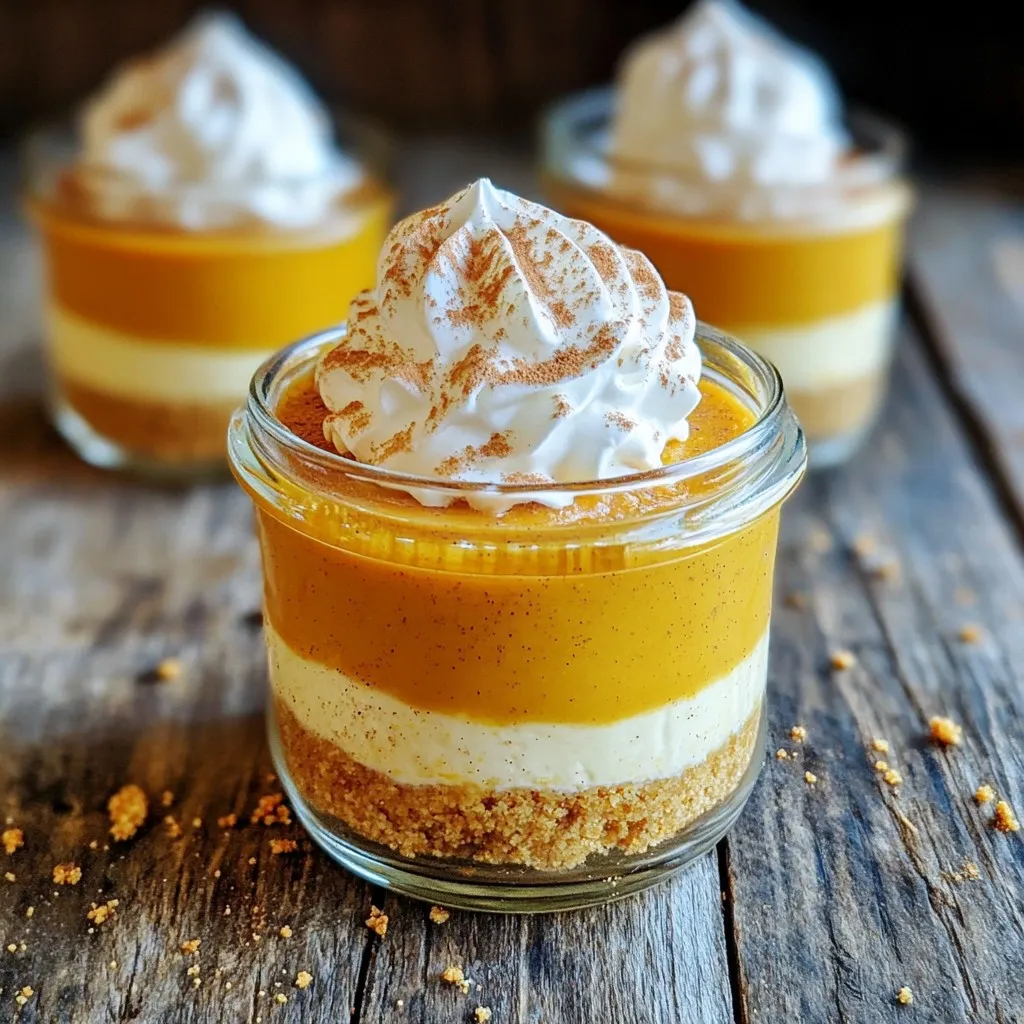
For festive occasions, think about how you present your cups. Use clear jars or colored cups to show off the layers. You can place them on a decorative tray. Add some cinnamon sticks or small pumpkin decorations around them for flair.
To enhance the flavor, try different garnishes. A dollop of whipped cream on top adds creaminess. A sprinkle of ground cinnamon looks nice and adds warmth. You can also use caramel or chocolate drizzle for a sweet touch.
Common Mistakes to Avoid
One common mistake is over-mixing the filling. Once you add the whipped cream, mix gently. Fold it in slowly until no white shows. This keeps your cheesecake light and fluffy.
Another mistake is not chilling long enough. The cheesecake needs at least 4 hours in the fridge. This helps it set up firm. If you rush this step, the cups may not hold their shape when served.
Variations
Alternative Flavors
You can change up the flavor in your No-Bake Pumpkin Pie Cheesecake Cups. Adding chocolate or caramel can bring a new twist. A layer of chocolate ganache can make it rich and sweet. Drizzling caramel on top adds a nice touch, too.
You can also try adding spices like nutmeg. Just a pinch can enhance the pumpkin flavor. Mix in a little extra cinnamon for a warm, cozy feel. These changes keep your dessert fresh and exciting.
Healthier Alternatives
If you want a lighter version, use low-fat cream cheese. It still tastes creamy but cuts down on calories. You can also choose a dairy-free option for the crust. Use crushed nuts and coconut oil instead of butter. This option makes it gluten-free and healthy.
You can also swap heavy whipping cream for a plant-based cream. This simple change keeps the texture light without dairy. You can enjoy your dessert without the guilt.
Serving Sizes and Adaptations
If you plan a big gathering, you can easily adjust the recipe. Just double or triple your ingredients. This way, you can fill more cups. If you want mini versions for parties, use smaller cups. They are perfect for snacking and fun to eat.
This dessert is also great for any season. You can serve it for Thanksgiving or at summer picnics. These variations make it a versatile treat everyone will love.
Storage Info
Best Practices for Storing
To keep your no-bake pumpkin pie cheesecake cups fresh, store them in the refrigerator. Use an airtight container or cover each cup tightly with plastic wrap. This helps keep out air and moisture, which can affect taste and texture.
If you want to store them longer, you can freeze the cheesecake cups. First, make sure they are fully set. Then, wrap each cup in plastic wrap and place them in a freezer-safe bag. They can last up to two months in the freezer.
Shelf Life
For best quality, eat your cheesecake cups within 5 days if stored in the fridge. After that, the flavors may change, and the texture may become less appealing. Look for signs of spoilage, like a sour smell or changes in texture. If you see any mold, it’s best to throw them away.
Reheating Instructions
You don’t need to reheat these cheesecake cups. They are best served cold. If you stored them in the freezer, transfer them to the fridge for a few hours before serving. This allows them to thaw slowly and keeps the texture creamy. Once ready, add a fresh dollop of whipped cream and a sprinkle of cinnamon before serving for a lovely finish.
FAQs
Can I make No-Bake Pumpkin Pie Cheesecake Cups ahead of time?
Yes, you can make these cups ahead of time. This dessert actually tastes better when it sits for a while. I suggest preparing them the day before your event. Chill them in the fridge for at least four hours. This gives the flavors time to blend and the filling time to set. Use airtight containers to keep them fresh.
What is the best way to serve these cheesecake cups?
These cheesecake cups look great on a decorative tray. You can top them with whipped cream right before serving. A sprinkle of ground cinnamon adds a nice touch. You could also add cinnamon sticks or mini pumpkins for a festive look. These details enhance both taste and presentation.
Can I substitute ingredients in this recipe?
Absolutely! If you want a lighter version, try low-fat cream cheese. For a dairy-free option, use a plant-based cream cheese. You can also swap pumpkin puree for sweet potato puree for a different twist. If you don’t have graham crackers, crushed cookies or oats can work for the crust. Be creative with your choices!
You learned how to make delicious no-bake pumpkin pie cheesecake cups. We covered the key ingredients, from pumpkin puree to whipped cream. I shared step-by-step instructions for the crust and filling, plus helpful tips to avoid mistakes. You discovered fun variations and storage tips to keep your cheesecake fresh.
Try these cups at your next gathering. They are easy to make and delicious. Enjoy sharing them with friends and family!


