
Craving a quick and tasty snack? I’ve got just the recipe for you! These No-Bake Salted Caramel Protein Balls are not only delicious, but they’re also packed with protein. In just a few simple steps, you can whip up these delightful treats that are perfect for any time of day. Plus, they’re customizable to suit your tastes. Let’s dive into this easy and satisfying recipe that keeps you fueled and happy!
Ingredients
Detailed List of Ingredients
– 1 cup rolled oats
– 1/2 cup almond butter (or your favorite nut butter)
– 1/2 cup protein powder (choose either vanilla or salted caramel flavor)
– 1/4 cup honey or maple syrup
– 1/4 cup mini dark chocolate chips
– 1 teaspoon vanilla extract
– 1/2 teaspoon sea salt
– 1 tablespoon coconut flour (optional, for enhanced texture)
– Extra sea salt for topping
No-bake salted caramel protein balls need simple yet tasty ingredients. Each one plays a role in flavor and texture.
First, rolled oats provide a hearty base. They give the balls fiber and a chewy bite. Almond butter or your favorite nut butter adds creaminess and healthy fats.
Next, protein powder boosts nutrition. You can pick vanilla or salted caramel flavor. The sweetener is key too. Honey or maple syrup adds a touch of sweetness.
Mini dark chocolate chips give a nice chocolatey surprise in every bite. Vanilla extract adds warmth and depth. Sea salt enhances the sweet caramel flavor.
If you want a different texture, coconut flour is an optional addition. Finally, you can sprinkle extra sea salt on top for a delightful finish.
With these ingredients, you can create a snack that is both tasty and healthy. Enjoy the process of mixing and creating!
Step-by-Step Instructions
Mixing Ingredients
Start by grabbing a large mixing bowl. First, combine 1 cup of rolled oats with 1/2 cup of almond butter. Then, add 1/2 cup of protein powder. You can choose either vanilla or salted caramel flavor. Next, pour in 1/4 cup of honey or maple syrup. Toss in 1/4 cup of mini dark chocolate chips, 1 teaspoon of vanilla extract, and 1/2 teaspoon of sea salt. Mix everything together well. You want a sticky mixture that holds.
Adjusting Consistency
If your mixture feels too wet, add in 1 tablespoon of coconut flour. This helps firm it up. Mix well after each sprinkle of coconut flour. You want the mixture to be sticky but easy to handle. It should hold its shape without falling apart.
Shaping the Balls
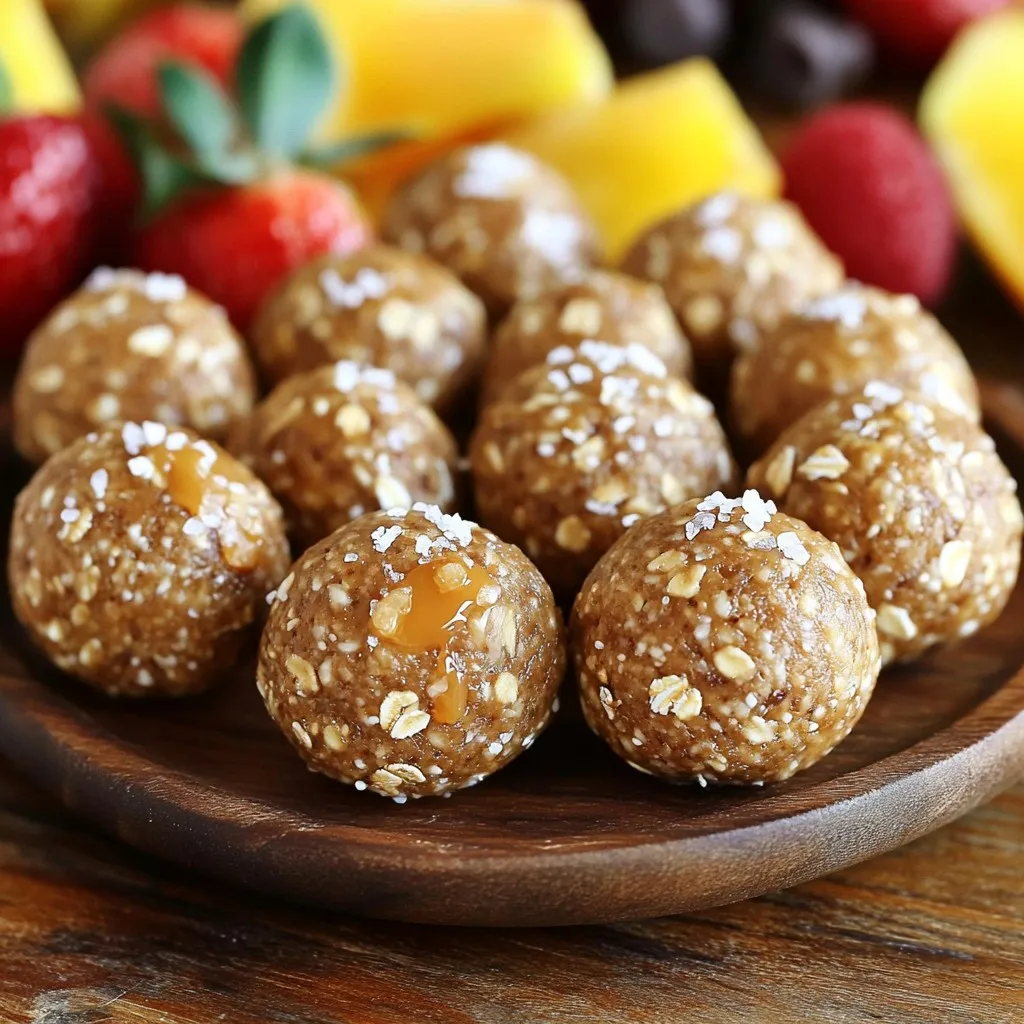
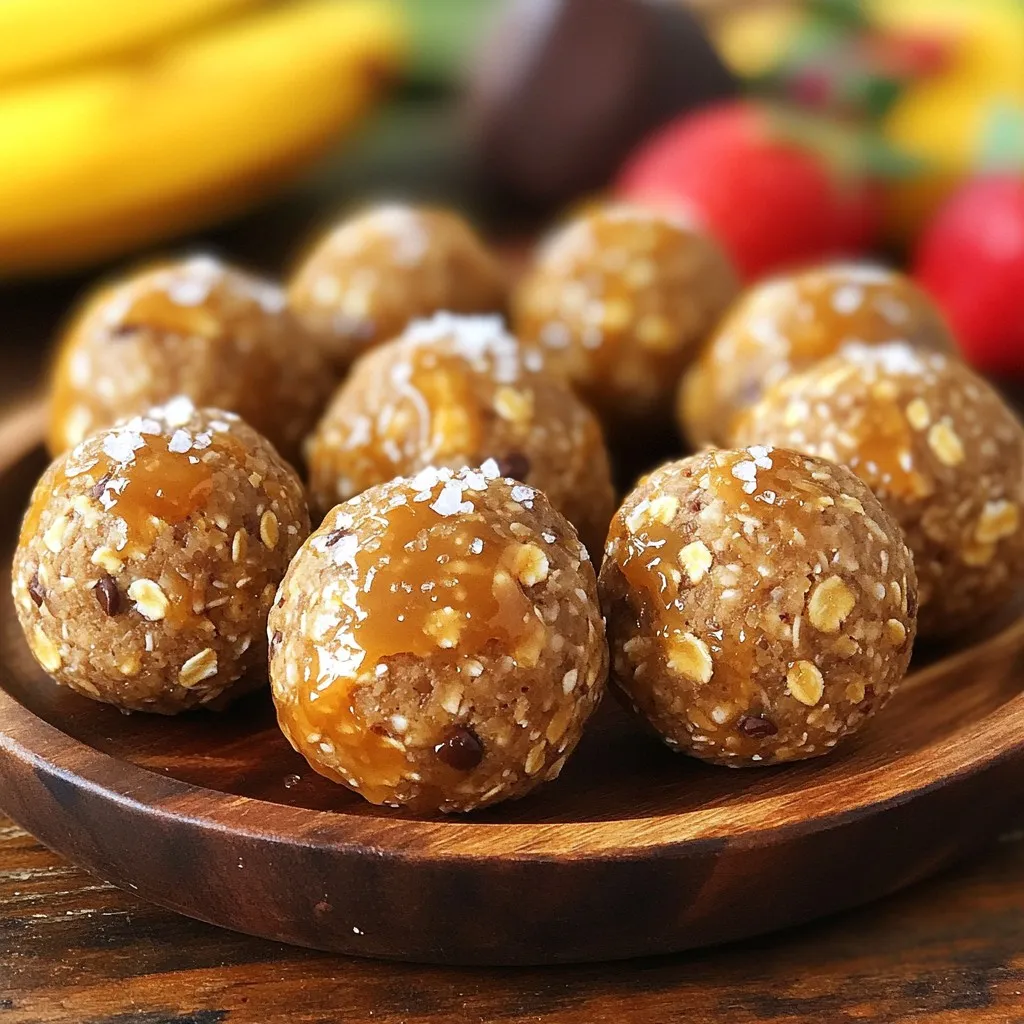
Now it’s time to shape the balls! Take small portions and roll them into balls about the size of a tablespoon. If your hands get sticky, moisten them with a little water. This makes rolling easier. Keep your hands clean and the balls round.
Chilling
Prepare a baking sheet by lining it with parchment paper. Carefully place the rolled balls on the sheet. Make sure they don’t touch each other. For a flavor boost, add a pinch of sea salt on top of each ball. This enhances the salted caramel taste. Chill the baking sheet in the refrigerator for at least 30 minutes. Chilling helps them firm up for easy snacking.
Tips & Tricks
Enhancing Flavor
To make your no-bake salted caramel protein balls even better, try adding toppings. You can sprinkle crushed nuts or seeds on top. A drizzle of melted dark chocolate also works wonders. If you want to change the flavor, use different nut butters. Cashew butter or peanut butter can add a fun twist. Each nut butter brings its own taste. Experiment and find your favorite!
Texture Improvement
If you want firmer protein balls, adjust the ingredients a bit. Add more coconut flour to the mix. This will help them hold together better. If you like softer balls, reduce the coconut flour. You can also add texture by mixing in shredded coconut or chopped nuts. These will give each bite a nice crunch and make them more fun to eat.
Storing & Serving Suggestions
Store your protein balls in an airtight container. Keep them in the fridge for up to a week. You can also freeze them for longer storage. To serve, arrange the protein balls on a nice plate. Pair them with fresh fruit like berries or apple slices. This adds color and makes a tasty snack!
Variations
Flavor Variations
You can change the flavor of your protein balls easily. One great way is to swap protein powder flavors. Try chocolate protein powder for a rich taste. Or use vanilla powder for a classic flavor. You can also get creative by adding spices. A sprinkle of cinnamon brings warmth. Nutmeg adds a festive touch. These small changes can make your snacks exciting.
Ingredient Substitutions
If you need nut-free options, use sunflower seed butter. It gives a great taste and works well. You can also try tahini or soy nut butter. For a vegan version, use maple syrup instead of honey. Ensure your protein powder is plant-based. These swaps keep your protein balls delicious and suitable for everyone. Enjoy exploring these variations!
Storage Info
Best Storage Methods
To keep your no-bake salted caramel protein balls fresh, store them in the fridge. Place them in an airtight container. They stay good for up to a week. If you want to keep them longer, freezing is a great option. Just layer them in a freezer bag or container. Make sure to separate layers with parchment paper. They can last for about three months in the freezer.
Shelf Life
These tasty protein balls taste best fresh. Expect them to stay fresh for one week in the fridge. If you freeze them, they can last for up to three months. Check for signs of spoilage, like a strong odor or change in color. If they look or smell off, it’s best to throw them away. Enjoy your delicious snacks while they are at their best!
FAQs
What is the protein content per ball?
Each protein ball contains about 5 grams of protein. The protein comes from the protein powder and almond butter. If you use a high-protein powder, you can boost the protein content even more. I recommend checking the label of your protein powder for exact numbers.
Can I use a different type of sweetener?
Yes, you can swap honey for maple syrup, agave, or even stevia. Each sweetener adds a different taste. If you want a lower-calorie option, stevia works well. Just adjust the amount to your taste, as it is much sweeter than honey or maple syrup.
How do I know when the protein balls are properly chilled?
After chilling for at least 30 minutes, the protein balls should feel firm to the touch. If they still feel sticky or soft, give them a little more time in the fridge. Proper chilling helps the flavors blend and makes them easier to handle.
Can these protein balls be made gluten-free?
Yes, these protein balls can easily be made gluten-free. Just use certified gluten-free rolled oats. This small change ensures you keep the recipe safe for those with gluten sensitivities. The rest of the ingredients are naturally gluten-free.
What other add-ins can I include?
You can add many fun ingredients to these protein balls. Try shredded coconut, chopped nuts, or dried fruit for added texture and flavor. You could also mix in seeds like chia or flax for extra nutrients. Get creative and make them your own!
These protein balls are easy to make and packed with goodness. We covered ingredients like rolled oats and nut butter, mixing steps, and tips to customize your balls. You learned how to adjust textures and store them properly.
Incorporating different flavors and ingredients can make snack time exciting. With these simple steps, you can create healthy treats that fit your taste. Enjoy making your own protein balls! They are a fun way to enjoy healthy snacking.


