
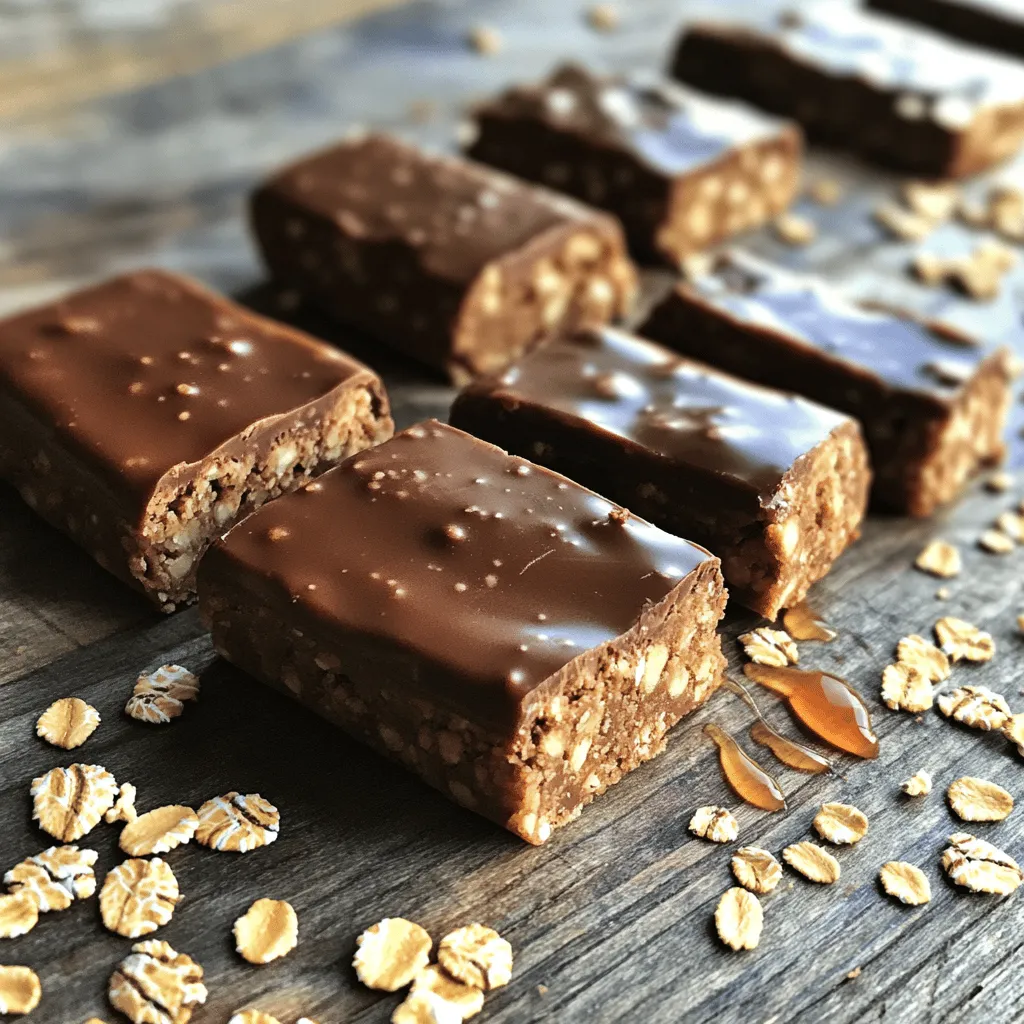
Are you looking for a quick, healthy snack? Let me show you how to make protein bars with just four ingredients. These bars are easy to whip up and packed with goodness. You can customize them to fit your taste and food needs too. In this guide, I will give you step-by-step instructions, tips, and fun ingredient variations. Get ready to enjoy a tasty treat that fuels your day!
Ingredients
Key Ingredients for Protein Bars
The main ingredients in these protein bars are simple. You need:
– 1 cup rolled oats
– 1/2 cup natural peanut butter (or almond butter)
– 1/2 cup honey (or maple syrup)
– 1/2 cup chocolate-flavored protein powder
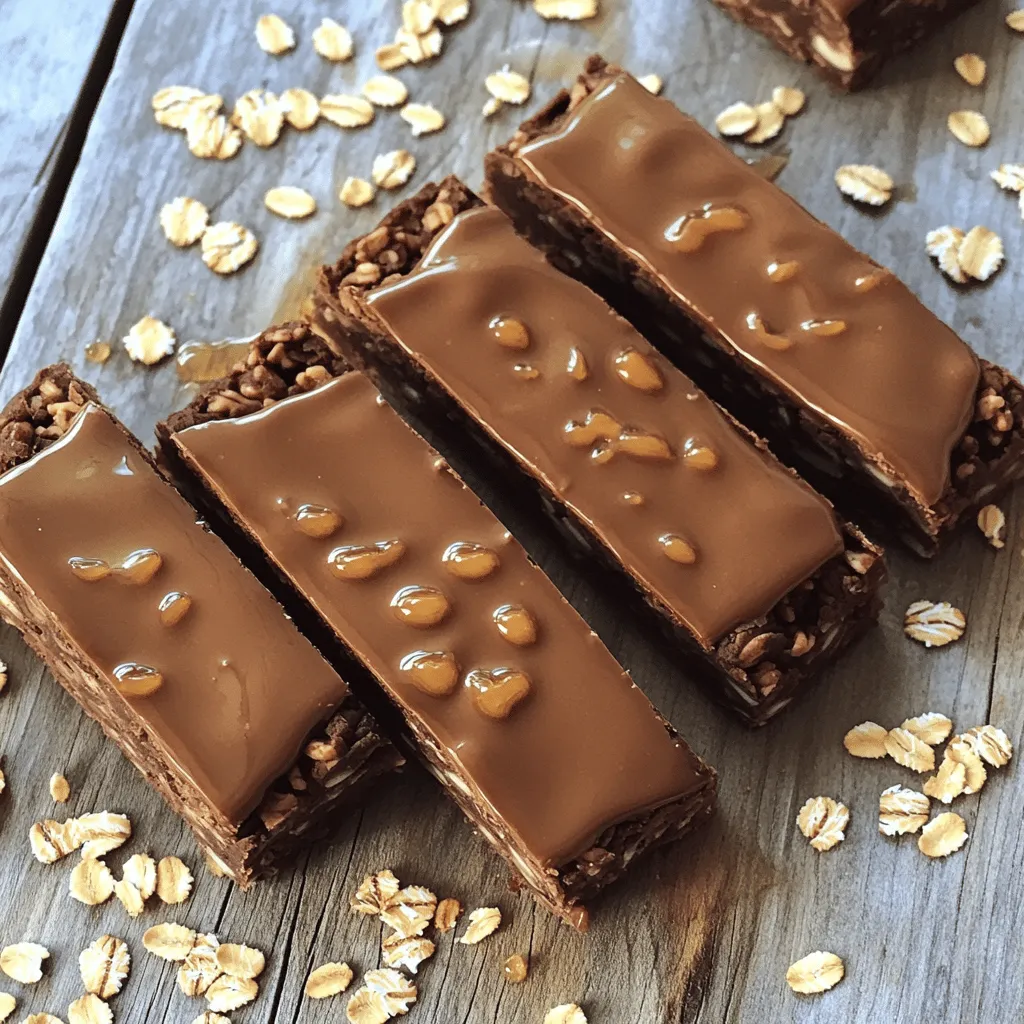
These items work well together. The oats give texture. The nut butter adds creaminess. Honey or maple syrup acts as a sweetener. The protein powder boosts nutrition.
Alternative Ingredients and Substitutions
You can swap some ingredients for variety. For the nut butter, try sunflower seed butter for a nut-free option. If you want a vegan bar, use maple syrup instead of honey. You can also change the protein powder flavor. Try vanilla or even strawberry for a fun twist.
Nutritional Information per Serving
Each serving has about 200 calories. You get around 8 grams of protein and 10 grams of fat. The bars also have 20 grams of carbs. This makes them a great snack for energy. Adjusting the ingredients can change the nutrition slightly, so feel free to experiment. For the full recipe, check out the detailed instructions above.
Step-by-Step Instructions
Detailed Preparation Steps
1. Start by placing 1 cup of rolled oats and 1/2 cup of chocolate-flavored protein powder into a large mixing bowl. Stir them together thoroughly until fully combined, ensuring there are no clumps.
2. Next, take a separate microwave-safe bowl and add 1/2 cup of natural peanut butter and 1/2 cup of honey (or maple syrup). Heat in the microwave for 20 to 30 seconds, just long enough for the mixture to become warm and pourable. Carefully stir until the peanut butter and honey are completely blended together.
3. Pour the warm mixture of peanut butter and honey into the bowl containing the oats and protein powder. Using a spatula, mix everything thoroughly until you achieve a thick and sticky dough consistency. Make sure all dry ingredients are moistened.
4. Line an 8×8-inch baking dish with parchment paper, leaving a bit of overhang on the sides. This will make it easy to lift the bars out once set.
5. Transfer the dough into the prepared baking dish and spread it out evenly with a spatula. Press down firmly and smooth the top to ensure a compact texture, which will help the bars hold together better.
6. Place the baking dish in the refrigerator and allow it to chill for at least 1 hour. Once firm, carefully lift the entire block of bars out using the edges of the parchment paper and cut into squares or rectangles, as desired.
7. To maintain freshness, store the bars in an airtight container in the refrigerator, where they will last for up to one week.
Equipment Needed for Making Protein Bars
– Large mixing bowl
– Microwave-safe bowl
– Spatula
– 8×8-inch baking dish
– Parchment paper
Important Mixing Tips
– Mix the dry ingredients well to avoid clumps.
– Heat the peanut butter and honey just enough to blend smoothly.
– Ensure the dough is sticky for the best texture.
– Press the mixture firmly into the baking dish for compact bars.
For the full recipe, check out Nutty Chocolate Bliss Protein Bars.
Tips & Tricks
How to Achieve the Best Texture
To get that perfect chewy texture, mix the dry and wet ingredients well. You want a thick, sticky dough. Press it firmly into your baking dish. This will help the bars hold together. If the mixture feels too dry, add a bit more peanut butter or honey. If it’s too wet, sprinkle in more oats.
Storage Tips for Freshness
Store your bars in an airtight container. Place them in the fridge to keep them fresh. This helps them last longer, up to one week. If you want to keep them for longer, consider freezing them. Wrap each bar in plastic wrap before placing them in a freezer bag. This way, you can enjoy them later.
Enhancements for Flavor and Nutrition
You can add fun extras to make these bars even better. Try adding chopped nuts or seeds for crunch. Dried fruit can give a sweet twist. For a richer flavor, mix in cocoa powder or a touch of cinnamon. You can even use nut-free butter like sunflower seed butter. This keeps the recipe safe for those with nut allergies. Each addition boosts nutrition and taste, making your bars special!
For the full recipe, check out Nutty Chocolate Bliss Protein Bars.
Variations
Different Flavor Combinations
You can play with flavors in your protein bars. Try different nut butters like almond or cashew. Use honey or maple syrup for sweetness. You can even swap the chocolate protein powder for vanilla or berry flavor. Add spices such as cinnamon or vanilla extract to boost taste.
Vegan or Allergy-Friendly Options
To make these bars vegan, simply use maple syrup instead of honey. For nut-free options, choose sunflower seed butter. You can also use pumpkin puree for a fun twist. Always check labels to avoid allergens. This keeps everyone safe and happy.
Seasonal Add-ins for Variety
Seasonal ingredients can add fun to your bars. In the fall, add pumpkin puree or chopped apples. In winter, try dried cranberries or chopped nuts. During summer, mix in fresh berries or coconut flakes. Enjoy the changing flavors with each season!
For the full recipe, check out Nutty Chocolate Bliss Protein Bars 🥜.
Storage Info
Best Practices for Storing Protein Bars
To keep your protein bars fresh, store them in the fridge. An airtight container works best. This method helps avoid moisture and keeps them firm. Try to limit exposure to air. If you plan to eat the bars within a few days, you can keep them at room temperature. Just ensure they stay in a cool, dark spot.
Recommended Storage Containers
Use a glass or plastic container with a tight lid. This helps keep the bars fresh. You can also wrap each bar in parchment paper. Then, place them in a container. This method makes it easy to grab a bar on the go. If you want to freeze them, use freezer-safe bags. Remove excess air before sealing.
Shelf Life of Homemade Protein Bars
Homemade protein bars last about one week in the fridge. If you freeze them, they can last up to three months. Just make sure they are well-wrapped. Thaw them in the fridge before eating. This way, you always have a healthy snack ready. Enjoy these treats anytime! You can find the full recipe for Nutty Chocolate Bliss Protein Bars to get started.
FAQs
Can I customize the ingredients?
Yes, you can customize these protein bars. The base recipe is flexible and lets you swap ingredients easily. For example, you can use almond butter if you prefer that over peanut butter. If you want a vegan option, replace honey with maple syrup. You can also add your favorite mix-ins, like dried fruit or seeds. This makes the bars unique to your taste!
How do I know if my bars are firm enough?
Your bars should feel firm when you take them out of the fridge. If they feel sticky or too soft, they may need more time to chill. Press down lightly on the bars; they should hold their shape. If they crumble, they might need more mixing or pressing. Keeping them in the fridge for a full hour usually helps achieve the right firmness.
Are these protein bars suitable for meal prep?
Yes, these protein bars are great for meal prep. You can make a batch and store them for the week. They keep well in the fridge for up to one week. Just cut them into bars and place them in an airtight container. This makes it easy to grab a healthy snack when you’re on the go. For more ideas, check out the [Full Recipe].
Making homemade protein bars is fun and rewarding. We’ve covered key ingredients, alternative options, and nutritional info. I shared step-by-step instructions, tools needed, and mixing tips for great texture. You can store your bars fresh and know the best containers to use.
Remember, customize flavors to your liking. Whether vegan or not, options are endless. With the right storage and tips, you can enjoy your bars for weeks. Now, you have all the skills needed to craft delicious and nutritious protein bars. Enjoy your creations!


