
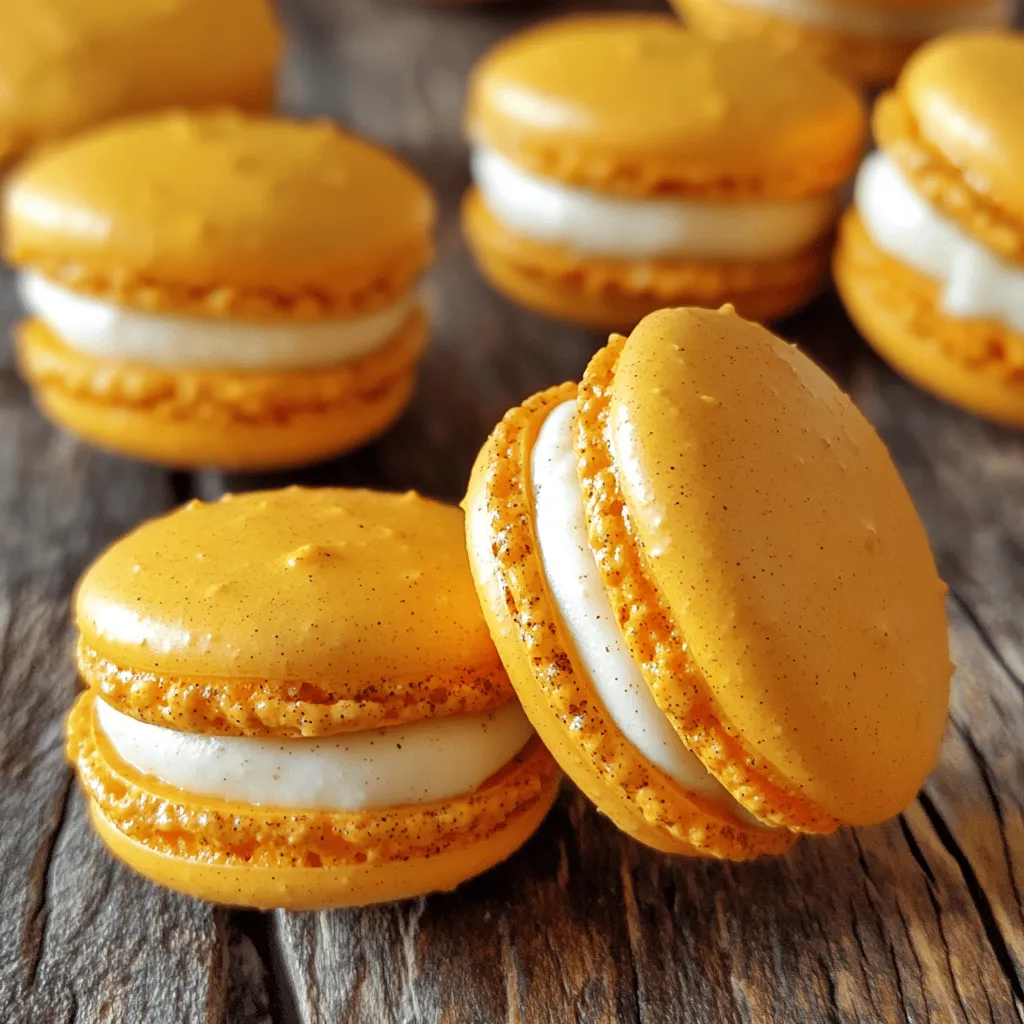
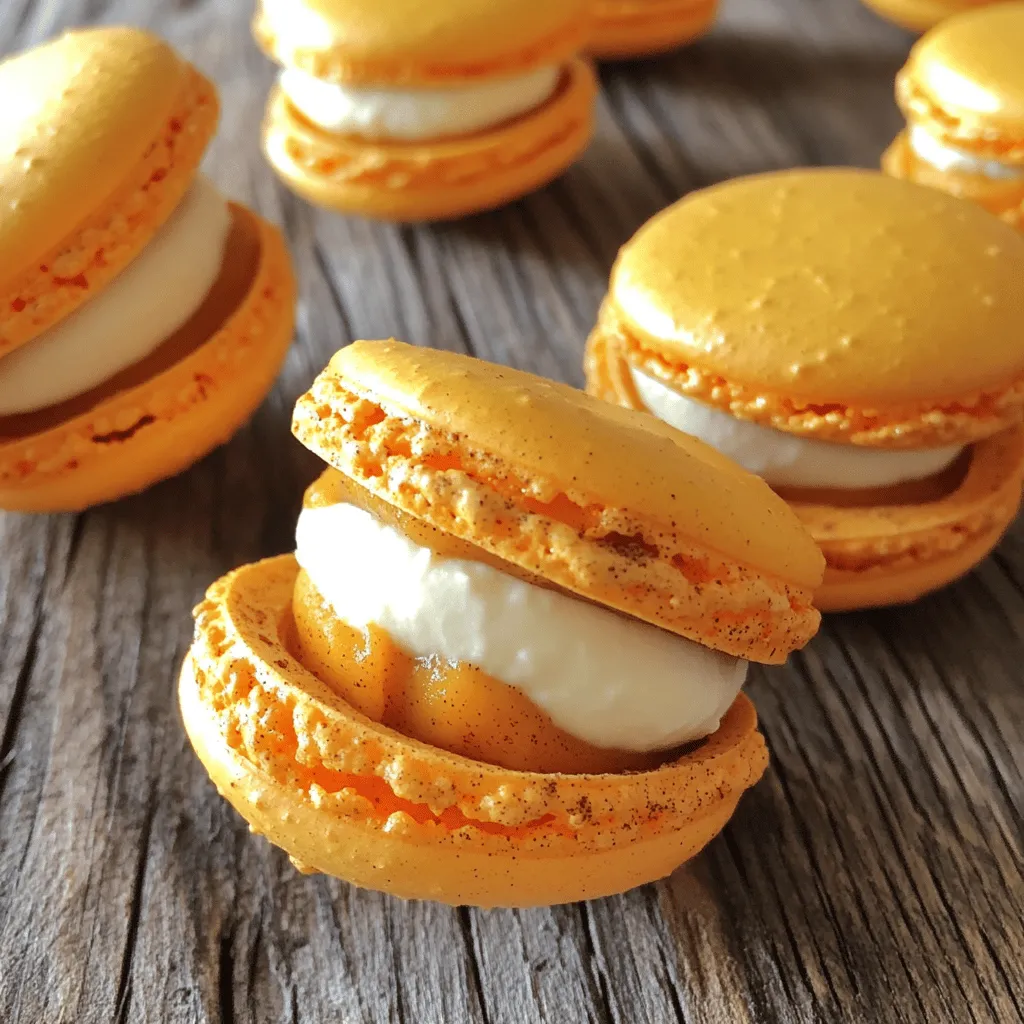
Craving a seasonal treat with a twist? Pumpkin Pie Macarons combine fall’s favorite flavors into delightful bite-sized cookies. This recipe captures the warmth of pumpkin, spiced perfectly with cinnamon and nutmeg. I’ll walk you through each step, from gathering ingredients to piping and baking. Get ready to impress your friends and family with these beautiful and tasty macarons. Join me to discover the magic behind this cozy fall dessert!
Ingredients
Full Recipe Overview
To create Pumpkin Pie Macarons, you need a few key ingredients.
– Almond flour and powdered sugar composition
Almond flour gives macarons their unique texture. It offers a nice nutty flavor. The powdered sugar adds sweetness and helps with the smoothness of the batter.
– Essential spices: cinnamon and nutmeg
These spices add warmth and depth to the macarons. Cinnamon brings a sweet, woody flavor. Nutmeg adds a touch of earthiness, perfect for fall.
– Key components for the filling: pumpkin puree and cream cheese
Pumpkin puree is essential for that classic pumpkin pie taste. It lends moisture and richness. Cream cheese balances the sweetness and makes the filling creamy and smooth.
This combination of ingredients makes Pumpkin Pie Macarons a delightful treat for the season. For the full recipe, check the detailed instructions above. Enjoy crafting these sweet bites!
Step-by-Step Instructions
Preparing the Baking Sheet
Start by lining your baking sheets with parchment paper or silicone mats. This step helps prevent sticking. Preheat your oven to 300°F (150°C). Preheating is key for good macaron texture. Make sure your oven reaches this temperature before you bake. Place the oven rack in the middle position for even heat.
Sifting and Mixing Dry Ingredients
In a medium bowl, whisk together the almond flour, powdered sugar, ground cinnamon, and nutmeg. This mix gives the macarons their flavor. Use a fine-mesh sieve to sift the mixture. Sifting removes lumps and creates a smooth texture. A smooth mixture is crucial for a perfect macaron batter.
Whipping Egg Whites
In a clean bowl, beat the egg whites with a hand mixer on medium speed. Start when you see small bubbles, known as frothy. Add cream of tartar to help stabilize the egg whites. Gradually add granulated sugar while you beat the mixture. Keep mixing until it forms stiff peaks and looks glossy. This stage is vital for the structure of your macarons.
Folding in Dry Ingredients
Now, carefully fold the sifted dry ingredients into the whipped egg whites. Use a spatula and be gentle. This step keeps air in the batter, making your macarons light. The right consistency is smooth and shiny, flowing like ribbons when lifted. Take your time to avoid over-mixing.
Piping and Resting Macarons
Next, fill a piping bag with the macaron batter. Pipe small circles, about 1.5 inches wide, on the baking sheets. Leave space between each circle. Rest the piped macarons at room temperature for 30 to 60 minutes. They should feel dry to the touch before baking. This step is essential for forming a nice skin.
Baking and Cooling
Bake the macarons in your preheated oven for 15 to 18 minutes. Bake one tray at a time for the best results. Halfway through, rotate the baking sheet for even baking. Allow the macarons to cool on the sheet for a few minutes after baking. Then transfer them to a wire rack to cool completely before filling.
Tips & Tricks
Common Macaron-Making Pitfalls
Many home bakers struggle with beating egg whites. Over-beating makes them dry, while under-beating keeps them too runny. To find the sweet spot, beat the egg whites until soft peaks form, then add sugar gradually. This method ensures a stable meringue.
Cracked shells often result from too much humidity or high oven heat. Always check the weather before baking. If the air feels damp, it might be best to wait. Also, make sure your oven is at the right temperature. An oven thermometer can help you here.
Achieving Perfect Macaron Shells
Macarons need a dry environment for success. If your kitchen is humid, consider using a dehumidifier or baking on a drier day. The right temperature helps too. Aim for a room temperature around 70°F (21°C) before you start.
To get those lovely “feet,” pipe your macarons with care. Allow them to rest until they form a light skin. This step is key. When baked, the air expands, pushing the shell up. This creates the famous feet we all love.
Flavor Enhancement Techniques
You can adjust the spice levels in your filling to fit your taste. If you love stronger flavors, add a bit more cinnamon or nutmeg. A little goes a long way, so start small.
For a sweeter filling, add more powdered sugar to your cream cheese mix. Taste as you go. This way, you can find the perfect balance of sweet and spice. You can even think about adding a touch of maple syrup for a unique twist.
Variations
Flavor Variations
You can swap pumpkin for other fall flavors. Try sweet potato or butternut squash. They add a nice twist. You can also enhance the filling. Adding melted chocolate or caramel brings extra richness. These flavors blend well with spices like cinnamon and nutmeg.
Dietary Modifications
If you need a gluten-free option, almond flour works well. You can also use ground sunflower seeds or oats as a substitute. For a vegan pumpkin filling, use coconut cream instead of cream cheese. This keeps the flavor while meeting dietary needs.
Decorative Ideas
Presentation matters! Use a festive platter for your macarons. You can sprinkle cinnamon on top for a cozy touch. Try adding little pumpkin decorations for a fun look. Colorful macarons make your display pop. Use orange, brown, and cream shades for that fall vibe.
Storage Info
Best Practices for Storing Macarons
Store your pumpkin pie macarons in an airtight container. This keeps them fresh. You can refrigerate them or leave them at room temperature. If you keep them at room temperature, eat them within two days. In the fridge, they last up to a week. The macarons may dry out if left too long.
Freezing Macarons
To freeze macarons, follow these steps:
1. Cool Completely: First, ensure the macarons are fully cooled.
2. Prepare for Freezing: Place them in a single layer on a baking sheet.
3. Wrap: Once frozen, transfer them to a freezer-safe bag or container.
4. Label: Don’t forget to label the bag with the date.
To thaw, leave them in the fridge overnight. This helps keep their flavor and texture intact. Avoid thawing them at room temperature, as they may become soggy.
Serving Recommendations
Serve your macarons at room temperature for the best taste. They shine during gatherings as a sweet treat. Arrange them on a pretty platter to catch guests’ eyes. Pair them with warm apple cider or a hot cup of coffee. The flavors blend beautifully! You can also serve them alongside pumpkin spice desserts for an autumn feast. For a fun twist, add a small scoop of vanilla ice cream on the side. Enjoy the delight!
FAQs
What is the best way to prevent macarons from cracking?
To keep macarons from cracking, monitor the humidity and oven temp. If the humidity is high, use a dehumidifier or bake on a dry day. A lower oven temperature also helps. Set your oven to 300°F (150°C) and use an oven thermometer to check the heat. This way, your macarons bake evenly and stay soft inside.
How long do homemade macarons last?
Homemade macarons last about three to five days in the fridge. Store them in an airtight container to keep them fresh. If you want to save them longer, freeze them. They can last up to three months in the freezer. Just remember to let them thaw in the fridge before eating.
Can I make macarons without almond flour?
Yes, you can make macarons without almond flour. Use options like hazelnut flour or sunflower seed flour. Each flour gives a different taste and texture. Hazelnut flour has a rich, nutty flavor, while sunflower seed flour is a great nut-free choice. Experiment to find what you like best!
What can I do if my macarons don’t have feet?
If your macarons lack feet, it might be due to under-mixing or not resting long enough. Make sure to fold the batter until it’s shiny and flows in ribbons. Let the piped macarons rest until they feel dry to the touch. If you follow these steps, your next batch will have those lovely feet!
Making macarons can be fun and rewarding. We covered the key ingredients and steps, from mixing the batter to perfecting the baking process. I shared tips to avoid common mistakes and creative variations you can try. Remember, patience is key. Each batch teaches you something new. With practice, you will make fantastic macarons that impress everyone. Enjoy your baking journey, and don’t hesitate to share your delicious results!


