
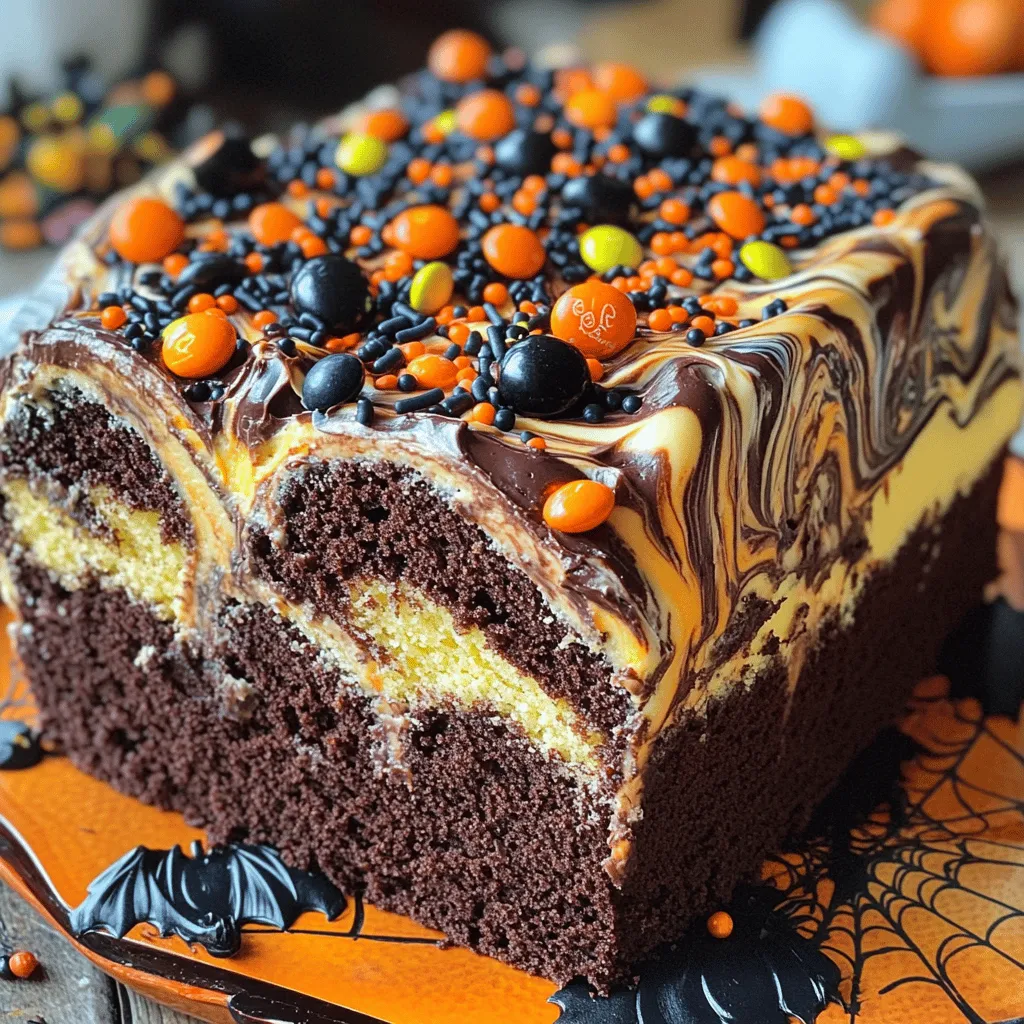
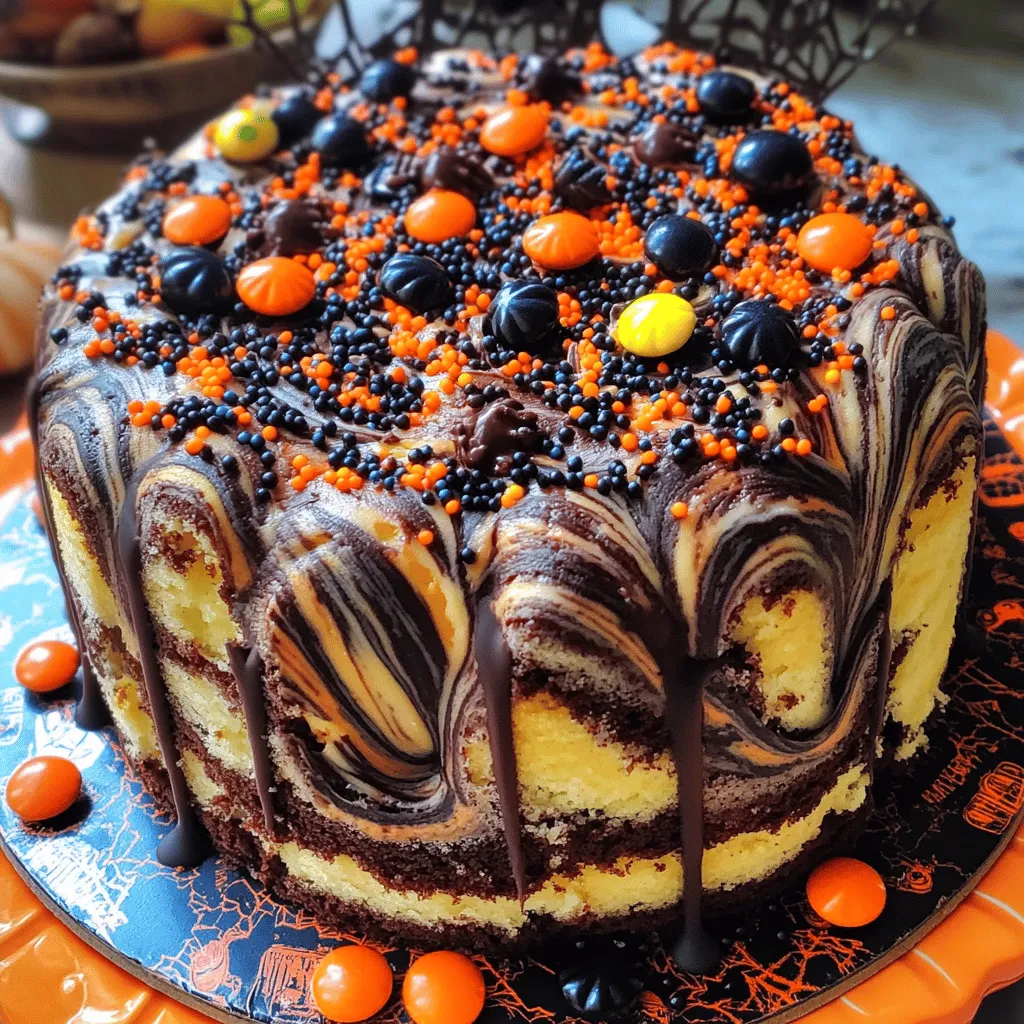
Get ready for a frightfully fun treat this Halloween! This Spooky Halloween Marble Cake is both easy to bake and a delight to eat. With its rich chocolate and vanilla swirls, plus a festive sprinkle of Halloween candy, it’s perfect for parties and family gatherings. I’ll guide you through each simple step to create this deliciously spooky cake. Let’s dive into the recipe and make some magical memories!
Ingredients
Here’s the list of what you need for your spooky Halloween marble cake:
– 2 cups all-purpose flour
– 1 ½ cups granulated sugar
– ½ cup unsalted butter, softened
– 1 cup whole milk
– 3 large eggs, at room temperature
– 2 teaspoons baking powder
– 1 teaspoon vanilla extract
– ¼ teaspoon salt
– ½ cup unsweetened cocoa powder
– 1 cup black and orange sprinkles
– 1 cup Halloween-themed candy (optional)
Each item plays a big role in making your cake great. For example, the all-purpose flour gives it structure. The sugar adds sweetness, and the cocoa powder brings in that rich chocolate flavor. When you mix in the black and orange sprinkles, it adds a fun touch perfect for Halloween.
If you want to make it extra spooky, think about adding Halloween-themed candy. It can surprise your guests when they slice into the cake!
Now, you’re ready to gather these ingredients and start your baking adventure. For the full recipe and steps, check out the Full Recipe.
Step-by-Step Instructions
Preparation of the batter
1. Preheat your oven to 350°F (175°C). Grease a 9×5-inch loaf pan with butter. Dust it lightly with flour to avoid sticking.
2. In a big bowl, add softened butter and granulated sugar. Use a mixer to cream them until light and fluffy. This takes about 3-4 minutes.
3. Next, add three eggs to the bowl, one at a time. Mix well after each egg. Then, pour in the vanilla extract and blend until combined.
Combining dry ingredients
1. In a separate bowl, whisk together the flour, baking powder, and salt. Ensure they mix well.
2. Gradually add this dry mix to your butter-sugar mixture. Alternate with the whole milk. Start and end with the flour mix. Mix until just combined. Do not overmix.
Creating the marble effect
1. Once your batter is ready, divide it into two equal parts. To one bowl, sift in the cocoa powder. Mix gently until you have a rich chocolate batter.
2. To create a lovely marbled effect, take alternating spoonfuls of each batter. Drop them into the prepared loaf pan.
3. After adding all the batter, use a knife or skewer to swirl the batters. This creates a marbled look, but don’t mix fully.
Baking the cake
1. For a spooky surprise, add Halloween-themed candy in the center of the batter before swirling.
2. Top your batter with black and orange sprinkles to add a fun touch.
3. Bake in the preheated oven for 45-55 minutes. Check doneness with a toothpick. It should come out clean or with a few moist crumbs.
4. If the top browns too fast, cover it lightly with aluminum foil.
5. After baking, let the cake cool in the pan for 10 minutes. Then, transfer it to a wire rack. This helps to enhance the texture.
For the full recipe, check out the detailed instructions above.
Tips & Tricks
Perfecting your marble cake
To make the best marble cake, avoid overmixing. Overmixing can lead to a dense cake. Mix just until you see no dry flour. This keeps the cake light and fluffy.
For the best marbling effect, use two spoons. Alternate spoonfuls of the vanilla and chocolate batter. Then, use a knife to swirl the batters. Don’t mix too much; you want to see the two colors. This will create a lovely marble pattern in your cake.
Decorating ideas
For Halloween, think spooky! Use black and orange sprinkles on top. You can also add candy eyes for a fun touch. Consider using Halloween-themed candy inside the cake, too.
When you serve, get creative! Use a spooky platter or add themed decorations. Add some mini pumpkins or candles for a festive vibe. This makes your cake stand out and look fun!
Variations
Flavor variations
You can easily change the flavor of your spooky Halloween marble cake. Adding spices like cinnamon or nutmeg gives it a warm touch. For a different twist, adjust the amount of chocolate and vanilla. Use more cocoa for a rich chocolate flavor. Or, add more vanilla for a sweeter taste. Experimenting with these flavors makes each cake unique.
Different decoration options
Decorating your cake is just as fun as baking it! You can use fondant or icing to create spooky shapes. Think of ghosts, spiders, or pumpkins. This adds a festive look to your cake. You can also try different sprinkles. Use orange and black sprinkles for a classic Halloween vibe. Or, mix in candy like gummy worms or eyeballs for a surprise. These little details make your cake stand out.
Storage Info
How to store the cake
To keep your spooky Halloween marble cake fresh, use an airtight container. This helps keep moisture in and prevents the cake from drying out. If you plan to eat it in a few days, you can store it at room temperature. Just make sure it’s in a cool place, away from sunlight. If you want to keep it longer, store it in the fridge. The cold air slows down spoilage.
Freezing instructions
If you want to freeze the cake, follow these steps:
1. Cool the cake completely. Let it cool on a wire rack.
2. Wrap it tightly. Use plastic wrap to cover the cake well. Then, wrap it in aluminum foil. This adds an extra layer of protection.
3. Label it. Write the date on the foil. This helps you remember how long it has been in the freezer.
4. Freeze. Place the wrapped cake in the freezer. It can last up to three months.
When you are ready to eat it, here’s how to thaw it:
– Remove it from the freezer.
– Take off the foil and plastic wrap.
– Let it thaw in the fridge overnight. This helps keep it moist.
– If you want to enjoy it right away, you can thaw it at room temperature for about 2-3 hours.
Following these steps will help you enjoy your spooky Halloween marble cake even after the party! For more details, check the Full Recipe.
FAQs
How can I make the cake more moist?
To make your cake more moist, use extra eggs or add sour cream. You can also try using buttermilk instead of whole milk. This adds flavor and keeps the cake soft. Another option is to brush the baked cake with a simple syrup made from equal parts sugar and water. This gives extra sweetness and moisture.
Can I use gluten-free flour for this recipe?
Yes, you can use gluten-free flour! Just swap it for the all-purpose flour in the recipe. Look for a blend that works well for baking. Make sure it contains xanthan gum, as it helps mimic the texture of wheat flour. Your cake will still turn out delicious!
What are some good substitutions for butter?
If you need to avoid butter, try using vegetable oil or coconut oil. You can also use applesauce for a healthier option. This will keep your cake moist and tasty. Just remember to use a little less than the amount of butter called for in the recipe.
How long can I keep the marble cake?
You can keep your marble cake at room temperature for up to three days. Store it in an airtight container to keep it fresh. If you want to keep it longer, you can refrigerate it for about a week. Just be sure to wrap it well to prevent it from drying out.
Can I make this in a different pan size?
Yes, you can use a different pan size! Just keep in mind that this may change the baking time. For a larger pan, the cake may bake faster. For a smaller pan, it may take longer. Always check for doneness with a toothpick to ensure it’s baked perfectly.
You learned how to make a fun and festive marble cake. We covered ingredients, step-by-step instructions, and tips to perfect your cake. Remember to swirl the batters for that striking marble effect. Use creative toppings to enhance the Halloween theme.
With the right storage, your cake stays fresh longer. Experiment with flavors and decorations to make it your own. Now you’re ready to bake and impress your friends! Enjoy your tasty creation.


